Yesterday I shared my Tiered Cake Tutorial and today and today I am going to be sharing the tutorial for this cute little Ruffled Cake.
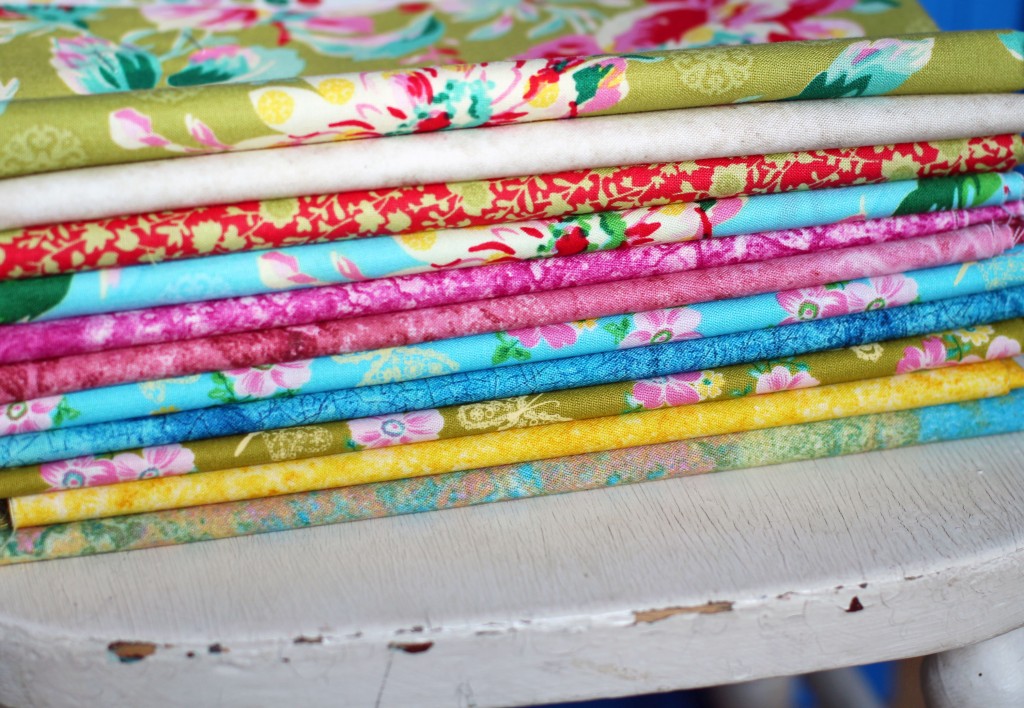
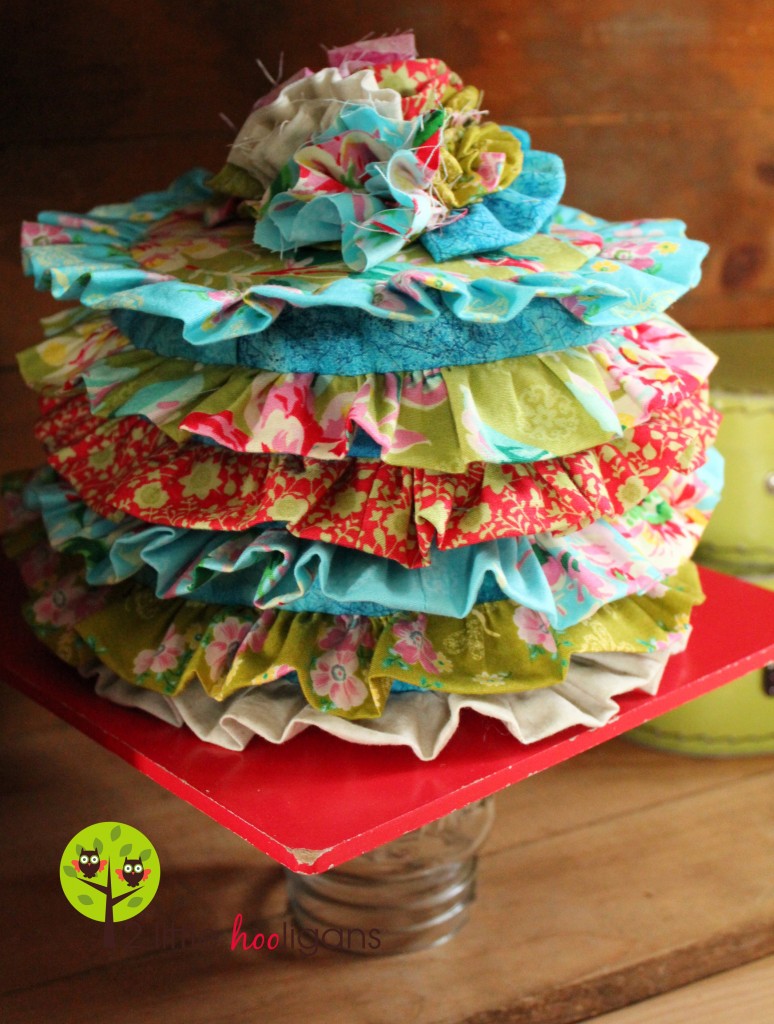 The fabric I was given to use was Peggy Sue from Ro Gregg. Isn’t it simply beautiful? I was given 1/2 yards of each and I would recommend buying half yards to work with as well especially if you are going to make more then one cake or cupcake. Of course you could use something smaller you are just going to have to piece them together to get the correct measurements.
Materials Needed:
* Eight 1/2 yard pieces of fabric (Or scrap pieces that will need to be pieced together.)
* 1 bag of batting or more depending on how many cakes you make and how firm you make them.
Start off by printing the templates for the circle pieces. You will need to print off all three. Page 1, Page 2 and Page 3. They are labeled as nesting baskets but just ignore that. They are the same templates that I used to make these. I did notice that when I printed the templates off that the margins on the circle templates were a tiny bit off. Don’t line up the circles right next to each other. Just line them up as close to a complete circle as you can. When I made my cakes I used the two smallest templates. The larger circle just seemed a little too big for the kiddos to play with. Once you have printed off the circle templates, piece them together and then cut out the middle sized circle out. Now figure out which fabrics you want to work with for your first cake. You are going to need a main fabric for the cake and then another fabric for the ruffles. You are also going to need another fabric for the cake insert or you can use the same fabric as the cover of the cake. The choice is yours. You will start out by making a cover for the insert and then the insert later. I did it this way so that once the cover got dirty you could simply take it off the insert and throw it in the washer. Let’s face it fabric will get dirty when paired with kids play.
Ok, let’s start by making the cake cover. 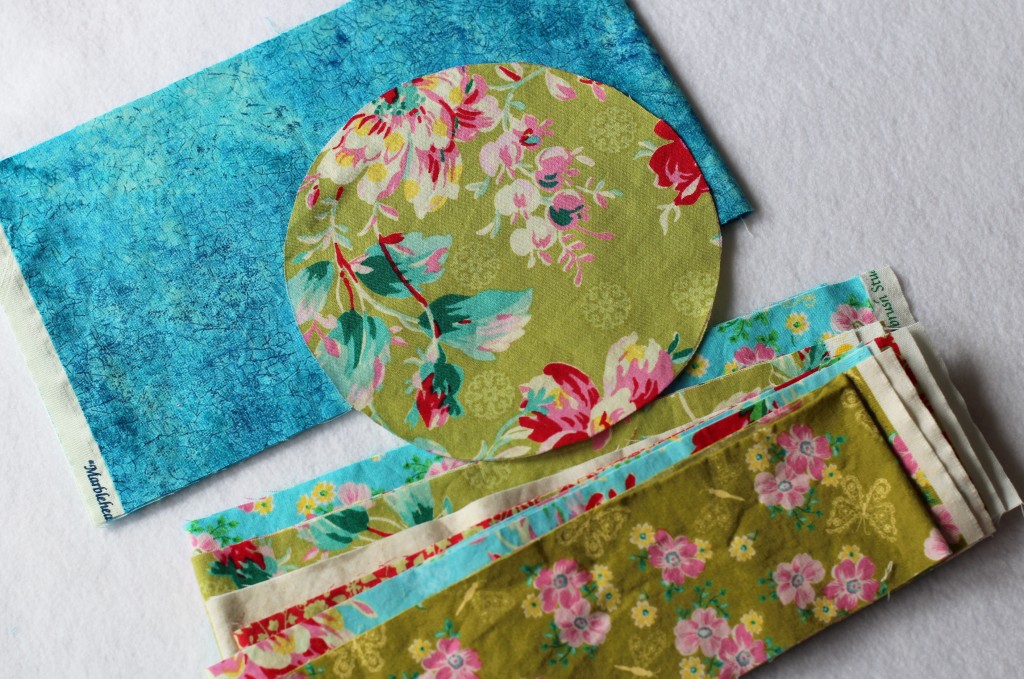
To make one small ruffled cake cover you will need to cut out:
*From the main fabric cut out one small sized circle and one piece of fabric that measures 22″ x 7 1/2″ for the side. Now cut the 22″ x 7 1/2″ piece of fabric into 1 1/2″ wide strips. You should get 5 of them now measuring 22″ x 1 1/2″.
*From 6 different fabrics cut one piece from each that measures 42″ x 3″ long for the ruffles. If you want your ruffles rufflier, just cut your length longer then 42″ long.
 Start by pinning the two short ends of the 42″ x 3″ fabric pieces together. Sew ends.
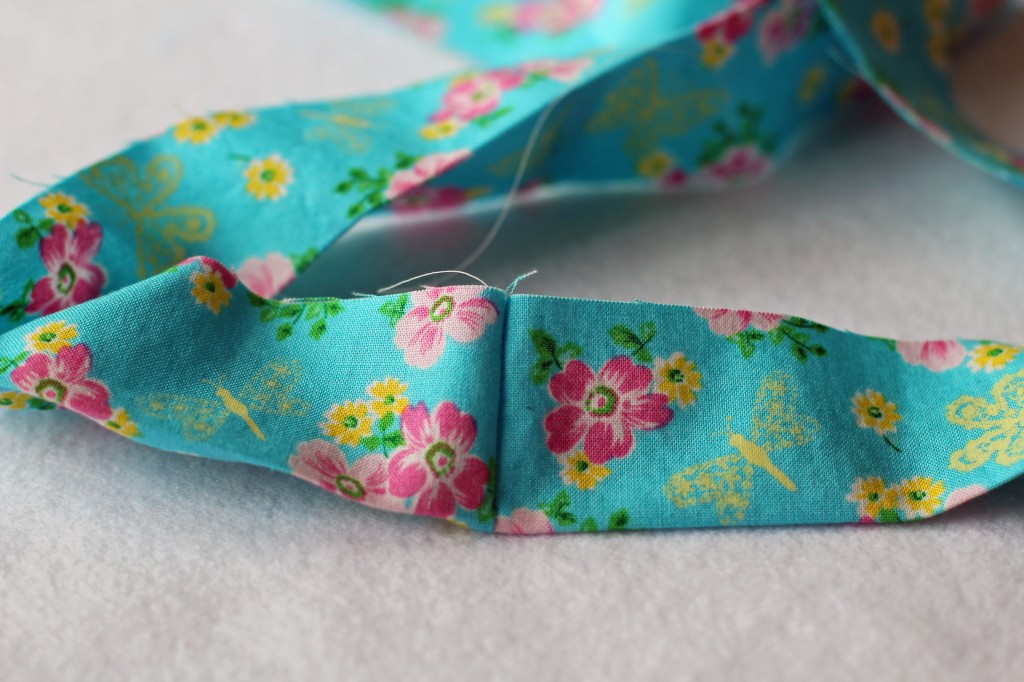 Iron the seam flat and then fold the whole tube in half. Iron flat.
 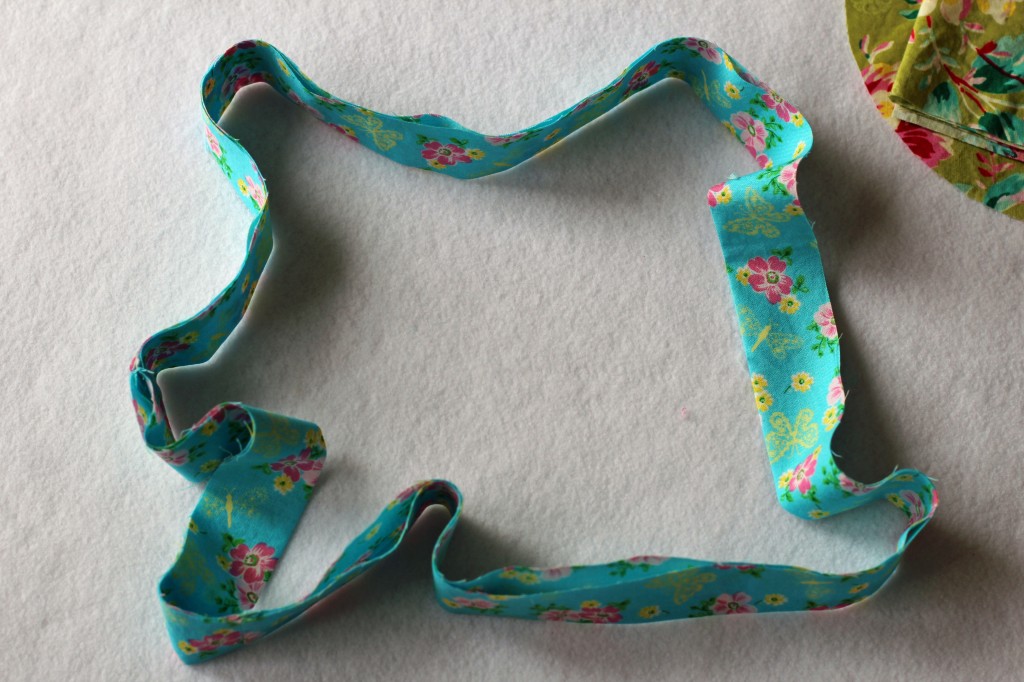 Now ruffle the tube with your sewing machine. On the raw edge just sew with your machine on the largest stitch length. Then gently pull one of the threads to make the fabric ruffle.
 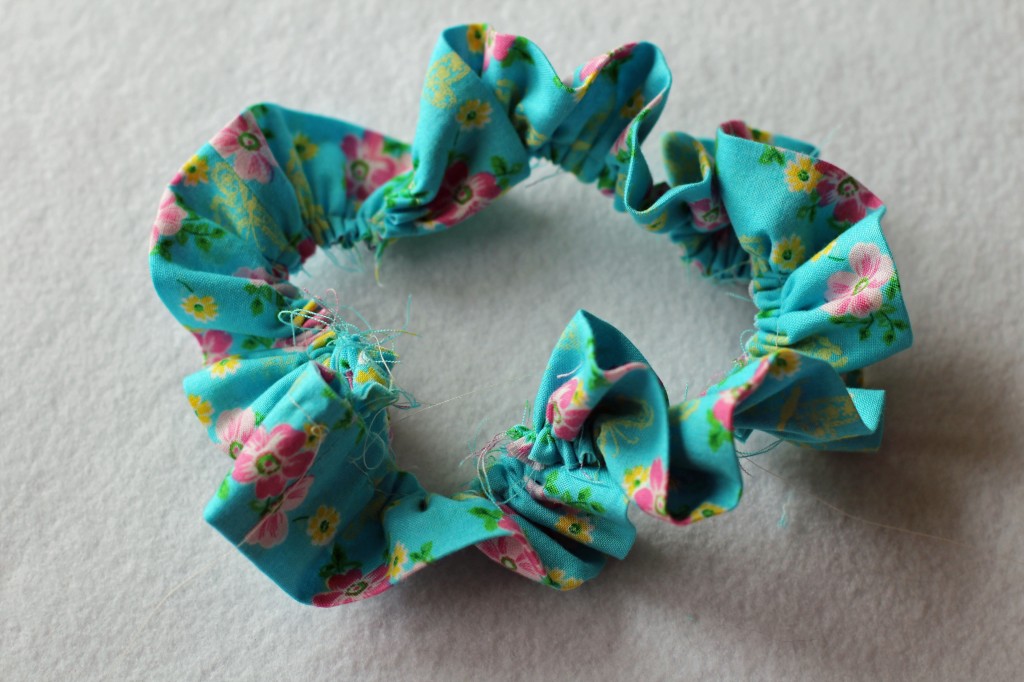 Use the circle piece of the main fabric as a guide to see how much you should ruffle your piece of fabric. Now pin the ruffled piece around the circle as well as pin one of the 22″ x 1 1/2″ pieces of fabric right side down.
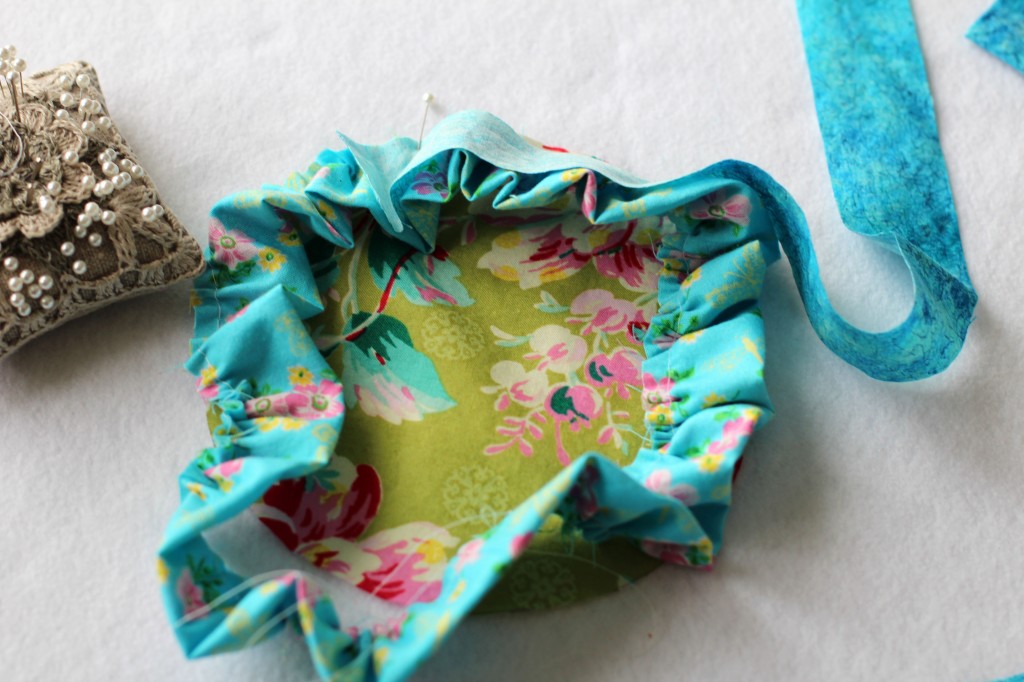 Find the spot where you started pinning the 22″ x 1 1/2″ piece of fabric around the circle. Measure in about 1″ from the end of that side piece. This is where you want to start sewing around the circle. Then stop stitching about 2″ from where the two side pieces will meet. Now pin the remaining fabric around the circle until the two ends meet. From the middle where they meet measure in your 1/2″ sew seam and then trim away any excess fabric. Now sew the two ends of the 22″ x 1 1/2″ piece together. Now that the ends are sewn together you can finish sewing the side onto the circle piece.
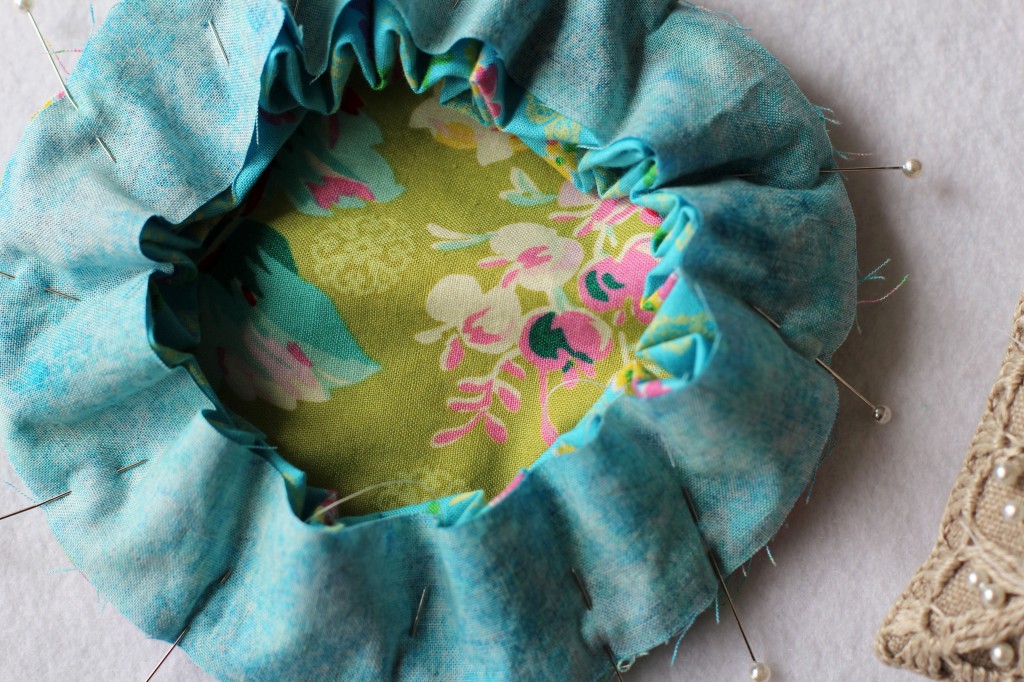 Now repeat with the remaining ruffled pieces (42″ x 3″ pieces) as well as the side pieces (22″ x 1 1/2″ pieces). Use a zig-zag stitch or serge raw edges.
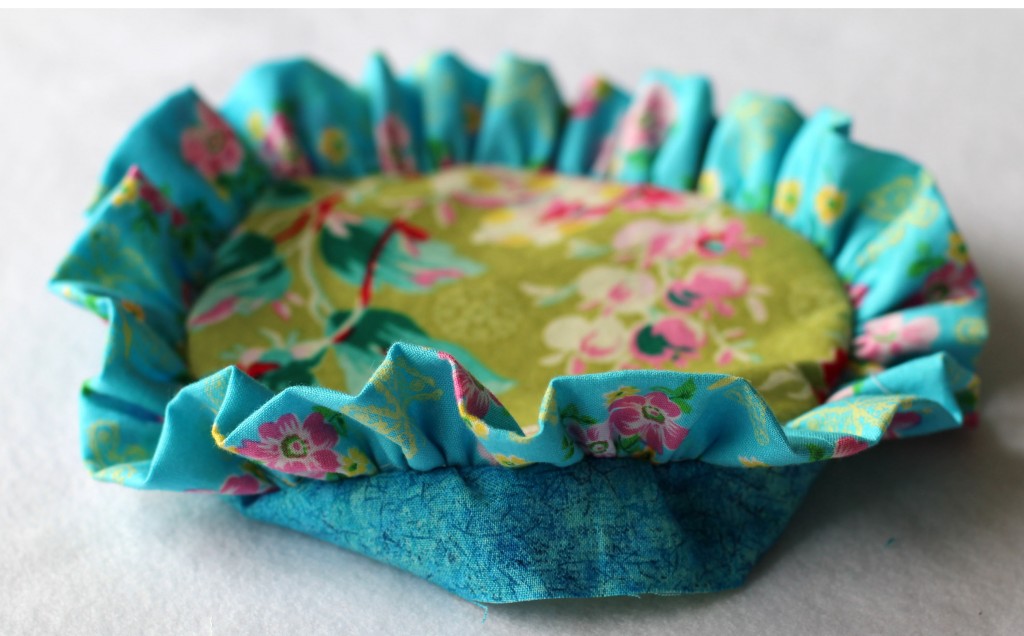
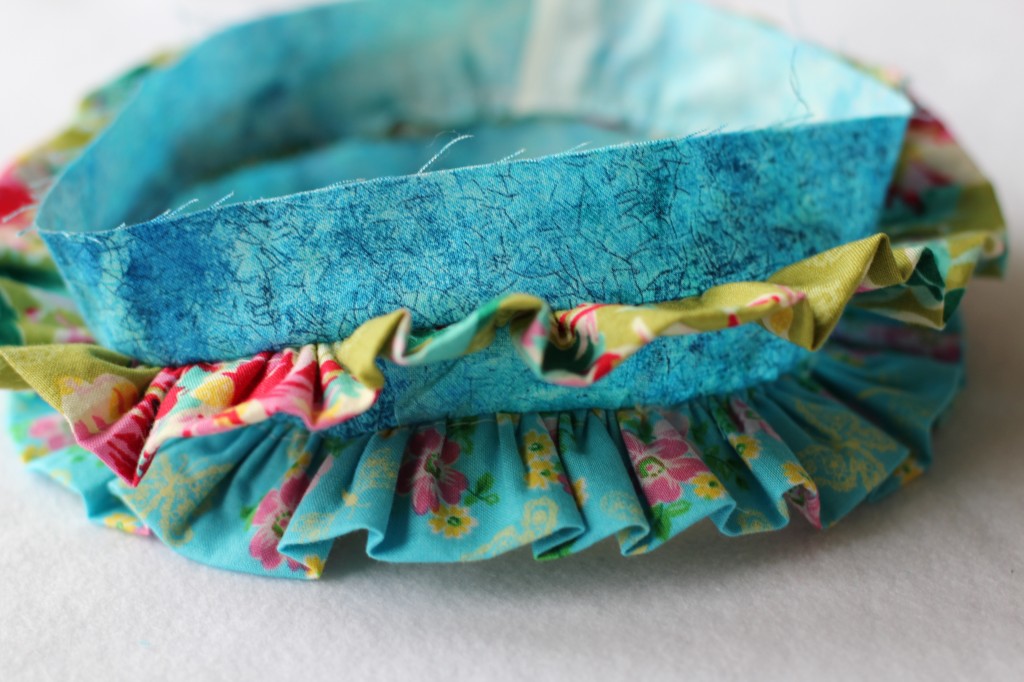 Use your seam ripper or scissors to clean up all those loose threads. You don’t want any loose threads showing. Turn right side out and iron all the layers.
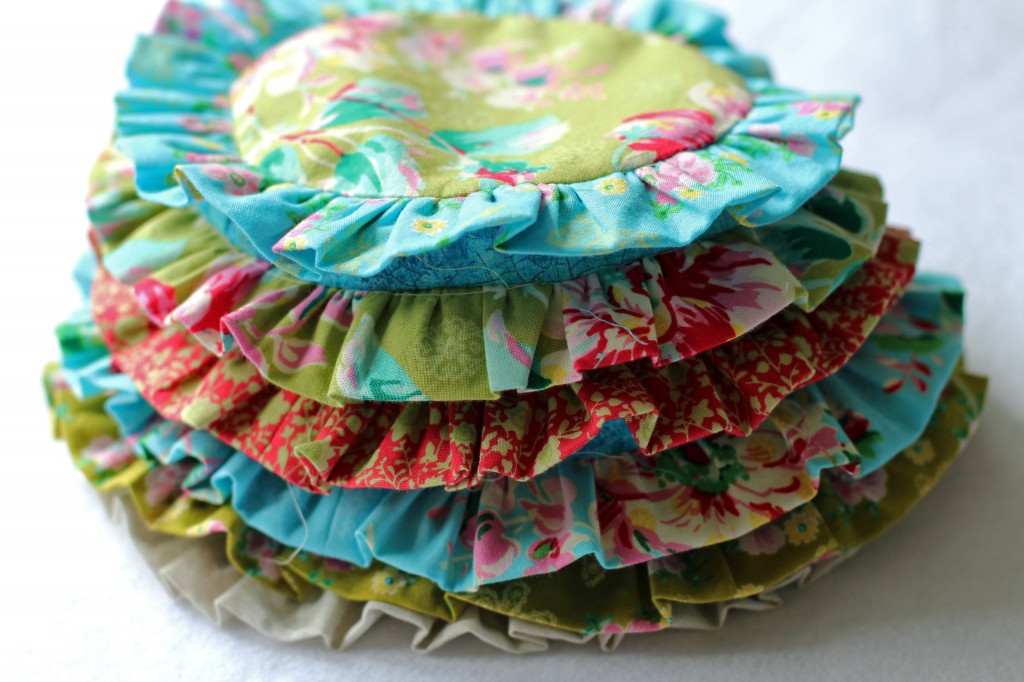 Now you have just made your cake cover. Super easy right?! Now we are going to make the insert for your cake. It is sorta done the same way we made the cake cover but easier with no ruffles.
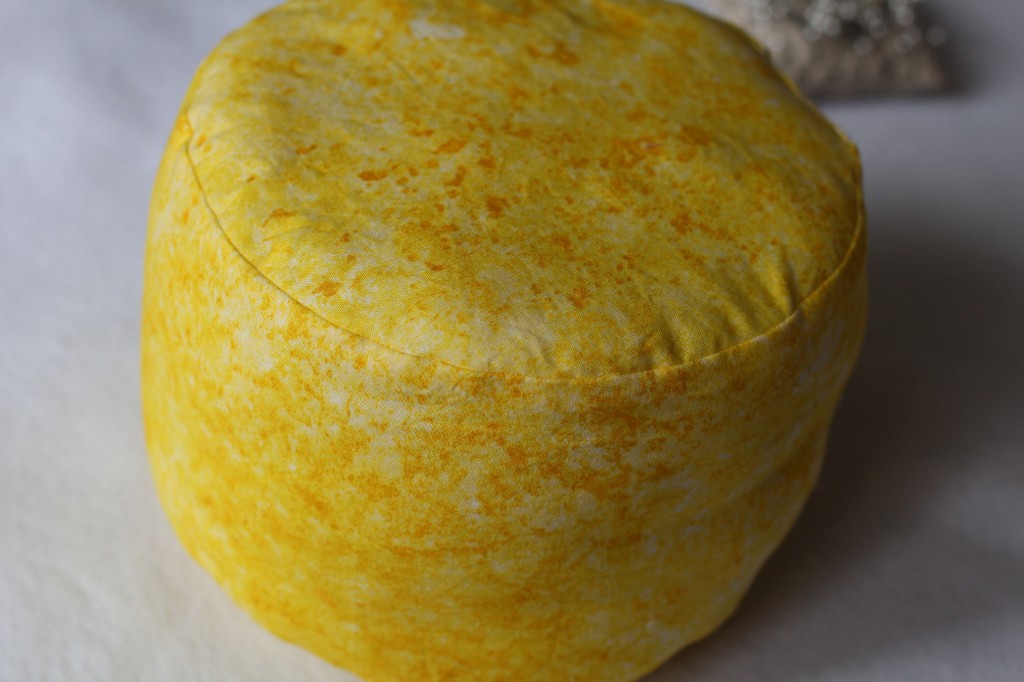 You will need to cut the following pieces to make one small sized insert:
*Cut out two small circle pieces.
*One piece of fabric that is 22″ x 5″.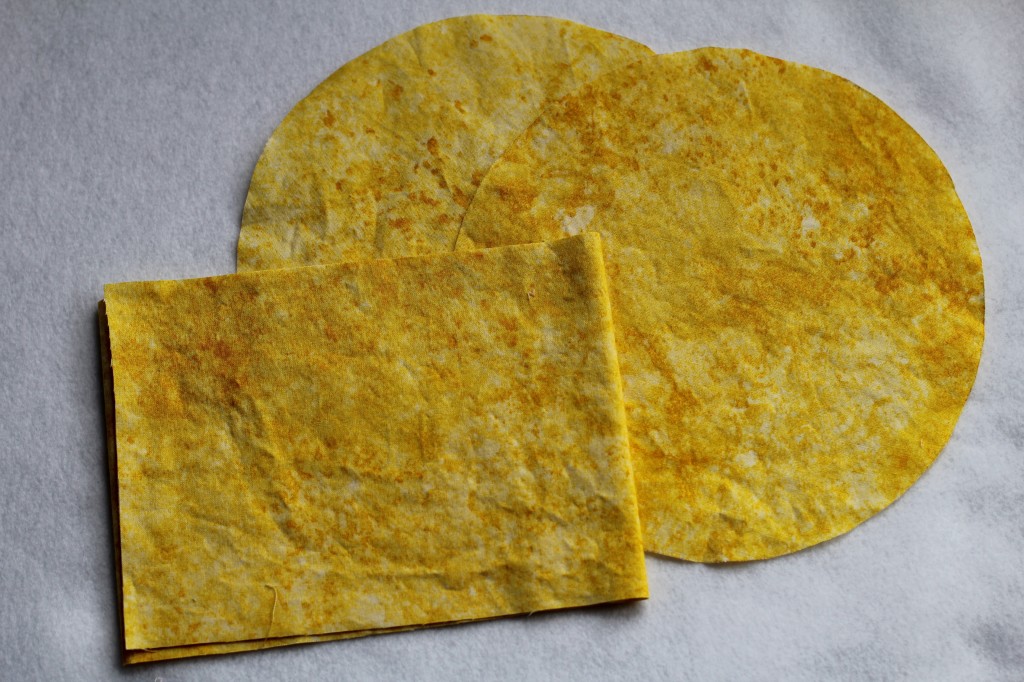 You are going to assemble the insert just like we did above. Pin the 22″ x 5″ piece of fabric around the circle piece.
 Find the spot where you started pinning the 22″ x 5″ piece of fabric around the circle. Measure in about 1″ from the end of that side piece. This is where you want to start sewing around the circle. Then stop stitching about 2″ from where the two side pieces will meet. Now pin the remaining fabric around the circle until the two ends meet. From the middle where they meet measure in your 1/2″ sew seam and then trim away any excess fabric. Now sew the two ends of the 22″ x 5″ piece together sew. Now that the ends are sewn together you can finish sewing the side onto the circle piece.
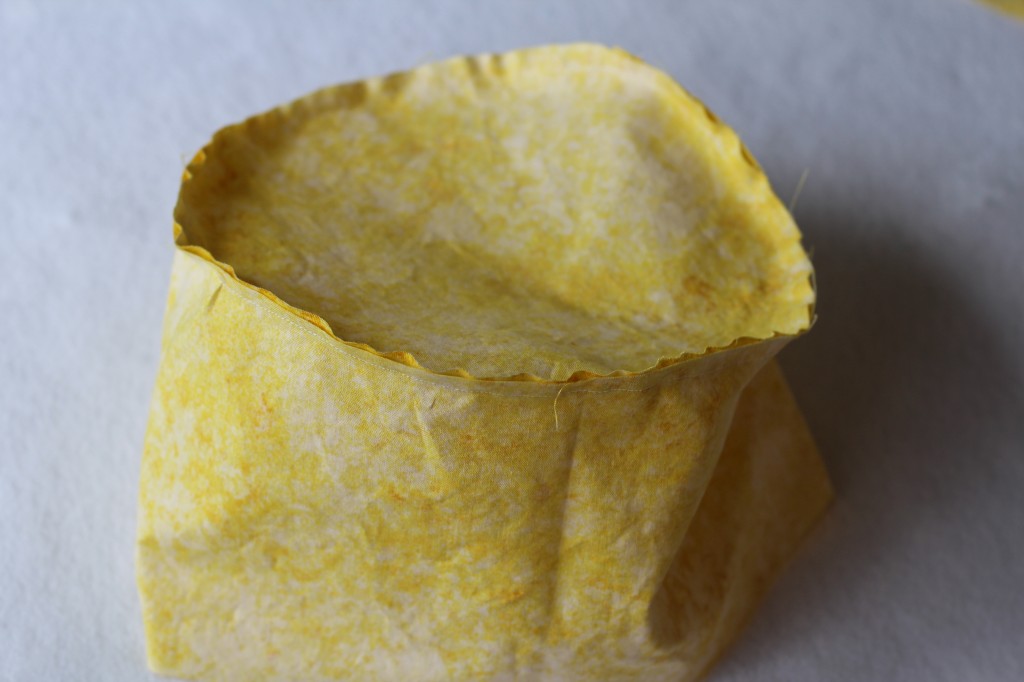 Pin the other circle piece to the side piece. Sew all around leaving a 1″ opening for turning right sides out.
 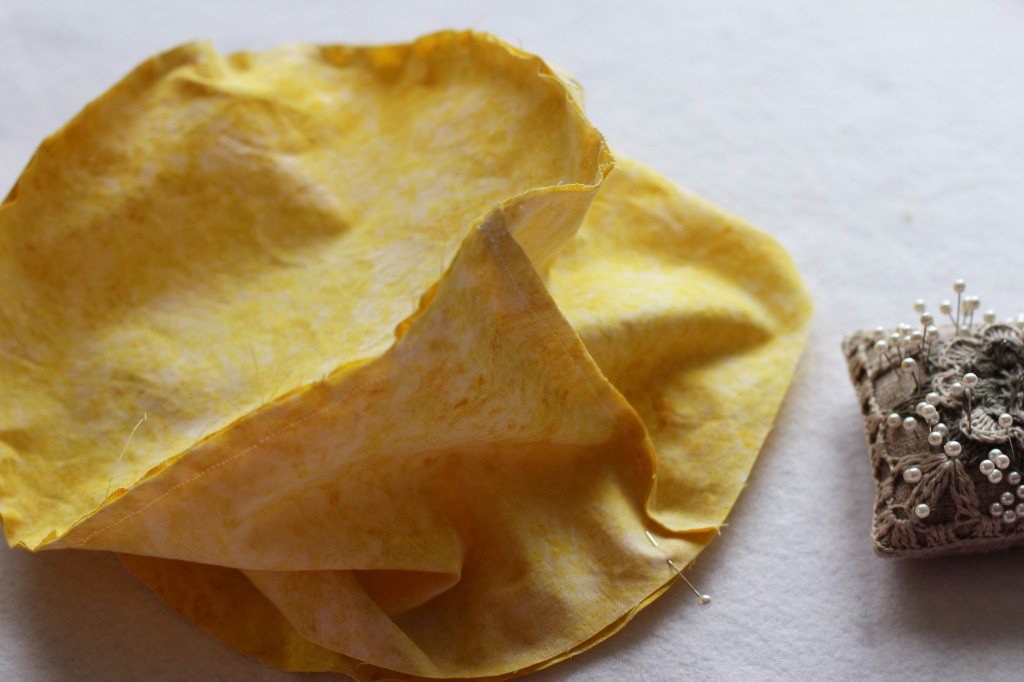 Turn right sides out. Iron seams. Start stuffing. Work in small bunches. It will give you a more even look. Keep stuffing until you get the firmness you want. I made mine fairly firm.
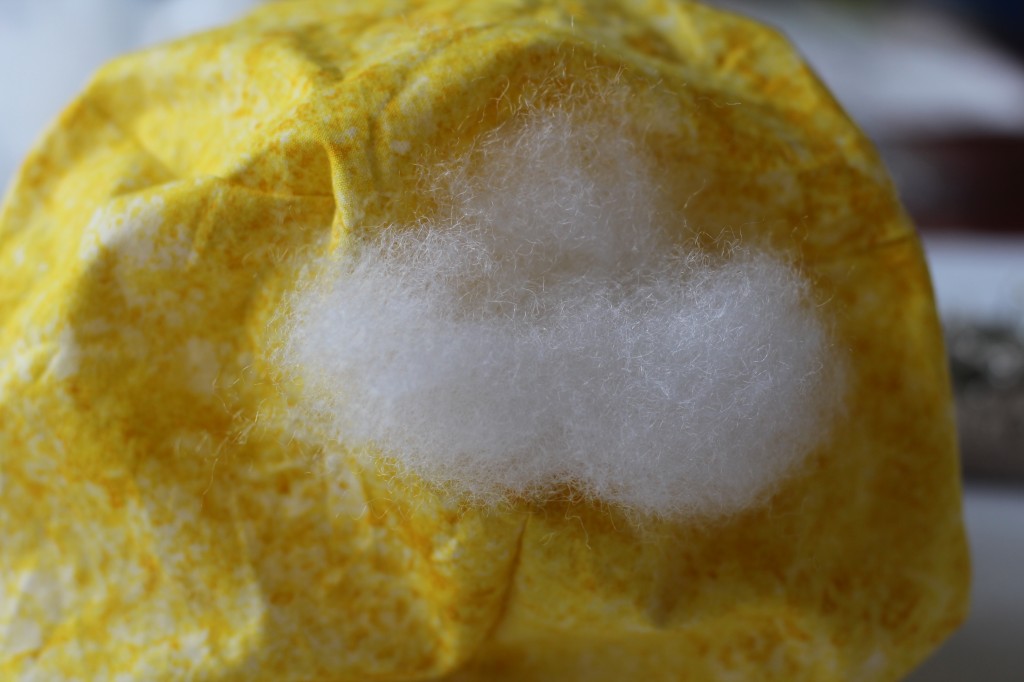 Stitch opening closed.
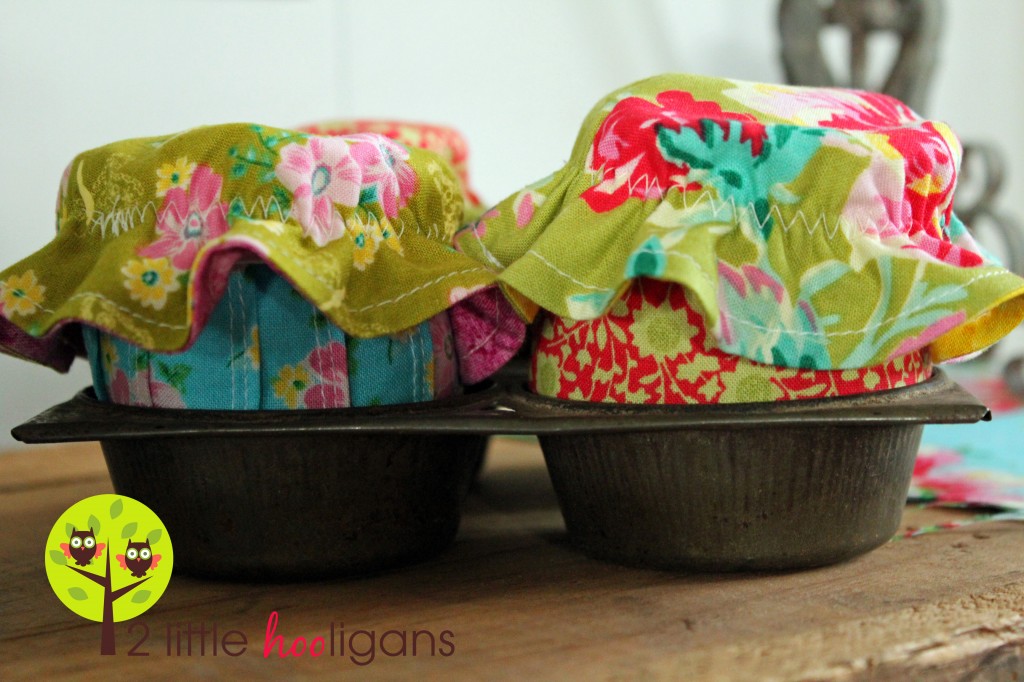
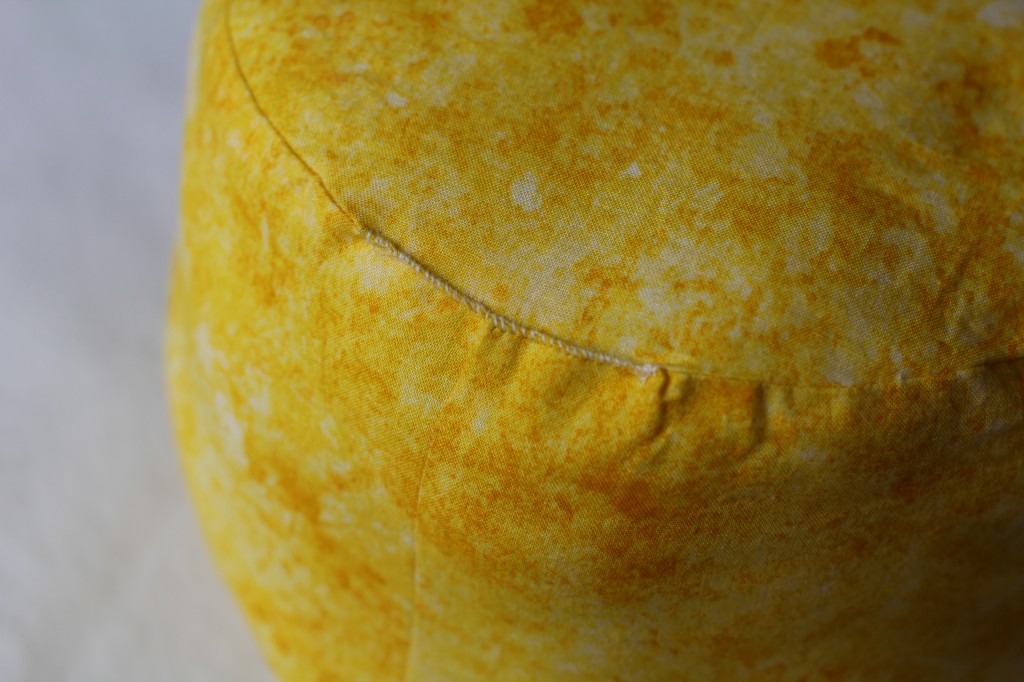 Now place the insert inside of the cake cover piece. Pretty darn cute?
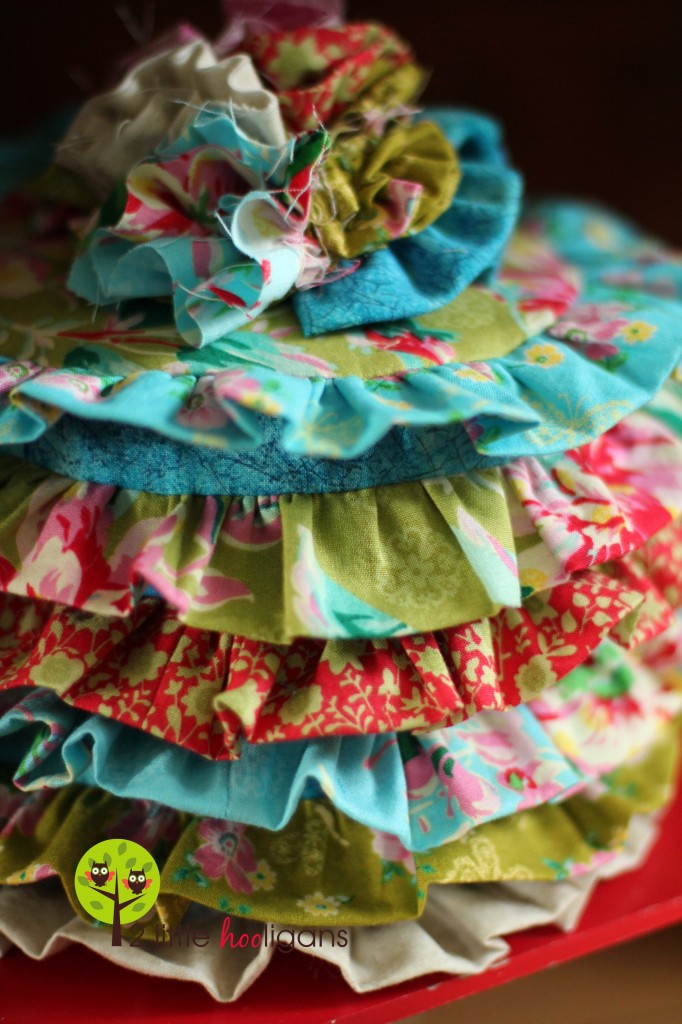 To make the cake toppers I just made a bunch of ruffled and scrappy flowers. There are a ton of fabric flower tutorials on the web. A quick search will bring you to hundreds of them if you are in need on of. All I did was sew the flowers onto a smaller circle piece so that they could swap them from cake to cake.
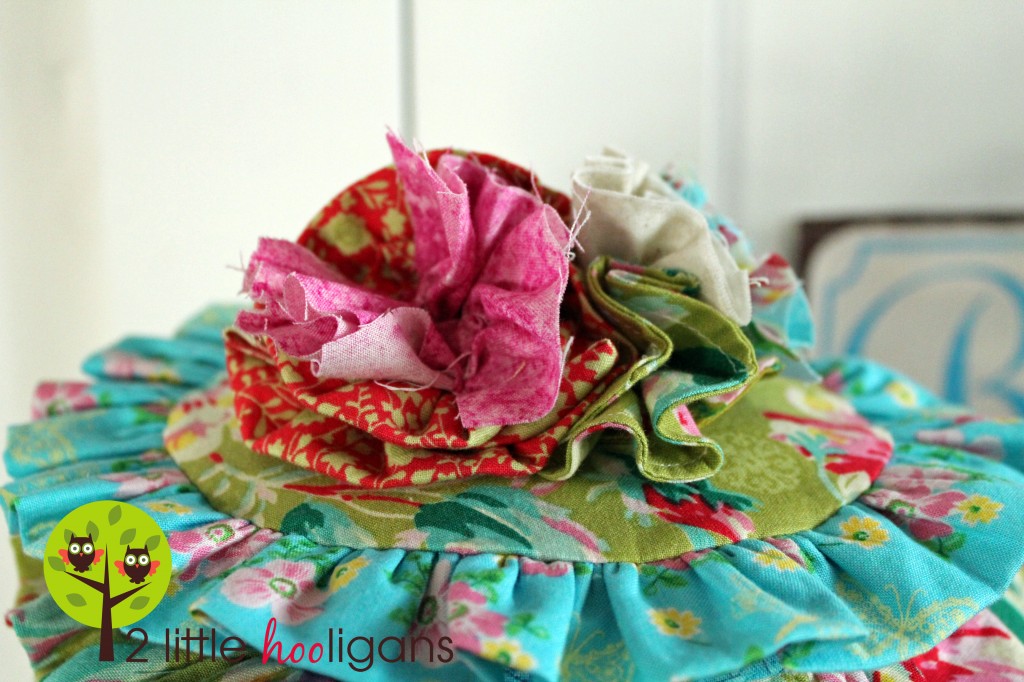
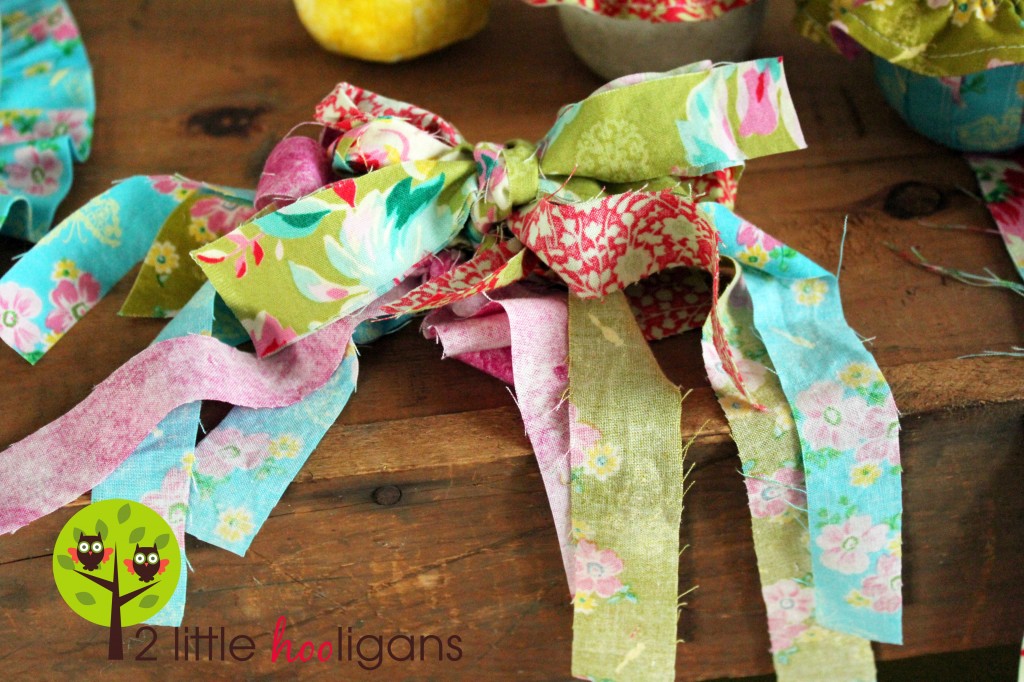
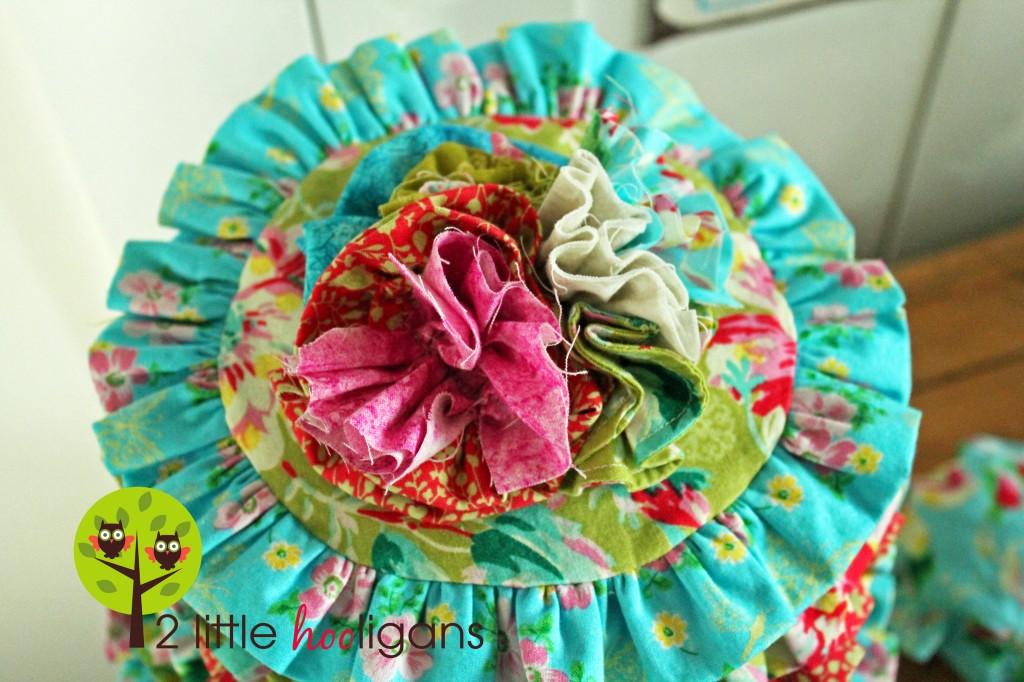 I made this scrappy bow from a bunch of scrap pieces of fabric tied into little bows.
 The next tutorial will be for these cute little cupcakes. They are my little girls favorite pieces in the bakery!

[…] Don’t forget to check out these other tutorials for the handmade fabric bakery. Ruffled Cake Tutorial Tiered Cake Tutorial I hope you have enjoyed our little handmade bakery as much as we […]