Teacher Appreciation Gift
For teacher appreciation week I made up these little boxes for my son’s teachers and my daughter’s speech therapist. I filled them with chocolate covered strawberries and fresh blackberries. It was just a little treat for saying how thankful we are for all that they do.
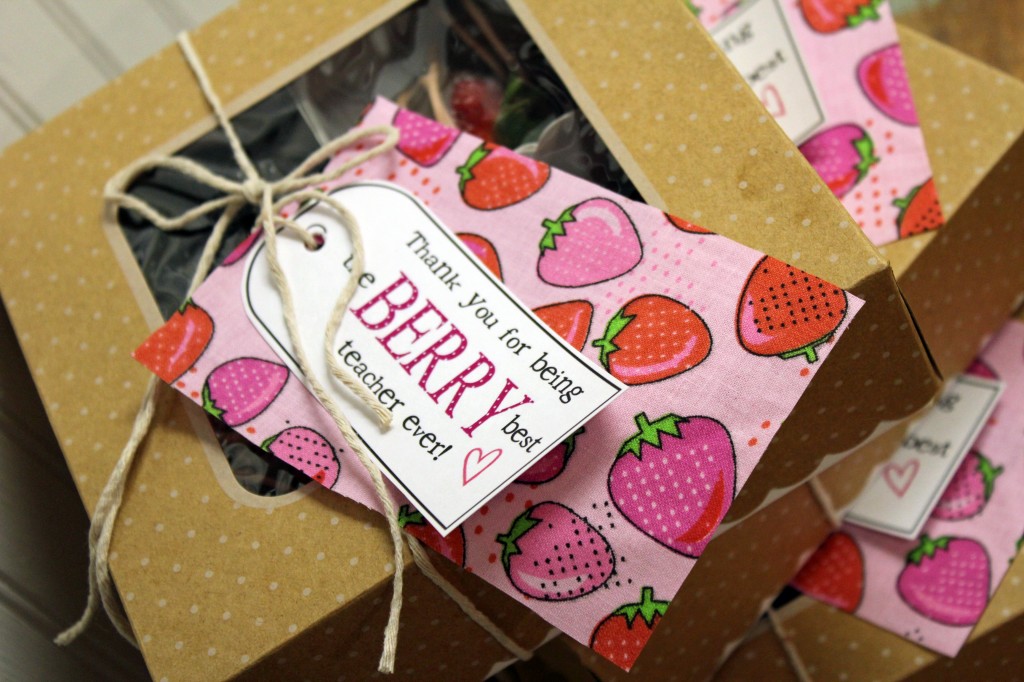 I used these printables from Lil’ Luna. Aren’t they cute? You should really check out her tutorial page. It is full of great gift ideas.
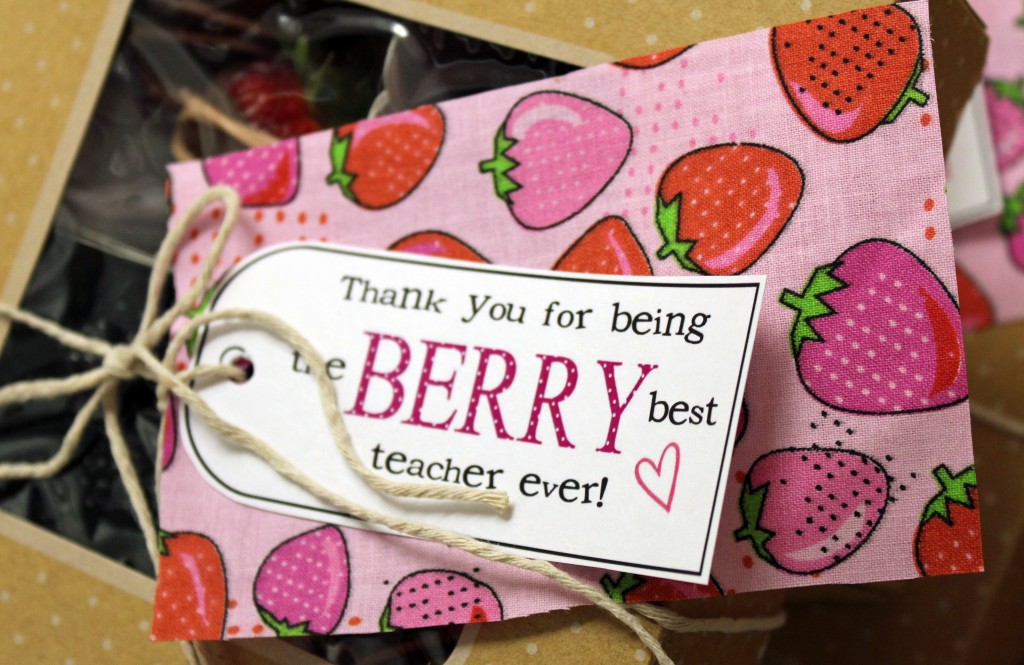 Thank you to all those teachers out there. You really are the berry best!
baby chicks
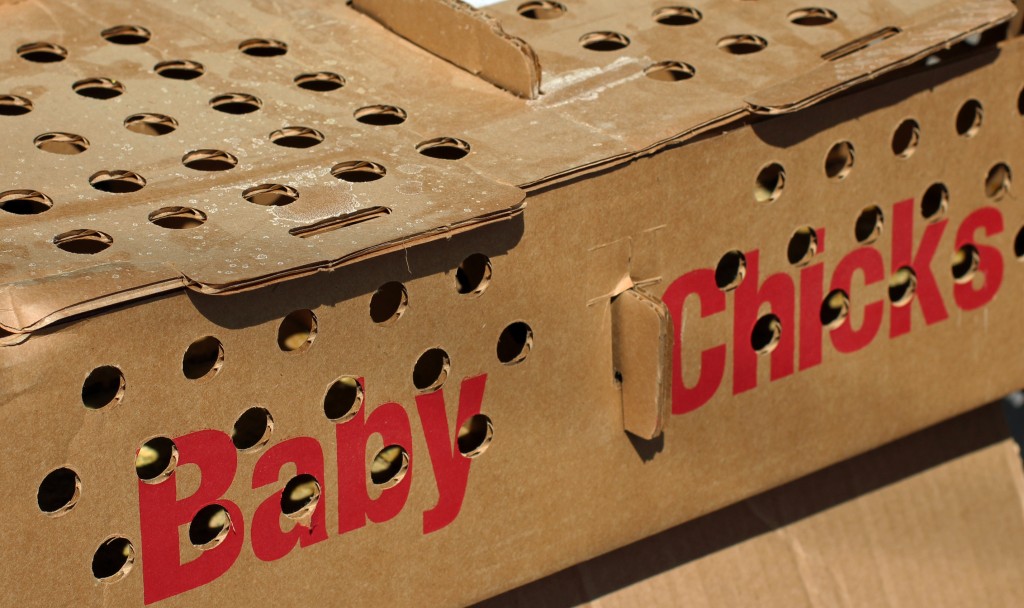
We got our baby chicks this week.
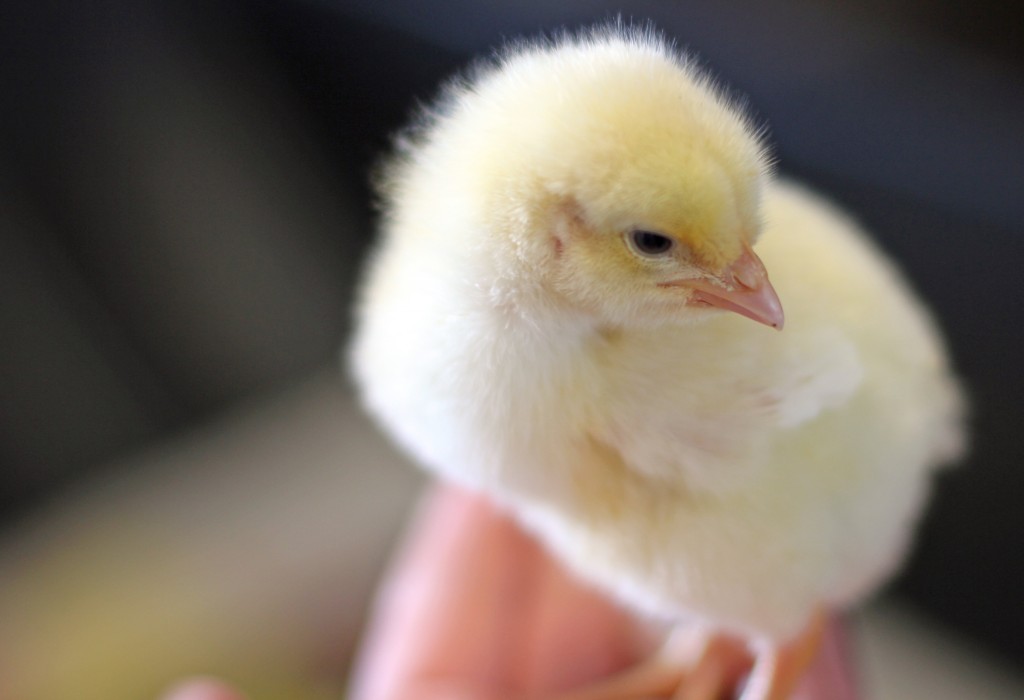
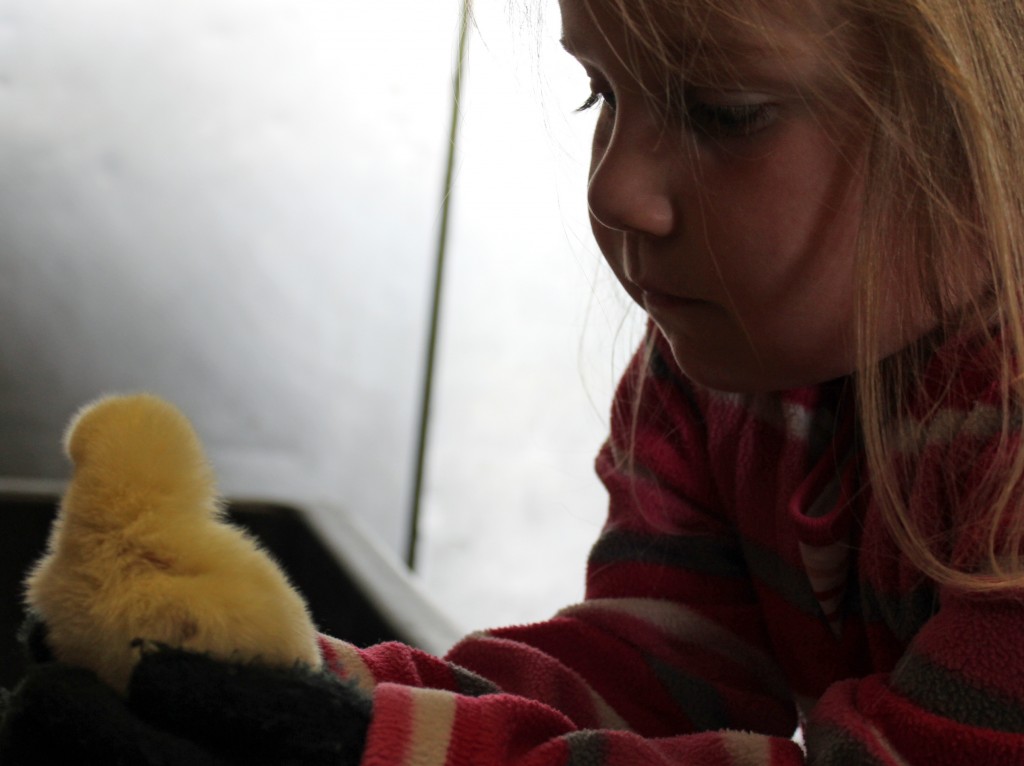
The girls have spent almost every waking moment with them.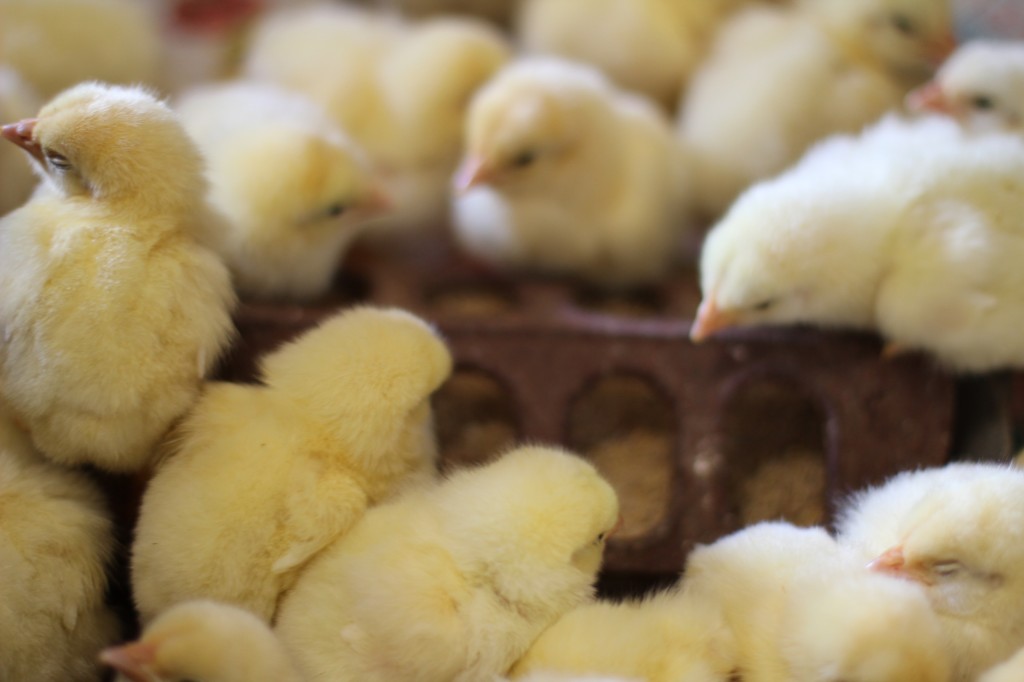 They have named each and every one of them. Freedie and Ferdo are two of my favorites, but Sommer is right up there too.
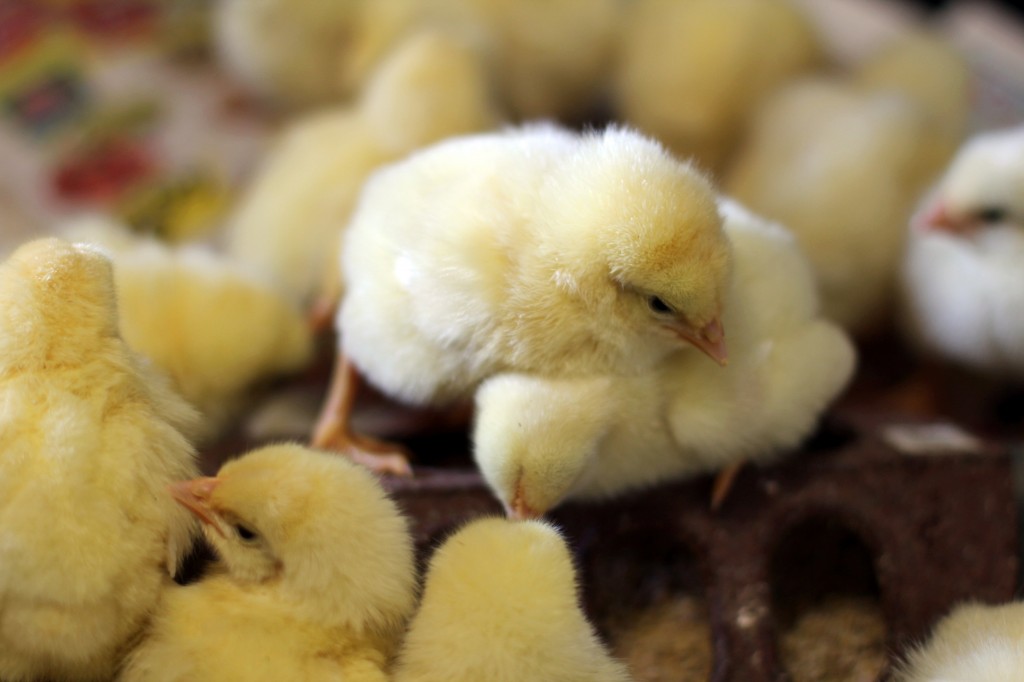 We enjoy them as much as we can now, because all too soon they will loose their cute little fluffiness and no longer want to be held.
The Casual Lady Top
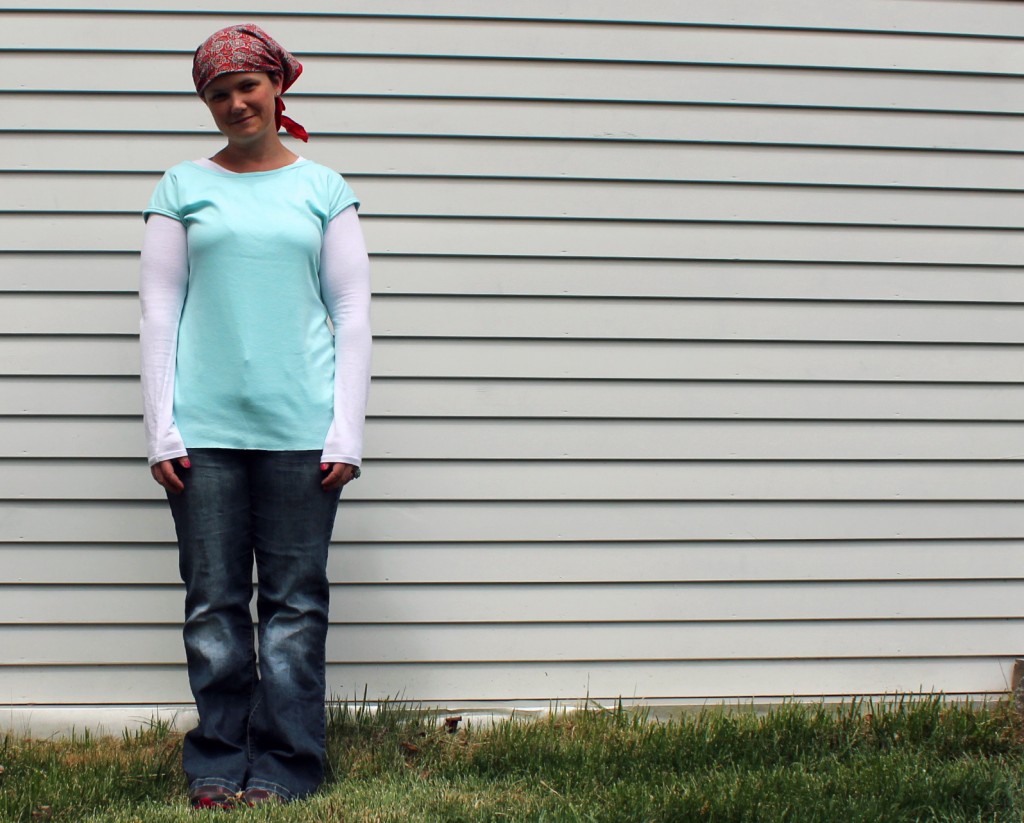
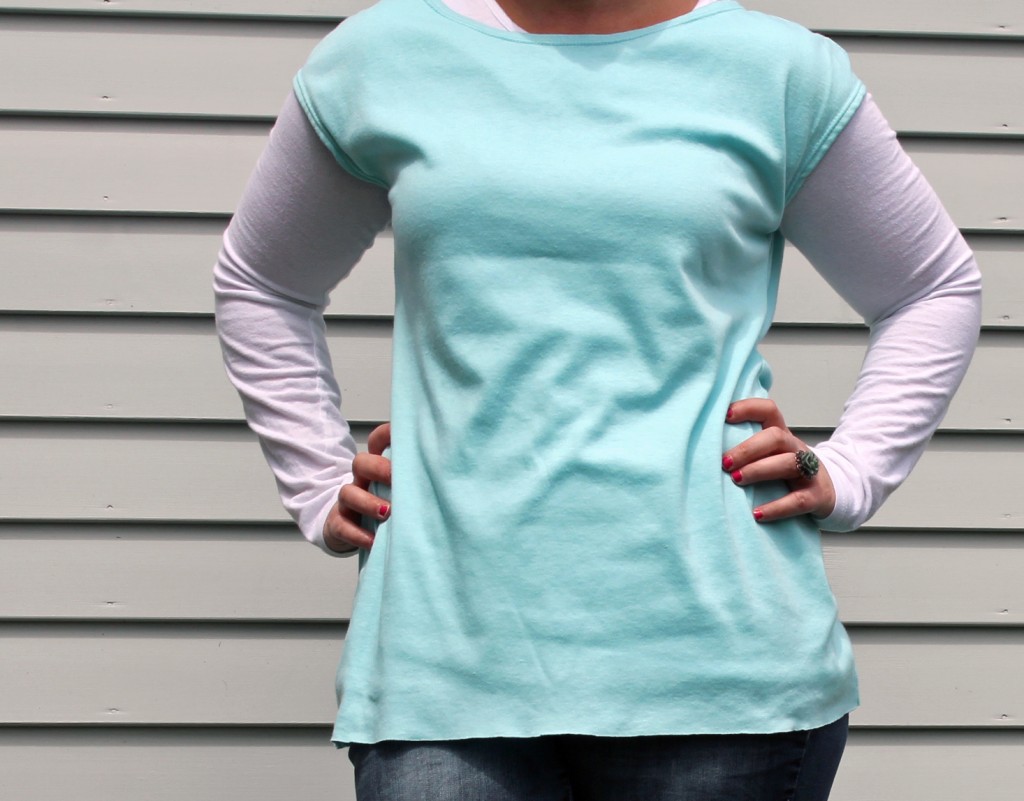
I finally made something for myself.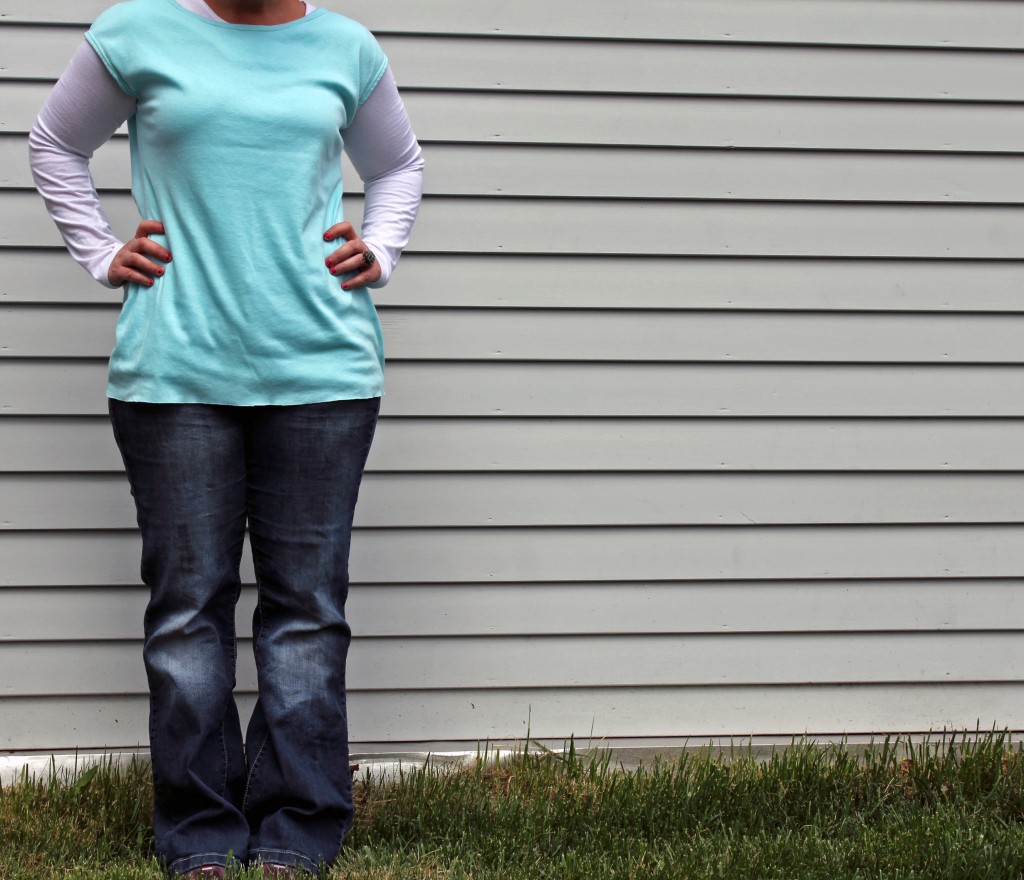 I used The Casual Lady from Go To Patterns. Like all of Andrea’s patterns, it was very detailed and easy to follow. It took me about 1 hour to complete the top.
 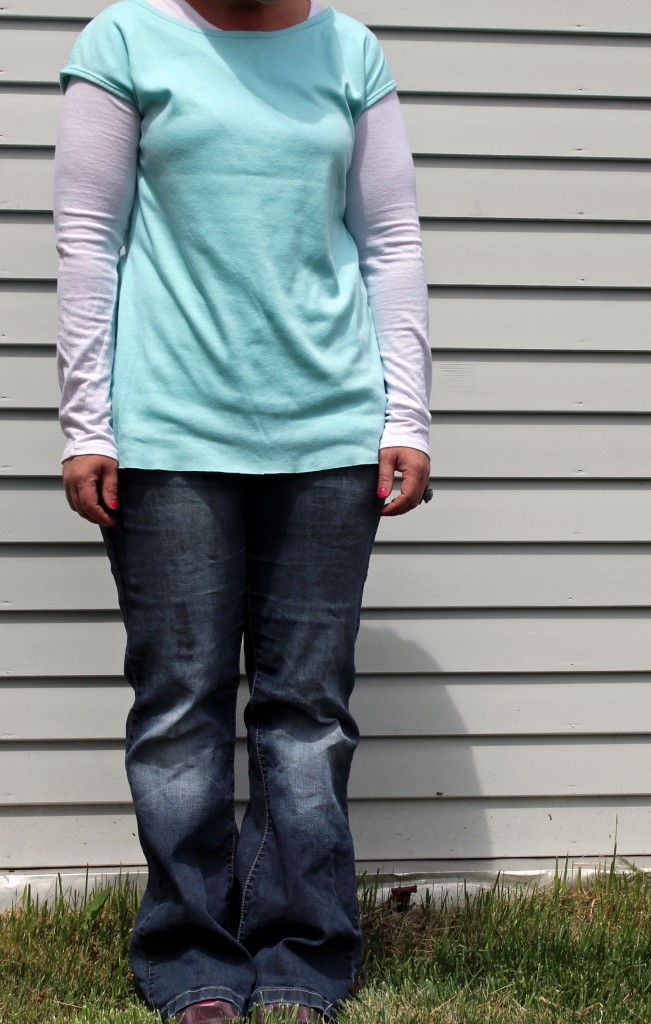 The pattern comes in a shirt version as well as a dress version. Plus, all the proceeds are being donated to She’s Worth It. You not only get to make a great top but also help out a great cause!
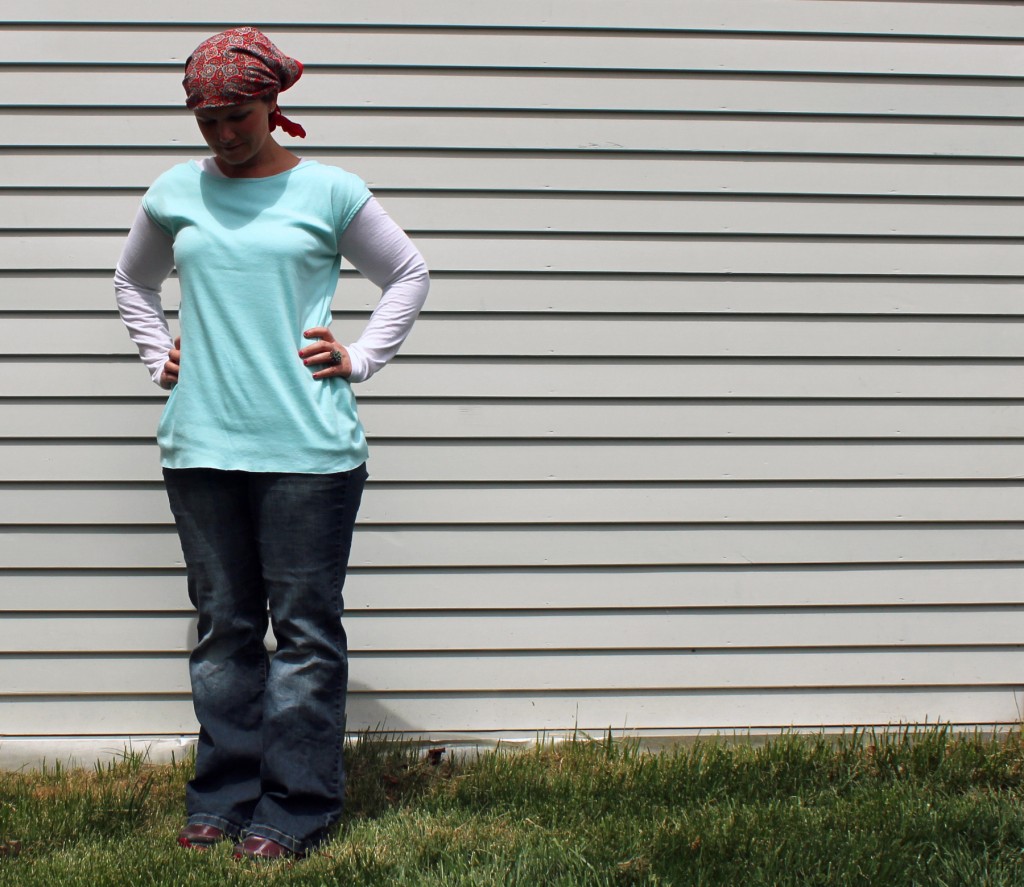 This is one of those shirts that will get a lot of wear. Actually it already has. The fit is exactly how I like my tee’s to be and the length is perfect! I am always searching for longer tee’s. I really wish I had more medium weight knit in my stash right now. I am dying to make this in a dress version. A simple knit dress is just what I need to get me out of these jeans…and my hair done. Sorry folks, this is my everyday style. At least I have a cute handmade top on today.
Cleaning/Utility Closet
I spent the morning doing some spring cleaning. My many trips to the Cleaning/Utility Closet reminded me that I still needed to post pictures of it. After all, it is one of my favorite rooms in the house now. For some reason, this little room just makes me smile. Do you remember a few months back when I showed you my plans for the room. Of course at the time my hubby laughed at my plans. He thought my scaling was way off. Of course I disagreed with him at the time, but now I have to fully agree. The room is a bit smaller then I first thought and that changed my layout a lot, but thankfully I was still able to fit everything in there that I needed to. You will have to forgive me for the picture quality. It was really hard to get a good picture of such a small and poorly lit space.
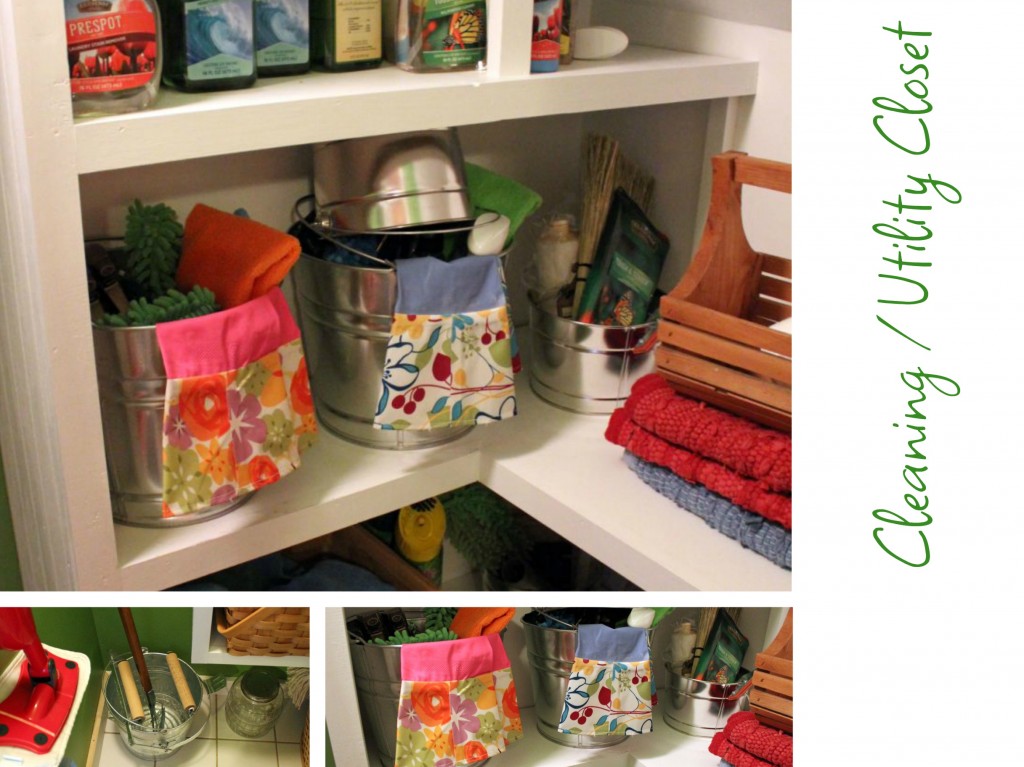 When I was cleaning out the closet I realized that I had a ton of extra cleaning supplies. I had no idea they were all hiding in there. Actually there were a lot of things hiding in there. One more reason to be organized, right? Let’s start with the top shelf. As you can see I store all of my cleaning supplies there, along with my extra laundry supplies. Above this shelf is a little shelf that I use to store all of our batteries, light bulbs and cords.
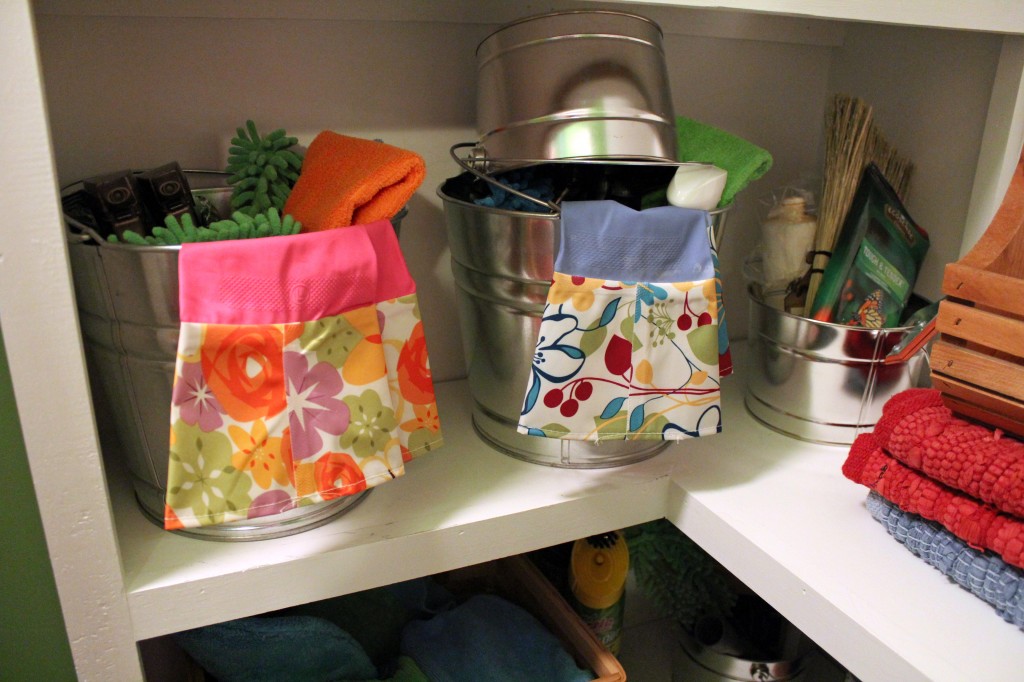
  The second shelf stores my “cleaning buckets”, garbage bags and throw rugs. I made up these “cleaning buckets” a few months ago and they have cut down on my cleaning time drastically. When it is time to clean a room I just grab my bucket and go. Everything is already in there that I need to clean a room. One bucket is for the bathrooms and the other is for all the other rooms. The little bucket on top is used when something needs a really good scrub down. I use it when I am cleaning the sinks, toilets and windows. It has also come in really handy with my spring cleaning.
In the picnic basket I store all of my cloth rags. I do not buy paper towels at all so I have to have a huge supply of microfiber cloths on hand. I buy all of my microfiber cloths at The Home Depot in the cleaning section. You can get a huge bag of rags for peanuts. The little bucket in the corner holds all of my supplies and attachments for my vacuum cleaner. The green file boxes on the right are empty right now, but some day they will be filled with important papers or who knows what.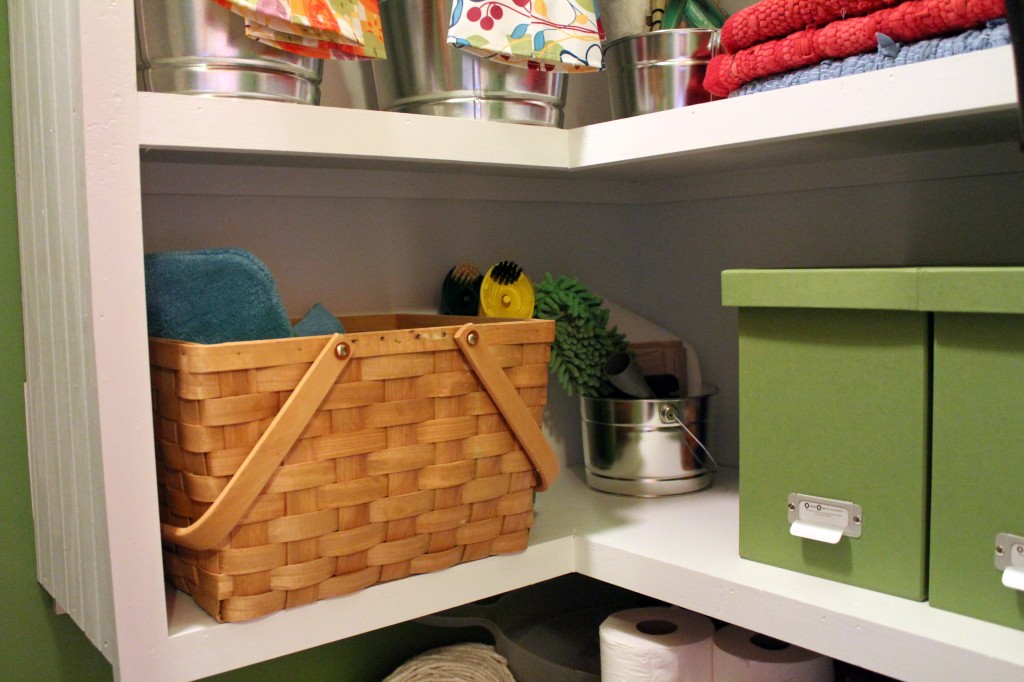
A big ole basket on the bottom holds all of our toilet paper and baby wipes. In the corner is a little basket full of plastic bags from the store. Eventually I would like to make one of those cute hanging fabric bags to use instead. Add that one to my ever-growing sewing to do list.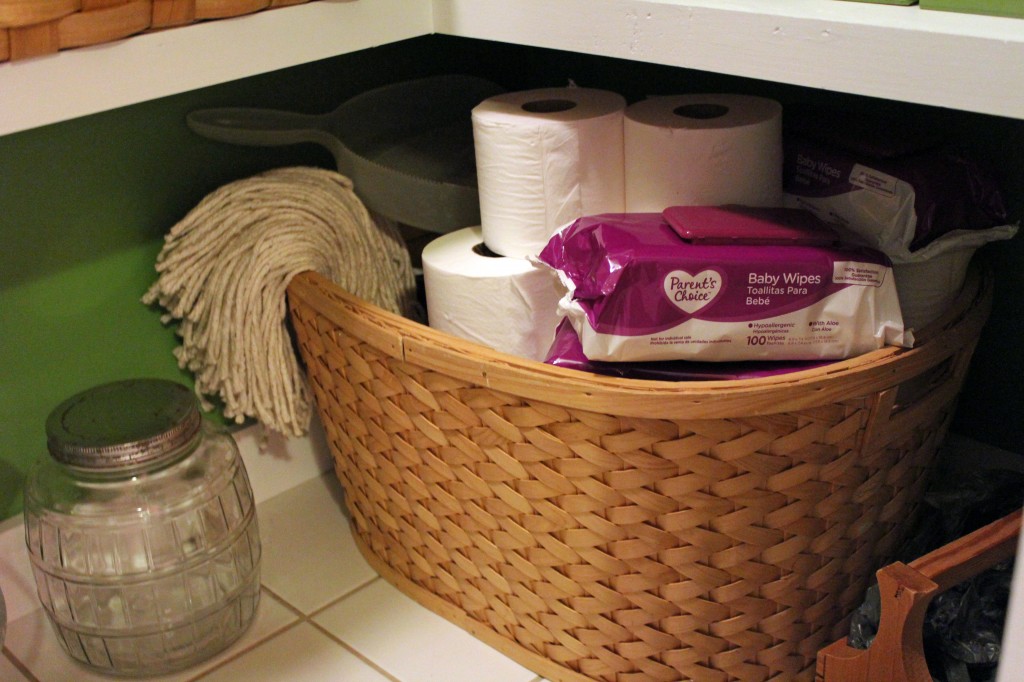 It was really hard to get a picture of everything since it is such a small space, but on the side wall I hang all of our mops. In case you have noticed I do not have any brooms in the house. I guess I just prefer to use vacuums.
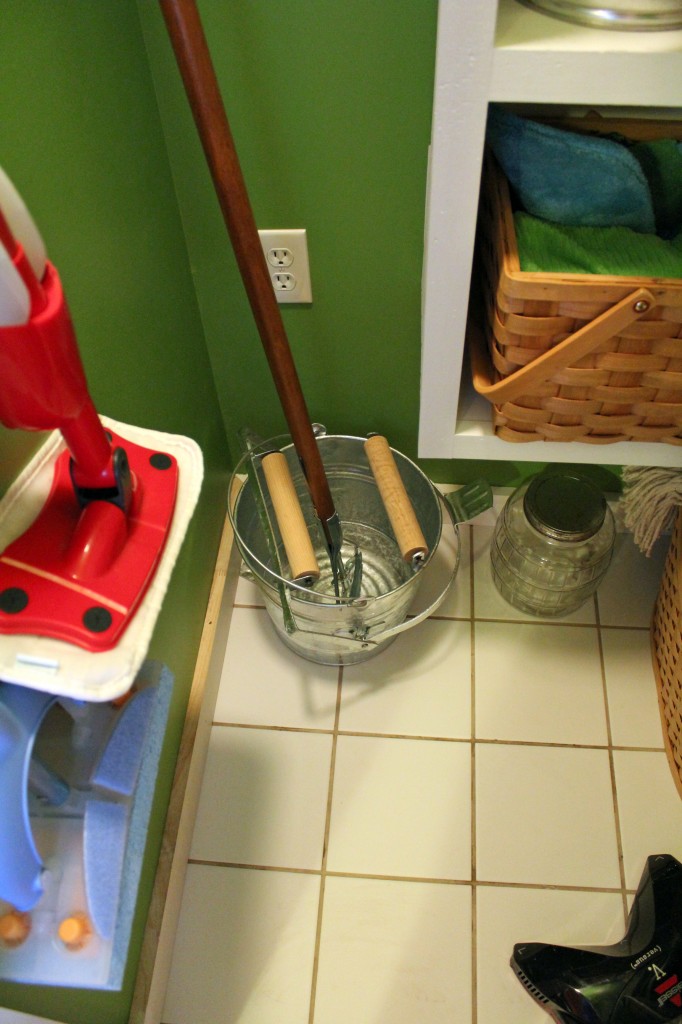
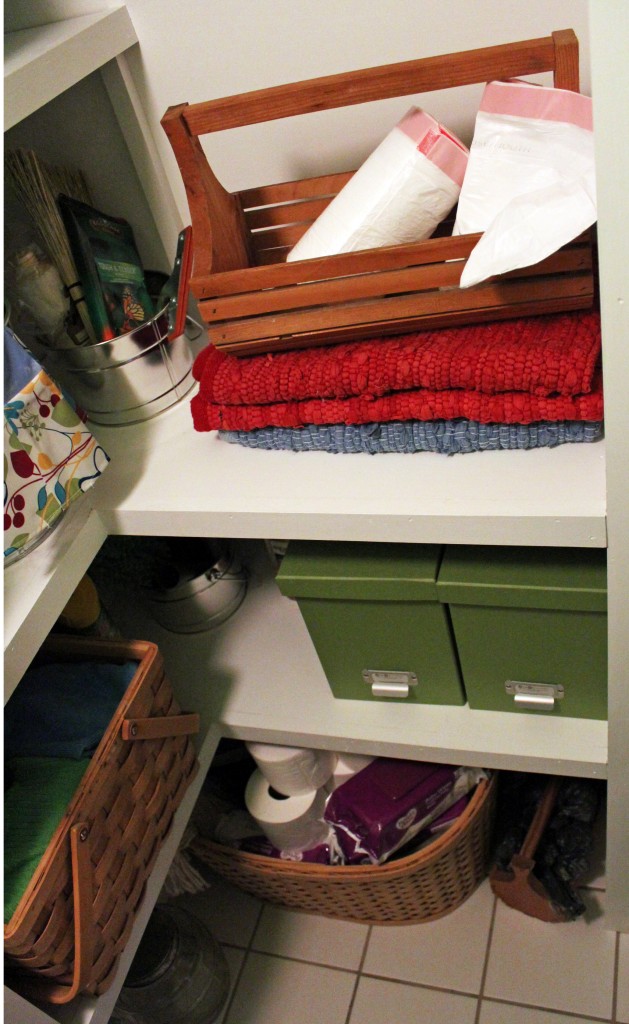 And you know me, I love a good before and after.
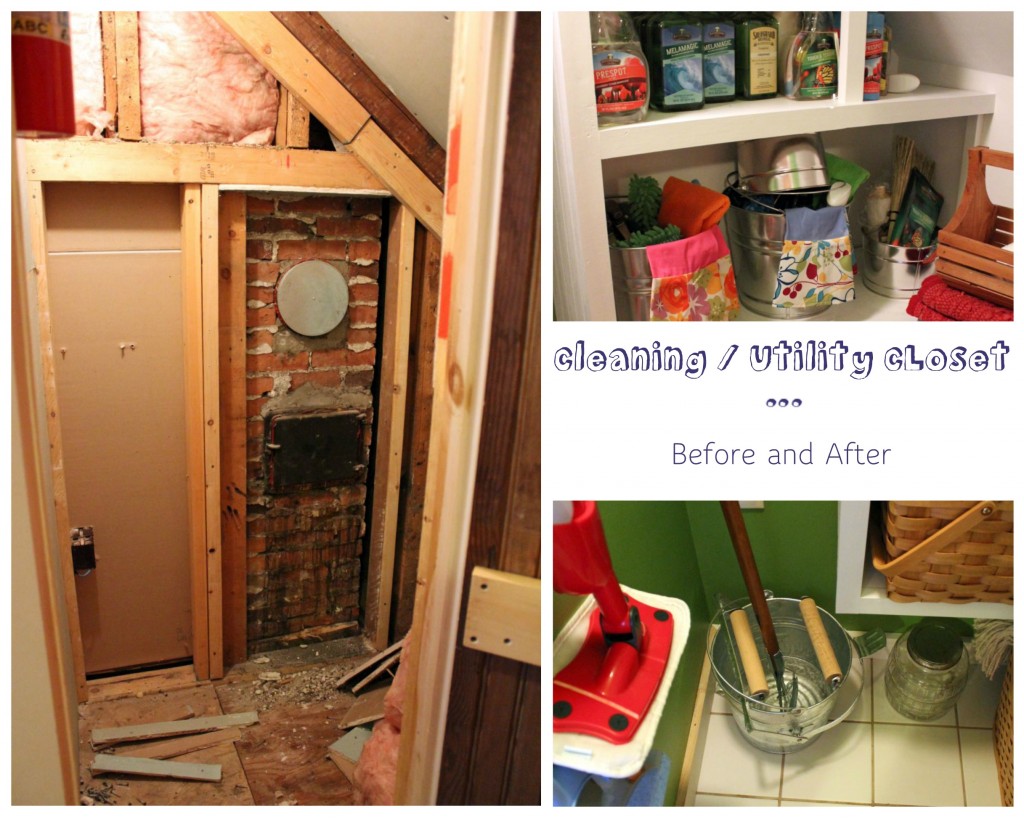 See why I wanted this room redone? The before picture was taken a few minutes after the hubby started working on it, so it looks a little worse then normal. But for the most part that is what it looked like before…minus all of the junk piled up.
spring days
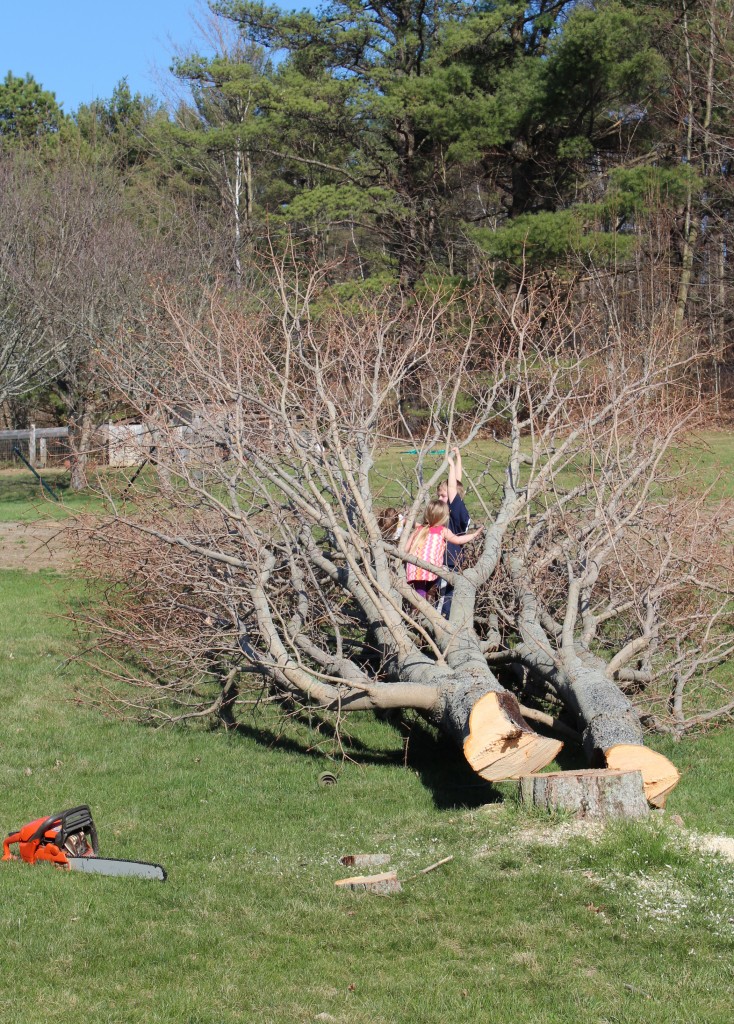
We have had the most perfect spring weather the past few weeks. While most of the indoor chores have piled up, we have managed to get all of our outdoor spring chores done. On top of our list was to cut down the maple tree in the back yard. It was split in three spots and we were always nervous it was going to land on the house.
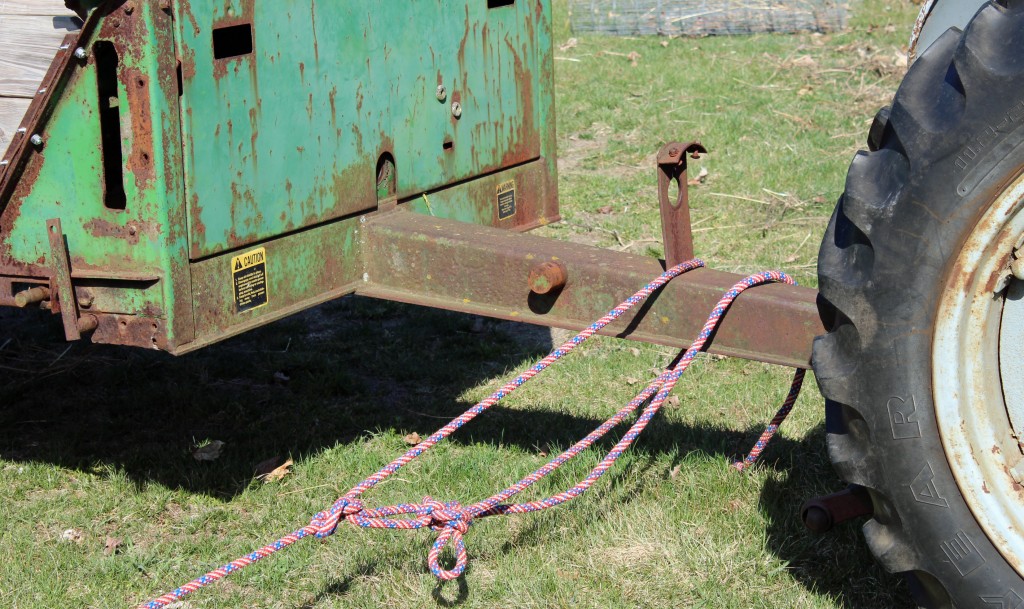
 We were all a little nervous watching the hubby cut it down. I guess having one end of the rope tied to a tree while the other end is tied to the tractor will do that to do.
  Once it was down it quickly became a playground.
 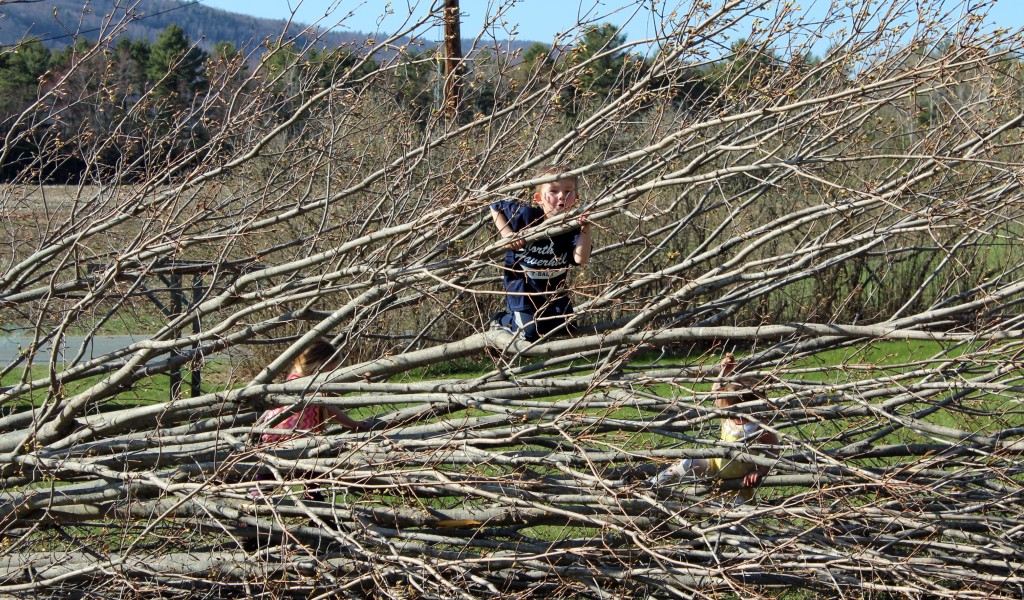 The girls spent hours playing “Diego” on it. We were all so sad to see it turned into firewood.
 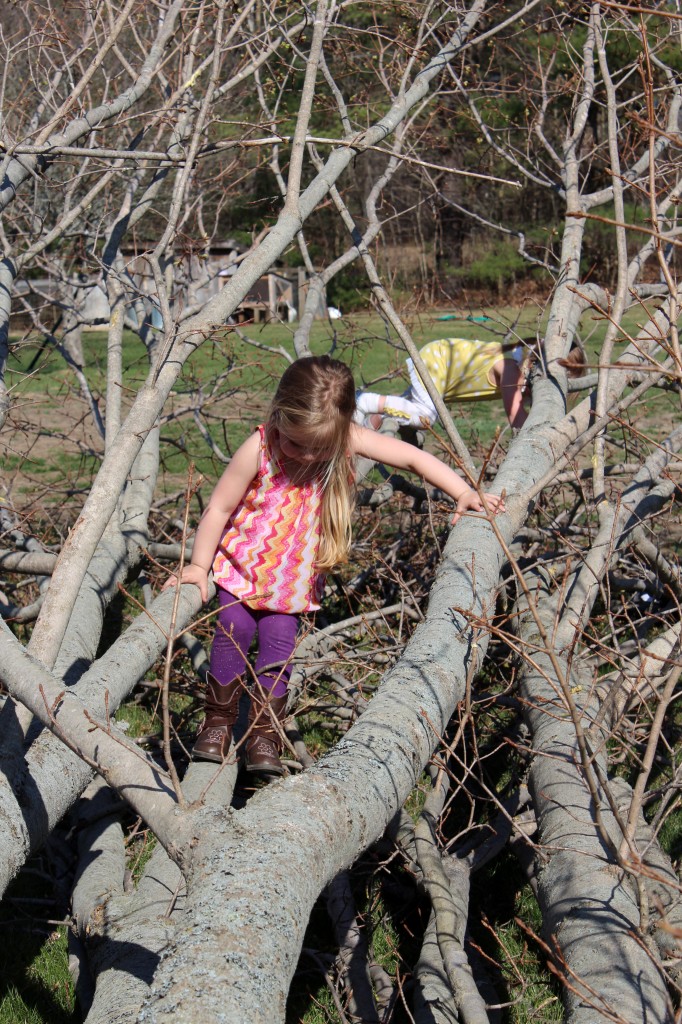 The girls and I have even made a few trips up the road to fly kites and have picnics.


 I am so thankful spring is finally here. It seemed like one of the longest winters ever for me.
Fabric Garment Bag Tutorial
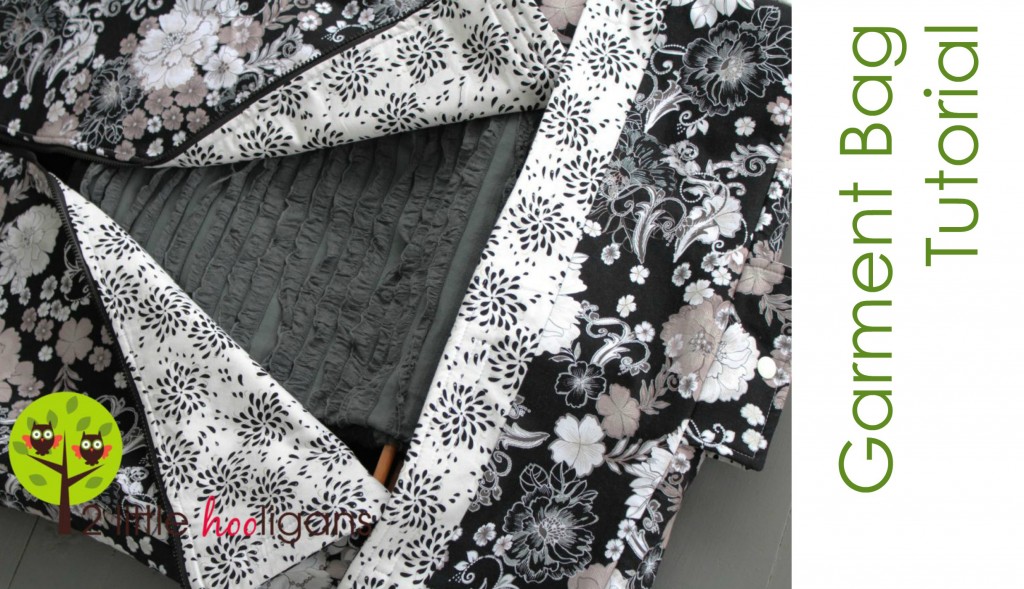 Finished Garment Bag Measures about 34″ x 21″ by 2″ high.
Before beginning:
* You must know basic sewing techniques, how to make bias strips as well as know how to sew in a zipper.
* Be sure to read through the whole tutorial before you begin to sew. It always makes more sense after reading it through ahead of time.
* Unless otherwise stated in the tutorial use a 1/2″ sew seam and make sure you always start and finish your seams with a back-stitch.
* If you run into any problems or have any questions feel free to contact me at tw****************@ya***.com . And please remember that all of my tutorials are for personal use only! That means you may not make any garment bags from this tutorial to sell. You may however use this tutorial to raise money for a charitable organization.
Fabrics Needed:
* 2 1/4 yards of an interior fabric
* 2 1/4 yards of an exterior fabric.
* 2 yards of batting
Just so you know, I did use four yards of fabric total but had very little left over. Plus I also up-cycled a shoulder strap from an old bag. So if you feel you can make the most of your fabric and will not need any extra fabric for a shoulder strap by all means, just buy 4 yards. To be on the safe side though I would recommend buying 4 1/2 yards total. I used a quilting cotton but you can also use a medium weight cotton fabric or any decor fabric. The fabrics that I am using for this project came from Fabri-Quilt and can be purchased here.
Notions Needed:
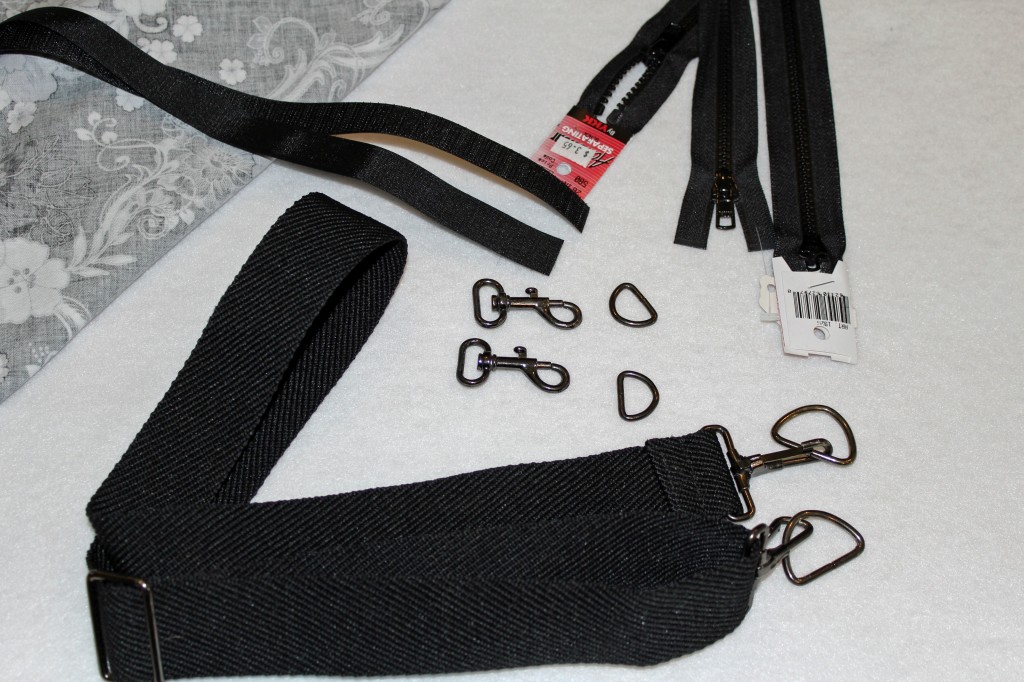
* Two 1″ D-rings with matching clasps (I up-cycled my D-rings and clasps from an older bag, but I have purchased D-rings in the past from this store and was very pleased.)
* Two 1 1/2″ D-rings with matching loop end clasps (You want to make sure the loop end is big enough to place a shoulder strap through if you wont be up-cycling them from another bag.)
* 1/2 yard of 1 1/2″ wide sew on Velcro
* Two 23″ separating zippers
* One 36″ separating zipper 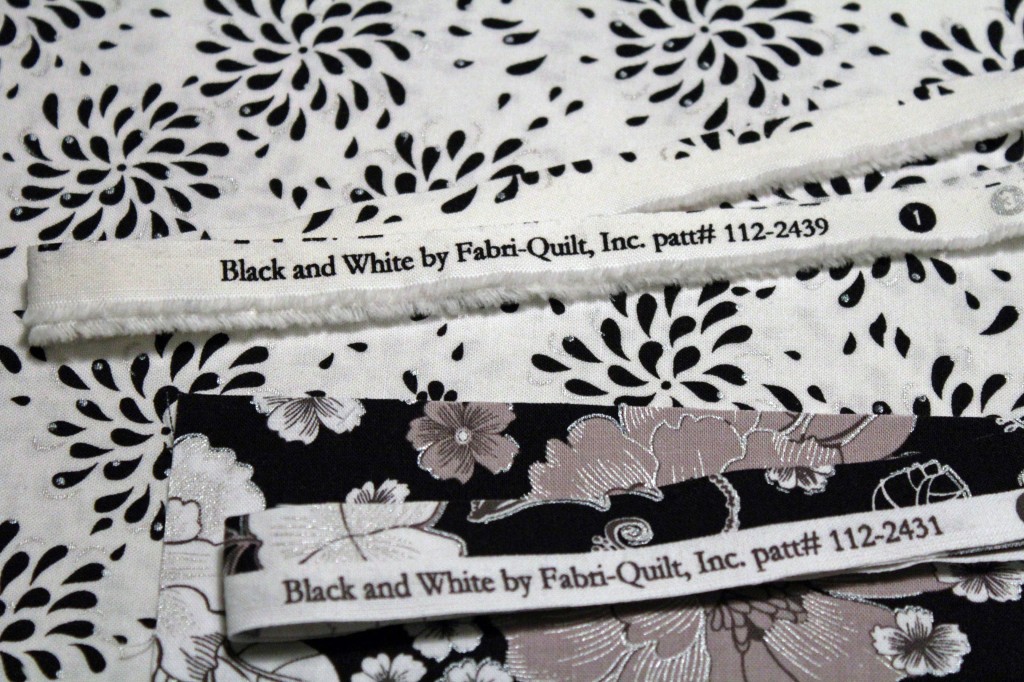 Gather your fabrics and fold them so that the same side selvage edges fold on top of themselves and the raw edges met one end. Basically it is folded in the opposite direction of what it normally is when it comes off the bolt. Folded fabrics should measure about 44″ x 36″ now. Of course the measurements will be a little different if you purchased the 4 1/2 yards like suggested. Below is a quick sketch of how I cut out my fabric pieces.
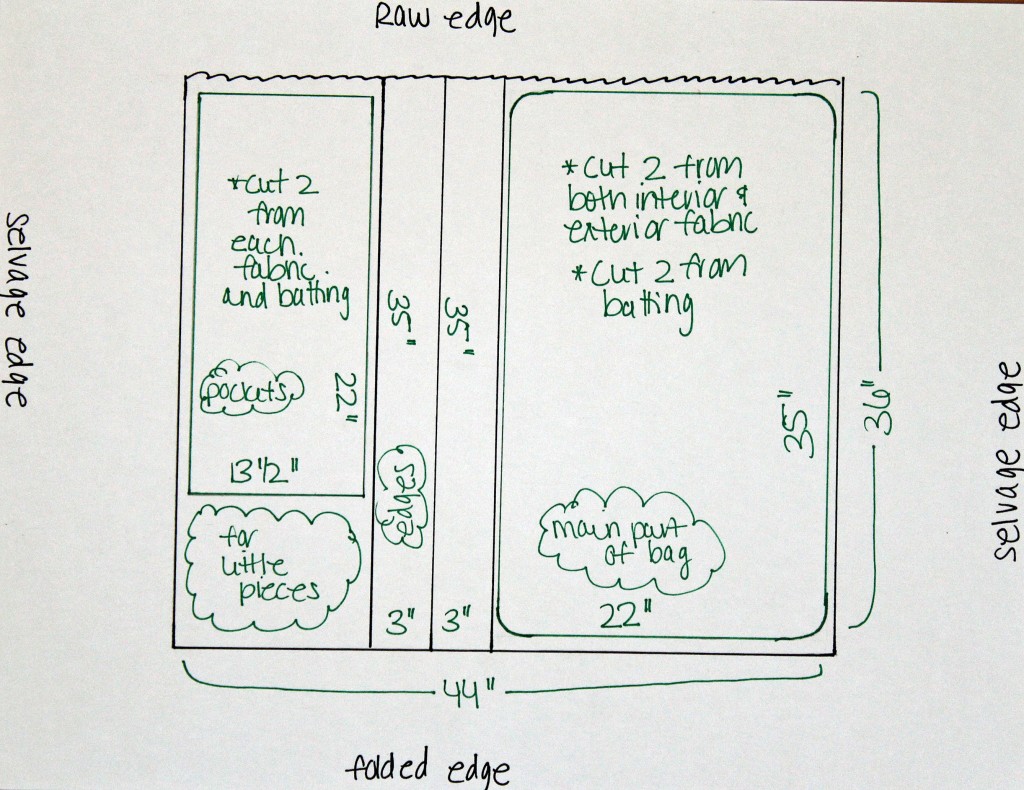 Cut out the following pieces:
* Two pieces that measure 35″ x 22″ from each fabric and batting. Round all of the corners. (main part of bag)
* Two pieces that measure 70″ x 3″ from each fabric and batting. (edges of bag)
* Two pieces that measure 13 1/2″ x 22″ from each fabric and batting. (pockets)
* One piece that measures 22″ x 3″ from each fabric and batting. (front of bag)
* Two pieces that measure 6″ x 3″ from each fabric and batting. (hanger flap)
* Two exterior pieces of fabric that measure 7″ x 1 1/2″ (bias tape over hanger flap)
* Two pieces from exterior fabric that measure 22″ x 1 1/2″. (zipper bias tape)
** You will have a few smaller pieces to cut out later as well as make a shoulder strap piece. I personally up-cycled a shoulder strap from an older bag so I will not be showing you in this tutorial how to make one. Here is a great tutorial on how to make an adjustable shoulder strap if needed. Keep in mind that if you want to save time you may also use a cotton webbing for the shoulder strap or as well as with any of the D-rings, clasps or handles. **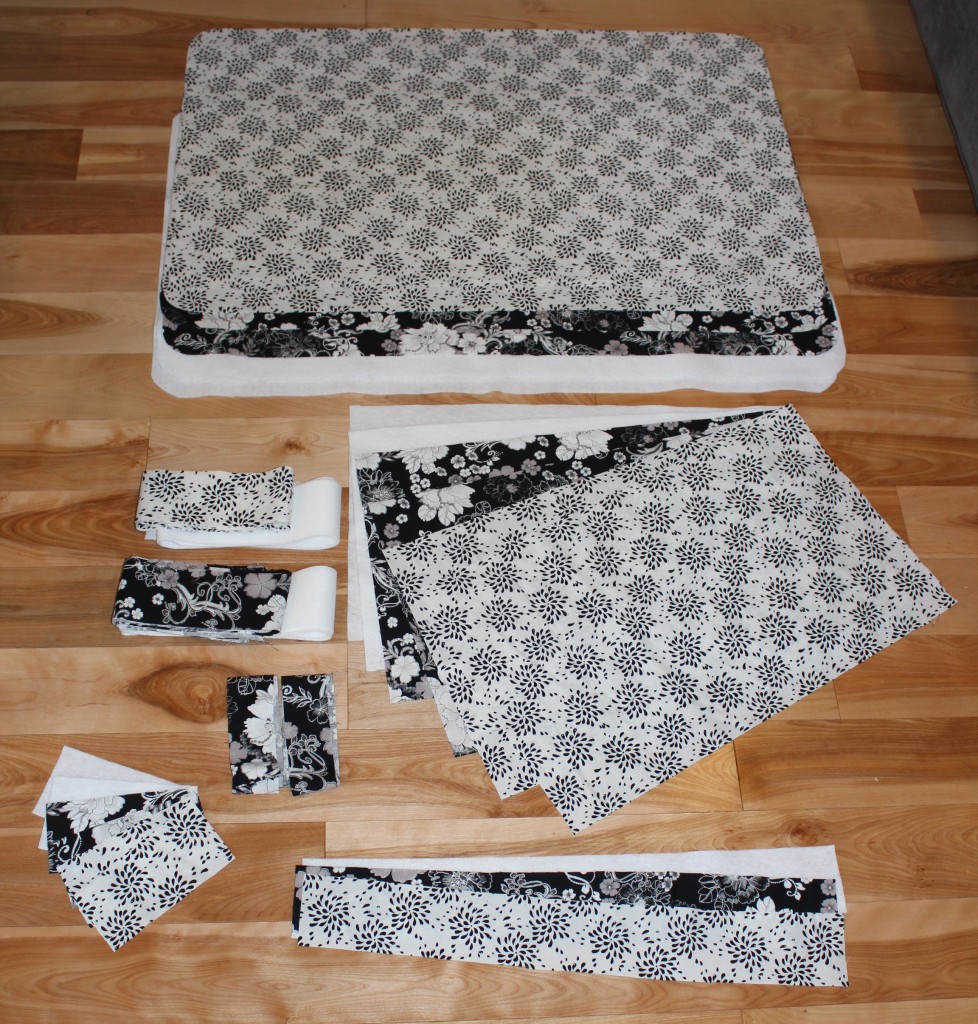 Ok, now that you have all of your fabric and notions together it is time to start sewing. I promise this bag is easy to make. Yes, this tutorial is super long but that is only because I try to show each and every step. Remember this tutorial is to show you how I made MY garment bag and you can make any changes you want to fit your needs better.
 Start by gathering one each of the 35″ x 22″ fabric and batting pieces.
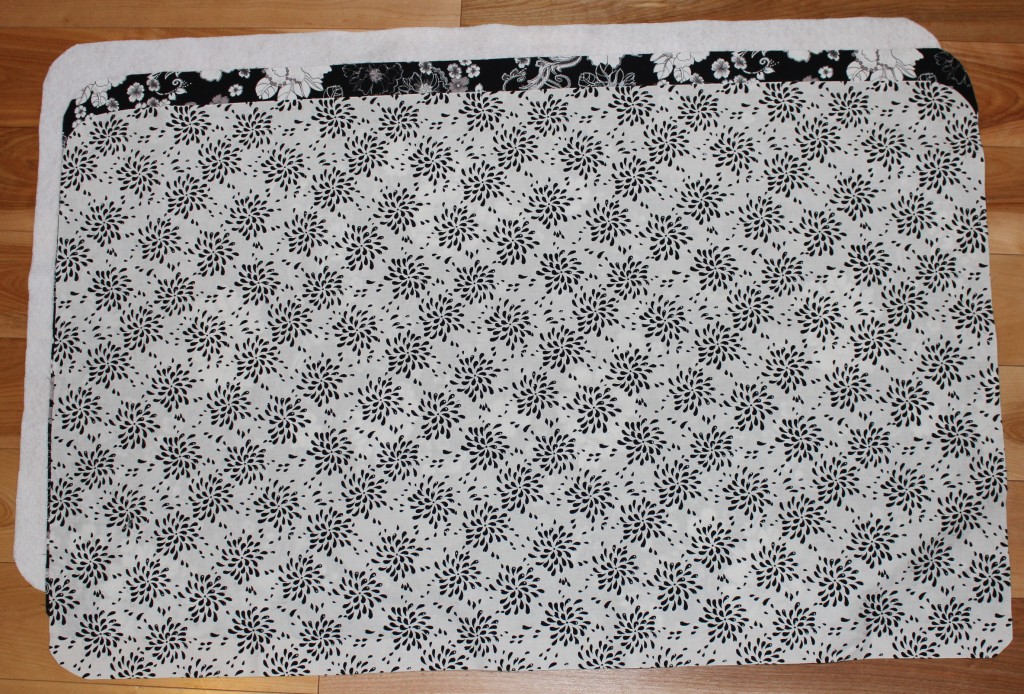 Working with all three pieces at the same time, measure 5″ in from the edge and cut. Now cut the remaining pieces exactly in half like shown below. These pieces will be used for the front portion of the bag. You know the part of a garment bag that and unzips so you can put your clothes inside?
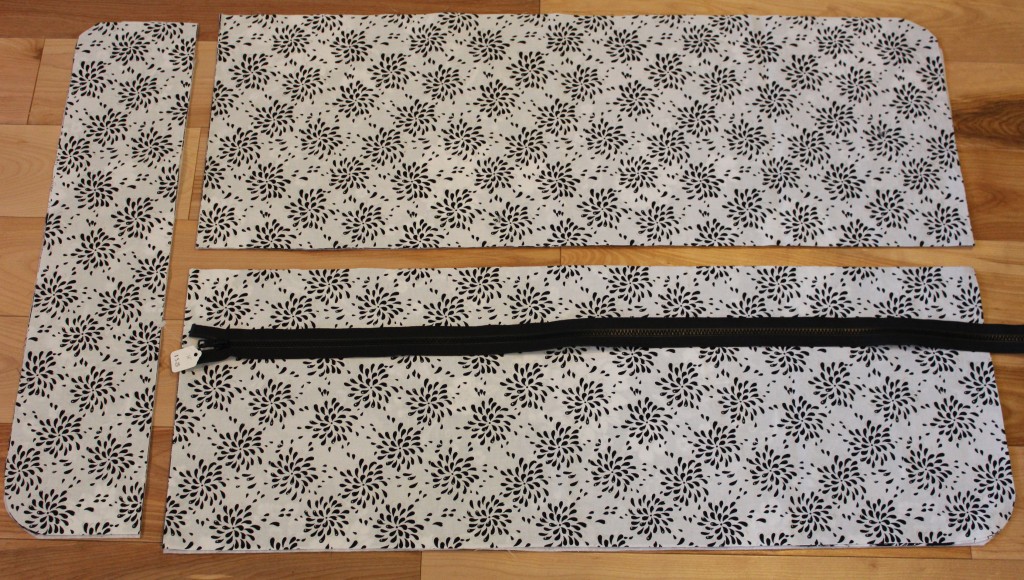 Gather your 36″ zipper. Also gather one exterior and batting piece from left side pile that you just cut in half and take one of the interior pieces from the pile on the right. You need to do this to make sure that the rounded edges line up once the zipper is sewn on. You will want to layer the fabrics like so: batting, exterior fabric right side up, zipper wrong side up (top of zipper should be on the left side), then place the interior fabric wrong side up. Pin zipper in place. Sew along zipper. Then sew along the short side that does not have the rounded edge. In the picture below it is on the left side.
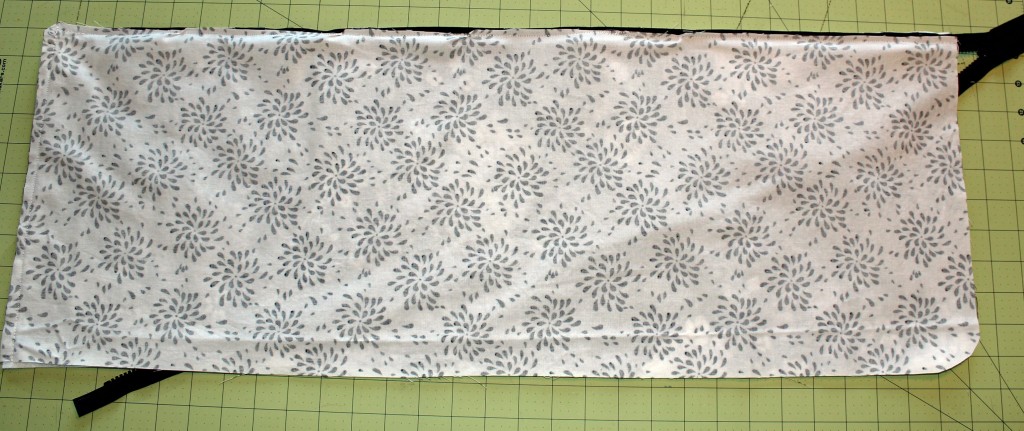 Turn right side out. Iron flat.
 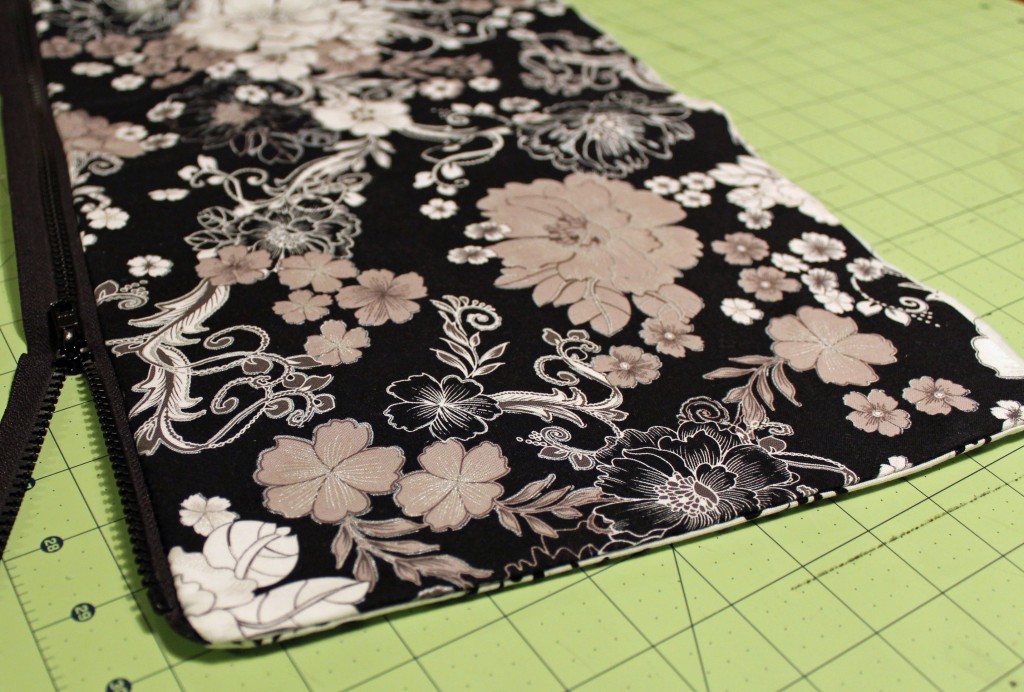 With the top of your zipper still on the left side with the other two pieces of fabric and batting. This time layer like so: interior fabric right side up, zipper right side up, exterior fabric wrong side up, then batting.
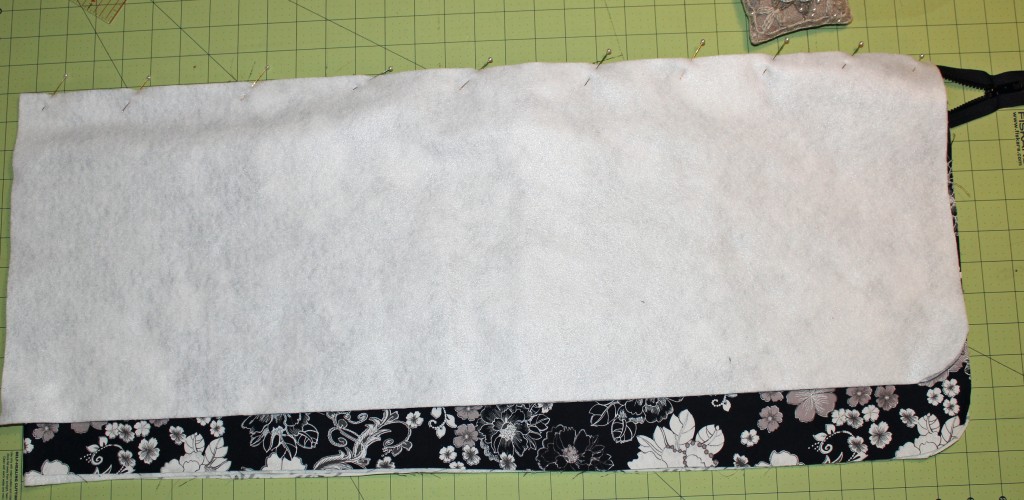 Pin zipper in place. Sew along zipper and short side that does not have rounded edge.
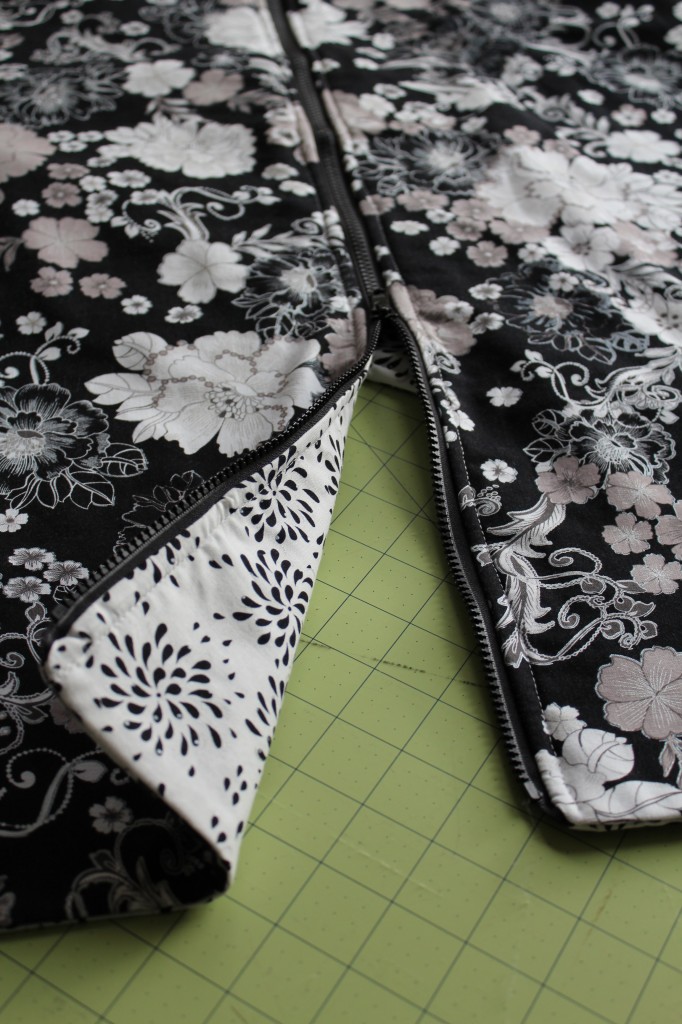
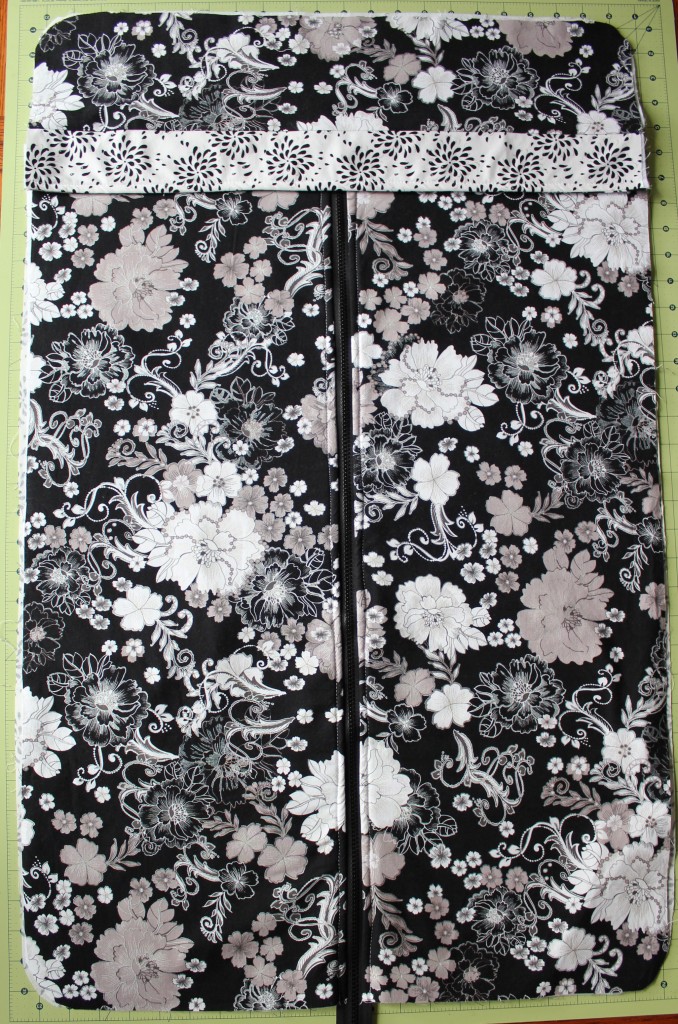
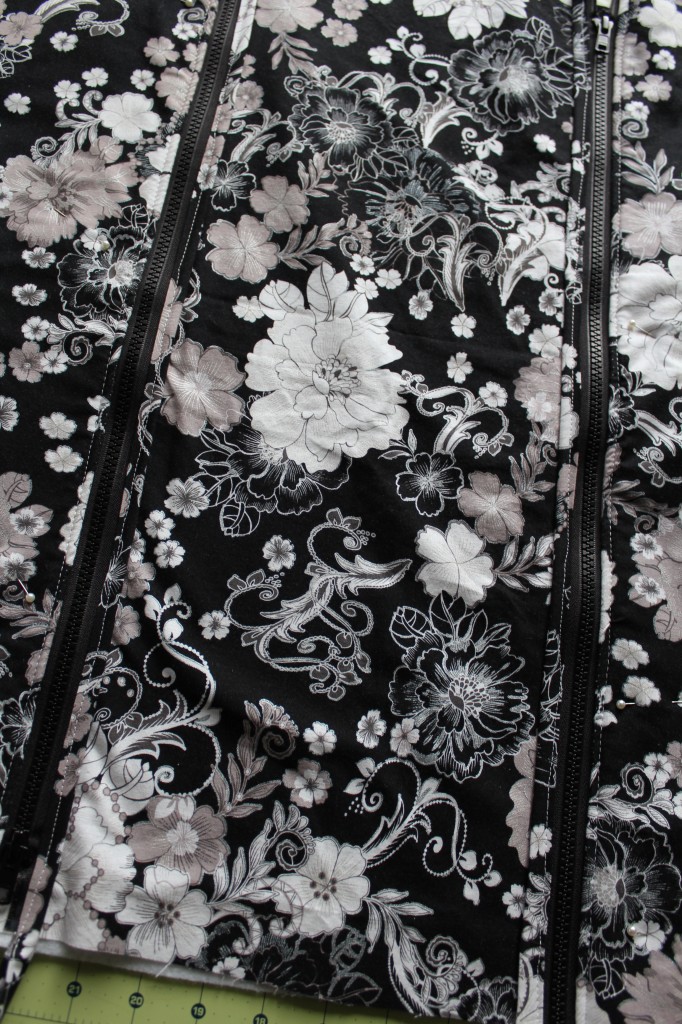
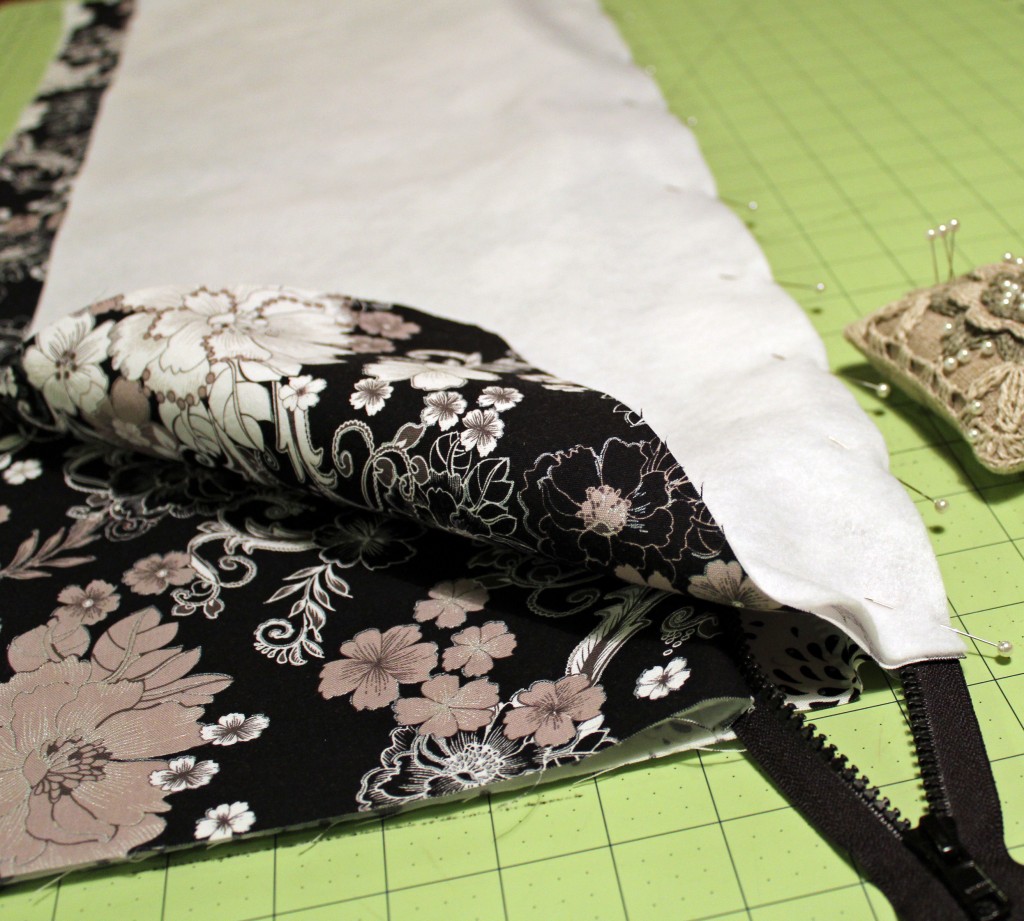 Turn right side out and iron flat. This is what your piece should look like now.
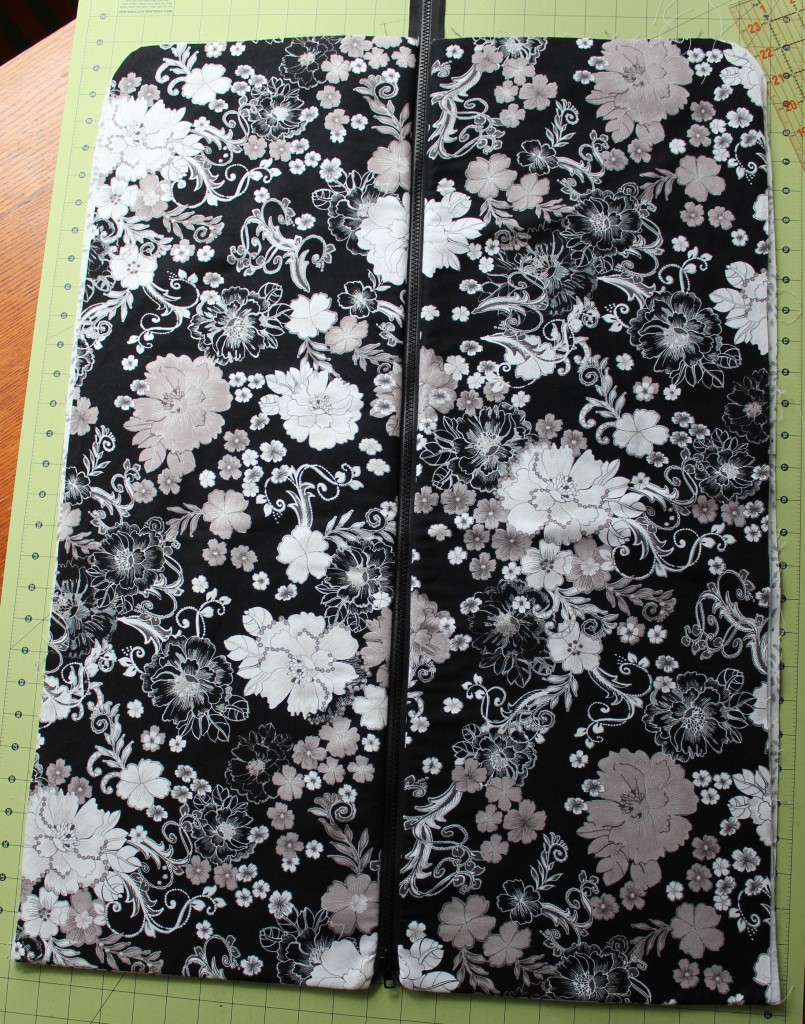 Top stitch along edges near zipper. Set aside.
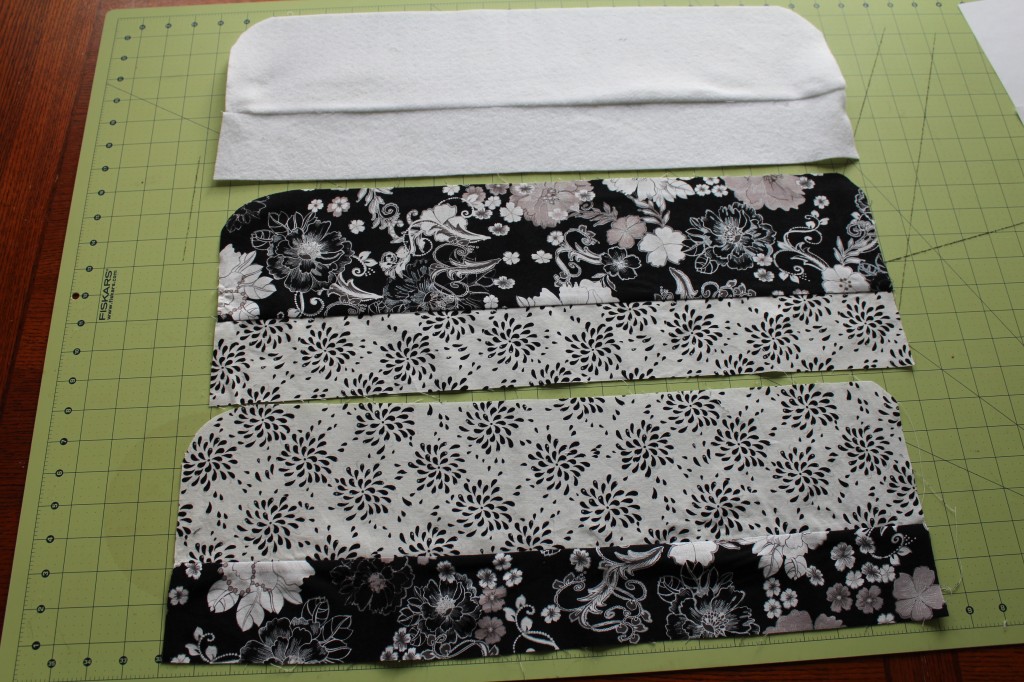
 Gather the 5″ x 22″ pieces that you just cut as well as the three 22″ x 3″ pieces of fabric and batting.
 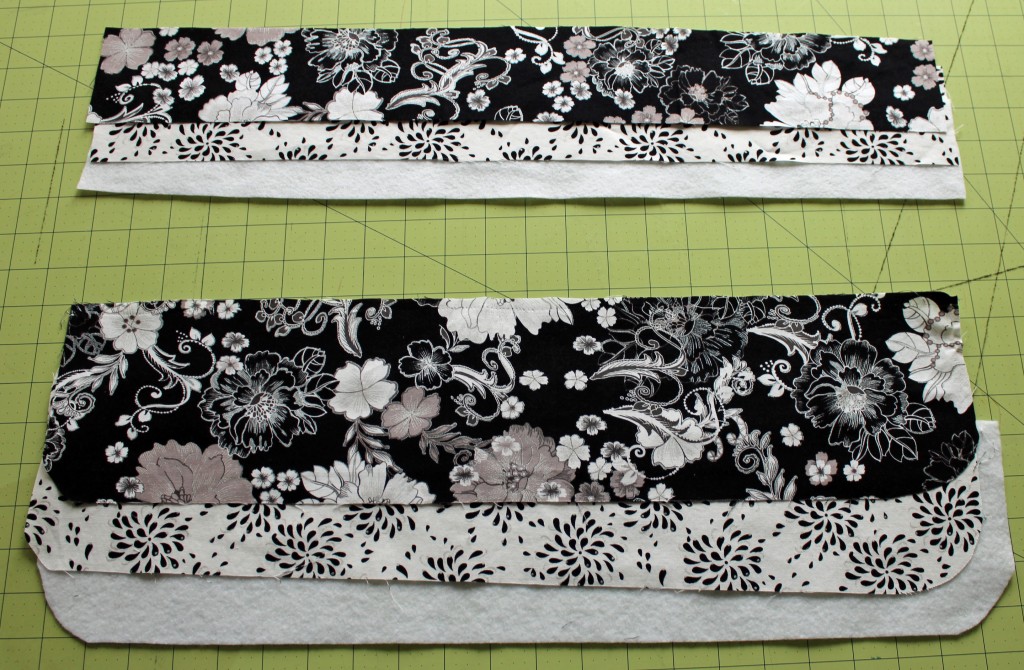 Pin opposite fabrics and batting in place like shown below. Make sure that you are not pinning to the rounded edges.
 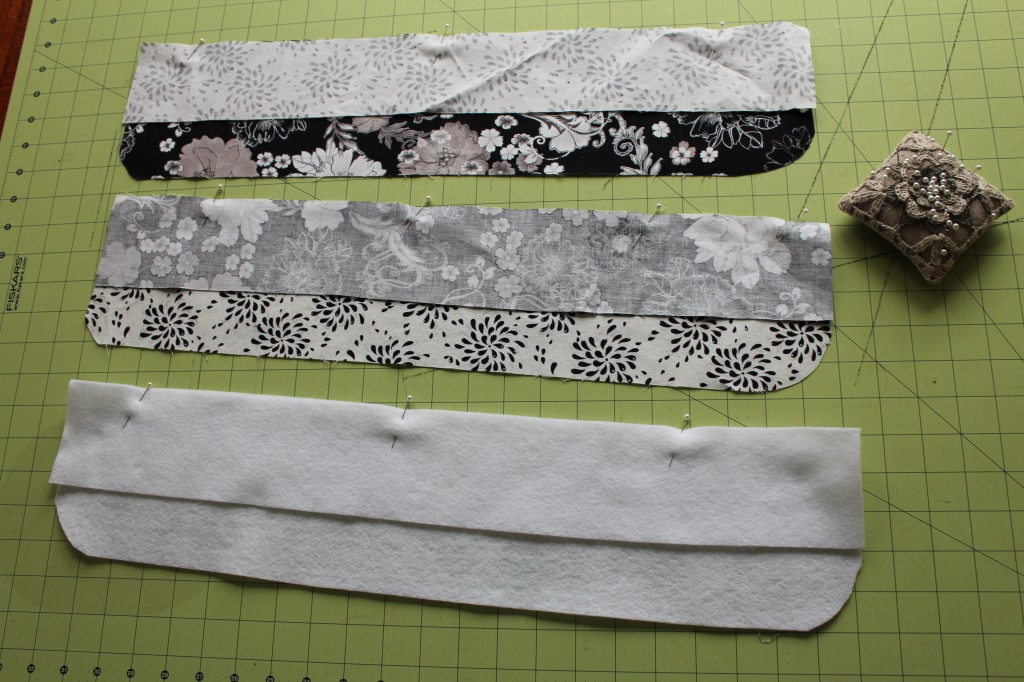 Sew on pinned edges. Iron flat.
 Now you are going to pin the pieces together on the straight edges. Layer like so: batting, larger exterior fabric piece right side up, then interior fabric piece wrong side up. Sew along straight edge. Turn right side out and iron flat.
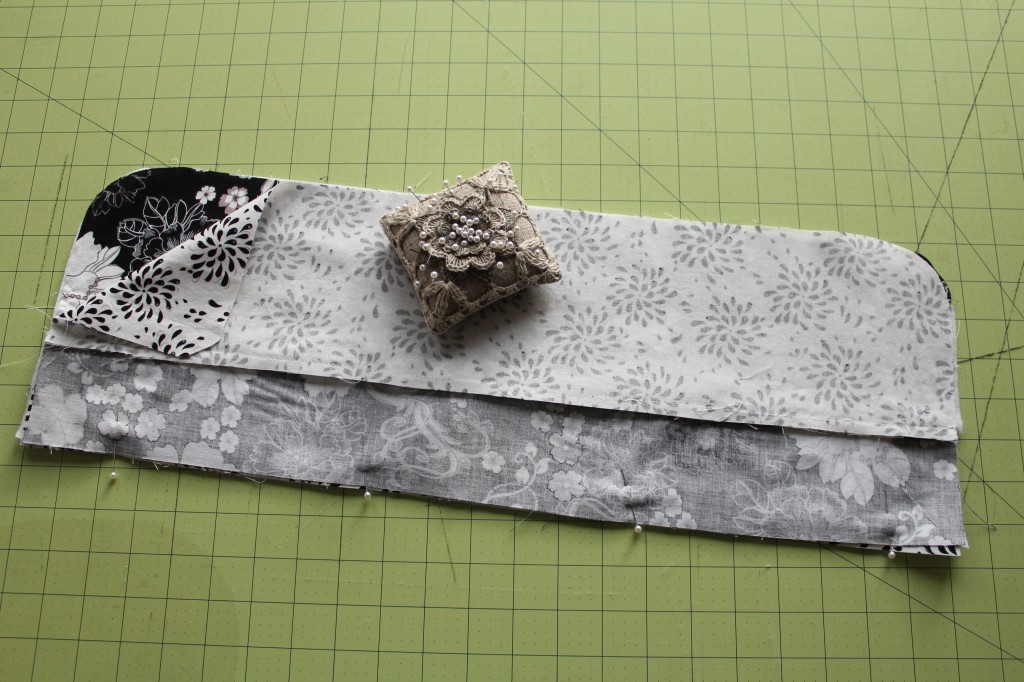 Top stitch along bottom edge.
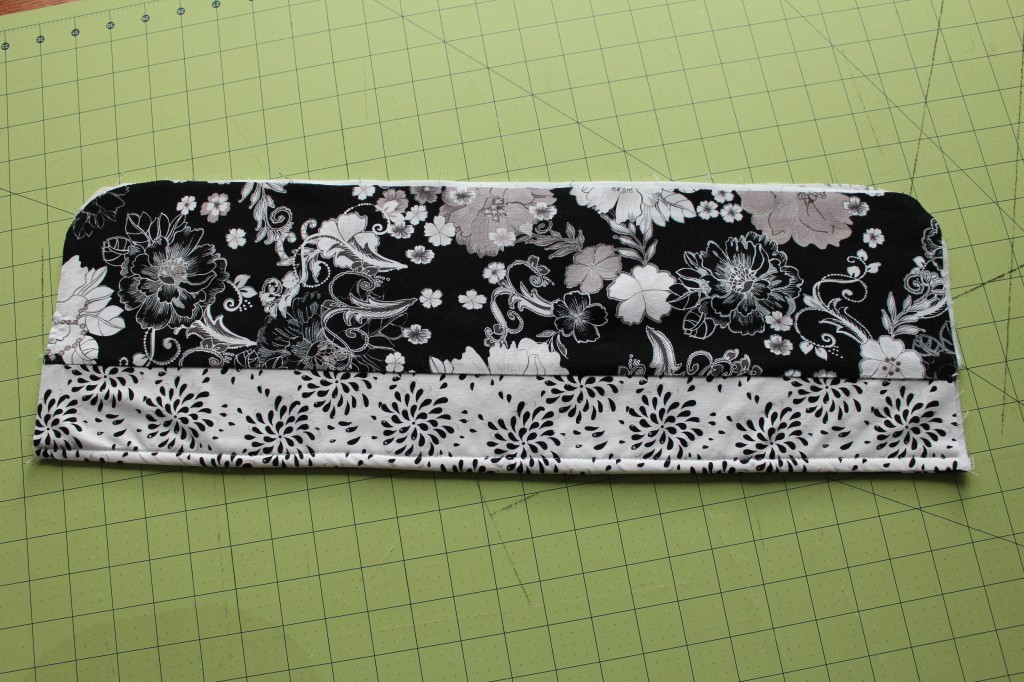 You now have the two front pieces of your bag done. Now you are going to make the little hanger flaps. You know the place where the hangers come out of the garment bag to be hung? Well I’m calling those hanger flaps in this tutorial.
  Gather the 6″ x 3″ pieces of fabric and batting.
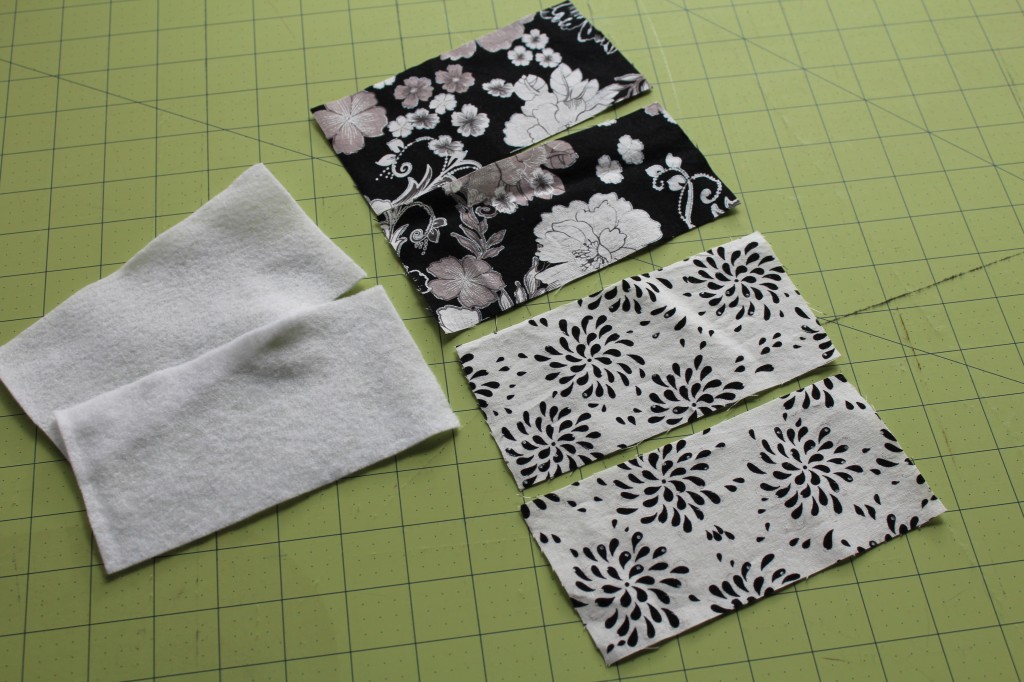 Layer fabrics like so: batting, exterior fabric right side up then interior fabric right side down. Sew along top and sides. Clip off corners.
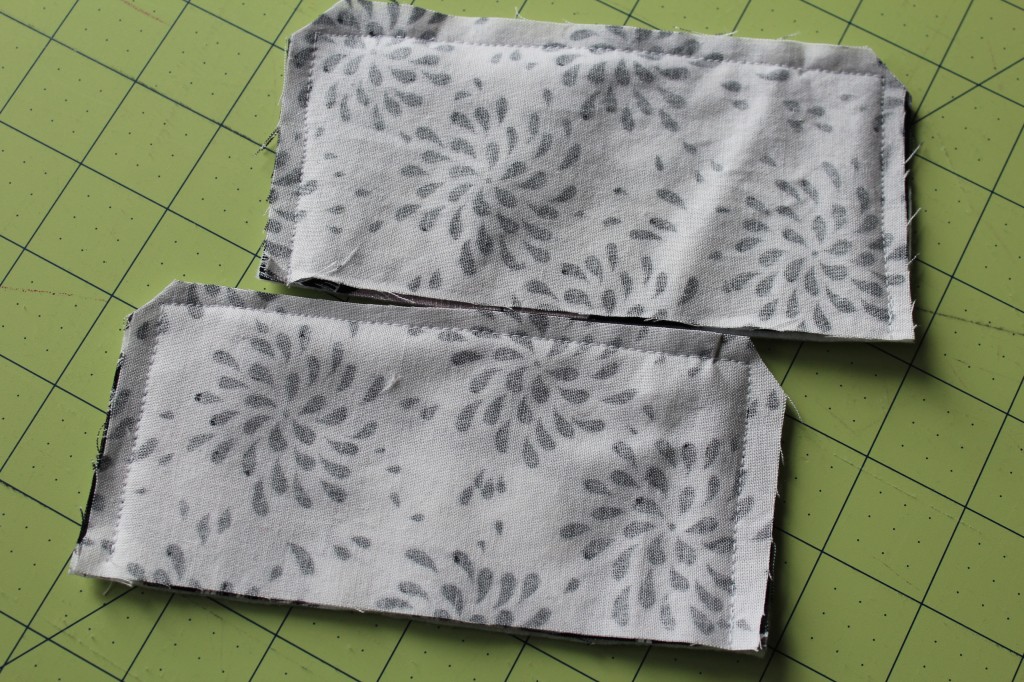 Turn right side out. Iron flat. Top stitch along top and edges. Set aside.
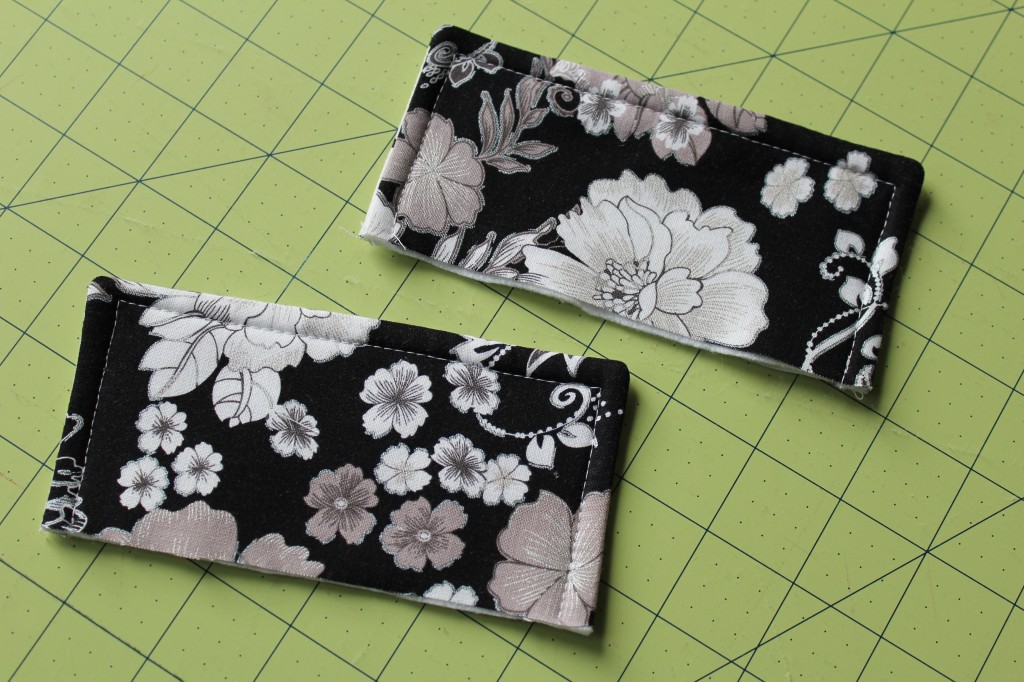 Gather the 13 1/2″ x 22″ pieces of fabric and batting along with your 23″ zippers.
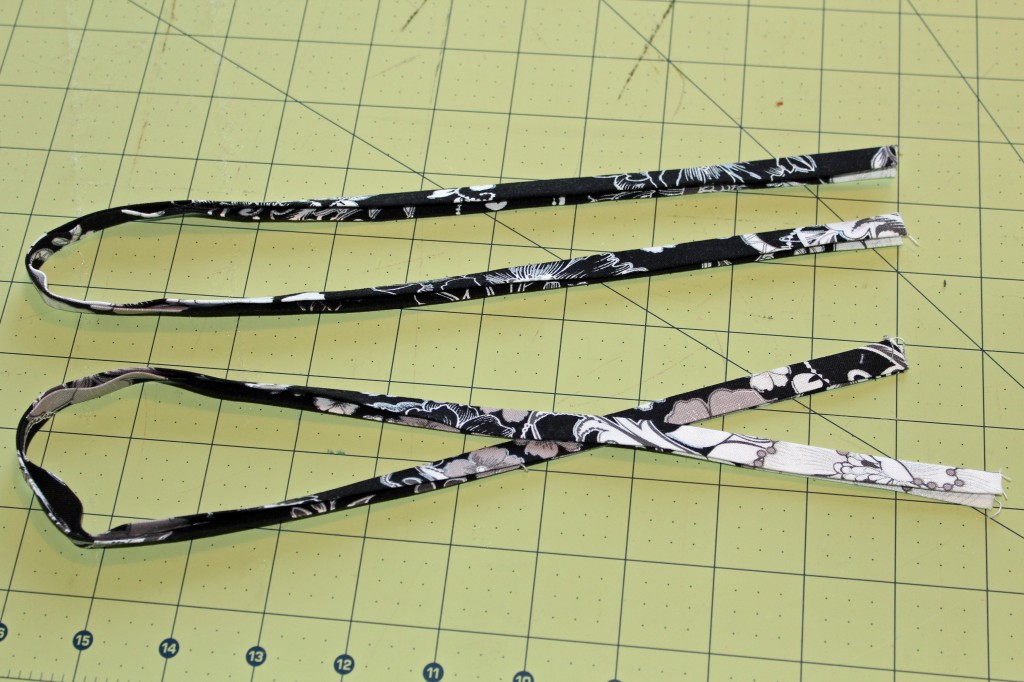
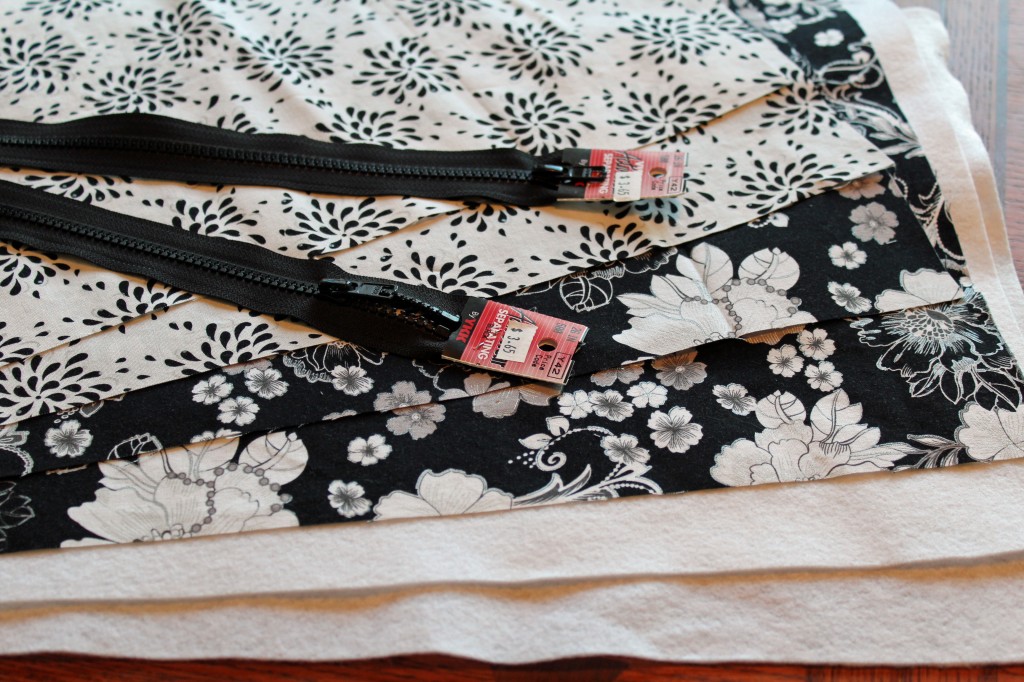 Gather the two pieces of exterior fabric that measure 22″ x 1 1/2″. Make them into bias strips. Set aside. Now you are going to make the pocket pieces.
 Layer fabrics like so: batting, exterior fabric right side up, zipper right side down, then interior fabric wrong side up. Pin zipper in place. Sew in place. Repeat with the remaining fabrics and zipper. Top of zipper can be on either side this time.
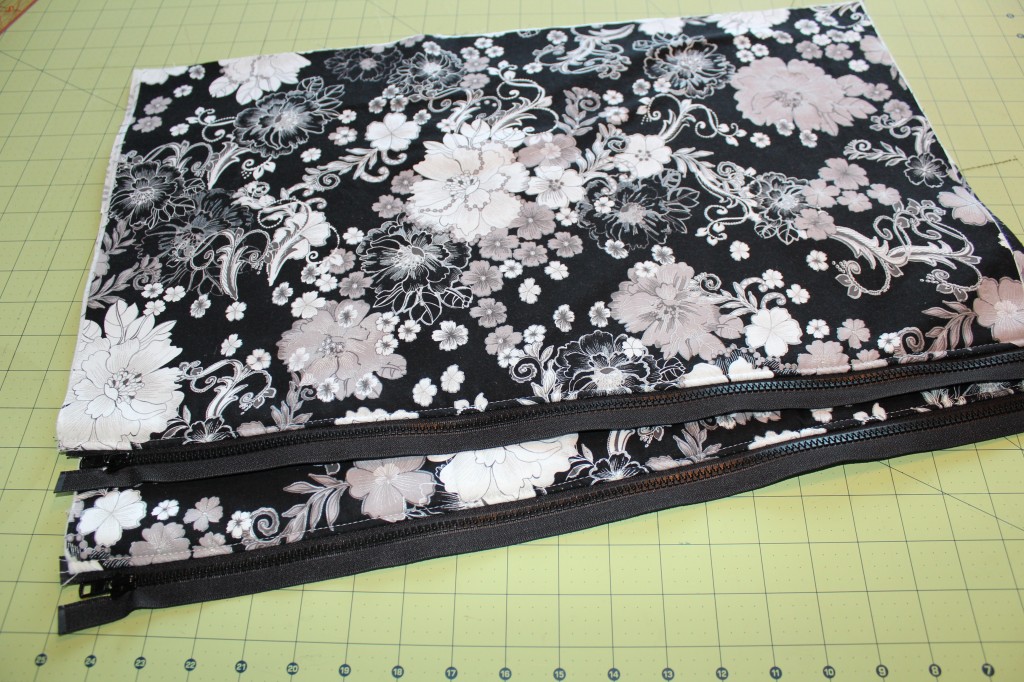
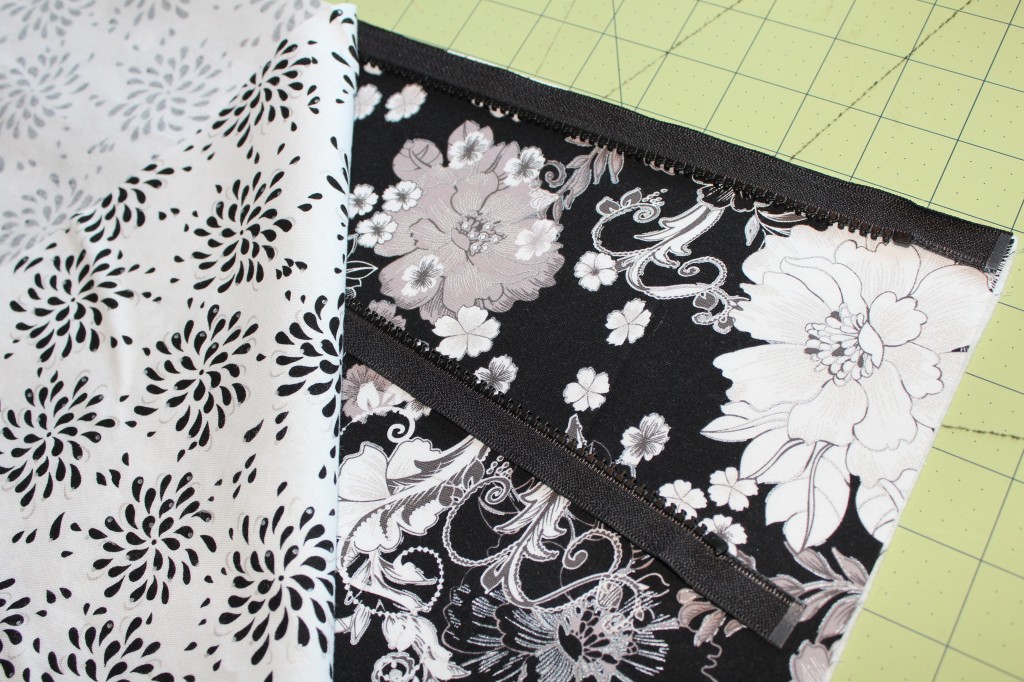 You should now have two pieces that look like this.
 Gather your 35″ x 22″ exterior piece of fabric and batting, the bias strips you just made along with your pocket pieces. You are going to make the back of the bag. You know the part of the garment bag that has the handles attached and has pockets?
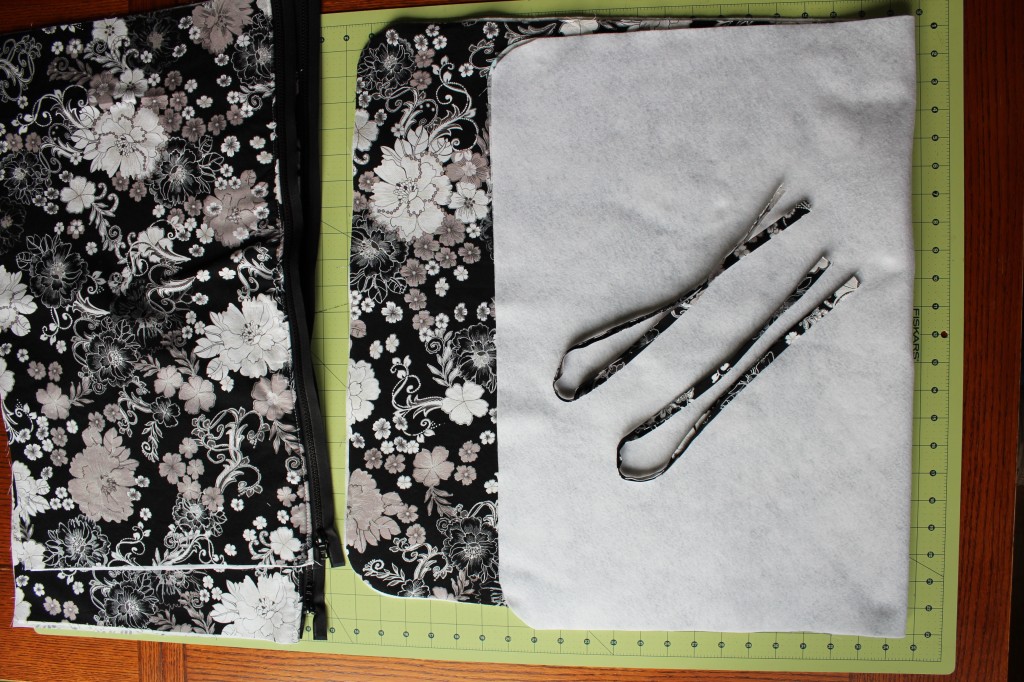 Lay the 35″ x 22″ piece of fabric flat with the batting underneath. Lay zippered pockets on top. Line up edges. Don’t worry about the squared edges of the pocket pieces, you will be rounding them in a bit.
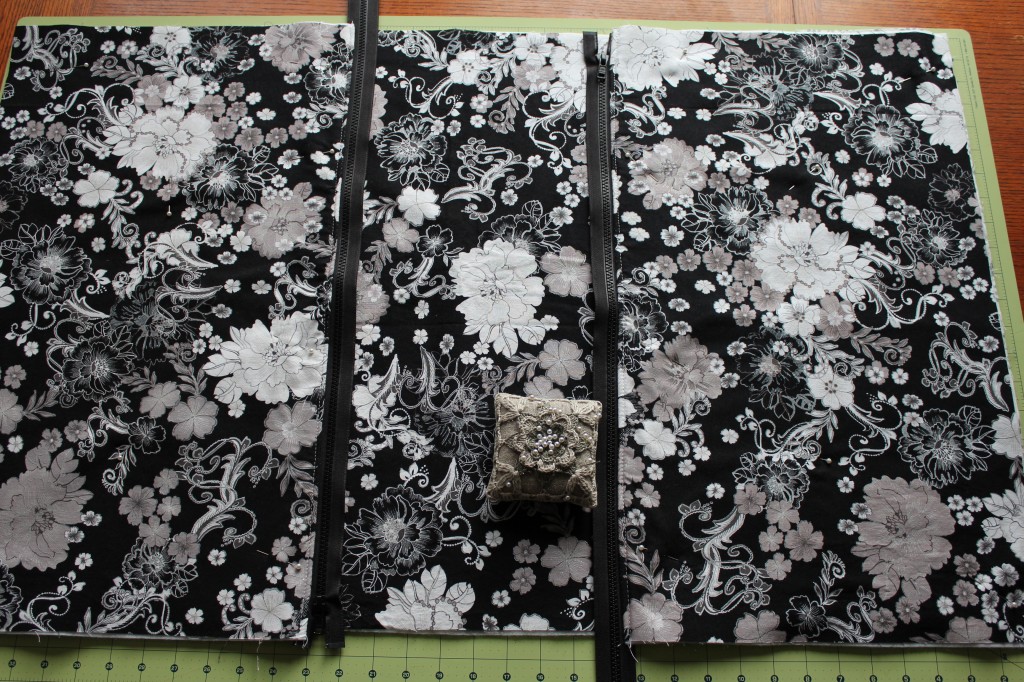 Take the bias strip and place the edge of the zipper inside of it then pin in place onto bag.
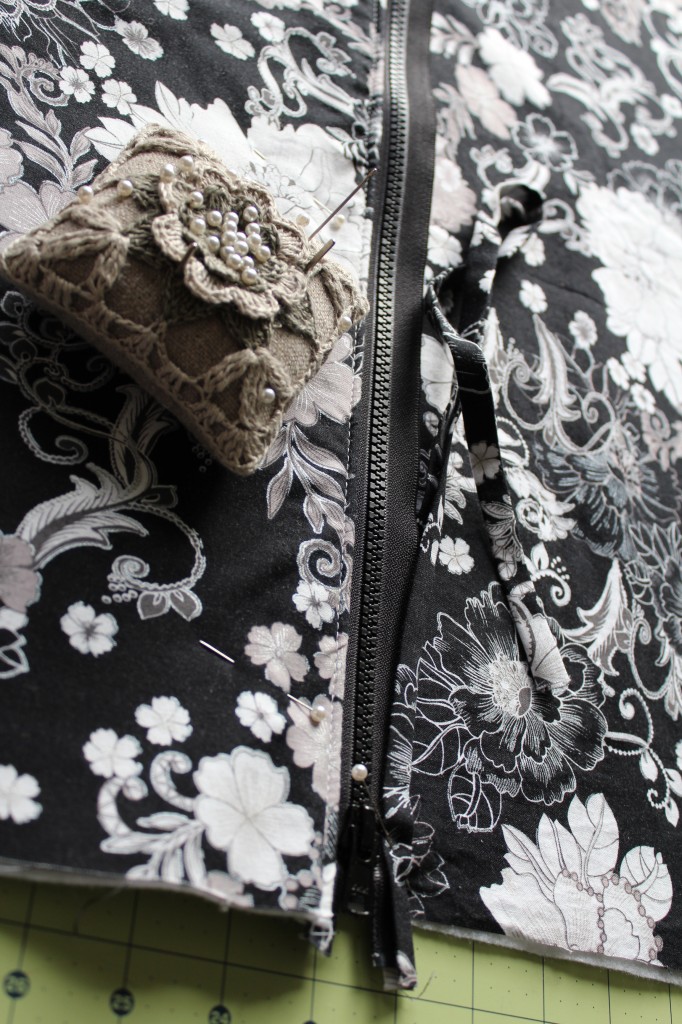 Sew bias strip as close to the zipper as possible. Take your time. These stitches will be seen plus they will be holding the zipper in place. This is just a quick and easy way to cover up the zipper edges.
 Now lay the 35″ x 22″ interior piece of fabric on top of the back piece that you just made. Trim all around the outer edges to make sure they are even and straight. Round edges as well. Be careful when cutting around the zippers and now is a good time to hand stitch the teeth on the zippers closed.
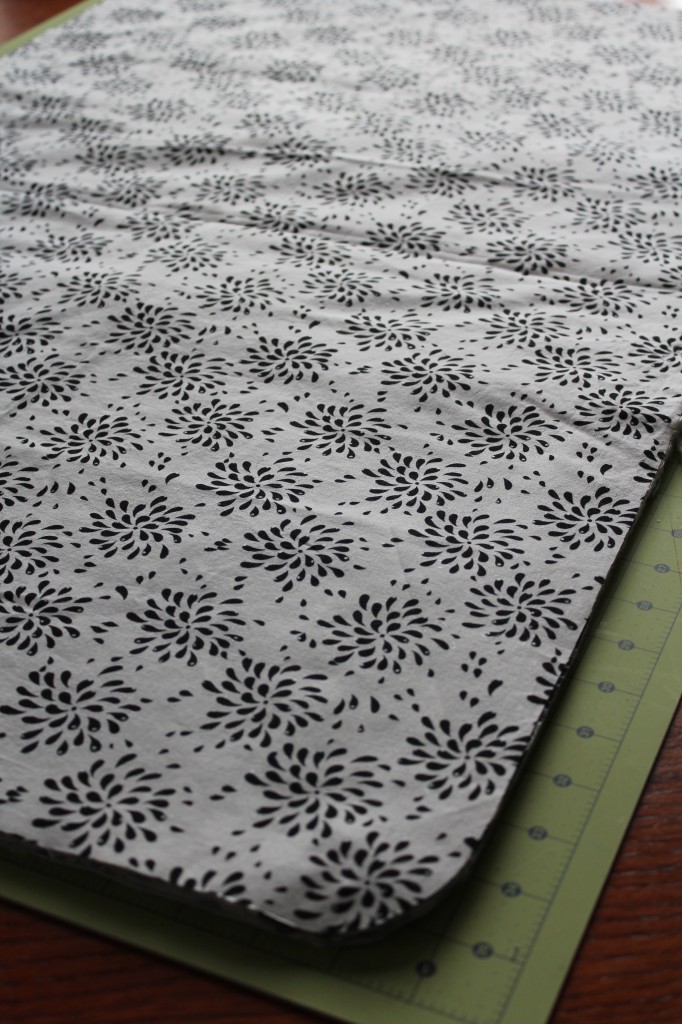 With the back piece still laying flat place the two front pieces on top. Line up all the edges. Make sure you overlap the top part of the front piece over the zippered part. This is how you will find out where to place the Velcro later on. Pin in place.
 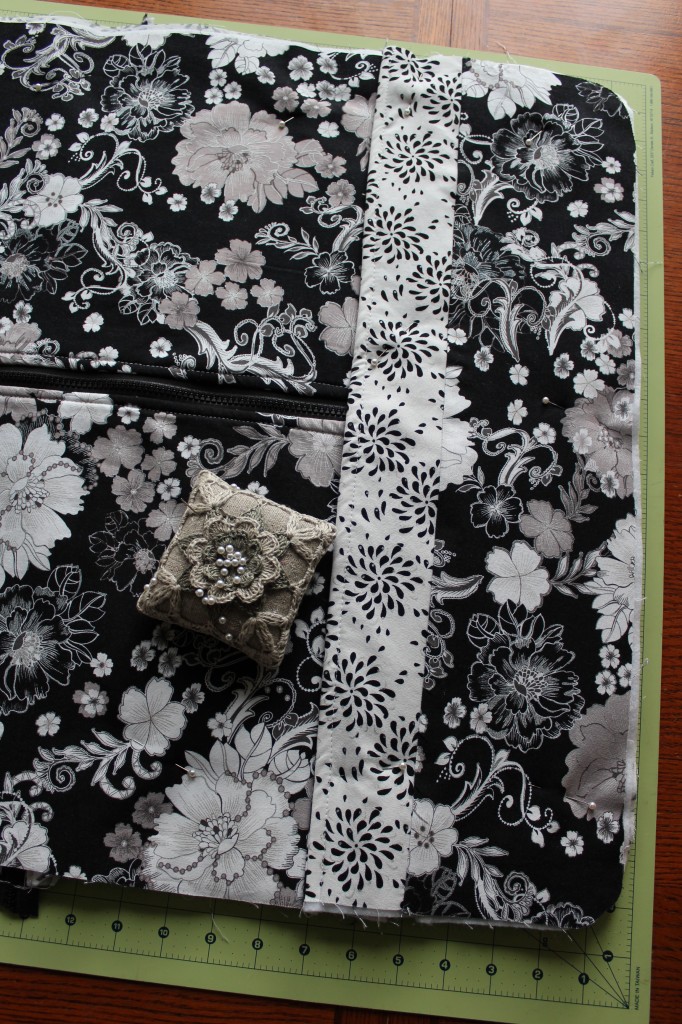 Trim all of the edges. Again be careful near your zippers and hand stitch the teeth together.
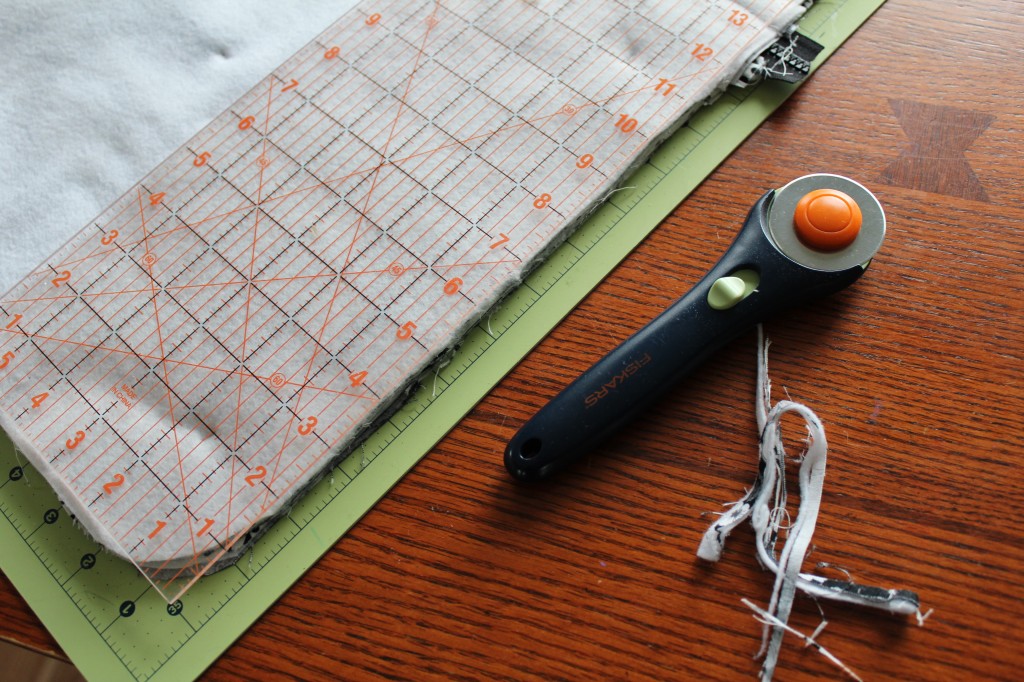 Grab your Velcro and cut it into two 7″ long pieces.
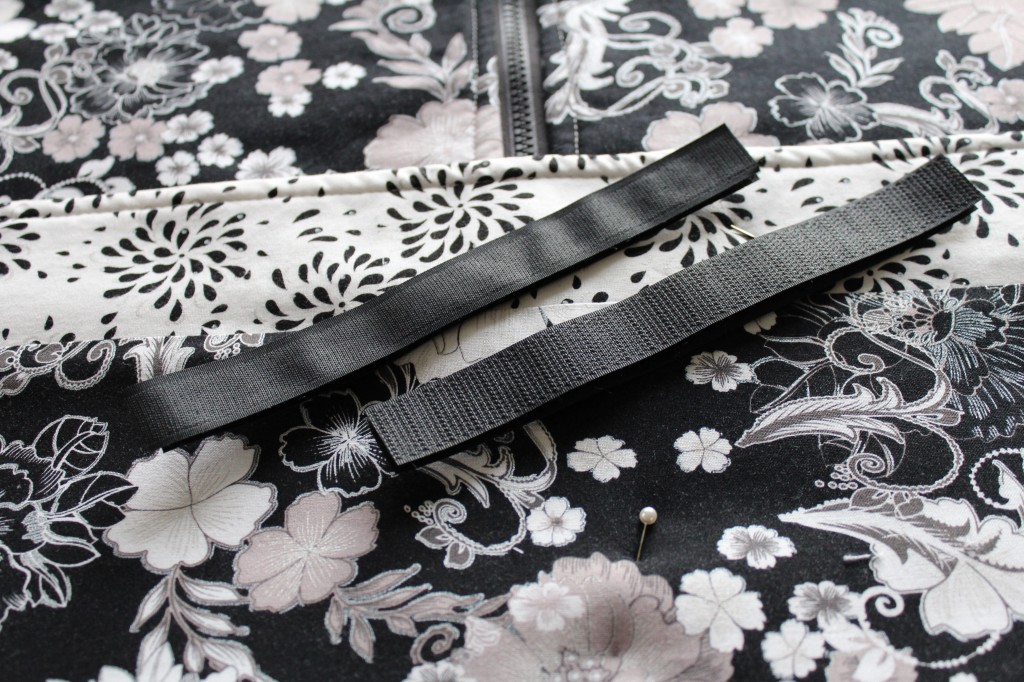 Line up the hook piece of velcro under the flap of the top piece about 1″ in from the edge. Line it up so that they are even on the right and left side of where the zipper lays on the piece below. Now place the loop piece of Velcro onto the front piece of bag that lays underneath. Make sure you line it up so that the velcro works once sewn on. Pin and sew in place.
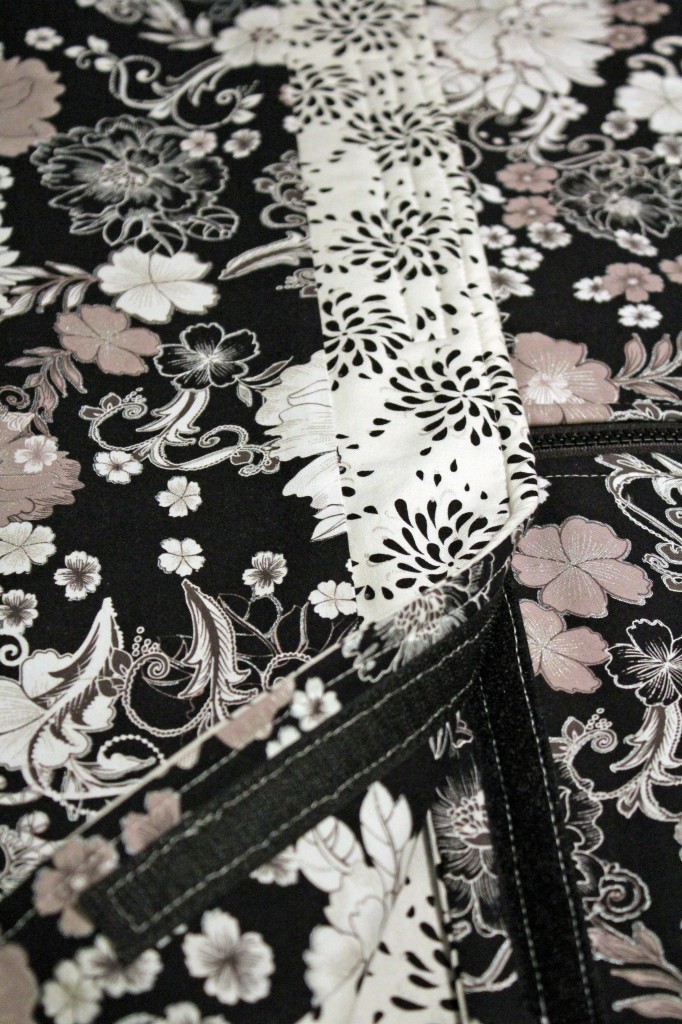 Gather the two hanger flaps. Place them on the top edge of the front and back pieces of the bags. See picture below. Just make sure they line up evenly.
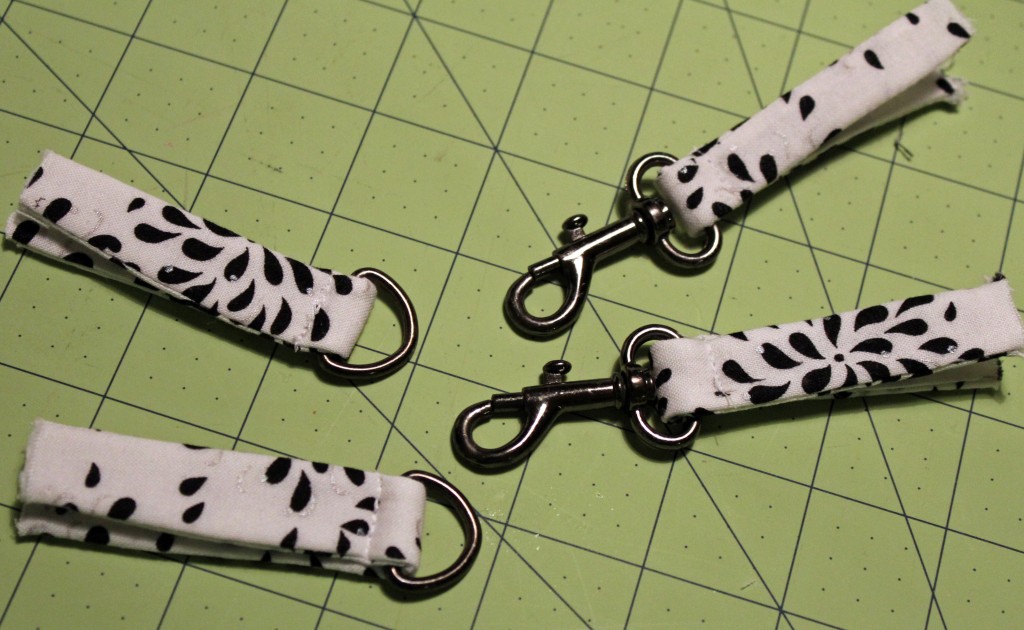
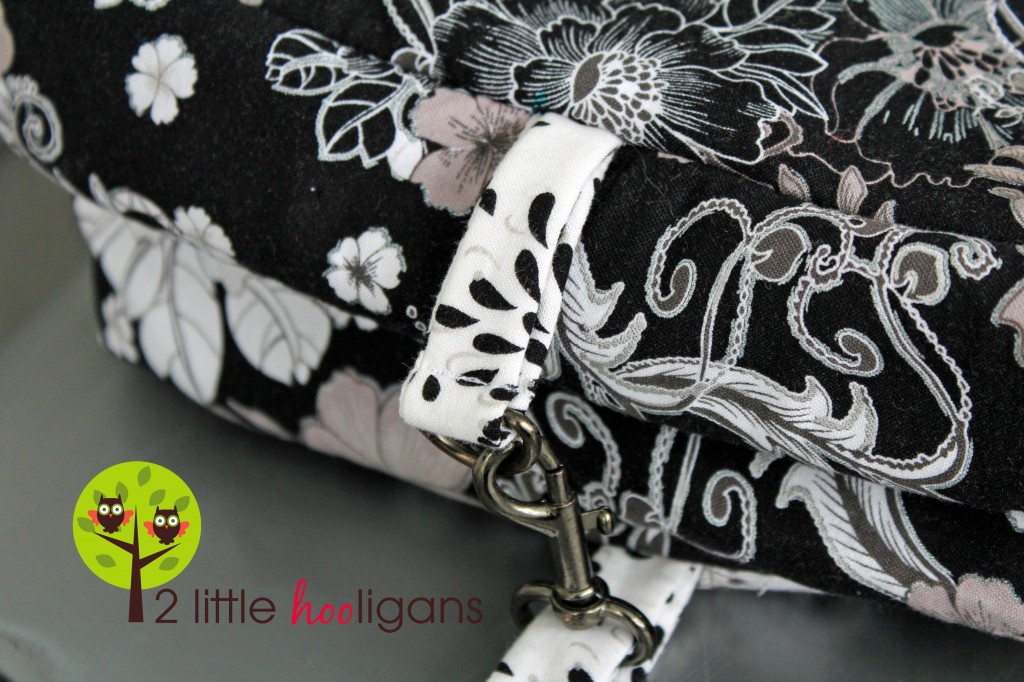
 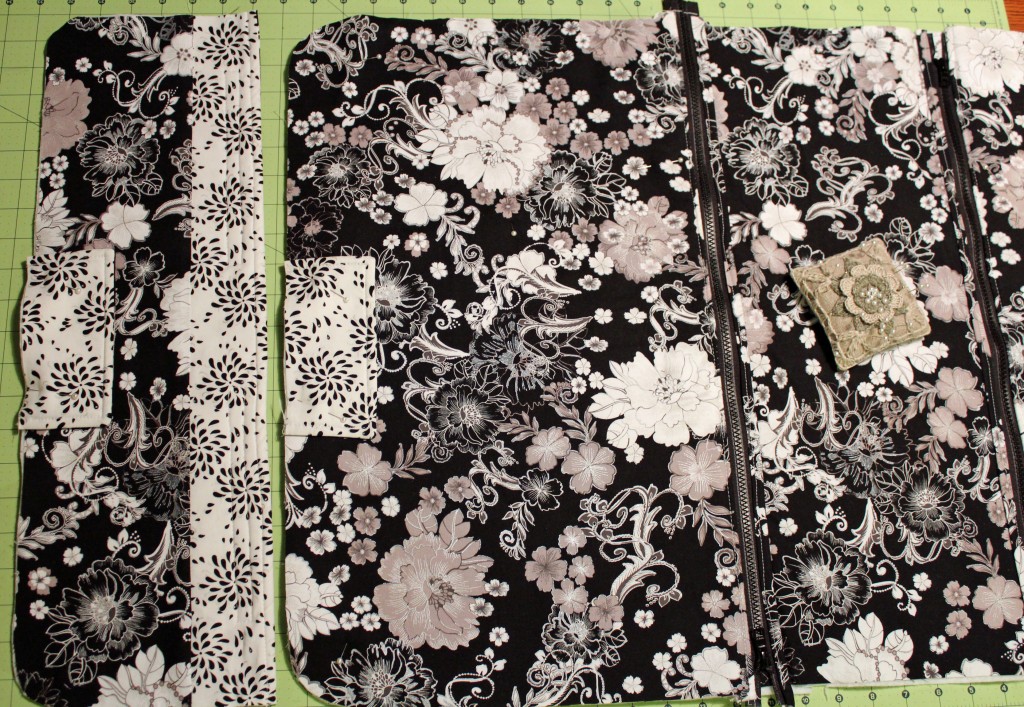 Gather the two 1″ D-rings and matching clasps. Out of your scrap pieces of fabric make some tabs to attach the D-rings and clasps to. I think mine were about 5″ long so once looped through they are 2 1/2″ long.
  Pin your D-rings and clasps in place on the zippered pocket side. I placed mine about 6″ in from the ends on all four sides.
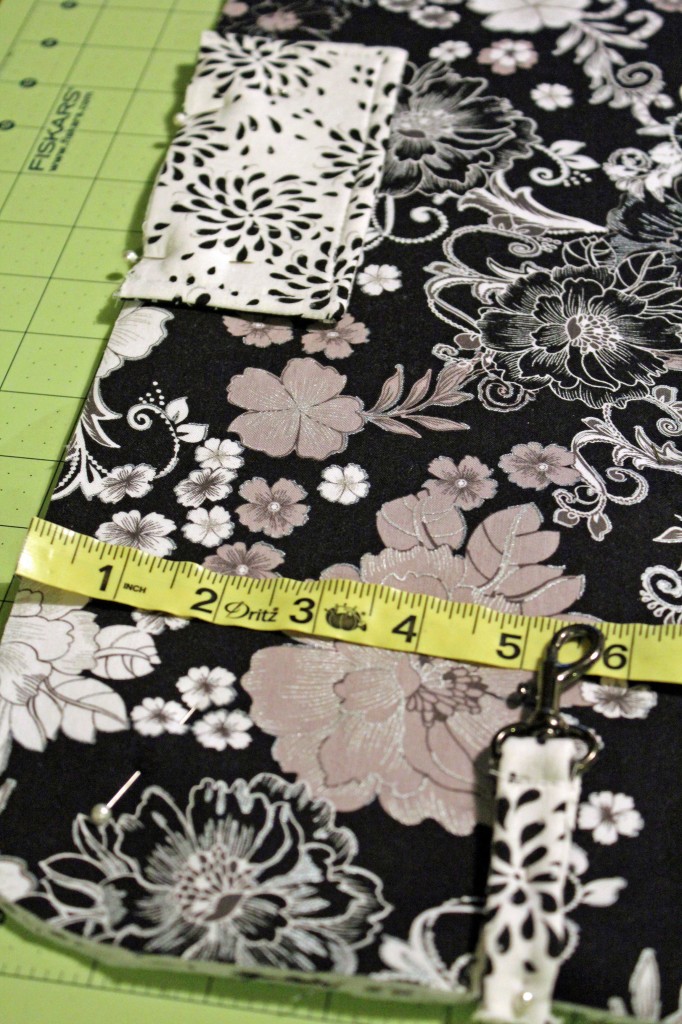 Make sure you pin one D-ring and one clasp on the same side of bag. I know it is hard to see below but I messed with my placement of D-rings and clasps and I didn’t realized it until it was to late. So don’t refer to my picture below for placement, instead learn from my mistake. Sew in place close to edges. Set aside.
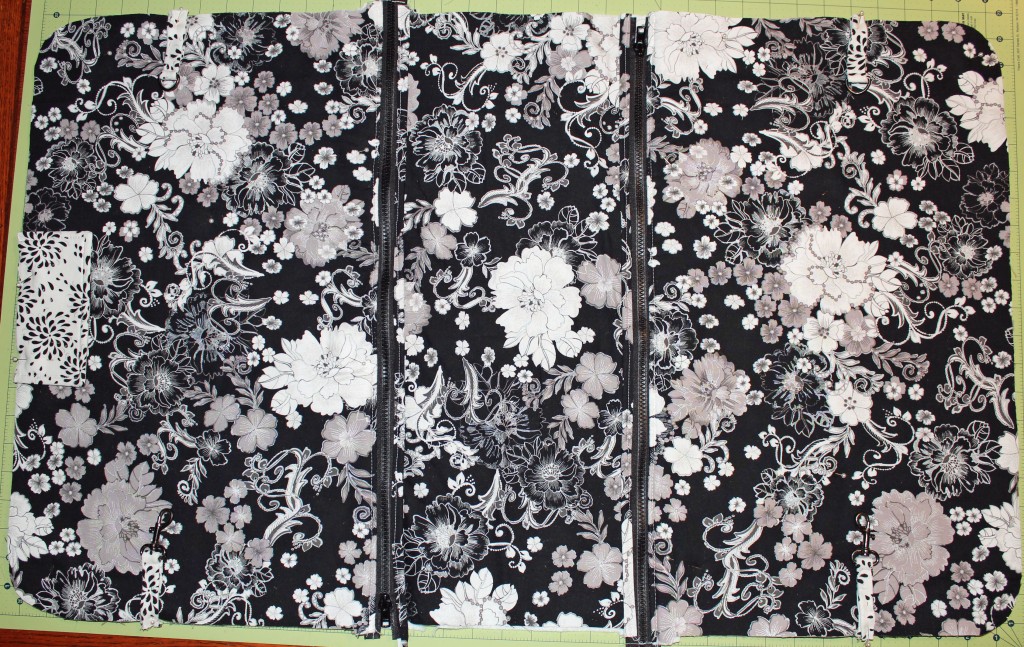 Gather the two 70″ x 3″ pieces of interior and exterior fabrics and batting along with the front bag piece. Sew each of the fabric strips together on the ends to make one continuous strip. Your piece will be about 140″ long or so.
 Gather the front piece of your bag as well the 3 strips that you just made. Lay the front of your bag exterior fabric side up. Now take your exterior fabric strip and layer your batting strip underneath. With the right side of your exterior fabric strip start pinning it to the top of your bag front piece. You want to start pinning in place on the middle of the hanger flap. At the same time pin the interior fabric strip to the bottom side of bag, right sides facing. Stop pinning when you have made it all the way around outer edge and your two strips are touching. You will have a bit of left over fabric so trim where the two fabrics meet. Now fold under the edges of all strip pieces 1/2″. Repeat another 1/2″ to cover up unfinished edge. You are doing this to cover up the unfinished edges on the strips. Make sure that the edges of the strips that are on the top of the bag line up exactly with the strip edges on the bottom of the bag . Top stitch ends of strips.
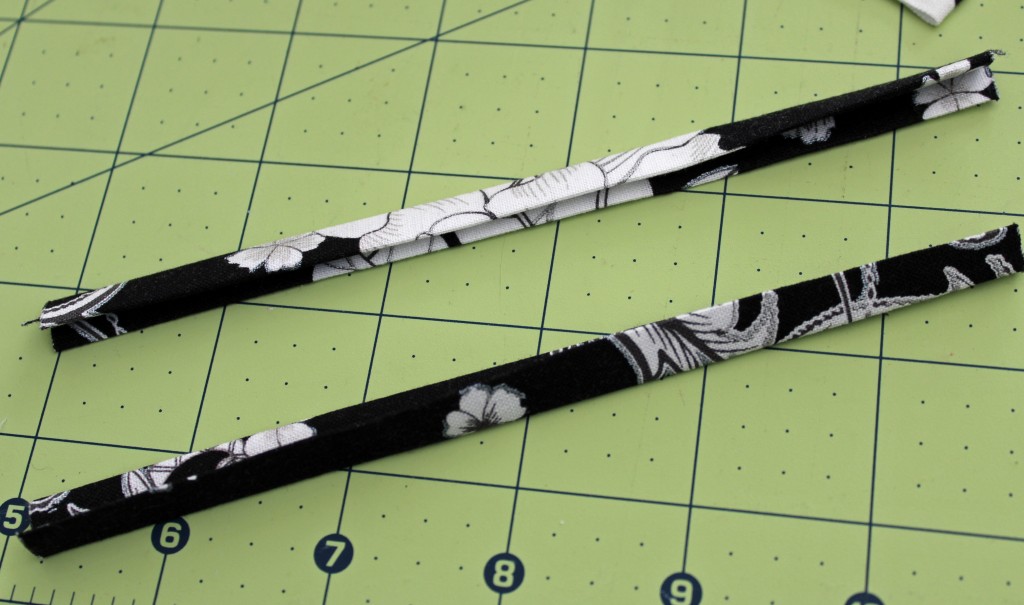
 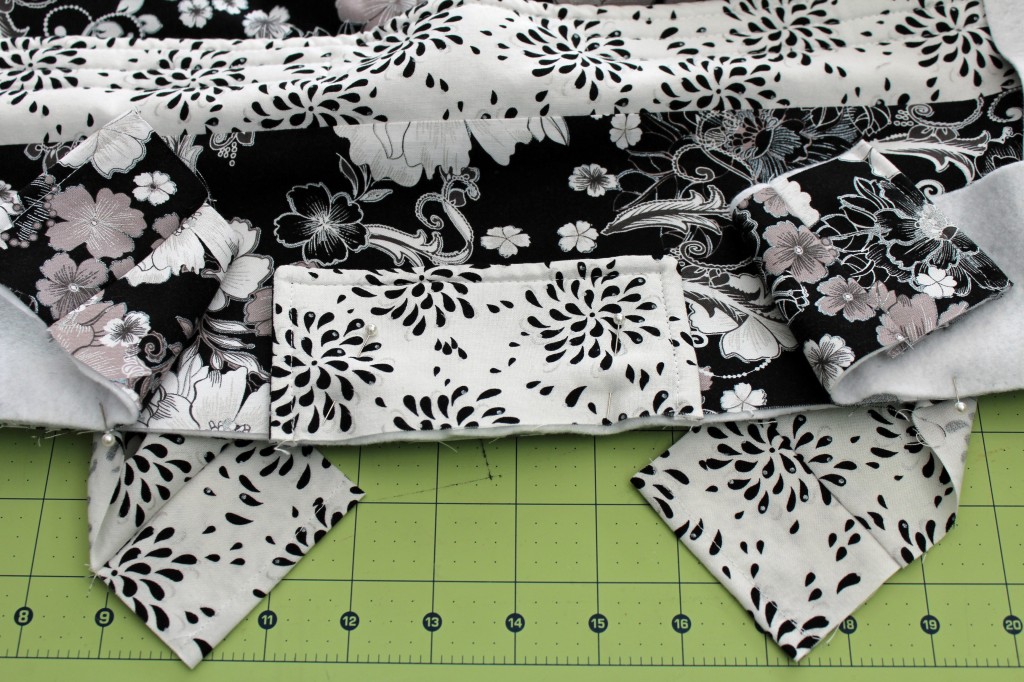 Gather the two 7″ x 1 1/2″ pieces of fabric. Make them into bias strips.
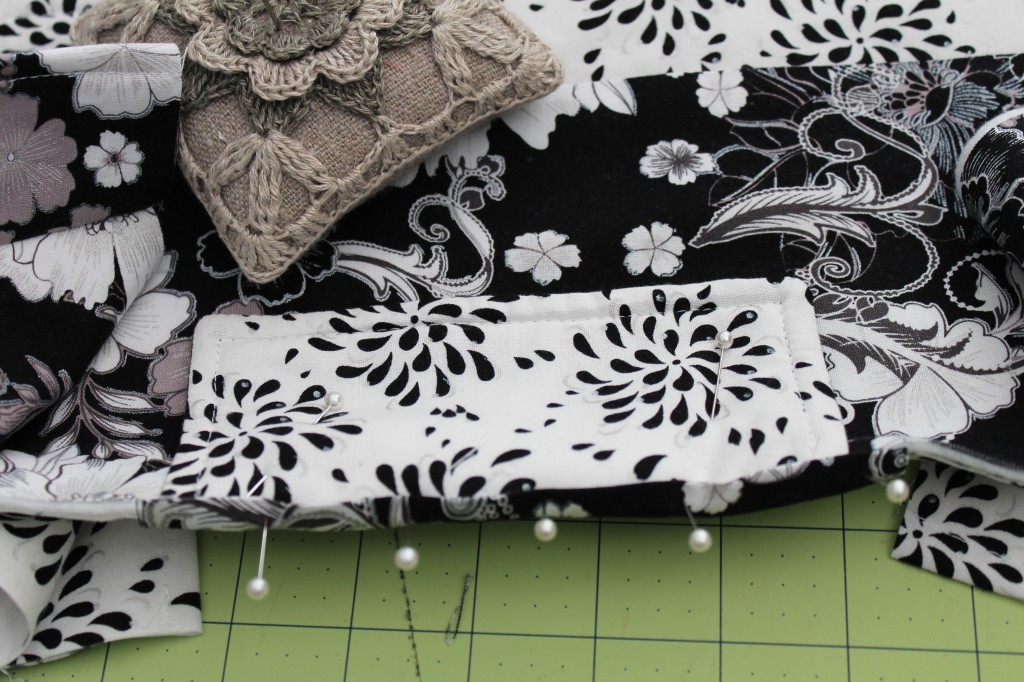
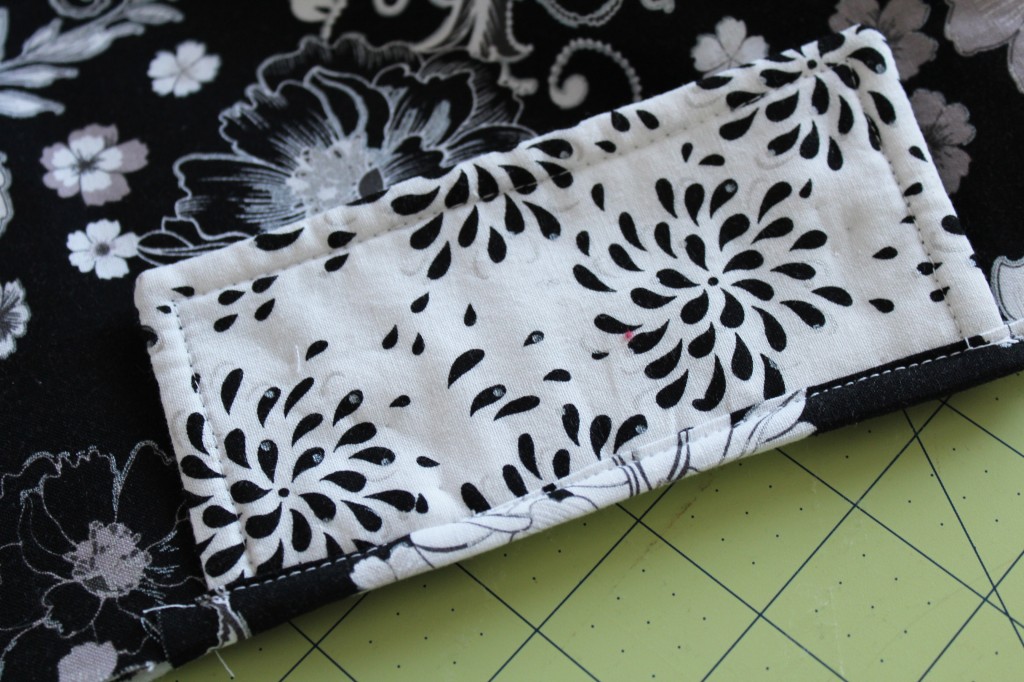
  Take one of the bias strips and pin it over the unfinished edge of the hanger flap. Again this is so that you will not have any unfinished edges in the end. Sew bias tape in place as close to the edge as possible.
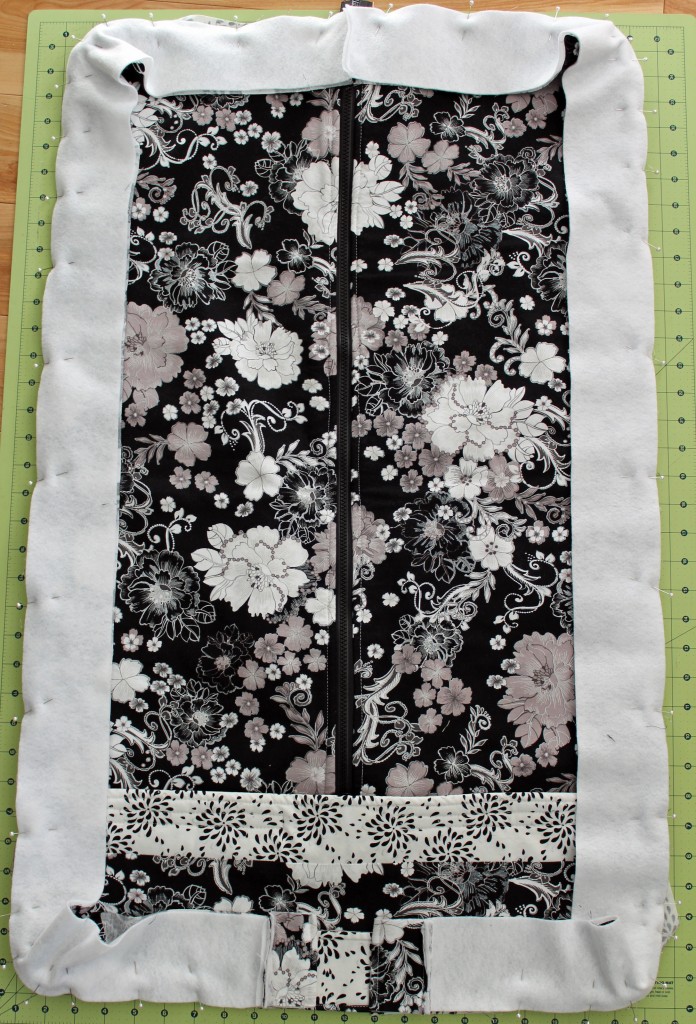
 Now this is what the front of your bag should look like when it is all pinned in place.
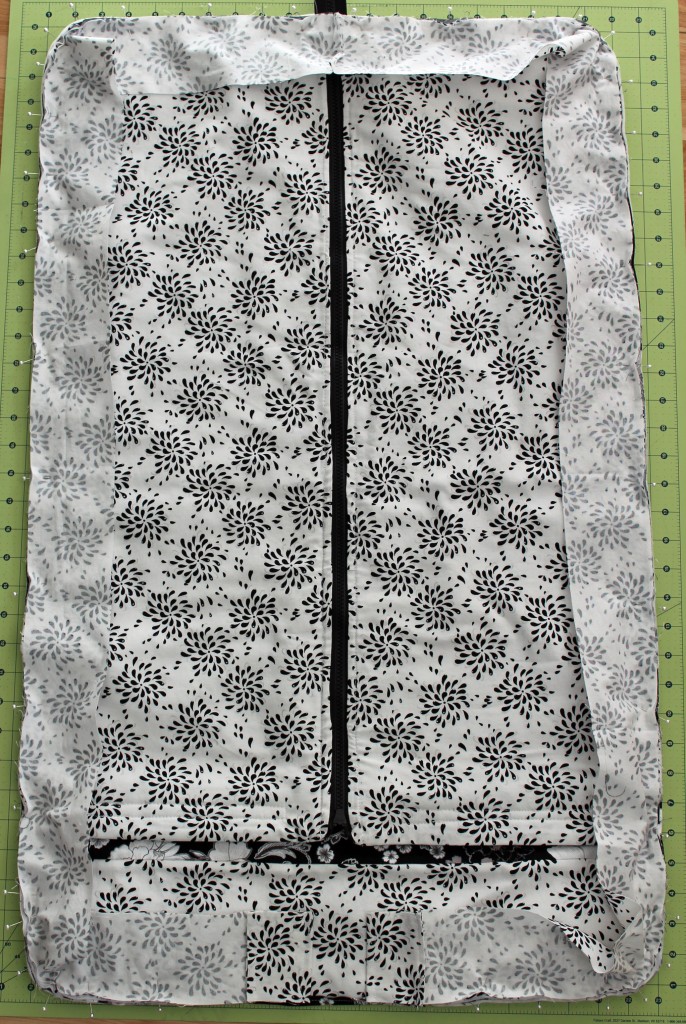
  And the back.
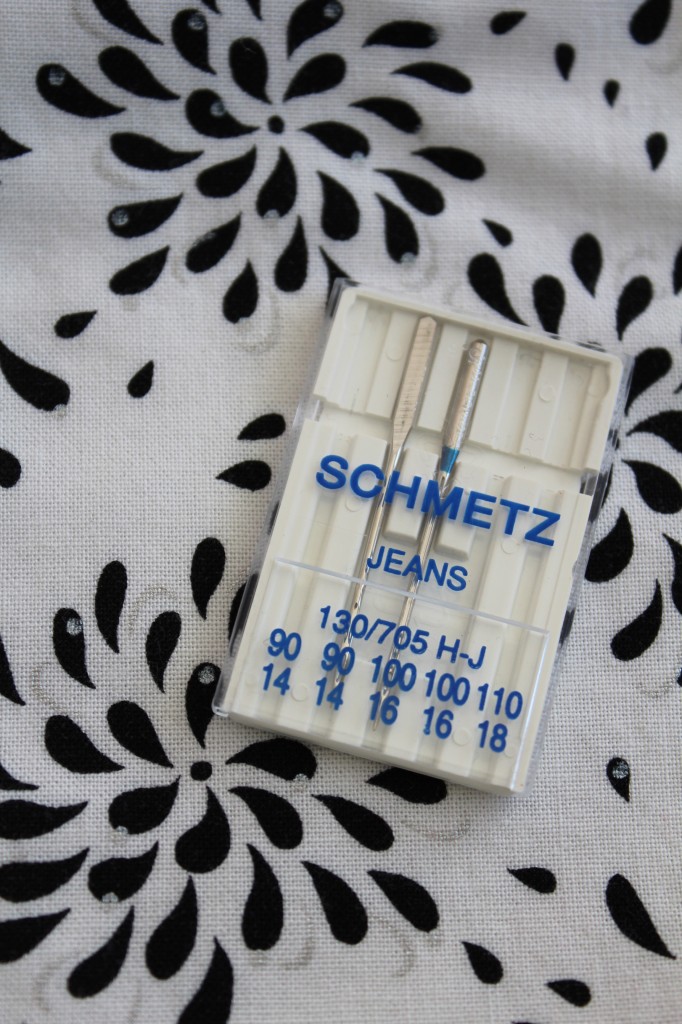
 At this point you may want to switch to a different needle. The fabrics are becoming thicker and harder to sew through. Sew all around edges.
 Iron flat. This is what the front of your bag looks like now.
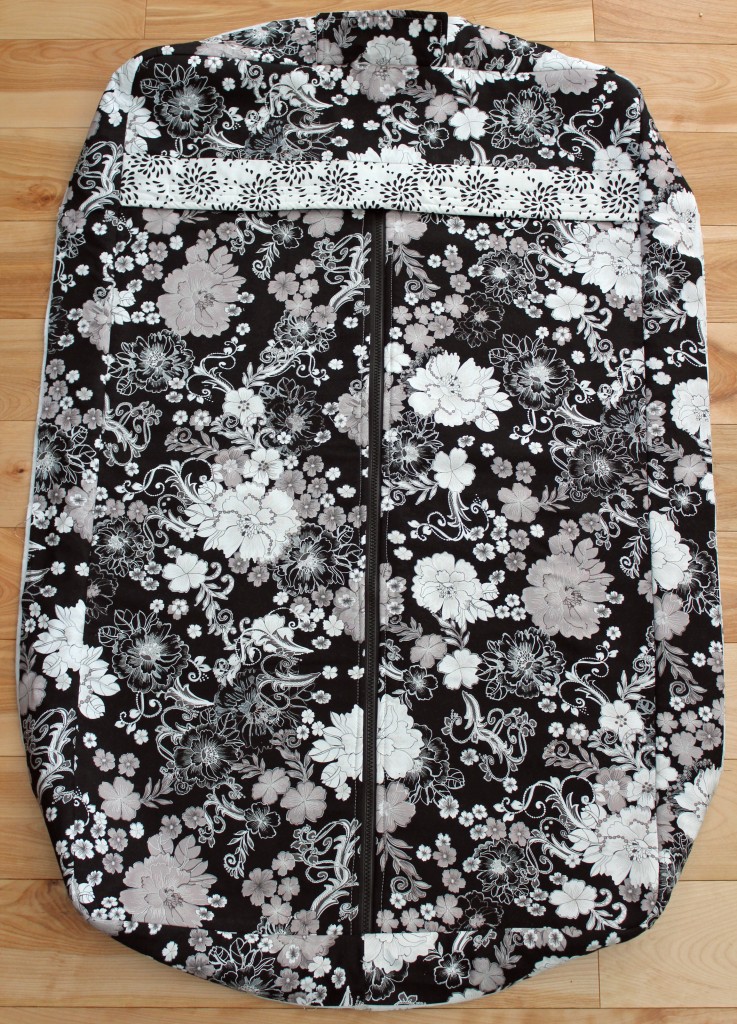 The inside of your bag.
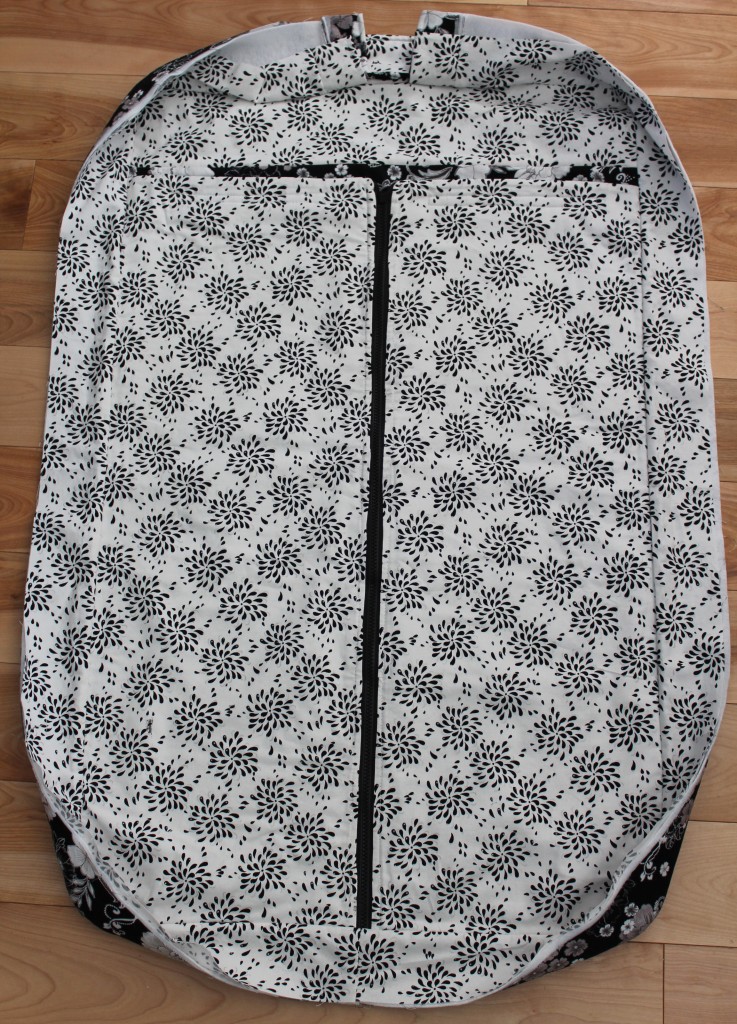 Set the front of bag aside for now and gather the back of the bag that has the zippered pockets. You are going to want to make some handles for the bag as well as attach some D-rings for a shoulder strap to attach to.
 If you are going to make your handles just use your left over fabric that you cut off from the long strips. Cut one strip about 30″ x 6″ from the exterior fabric and batting. Of course you can make the handles longer or even use some cotton webbing instead to save time.
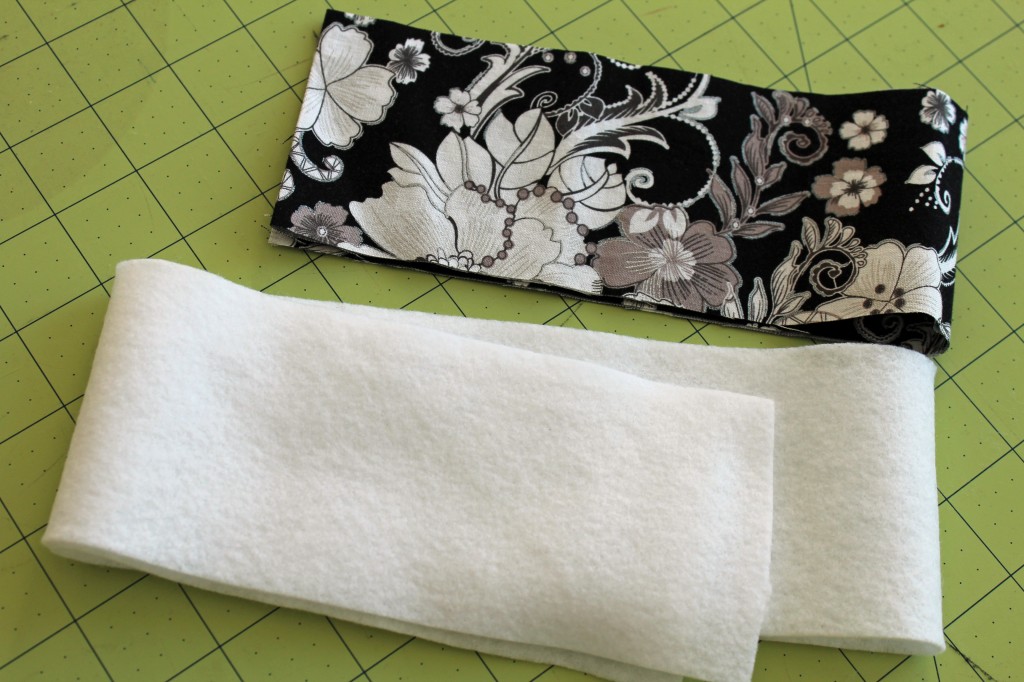 Sew into a tube. Turn right side out. Iron flat. Cut the tube into two pieces. Handles should now be about 15″ x 2″.
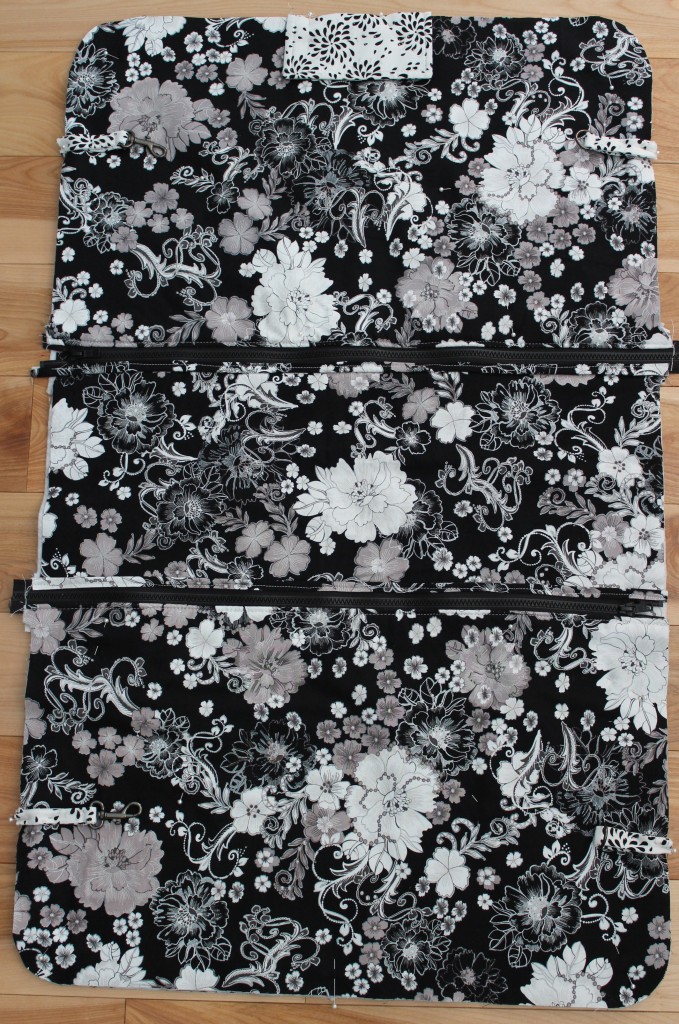
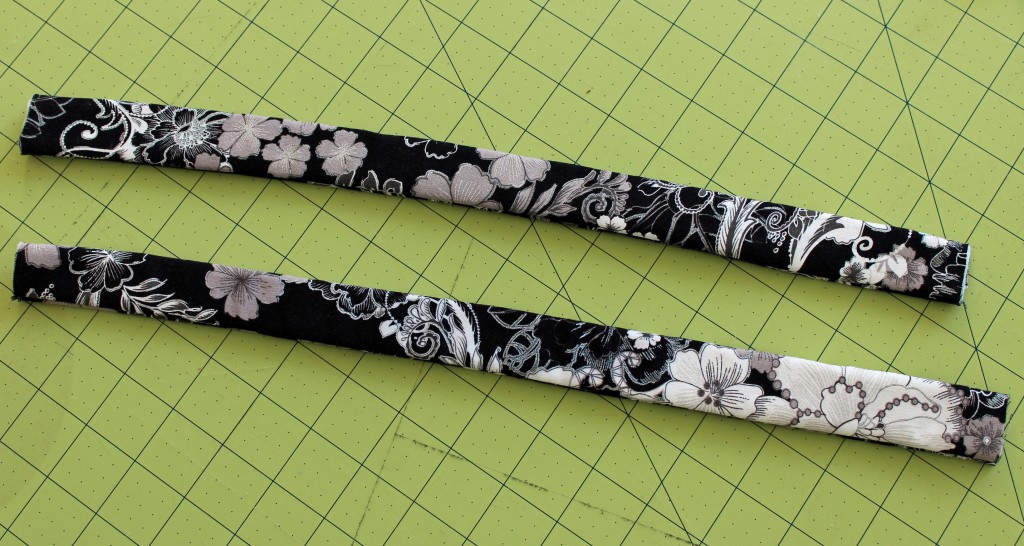 Pin the handles onto the bag in the middle in between the two zippered pockets. I placed the end of my handles in about 6″ from the edge and 1″ above the bias strip. Fold the unfinished ends under so that they are not seen.
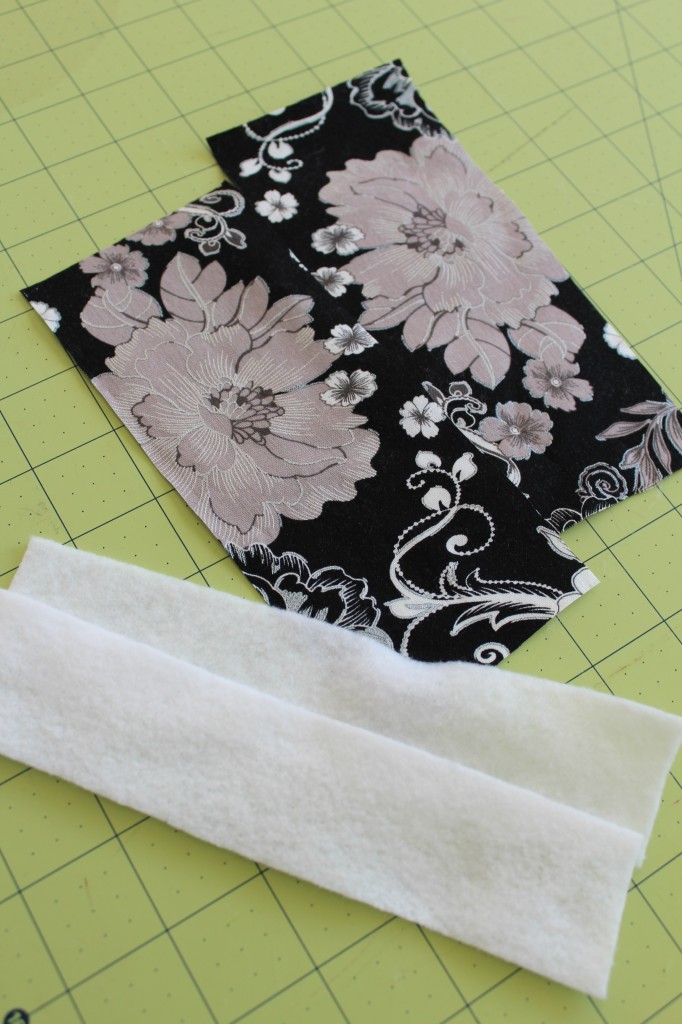
 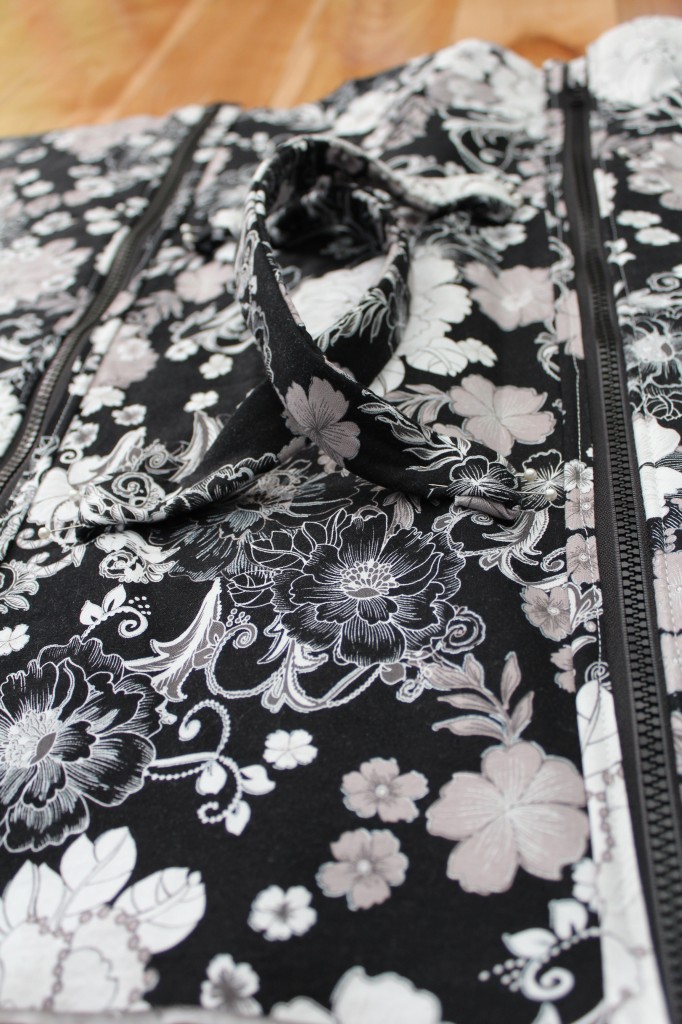 Make little tabs for attaching the D-rings to the bag. I used two scrap pieces that were about 7″ x 3″ and two batting pieces that were 7″ x 1 1/2″. Sew right sides of fabric together to make a tube. Turn right sides out. Iron flat.
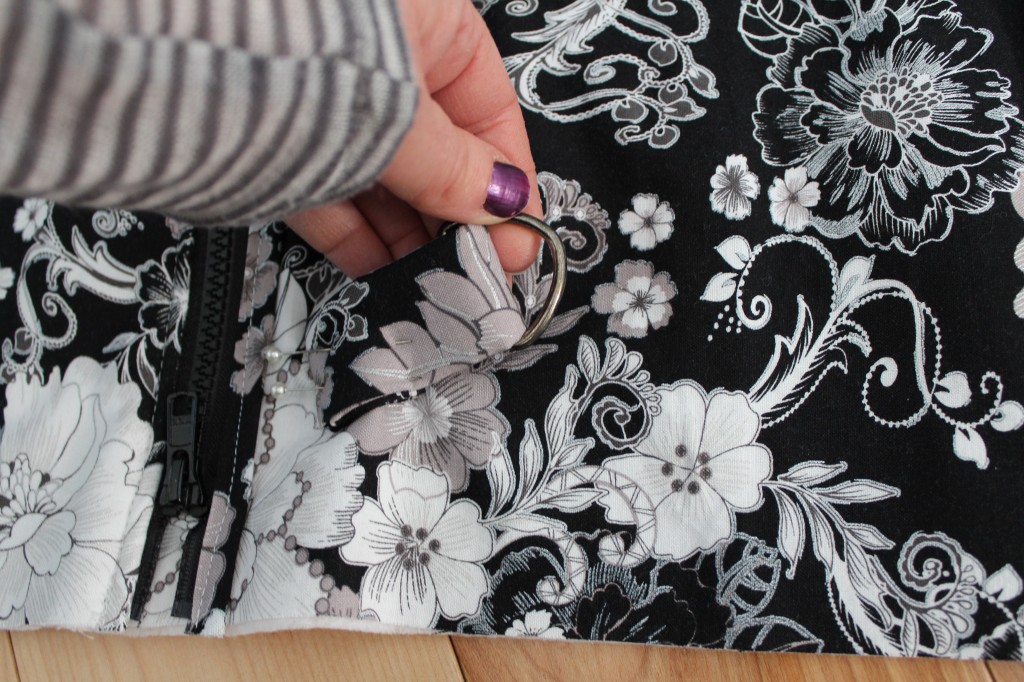
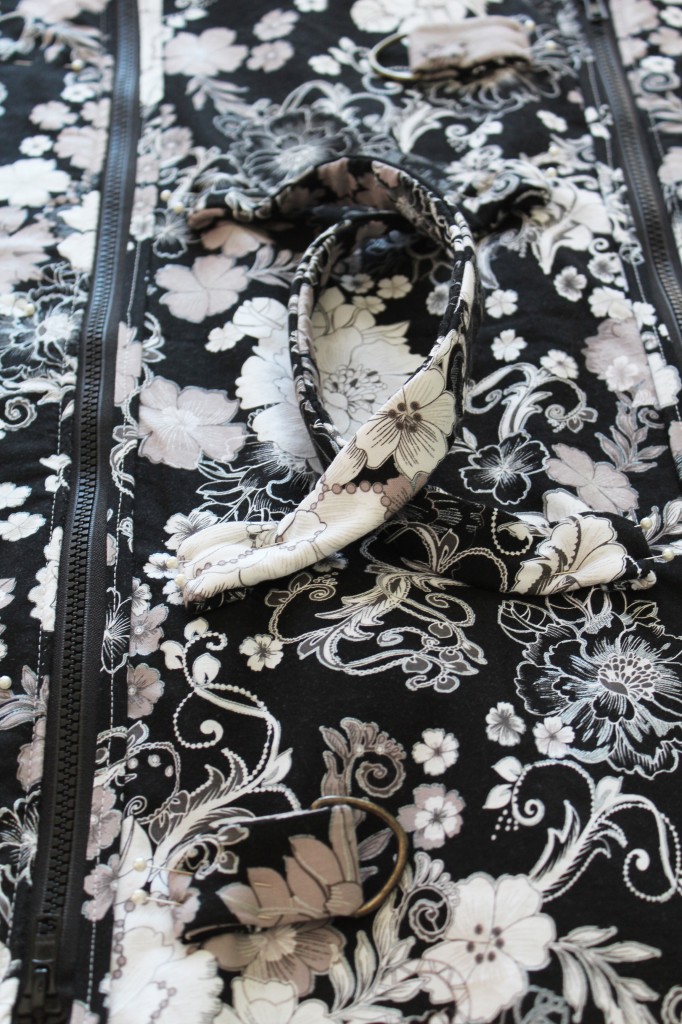
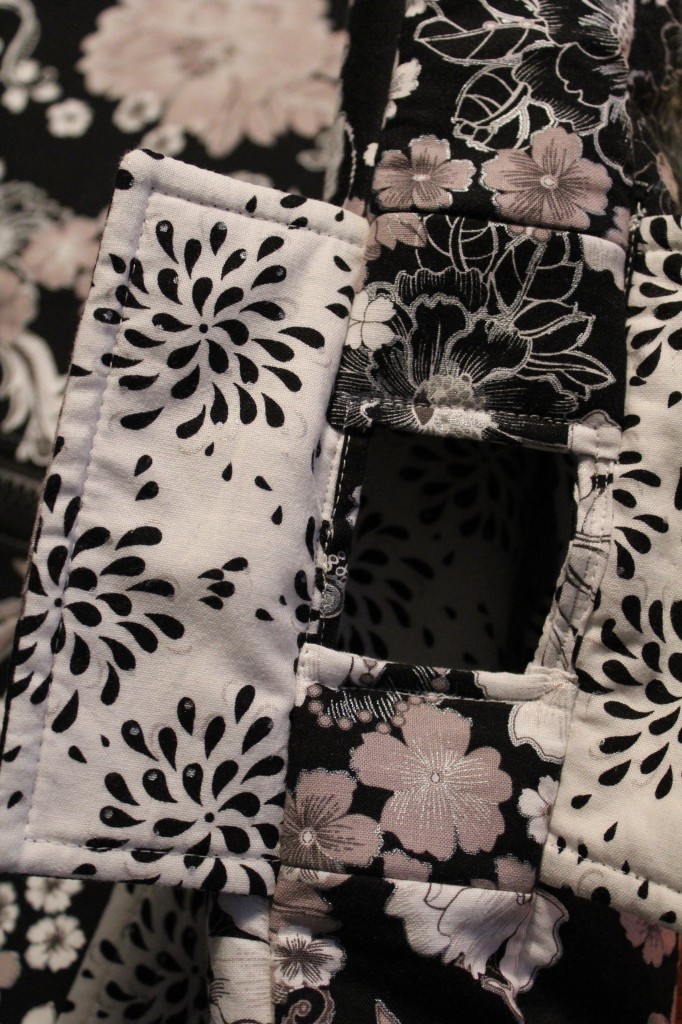
 Pull fabric through D-ring. Pin D-rings in place. I placed one tab 2″ in from the edge and 1″ above the bias strip (that is covering the zipper) that is on the left side of the bag. Then the other tab I placed 2″ in from the edge and 1″ above the bias strip that is on the right side. Remember to fold under once to cover up the unfinished edge. Refer to pictures below if you are a little confused on where I placed them.
 Sew handles and D-rings in place. Sew once down low and then up a little higher so that you really cover up those unfinished edges and give the handles a little more strength. Set aside.
 Gather the other 6″ x 3″ piece of fabric that you made into a bias strip. Again pin over the hanger flap like before. Sew in place as close to the edge as possible. Now we are going to sew the front of the bag and the back of the bag together.
 Start by laying the front piece of the bag right side up.
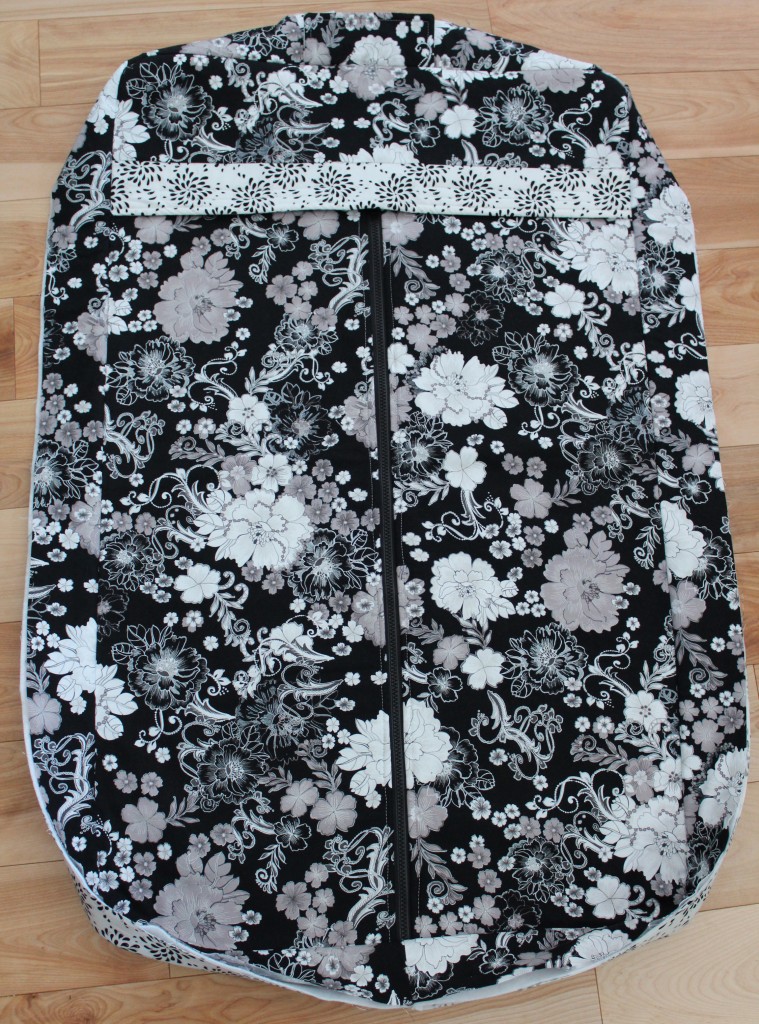 Now lay the zippered piece of the bag on top. Right sides are together. Make sure that the hanger flaps are on the same sides and line up evenly. Pin all around outer edges. Sew.
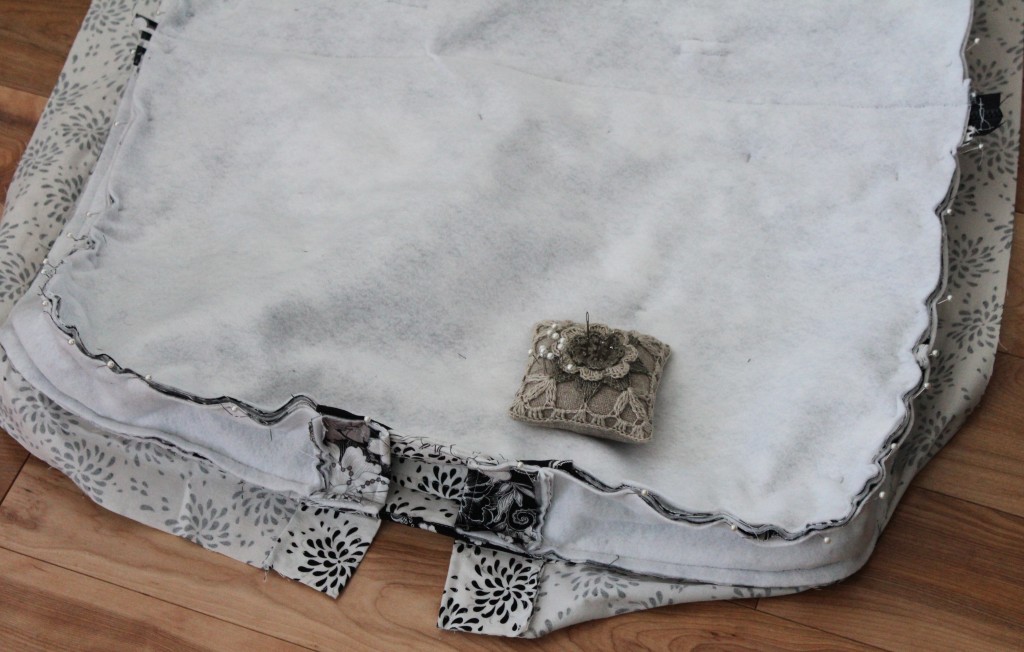 Turn right side. Iron. Bag should now look like this. Now turn bag back to wrong side out.
 Gather your last 35″ x 22″ piece of interior fabric and pin rights sides together with the interior fabric strip. Sew outer edge while leaving a good 6″ opening for turning right sides out.
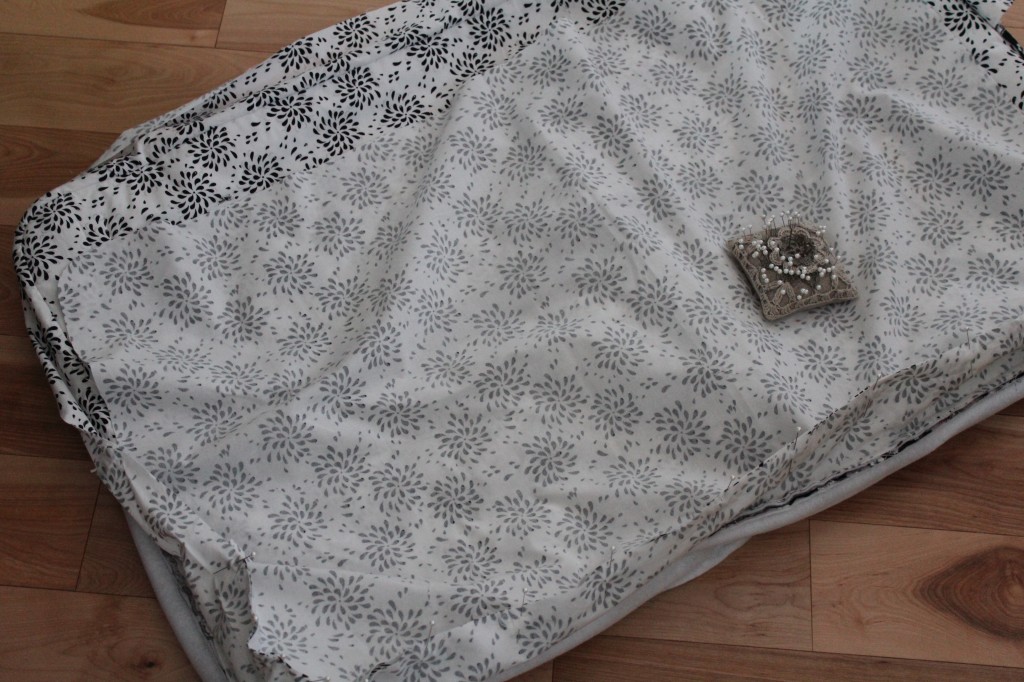 Pull right sides out through opening. Sew opening shut.
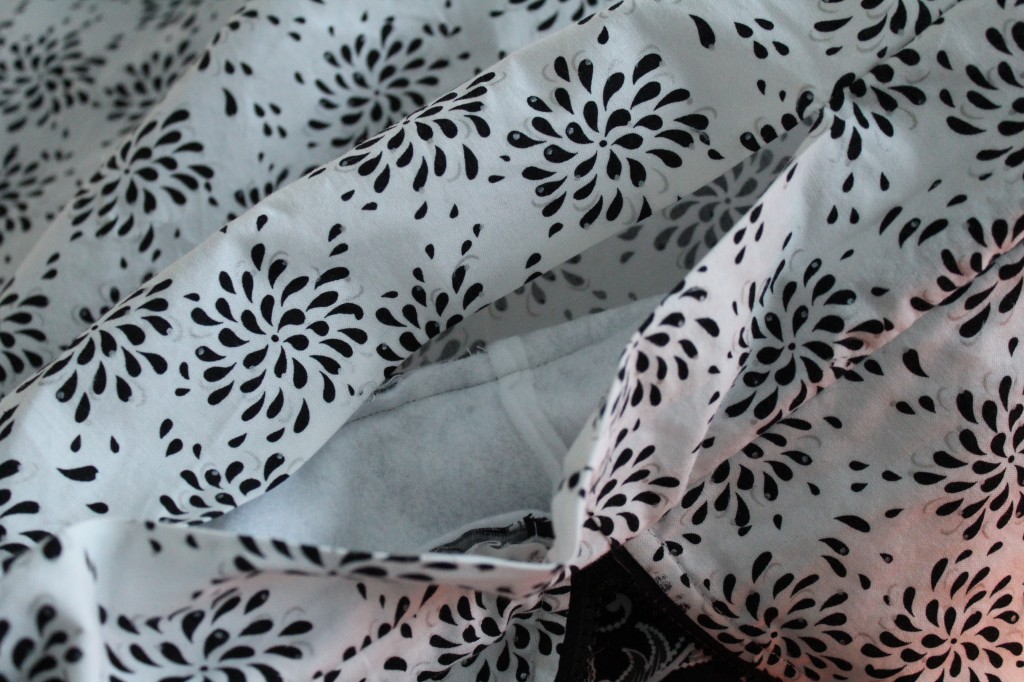 Turn bag front side out. Press bag edges. Now you just need to stitch the two bags together near the hanger flaps. You do not want any unfinished edges. Plus this will give a little more stability to the bag where the hangers will be.
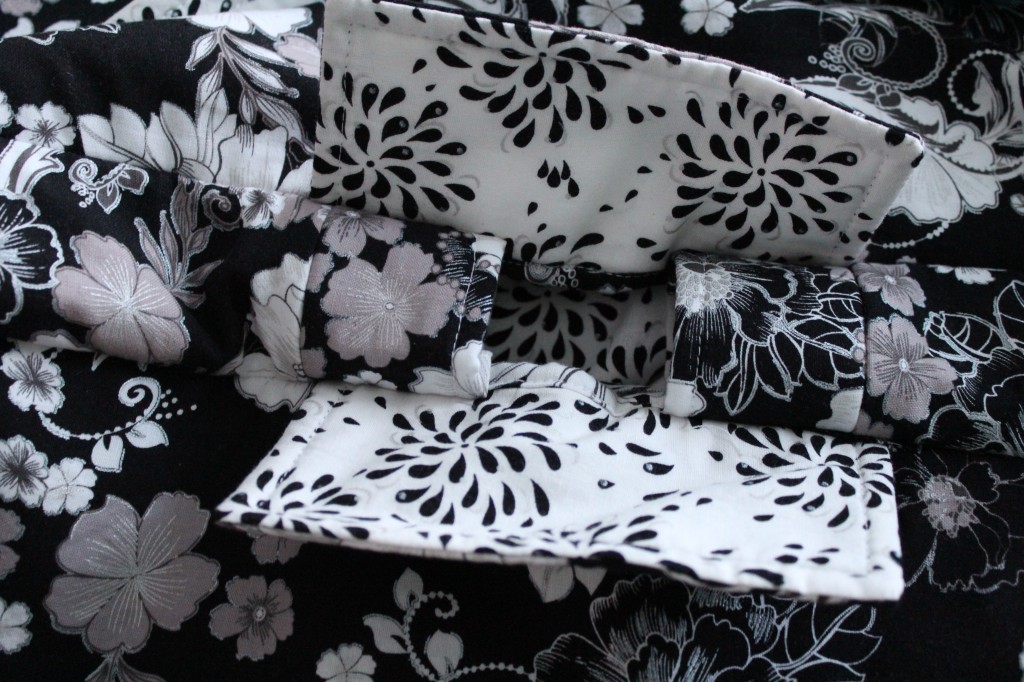 Pin edges together around opening.
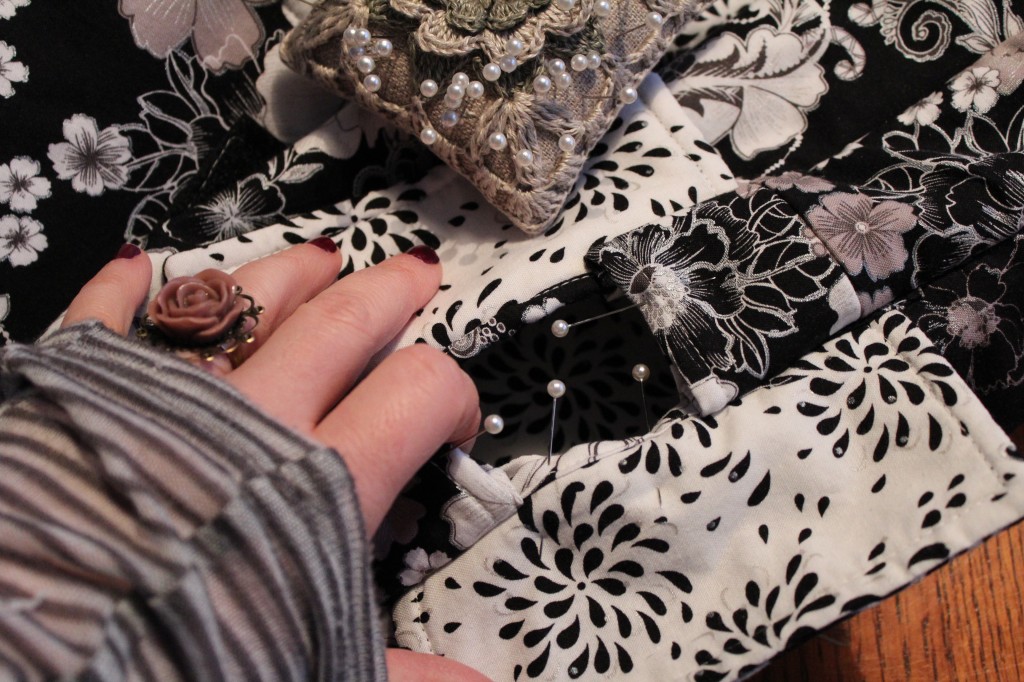 Sew as close the edges as possible.
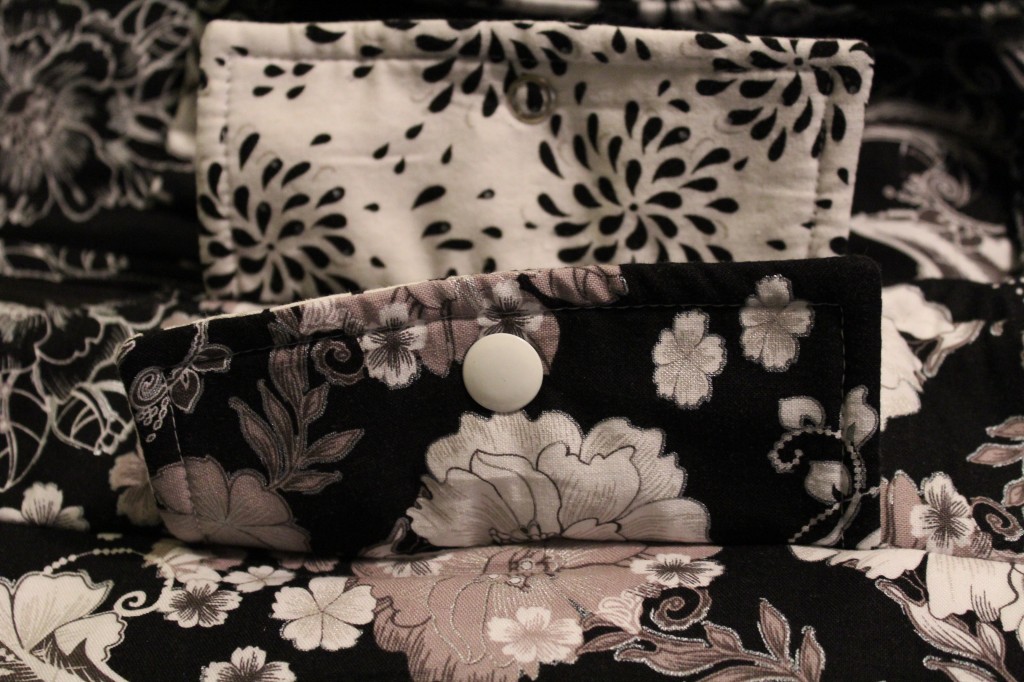
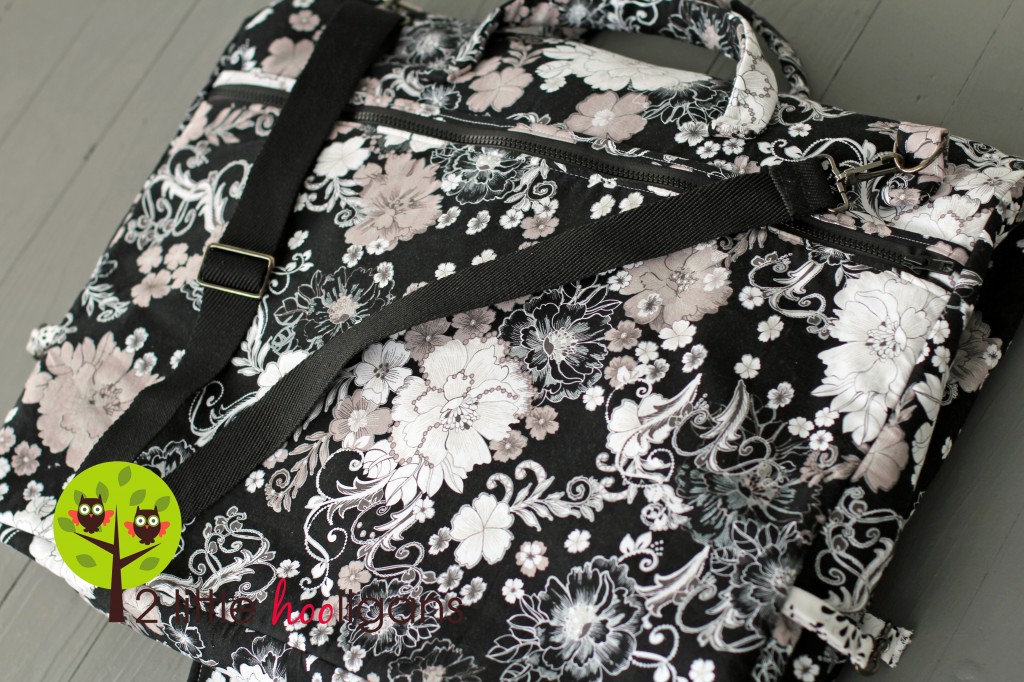
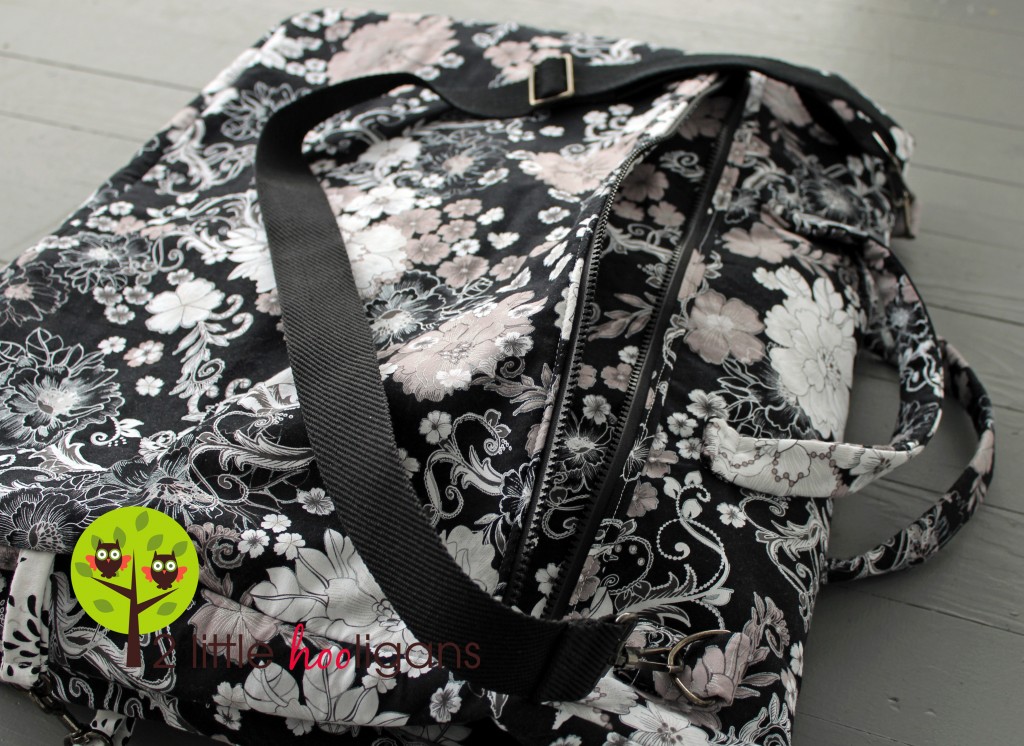
 Lastly all you need to do is add a snap or velcro to keep the hanger flaps shut when in travel. Clip shoulder strap on.
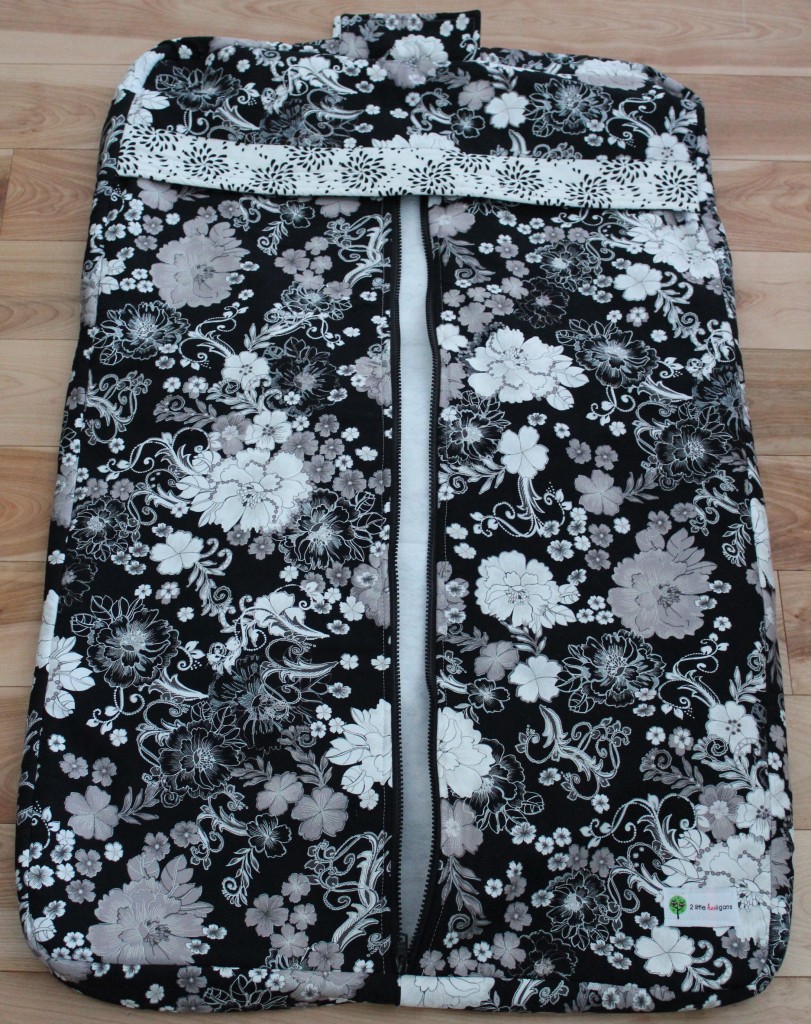
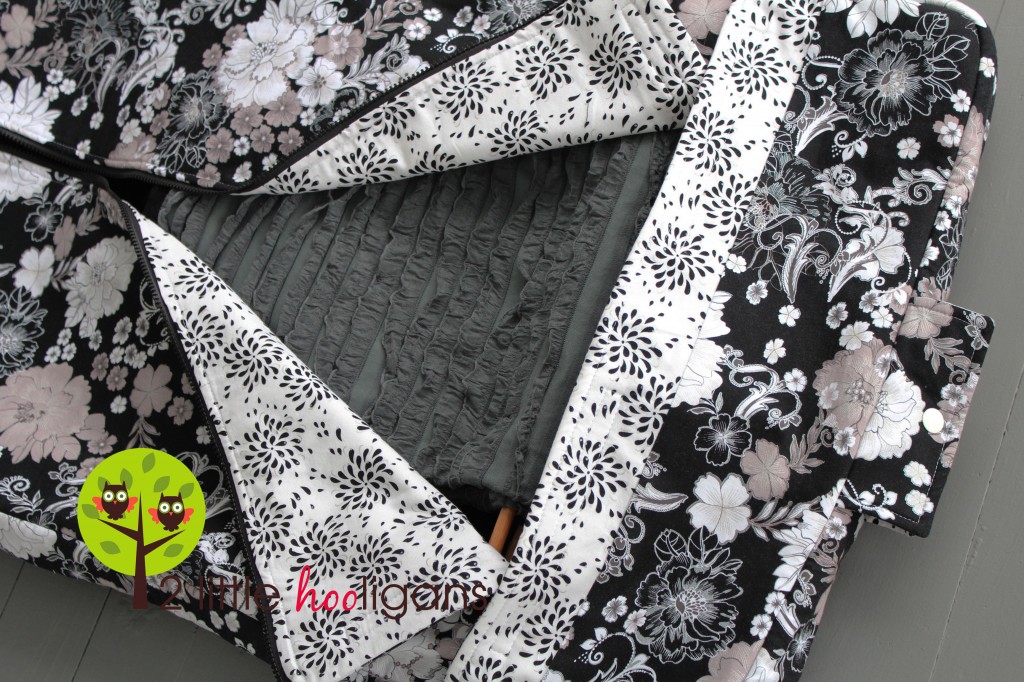
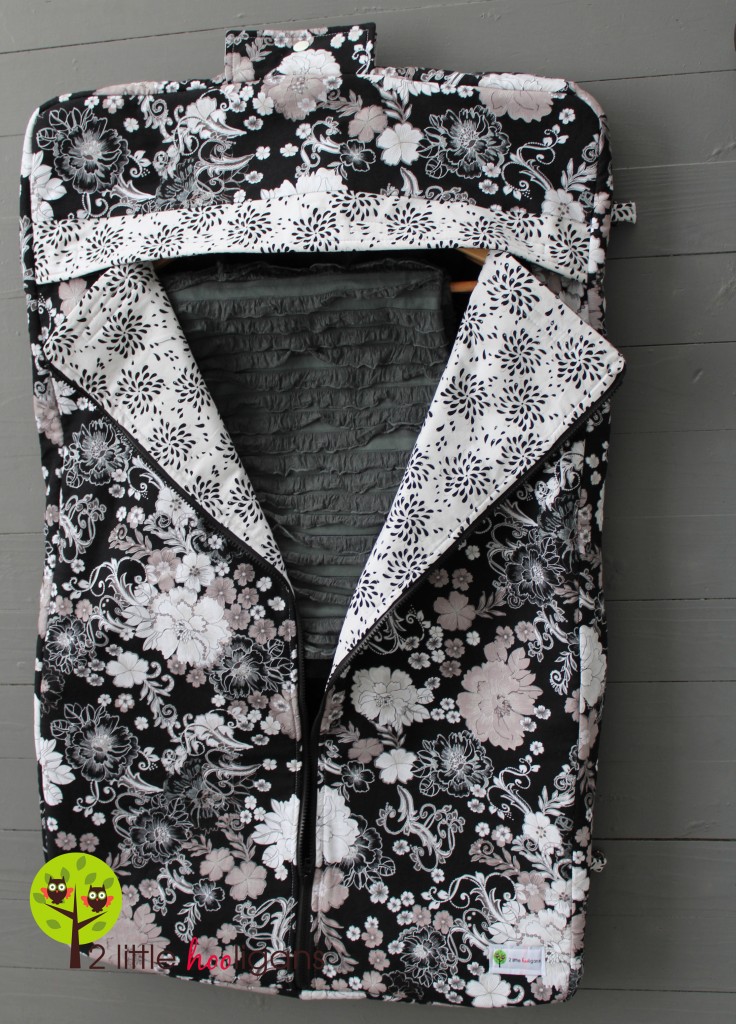
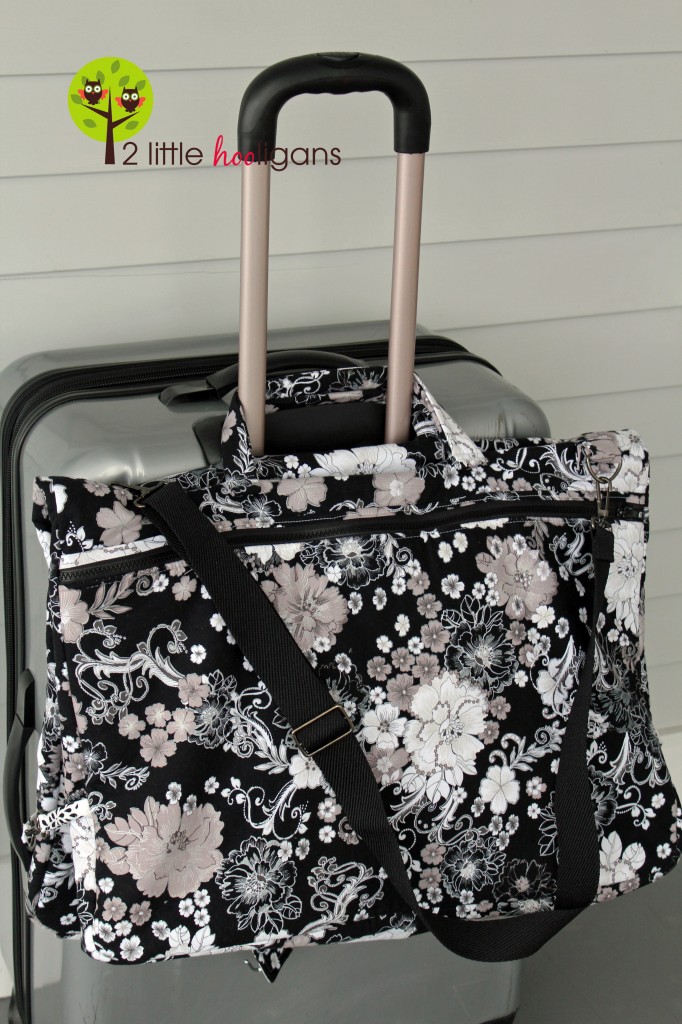
 And that is it folks…your finally finished! I know it was a long tutorial and took a long time. But wasn’t it worth it? You will definitely have the cutest garment bag in the whole airport!
 The bag holds about 4 wooden coat hangers comfortably. You could definately carry more clothes in the bag if you used some wire hangers though. You may want to bring along a little piece of string to tie the top of the hangers together while traveling. Or if you want to get really stylish you could make a bias strip out of fabric and attach it to the top/inside of the bag for tying those hangers in place. Again, it’s your bag…do want you want!
New Curtains for the Kitchen
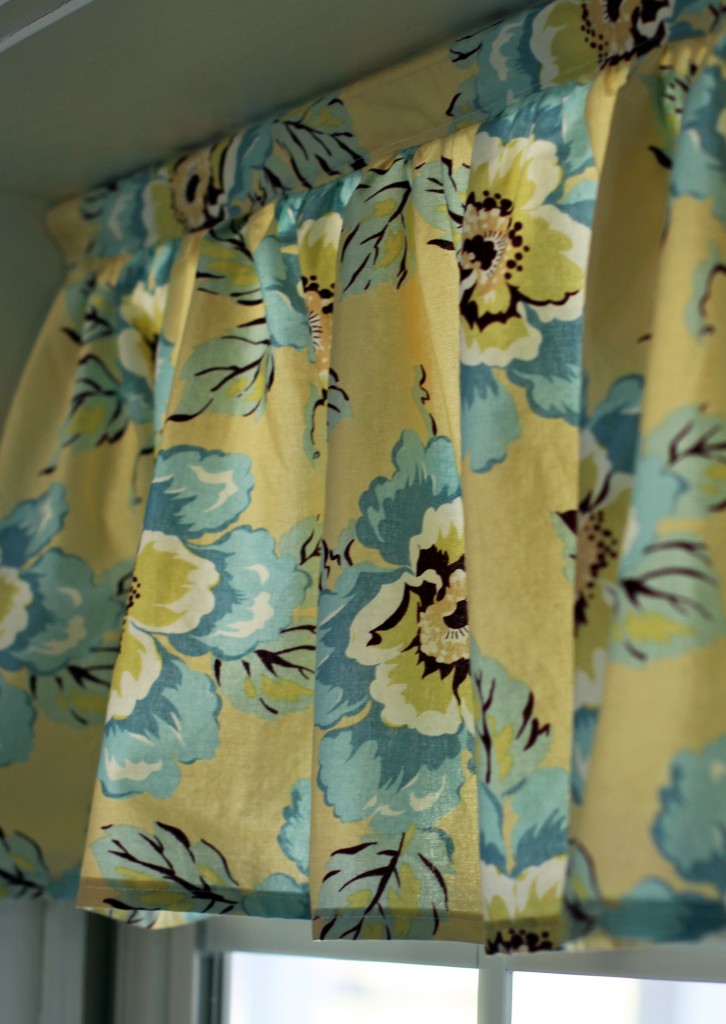
I finally got around to making and hanging up some curtains in the kitchen. For some reason I struggle with curtains in our house. Some times I like them, some times I don’t. For that reason, most of the windows in our house are still bare. I am just at a loss when it comes to curtains for some reason. A few months ago I saw Wild Poppy Milk-Gypsy Caravan from Amy Butler and just fell in love with it. I knew it would be the perfect fabric for some curtains in the kitchen.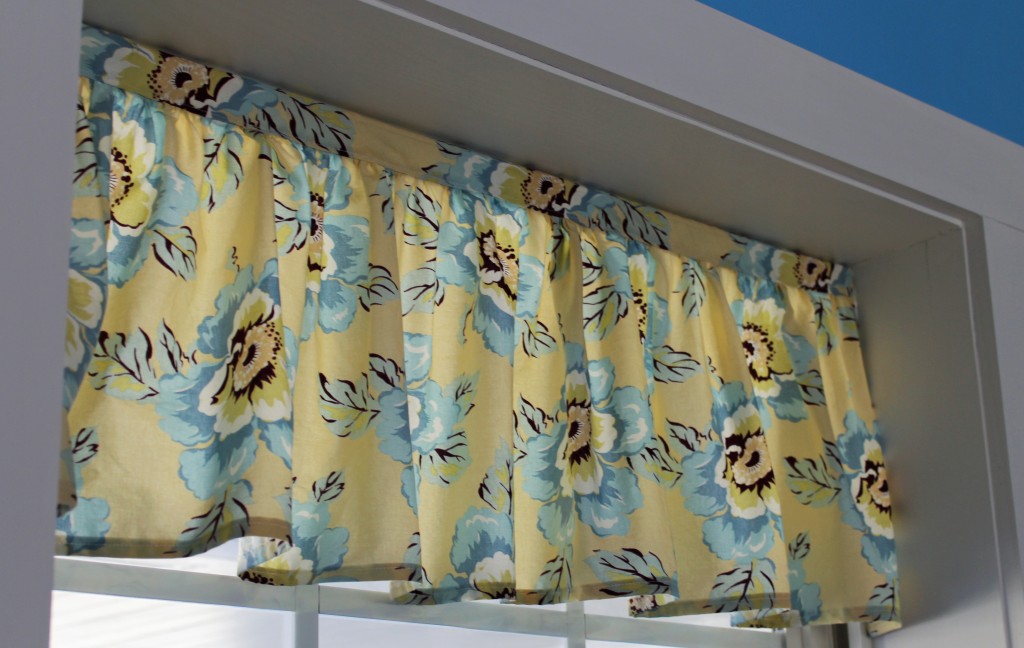 Coming up with a design for the curtains was a little tough. Like I said, I am just at a loss with curtains. I do love the looks of ruffled curtains but don’t like them when they are ruffled where the curtain rod is, so I came up with my own design. I was hoping to have the bottom part of the curtains ruffle a bit more, but I didn’t purchase enough fabric. And as you all know me by now, I am an impatient person and didn’t want to wait to order more fabric. In the end, I am really happy with how they came out.
 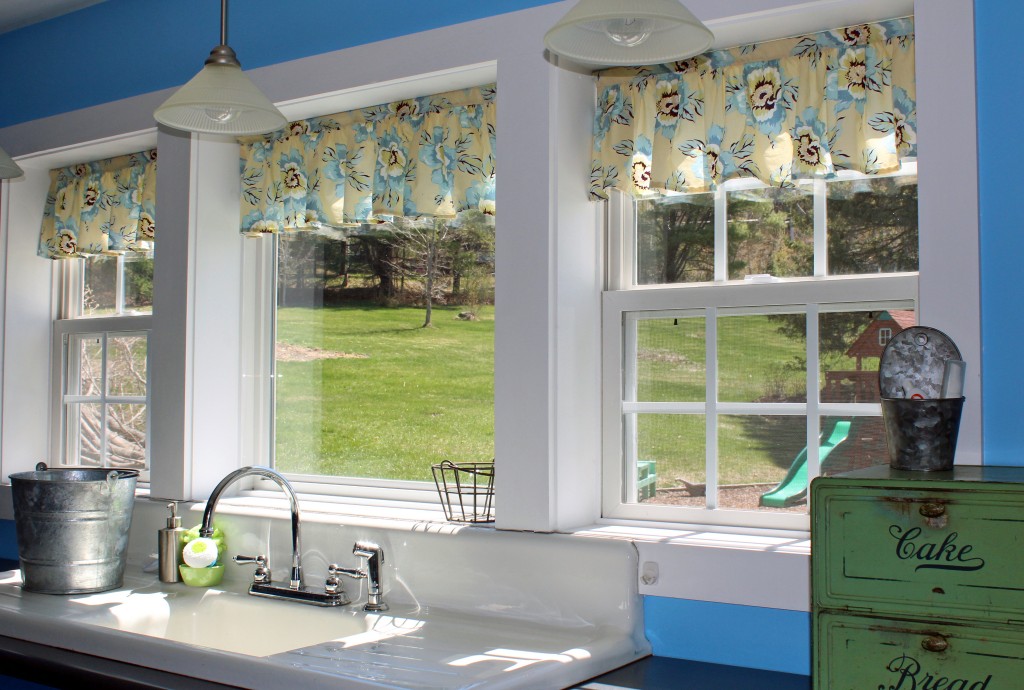 To make the curtains I measured the width of each window and then doubled it to get the measurements for the ruffled part. The top part of the curtains are the exact width of the windows plus added on for the sew seams. For the lengths I just went with what looked right. A simple design that was simple to make. Although I did break 4 needles while making these curtains for some strange reason. So don’t look too close at a few of them. The stitching is really bad. It really is amazing how different a few curtains change the whole look of a room.
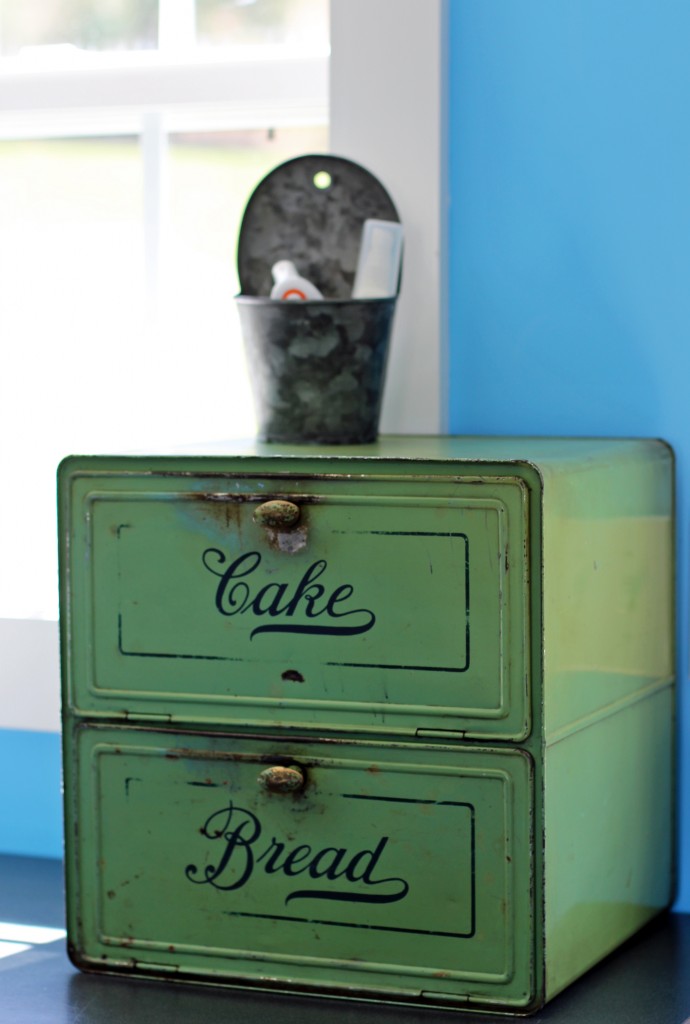
 Since I was already taking pictures of the curtains I had to show you this cute little cake/bread box that I purchased a few months ago. I just love it! No I don’t keep cakes/bread in it. Instead I keep our vitamins, sunscreen, bug spray and sun glasses. And on top I keep band-aides, a thermometer and some first aid stuff in that little tin basket. I have found that keeping all of those things right by the back door more convenient then always having to go into the bathroom to get it. Yes, it may be a weird spot to keep such things but it works perfectly for us.
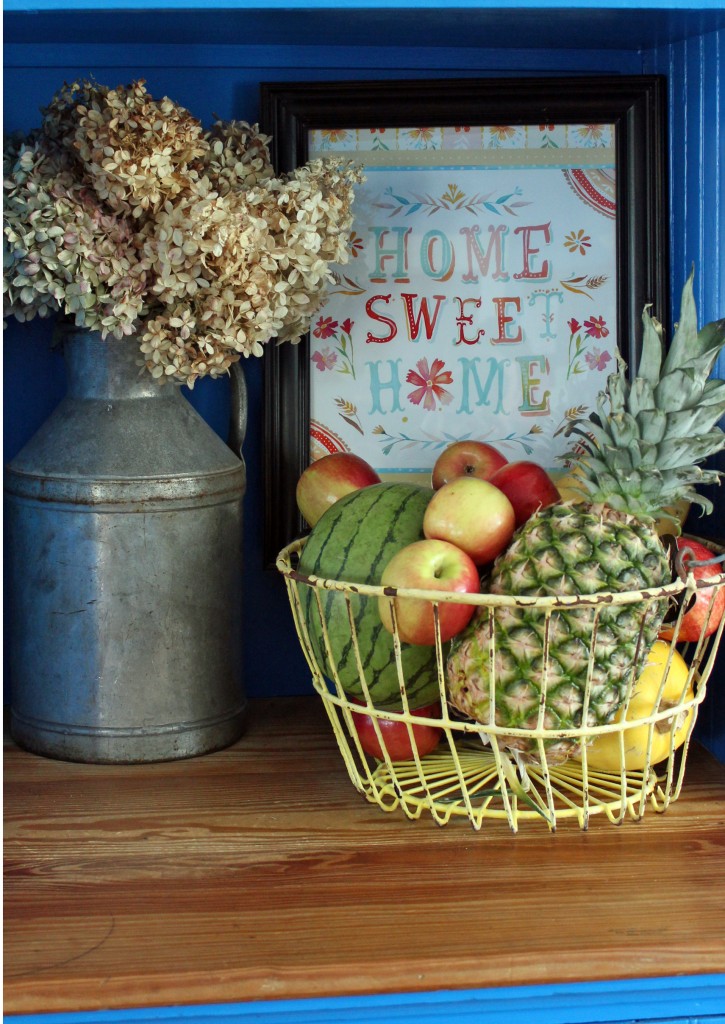
 Little by little our house is finally feeling like our “Home Sweet Home!”
Wilbur and Ray
Flower Shopping
Last weekend the kiddos and I spent the day digging out flower beds along the front of the house.  I thought May Day would be the perfect day to finally buy some flowers and start planting.
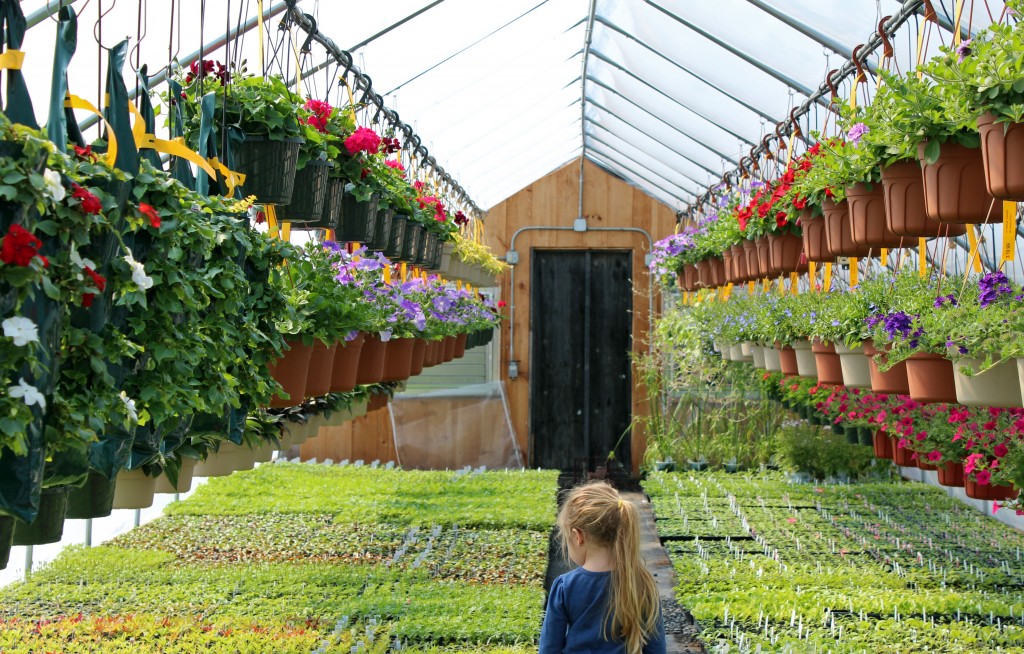 Looking at all the rows of beautiful flowers was so much fun and added so much cheer to our day.
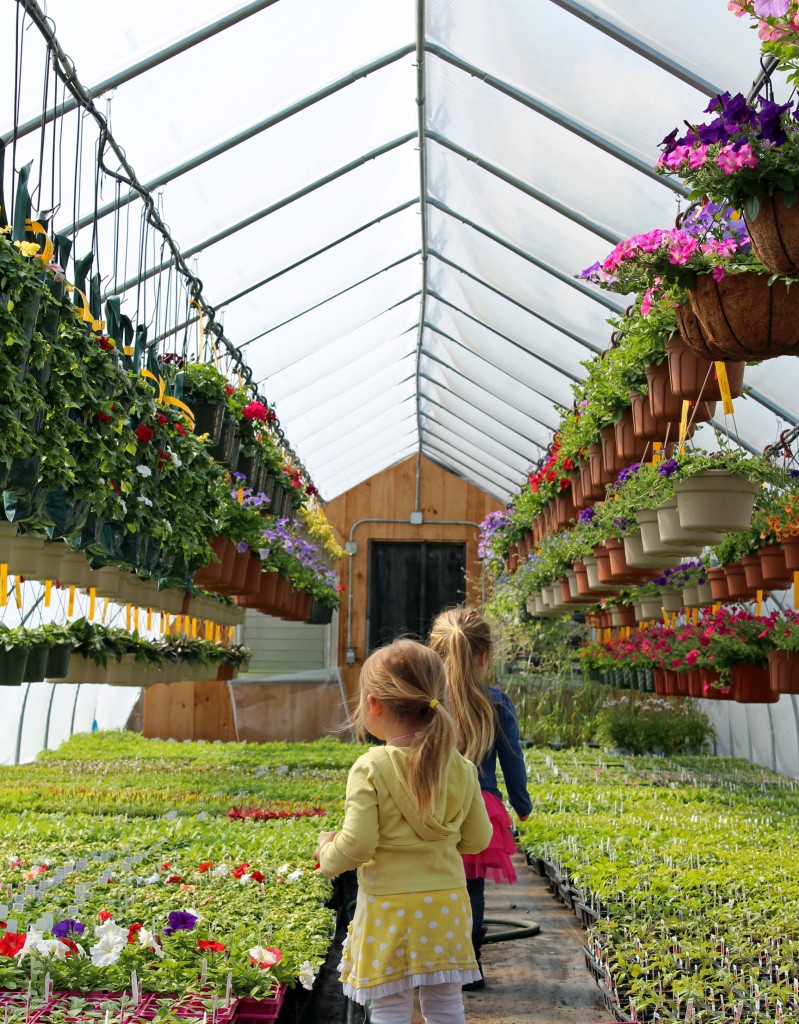
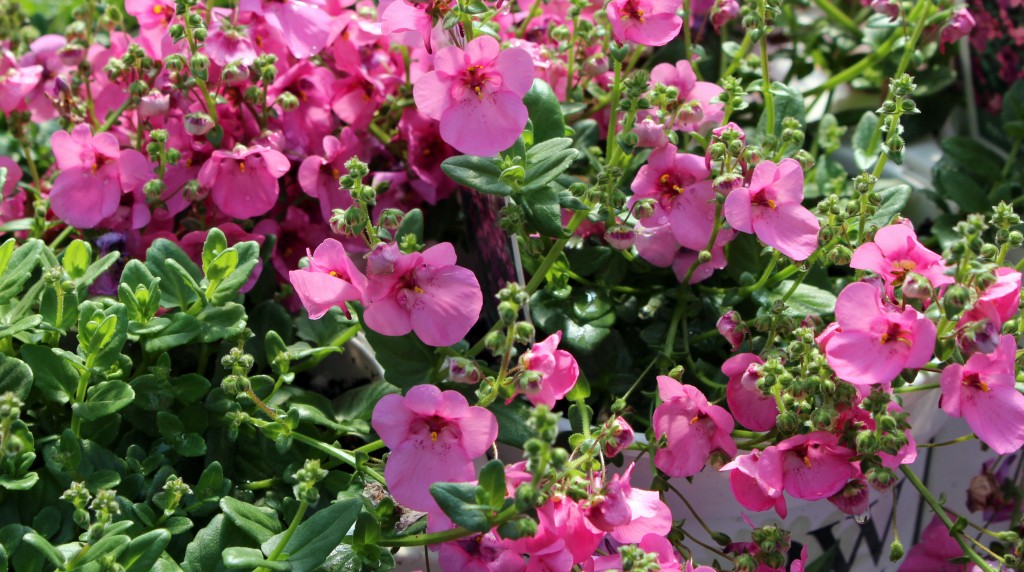

 We spent nearly two hours smelling and admiring all of the flowers. The greenhouses were by far the girls favorite part. They enjoyed our little shopping trip just as much as I did.
 Here’s to hoping I have a green thumb this year! Although I may have already messed up by planting my fall bulbs too early.

