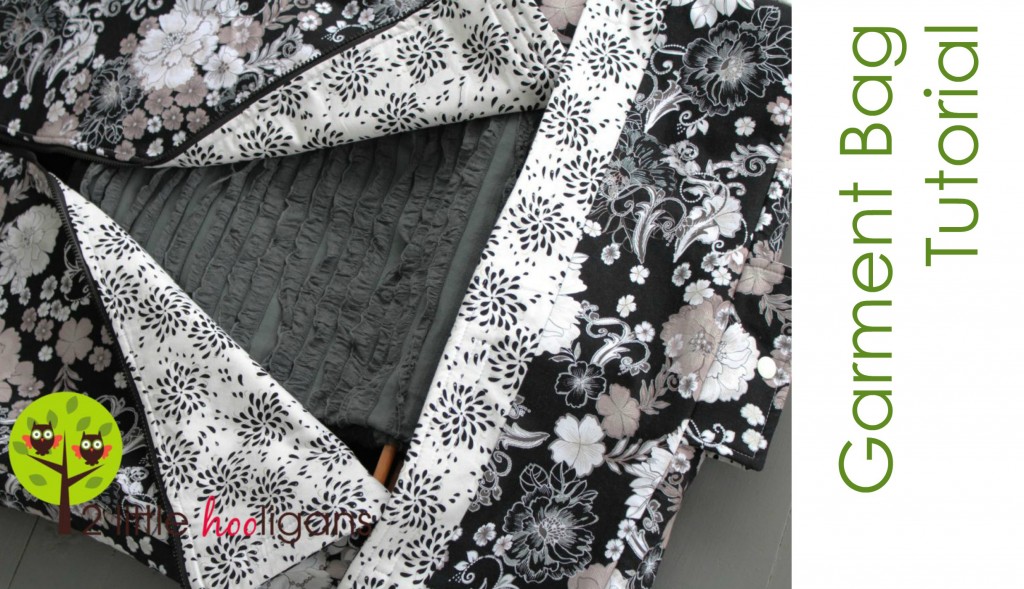
 Finished Garment Bag Measures about 34″ x 21″ by 2″ high.
Before beginning:
* You must know basic sewing techniques, how to make bias strips as well as know how to sew in a zipper.
* Be sure to read through the whole tutorial before you begin to sew. It always makes more sense after reading it through ahead of time.
* Unless otherwise stated in the tutorial use a 1/2″ sew seam and make sure you always start and finish your seams with a back-stitch.
* If you run into any problems or have any questions feel free to contact me at tw****************@ya***.com . And please remember that all of my tutorials are for personal use only! That means you may not make any garment bags from this tutorial to sell. You may however use this tutorial to raise money for a charitable organization.
Fabrics Needed:
* 2 1/4 yards of an interior fabric
* 2 1/4 yards of an exterior fabric.
* 2 yards of batting
Just so you know, I did use four yards of fabric total but had very little left over. Plus I also up-cycled a shoulder strap from an old bag. So if you feel you can make the most of your fabric and will not need any extra fabric for a shoulder strap by all means, just buy 4 yards. To be on the safe side though I would recommend buying 4 1/2 yards total. I used a quilting cotton but you can also use a medium weight cotton fabric or any decor fabric. The fabrics that I am using for this project came from Fabri-Quilt and can be purchased here.
Notions Needed:
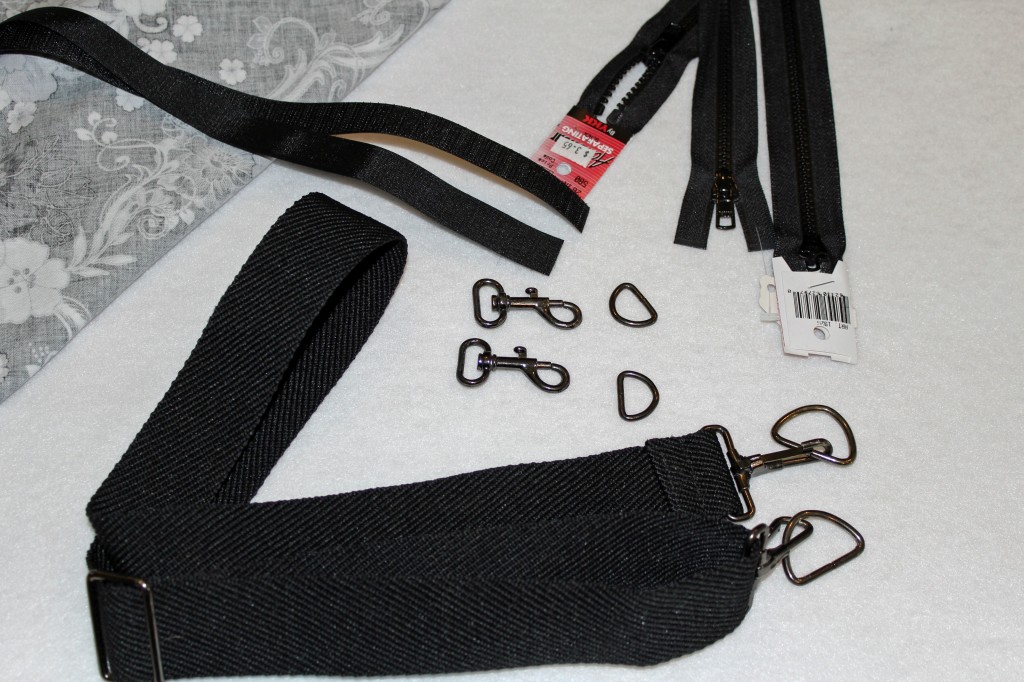
* Two 1″ D-rings with matching clasps (I up-cycled my D-rings and clasps from an older bag, but I have purchased D-rings in the past from this store and was very pleased.)
* Two 1 1/2″ D-rings with matching loop end clasps (You want to make sure the loop end is big enough to place a shoulder strap through if you wont be up-cycling them from another bag.)
* 1/2 yard of 1 1/2″ wide sew on Velcro
* Two 23″ separating zippers
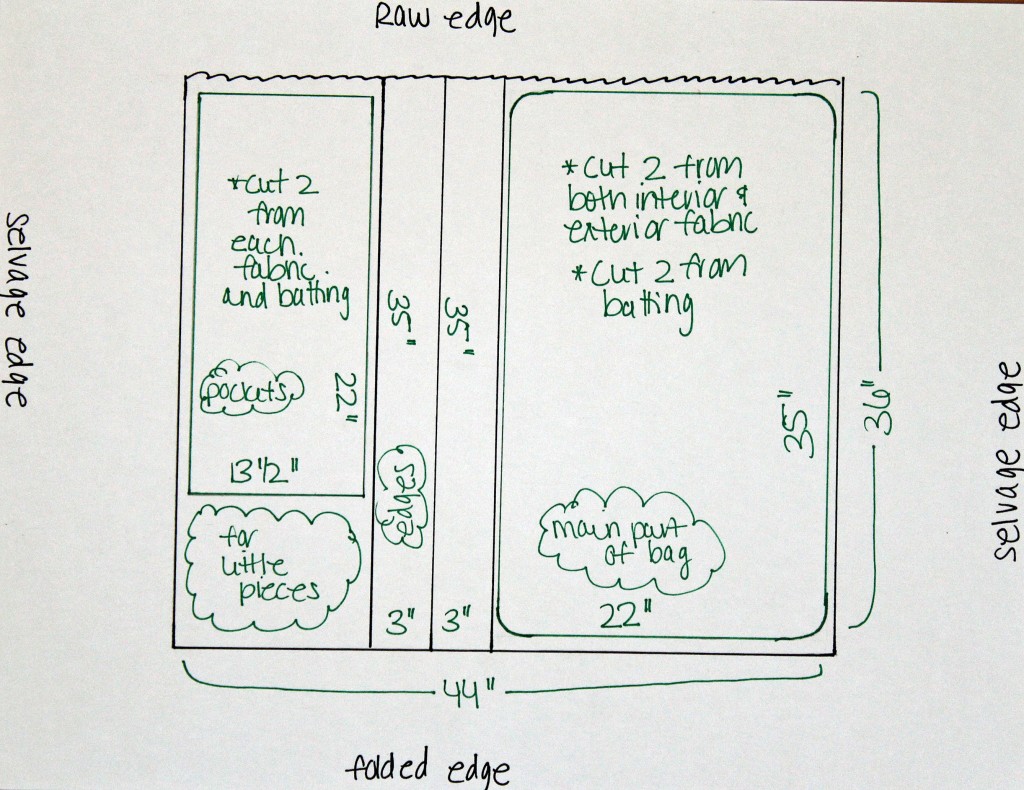
* One 36″ separating zipper 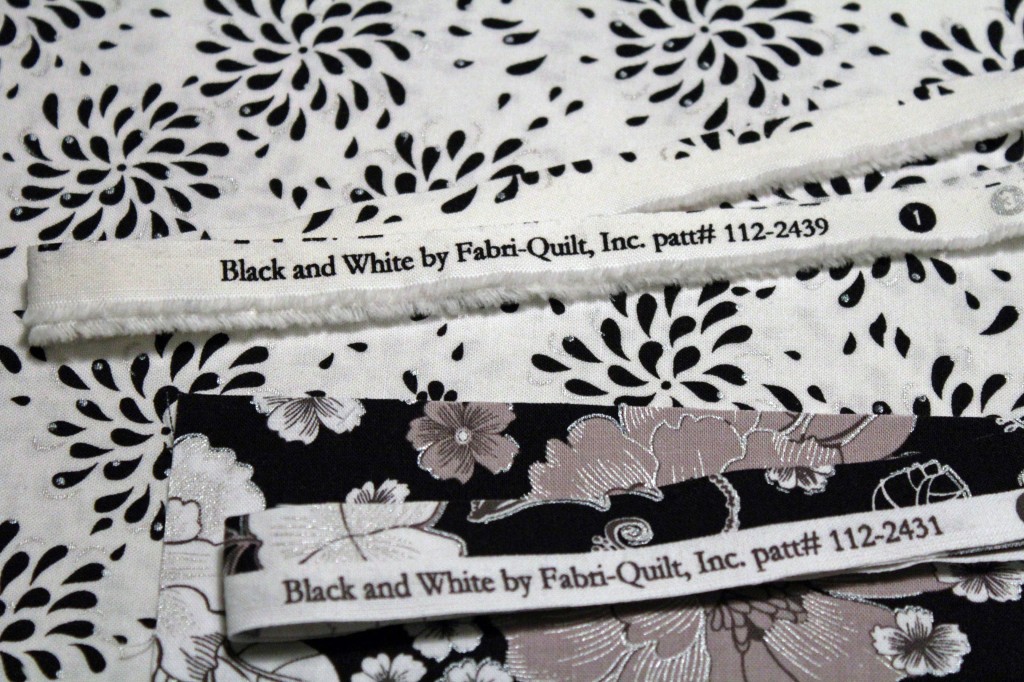 Gather your fabrics and fold them so that the same side selvage edges fold on top of themselves and the raw edges met one end. Basically it is folded in the opposite direction of what it normally is when it comes off the bolt. Folded fabrics should measure about 44″ x 36″ now. Of course the measurements will be a little different if you purchased the 4 1/2 yards like suggested. Below is a quick sketch of how I cut out my fabric pieces.
 Cut out the following pieces:
* Two pieces that measure 35″ x 22″ from each fabric and batting. Round all of the corners. (main part of bag)
* Two pieces that measure 70″ x 3″ from each fabric and batting. (edges of bag)
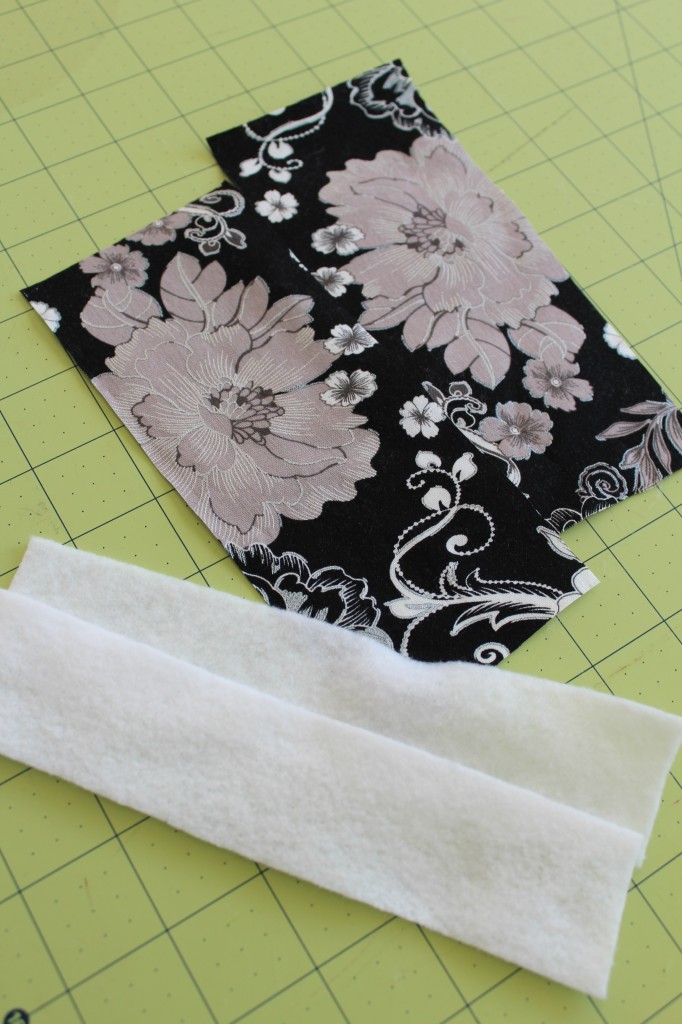
* Two pieces that measure 13 1/2″ x 22″ from each fabric and batting. (pockets)
* One piece that measures 22″ x 3″ from each fabric and batting. (front of bag)
* Two pieces that measure 6″ x 3″ from each fabric and batting. (hanger flap)
* Two exterior pieces of fabric that measure 7″ x 1 1/2″ (bias tape over hanger flap)
* Two pieces from exterior fabric that measure 22″ x 1 1/2″. (zipper bias tape)
** You will have a few smaller pieces to cut out later as well as make a shoulder strap piece. I personally up-cycled a shoulder strap from an older bag so I will not be showing you in this tutorial how to make one. Here is a great tutorial on how to make an adjustable shoulder strap if needed. Keep in mind that if you want to save time you may also use a cotton webbing for the shoulder strap or as well as with any of the D-rings, clasps or handles. **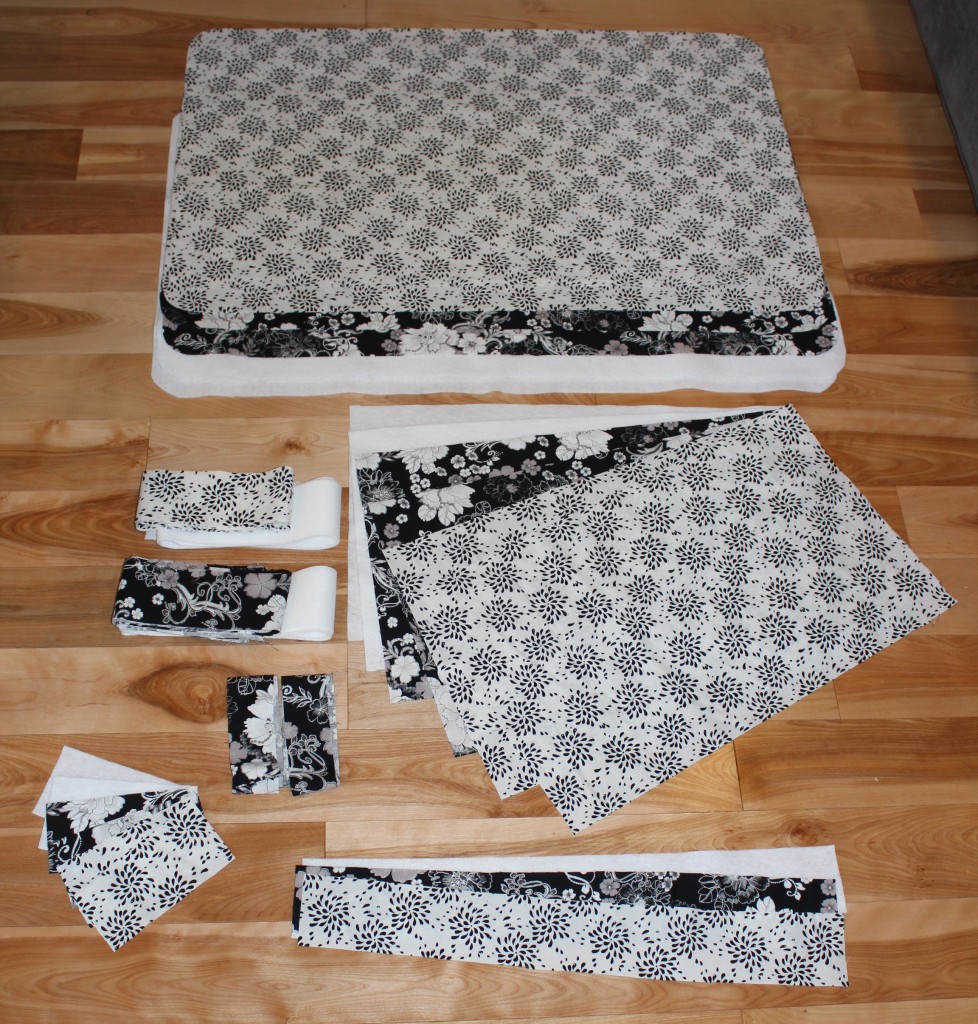 Ok, now that you have all of your fabric and notions together it is time to start sewing. I promise this bag is easy to make. Yes, this tutorial is super long but that is only because I try to show each and every step. Remember this tutorial is to show you how I made MY garment bag and you can make any changes you want to fit your needs better.
 Start by gathering one each of the 35″ x 22″ fabric and batting pieces.
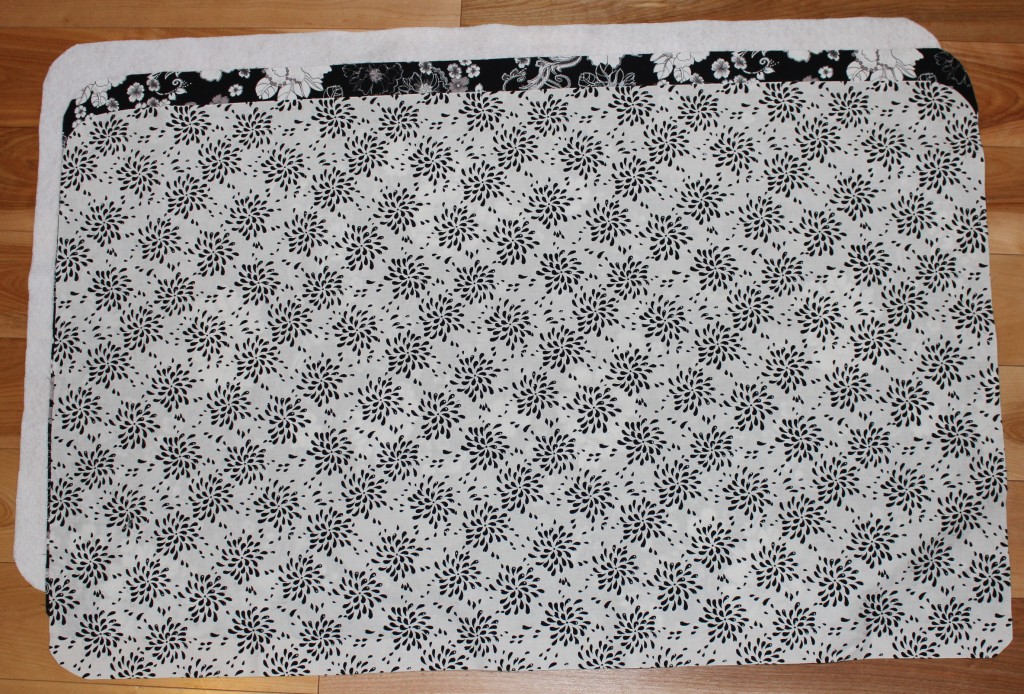 Working with all three pieces at the same time, measure 5″ in from the edge and cut. Now cut the remaining pieces exactly in half like shown below. These pieces will be used for the front portion of the bag. You know the part of a garment bag that and unzips so you can put your clothes inside?
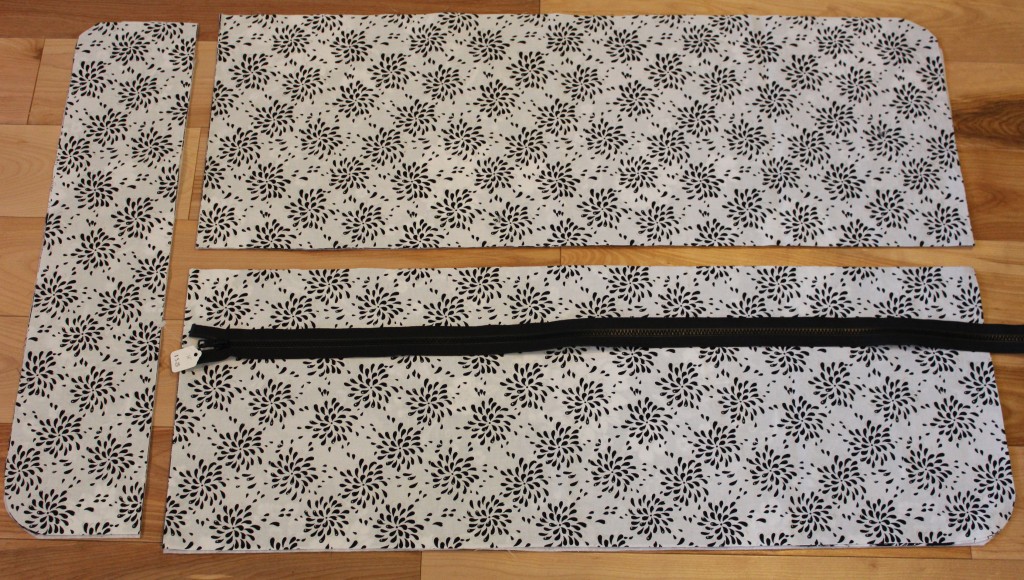 Gather your 36″ zipper. Also gather one exterior and batting piece from left side pile that you just cut in half and take one of the interior pieces from the pile on the right. You need to do this to make sure that the rounded edges line up once the zipper is sewn on. You will want to layer the fabrics like so: batting, exterior fabric right side up, zipper wrong side up (top of zipper should be on the left side), then place the interior fabric wrong side up. Pin zipper in place. Sew along zipper. Then sew along the short side that does not have the rounded edge. In the picture below it is on the left side.
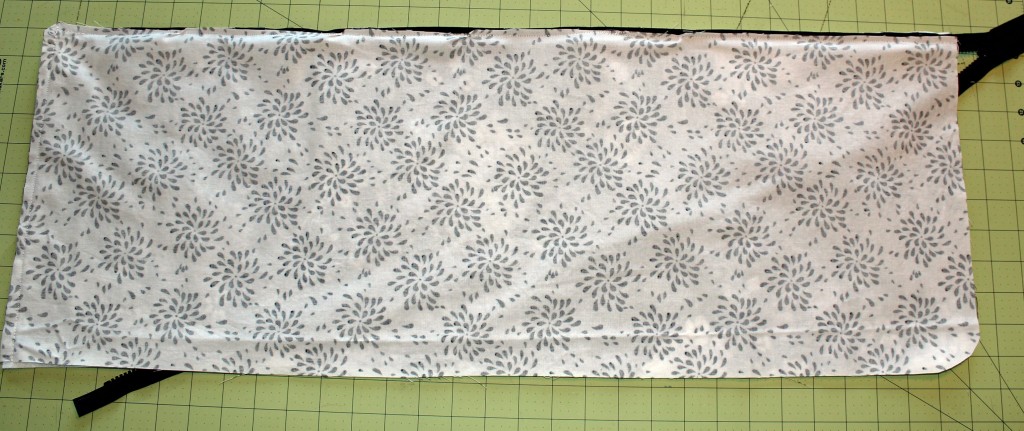 Turn right side out. Iron flat.
 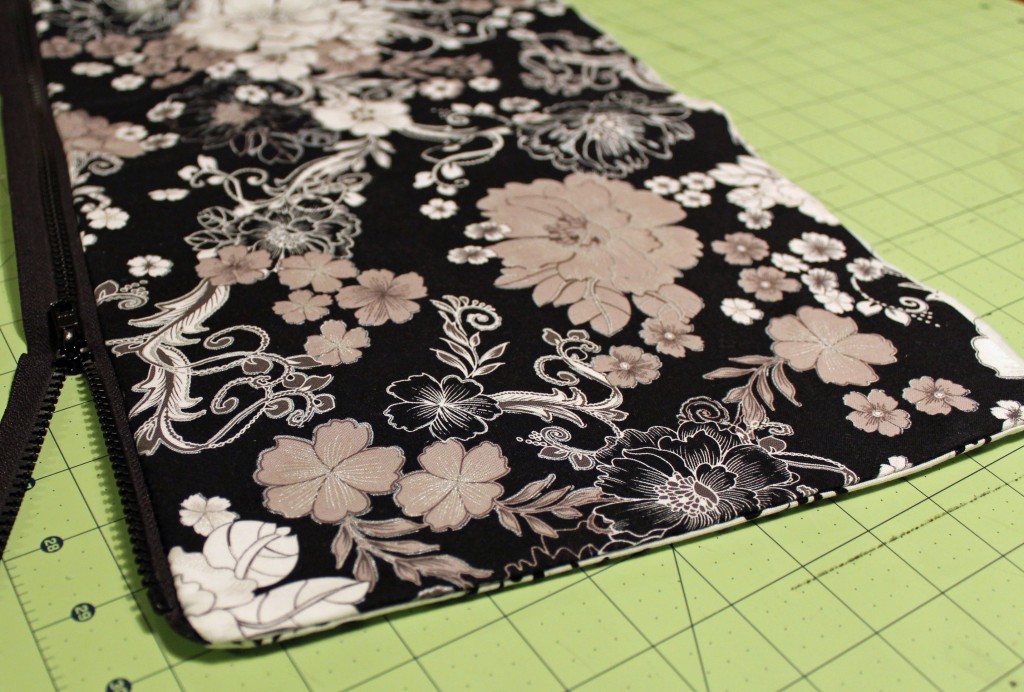 With the top of your zipper still on the left side with the other two pieces of fabric and batting. This time layer like so: interior fabric right side up, zipper right side up, exterior fabric wrong side up, then batting.
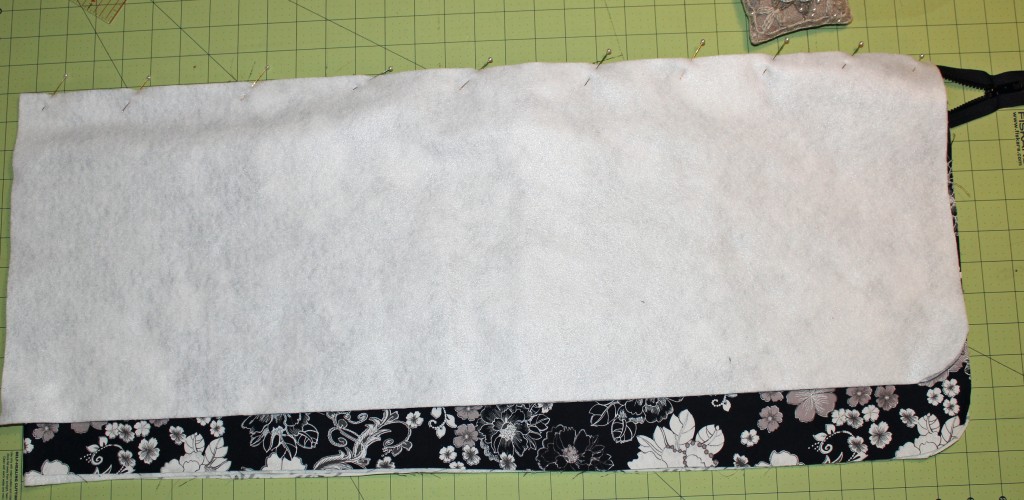 Pin zipper in place. Sew along zipper and short side that does not have rounded edge.
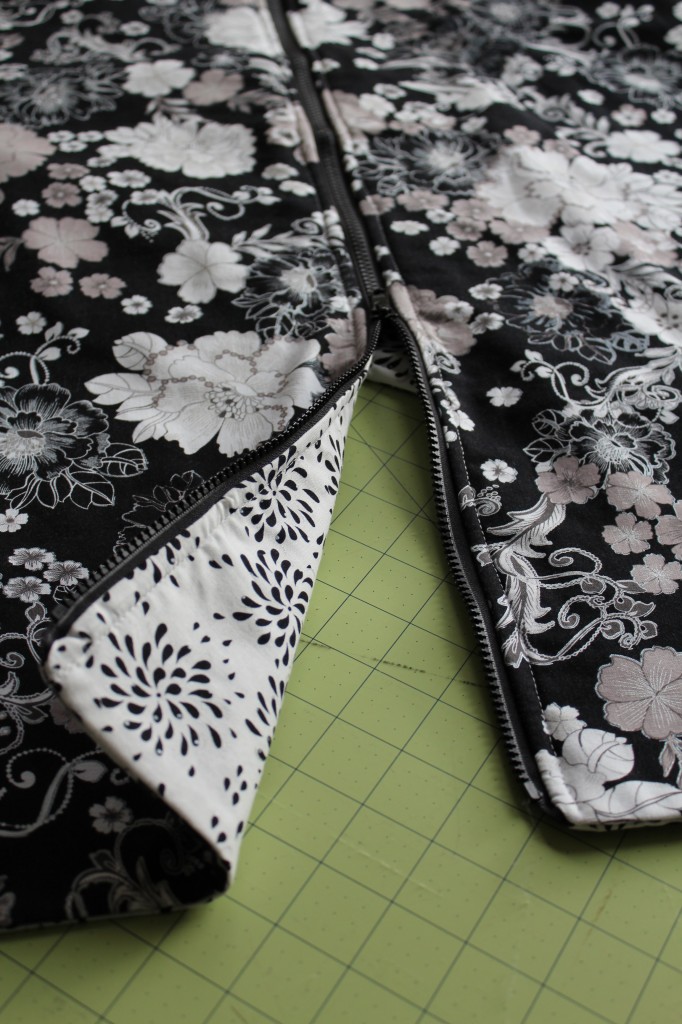
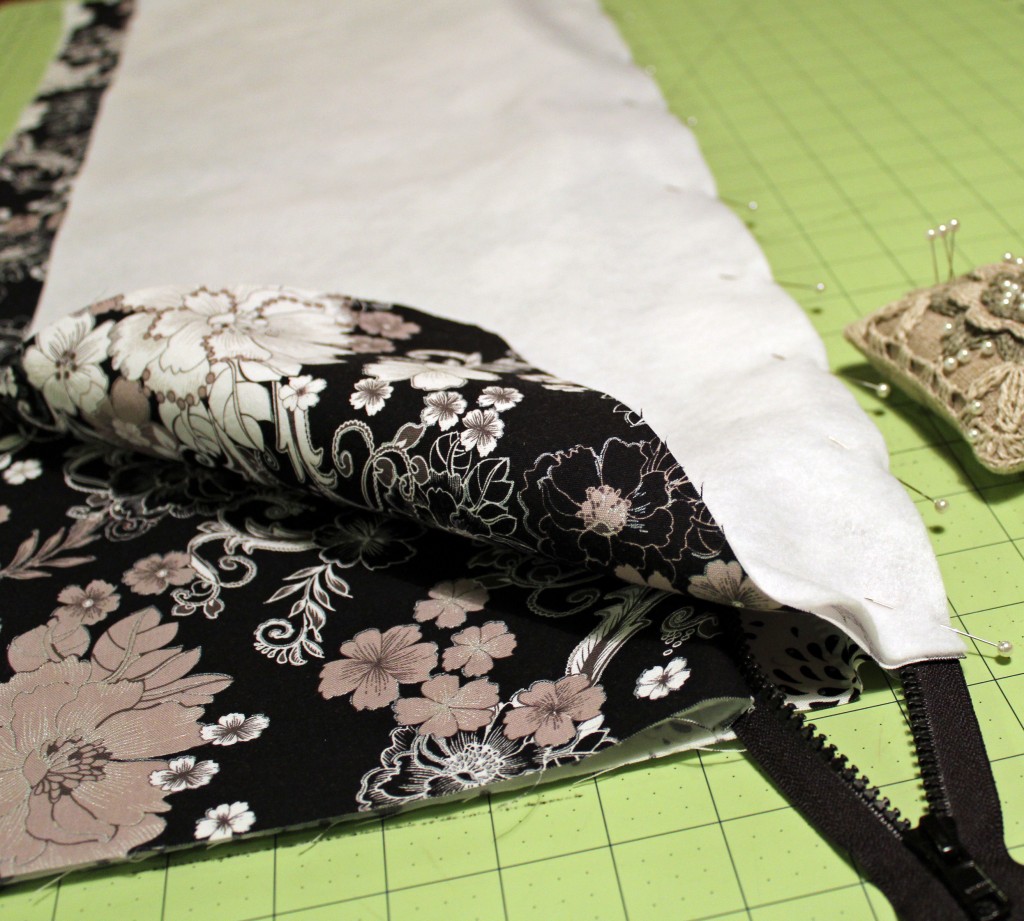 Turn right side out and iron flat. This is what your piece should look like now.
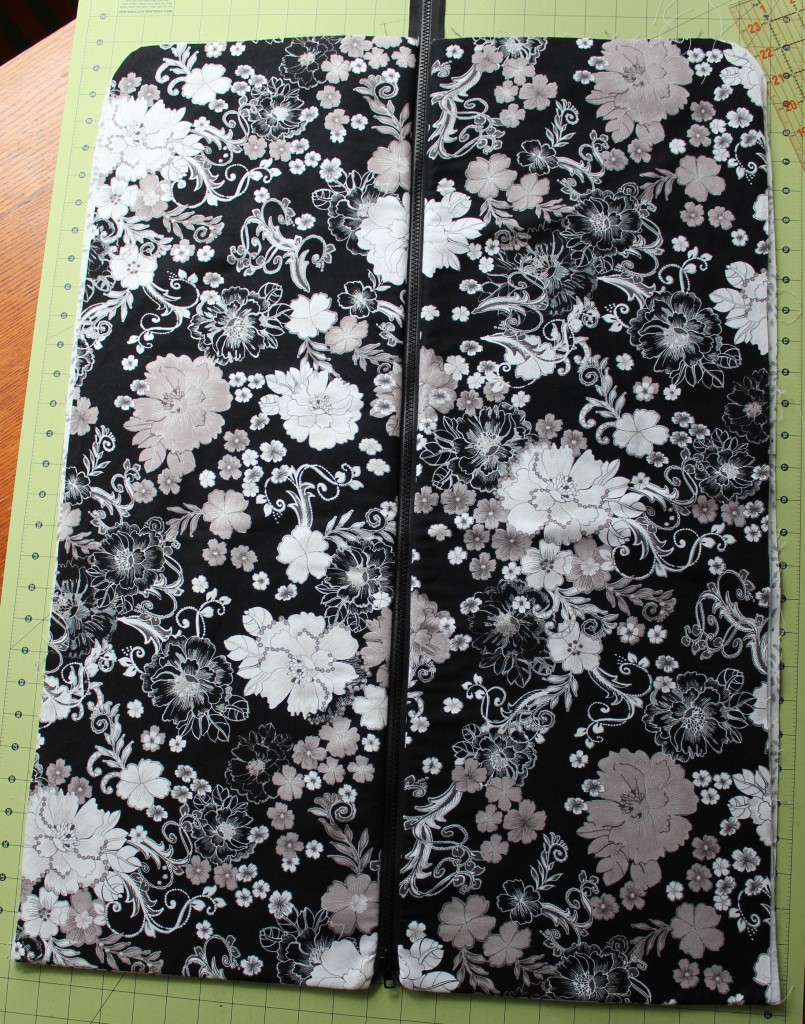 Top stitch along edges near zipper. Set aside.
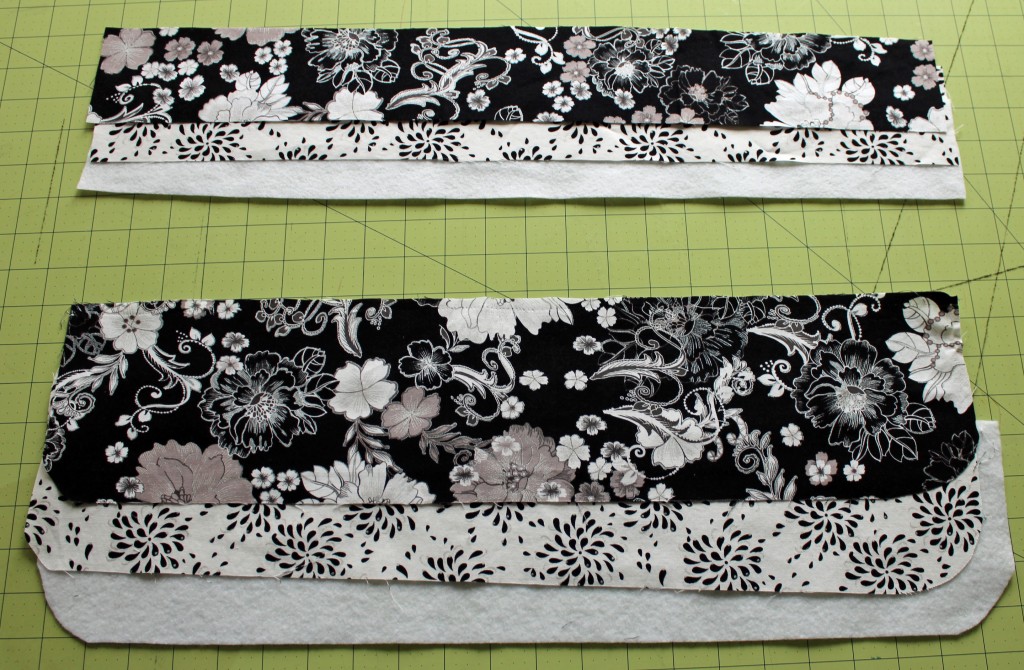
 Gather the 5″ x 22″ pieces that you just cut as well as the three 22″ x 3″ pieces of fabric and batting.
  Pin opposite fabrics and batting in place like shown below. Make sure that you are not pinning to the rounded edges.
 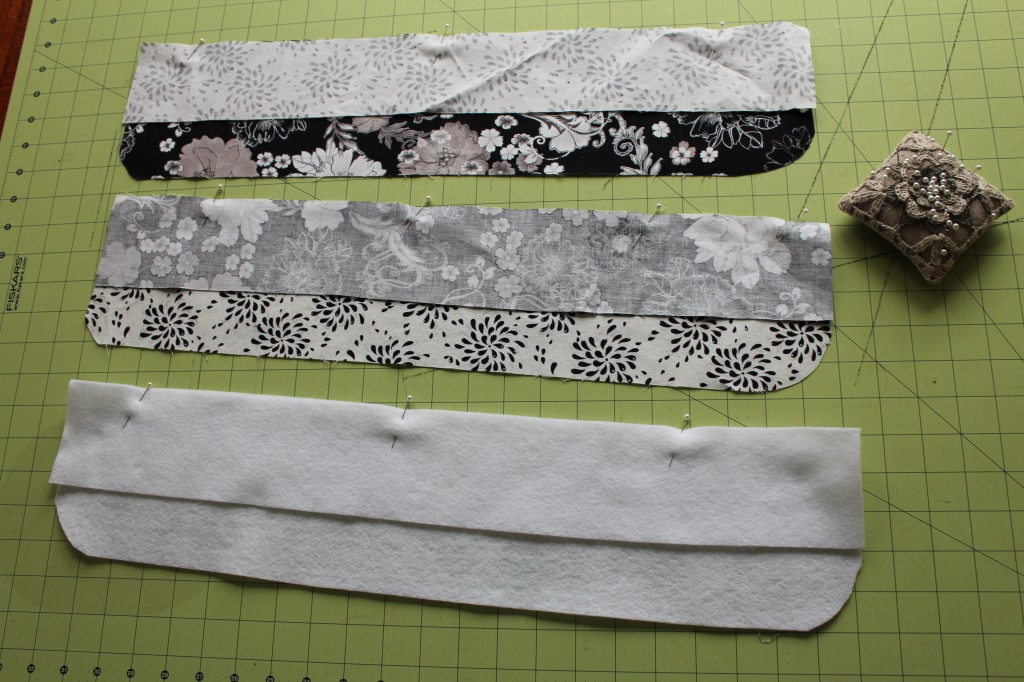 Sew on pinned edges. Iron flat.
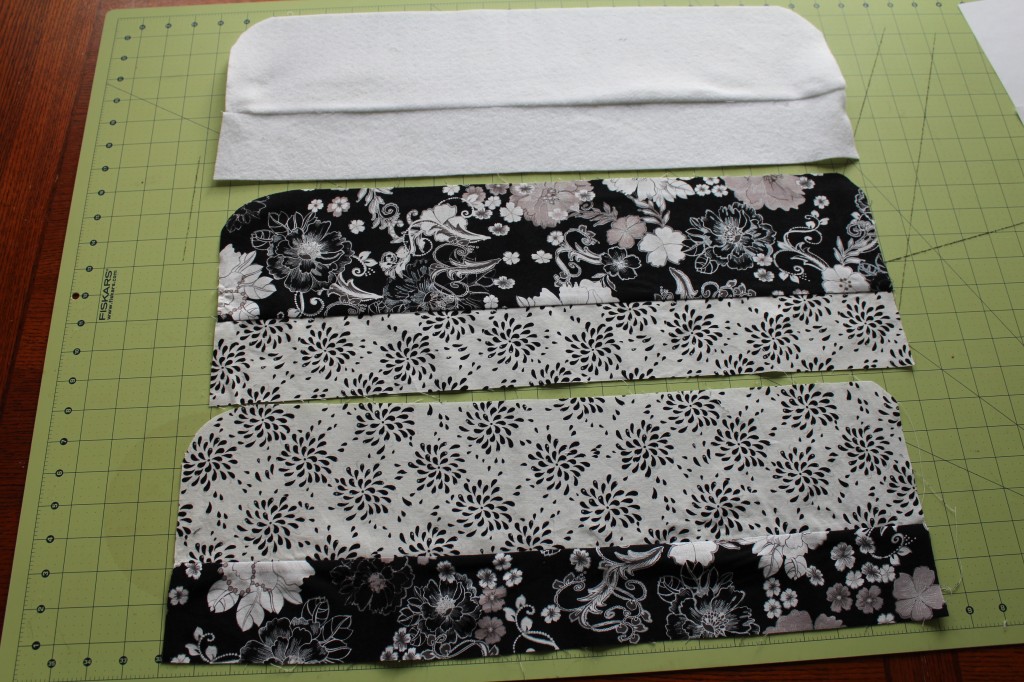 Now you are going to pin the pieces together on the straight edges. Layer like so: batting, larger exterior fabric piece right side up, then interior fabric piece wrong side up. Sew along straight edge. Turn right side out and iron flat.
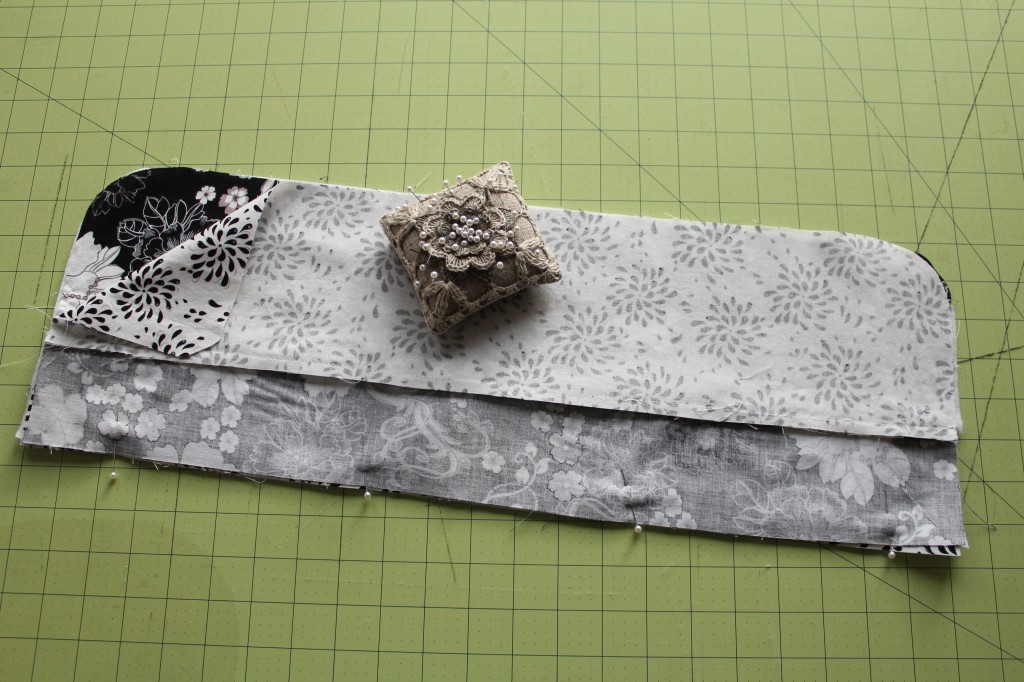 Top stitch along bottom edge.
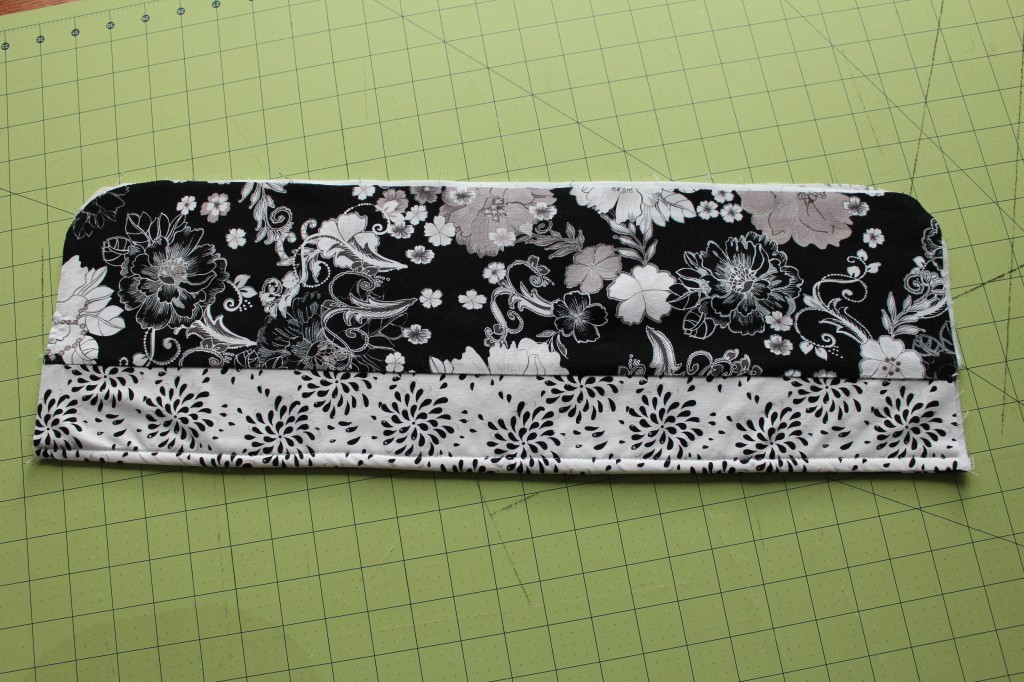 You now have the two front pieces of your bag done. Now you are going to make the little hanger flaps. You know the place where the hangers come out of the garment bag to be hung? Well I’m calling those hanger flaps in this tutorial.
 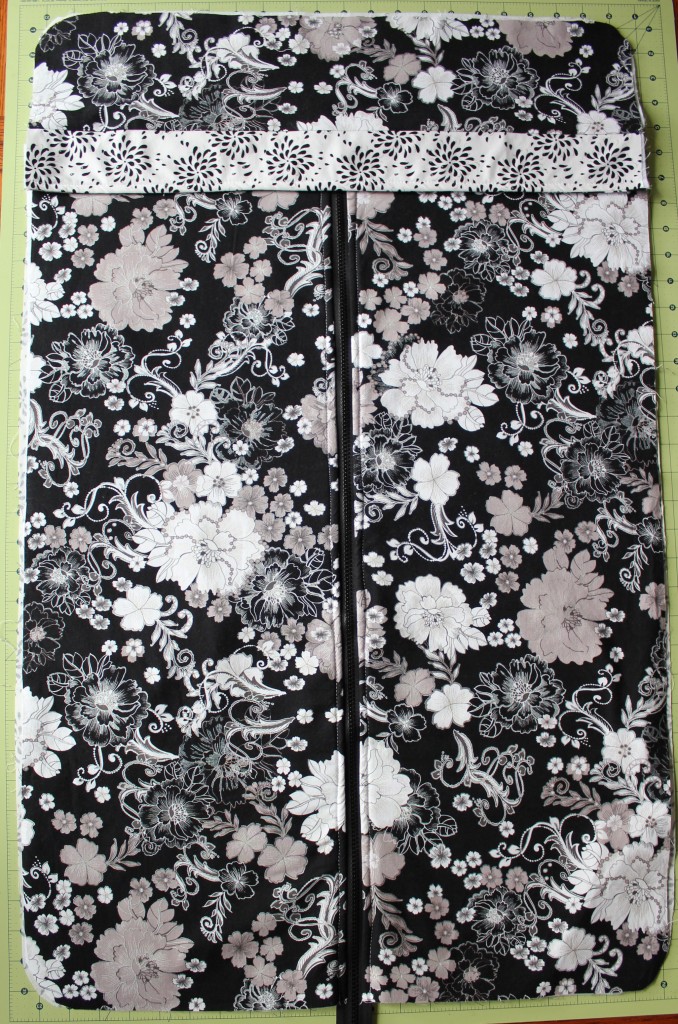 Gather the 6″ x 3″ pieces of fabric and batting.
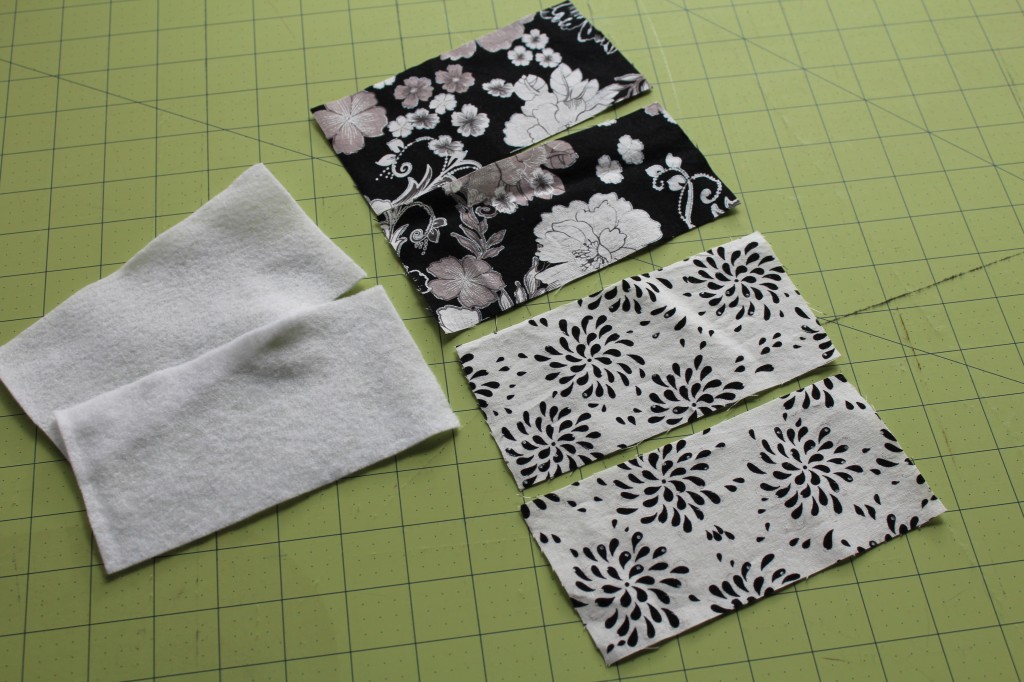 Layer fabrics like so: batting, exterior fabric right side up then interior fabric right side down. Sew along top and sides. Clip off corners.
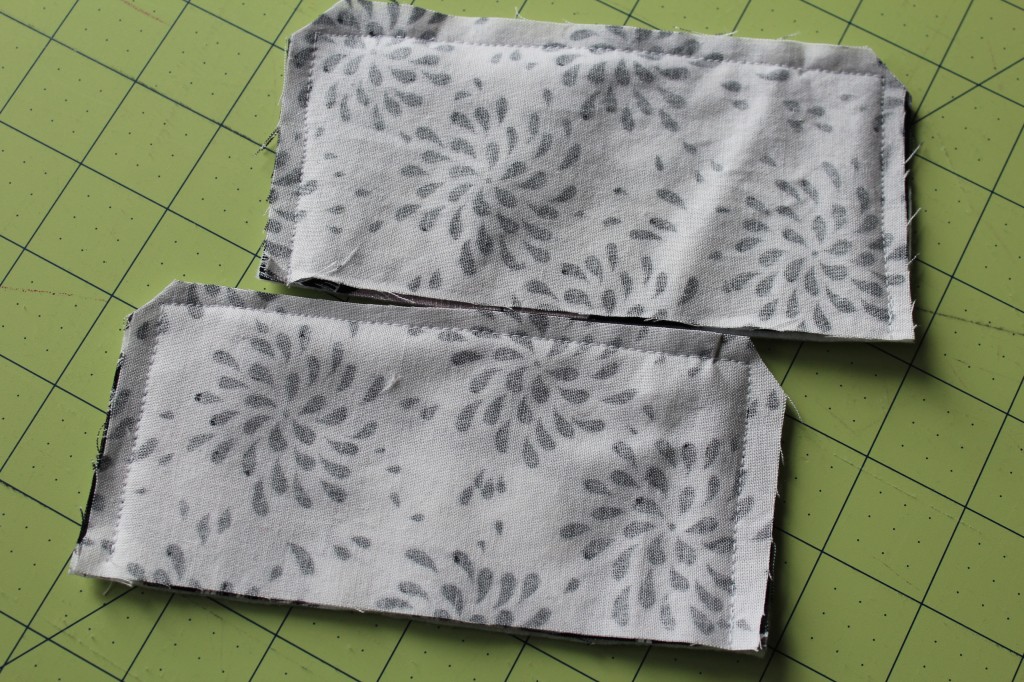 Turn right side out. Iron flat. Top stitch along top and edges. Set aside.
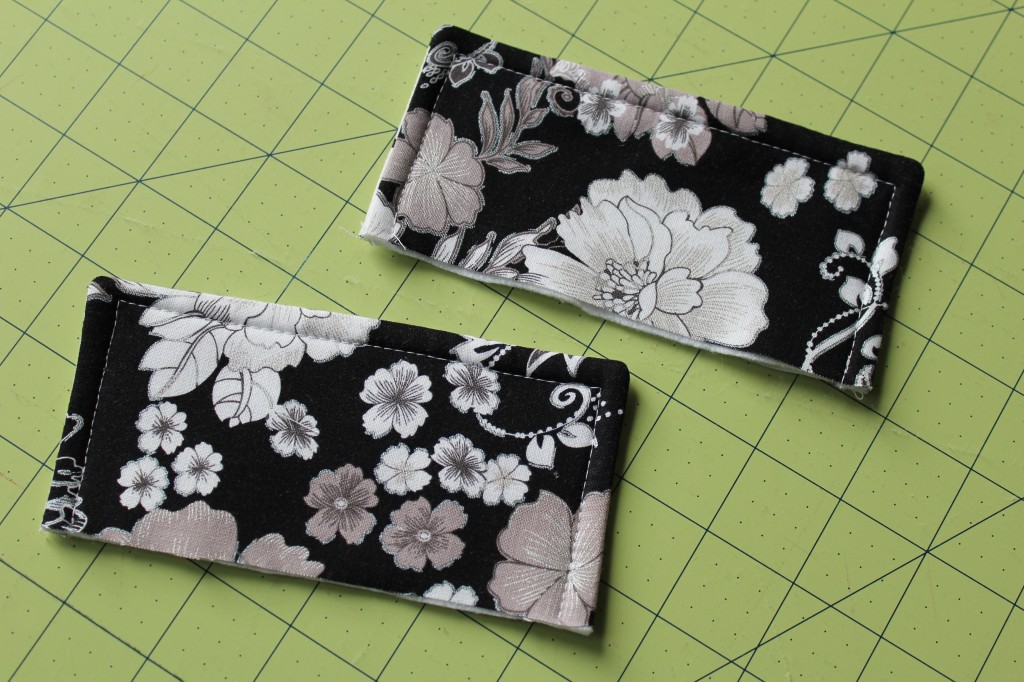 Gather the 13 1/2″ x 22″ pieces of fabric and batting along with your 23″ zippers.
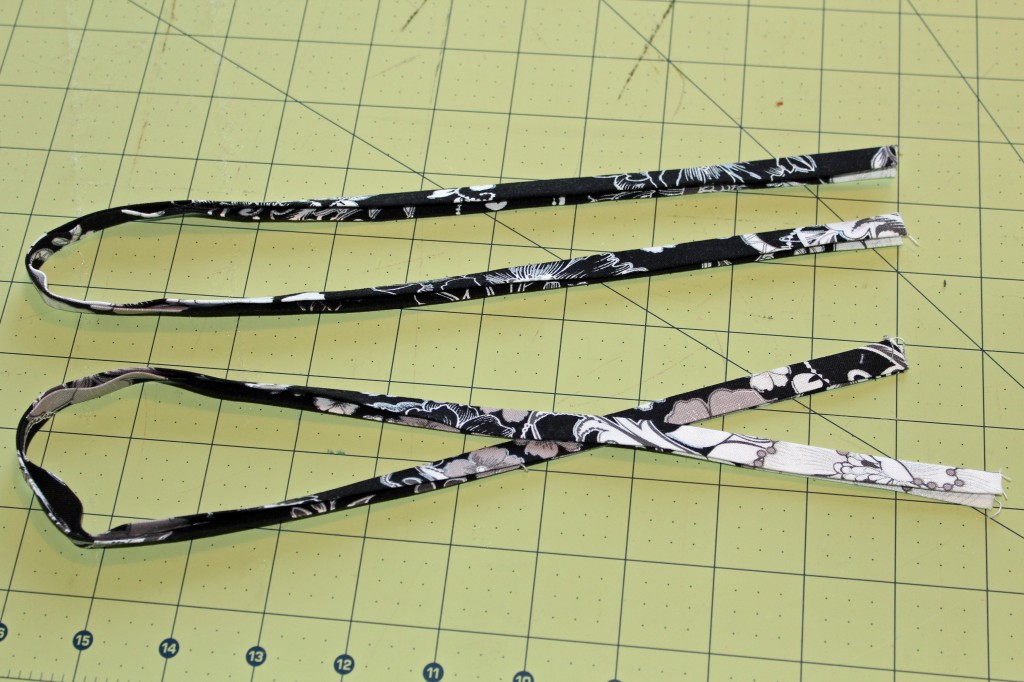
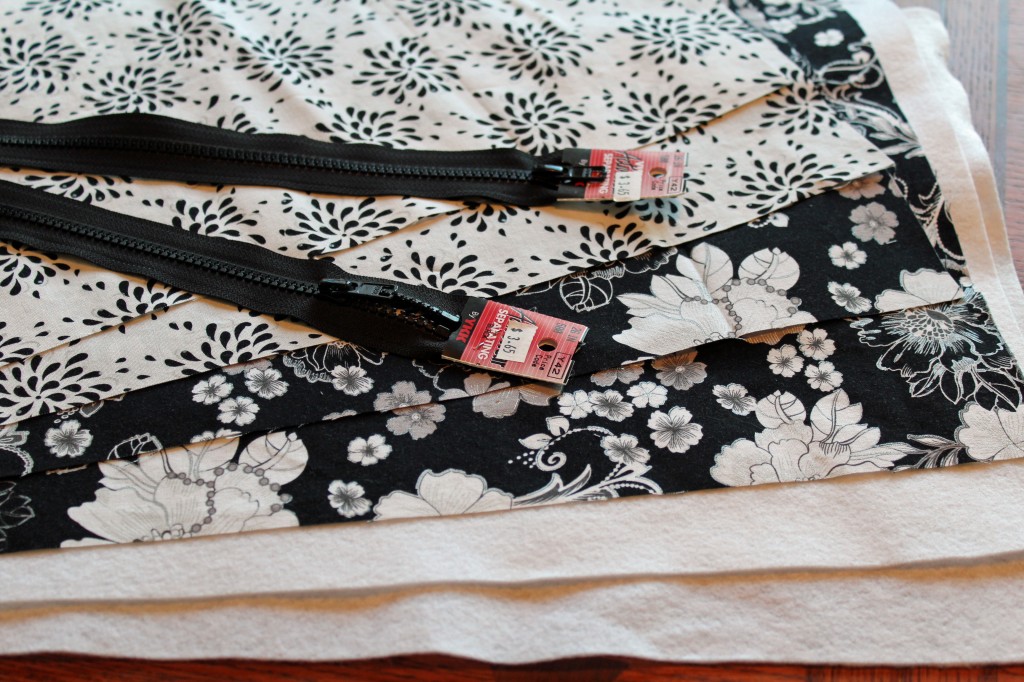 Gather the two pieces of exterior fabric that measure 22″ x 1 1/2″. Make them into bias strips. Set aside. Now you are going to make the pocket pieces.
 Layer fabrics like so: batting, exterior fabric right side up, zipper right side down, then interior fabric wrong side up. Pin zipper in place. Sew in place. Repeat with the remaining fabrics and zipper. Top of zipper can be on either side this time.
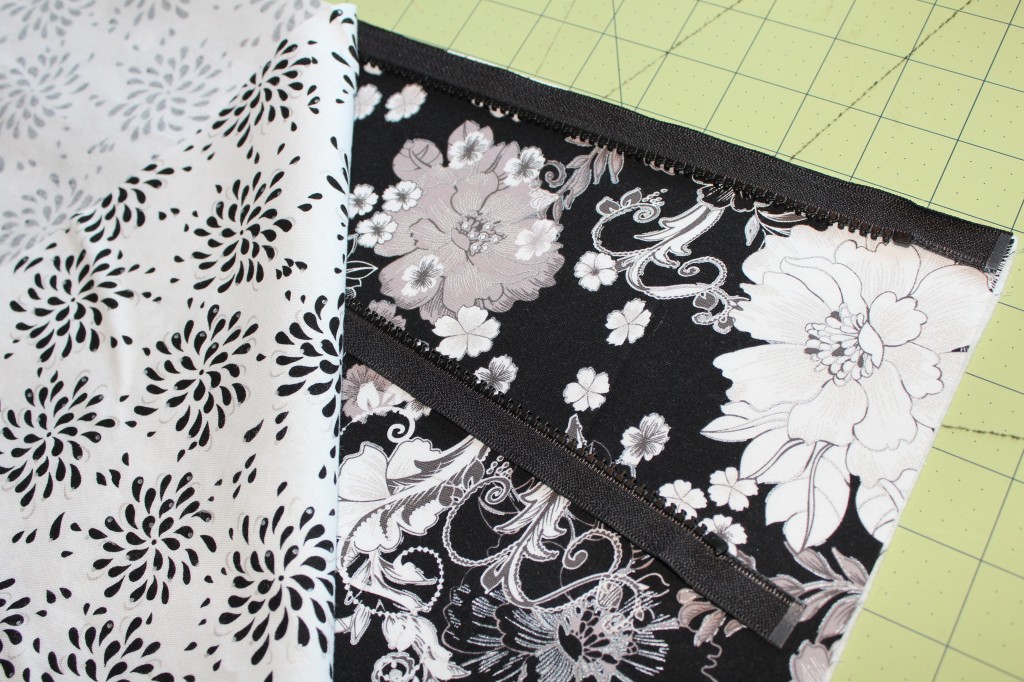 You should now have two pieces that look like this.
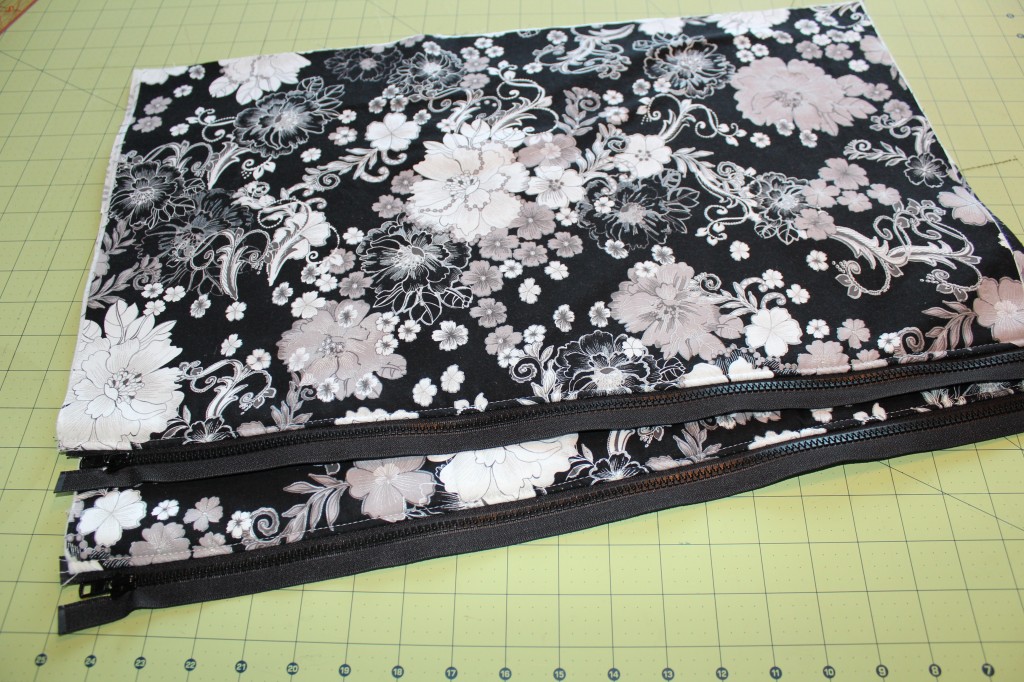 Gather your 35″ x 22″ exterior piece of fabric and batting, the bias strips you just made along with your pocket pieces. You are going to make the back of the bag. You know the part of the garment bag that has the handles attached and has pockets?
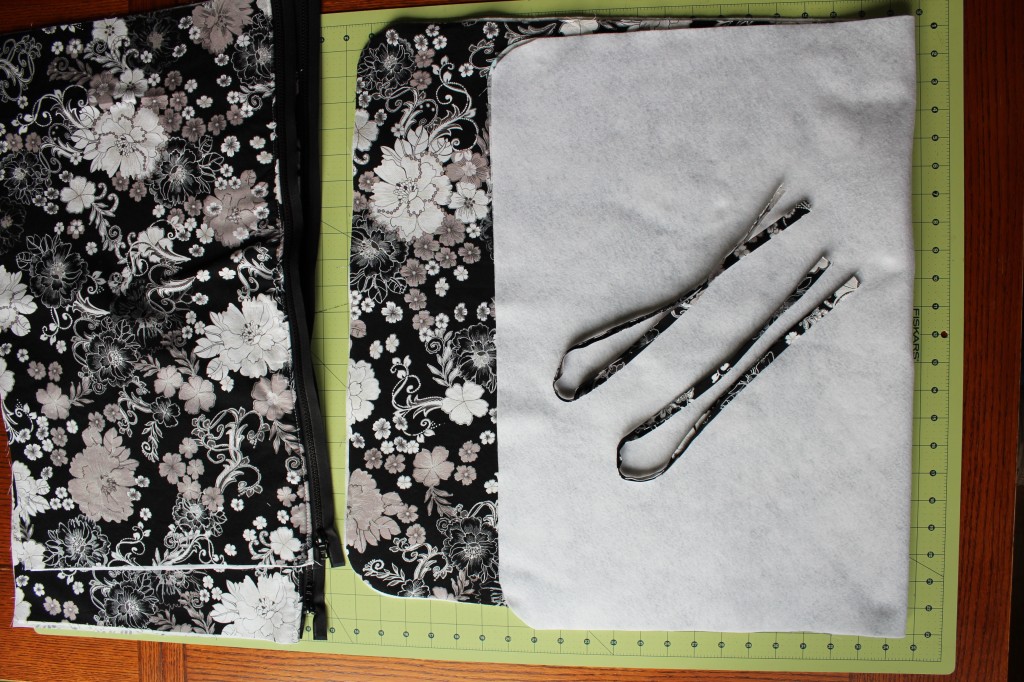 Lay the 35″ x 22″ piece of fabric flat with the batting underneath. Lay zippered pockets on top. Line up edges. Don’t worry about the squared edges of the pocket pieces, you will be rounding them in a bit.
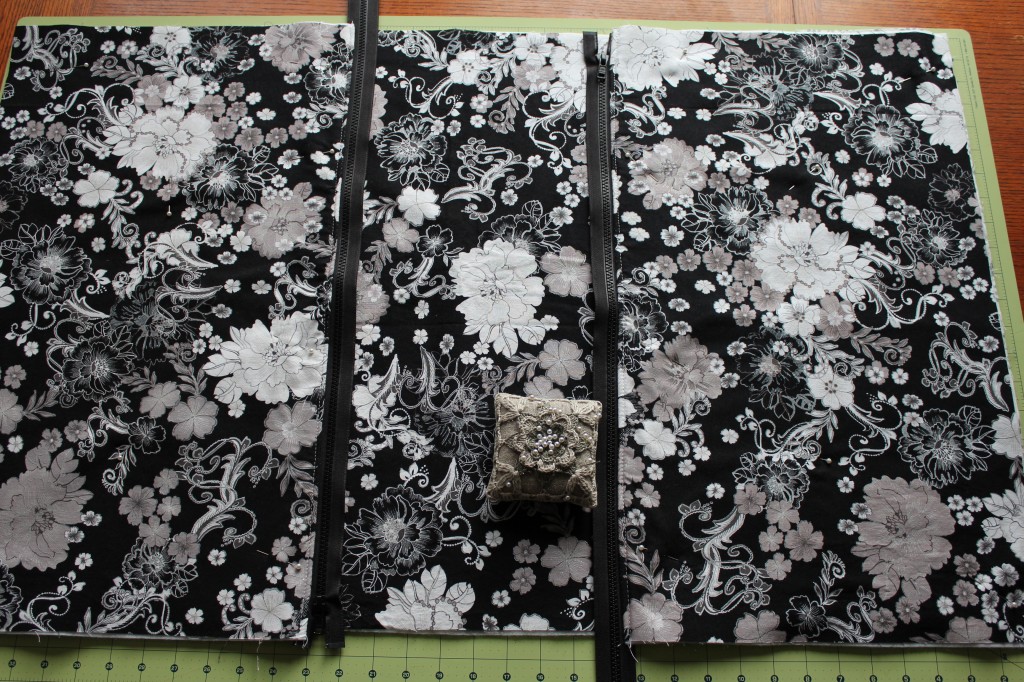 Take the bias strip and place the edge of the zipper inside of it then pin in place onto bag.
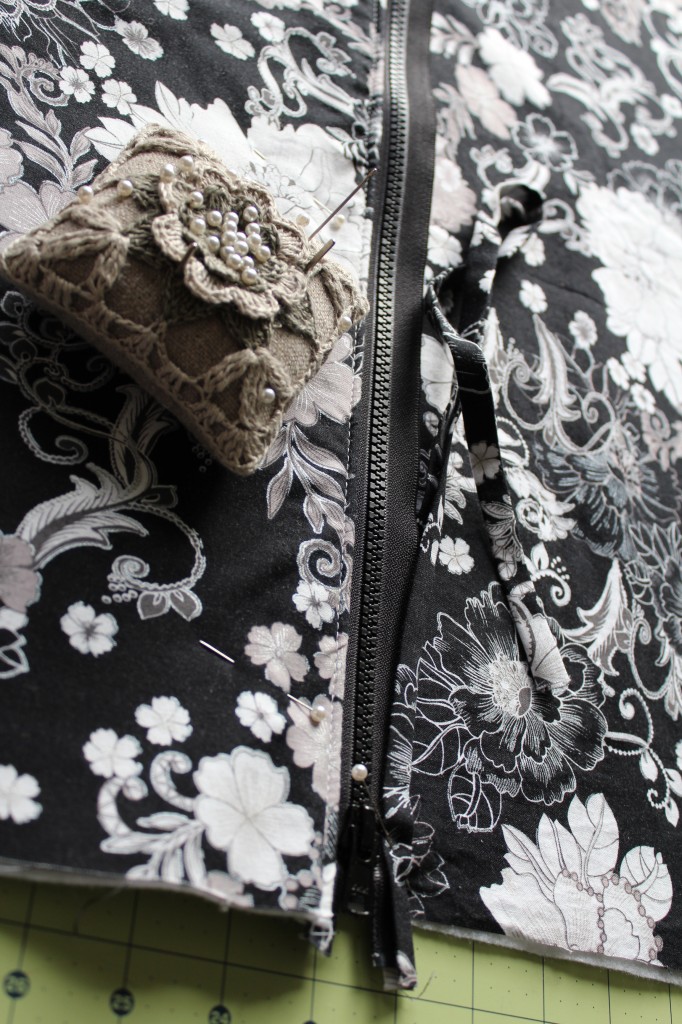 Sew bias strip as close to the zipper as possible. Take your time. These stitches will be seen plus they will be holding the zipper in place. This is just a quick and easy way to cover up the zipper edges.
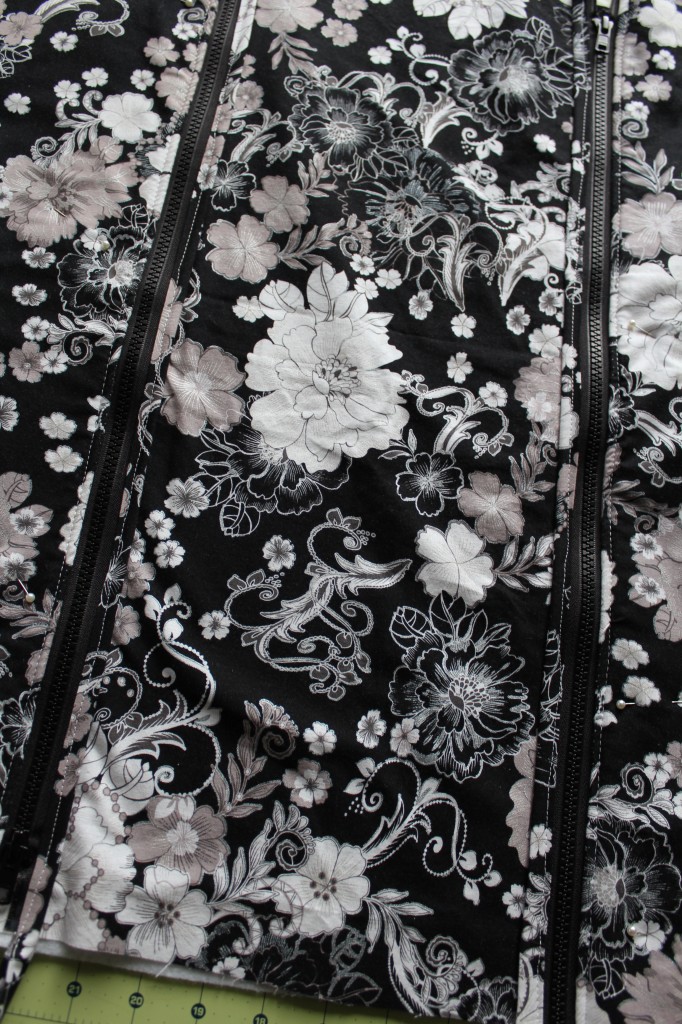 Now lay the 35″ x 22″ interior piece of fabric on top of the back piece that you just made. Trim all around the outer edges to make sure they are even and straight. Round edges as well. Be careful when cutting around the zippers and now is a good time to hand stitch the teeth on the zippers closed.
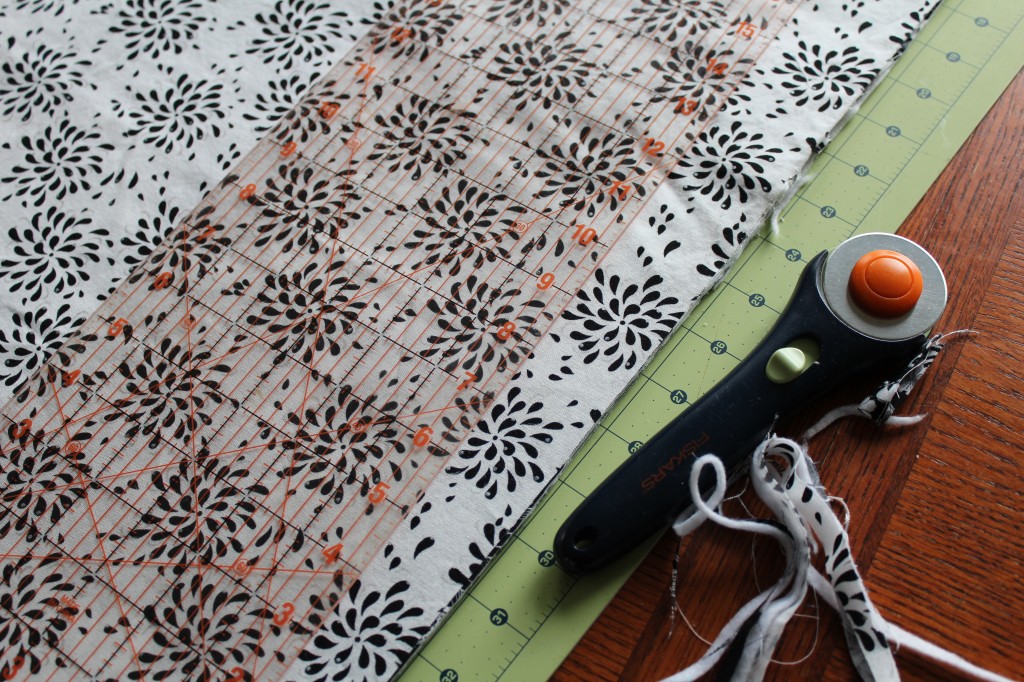
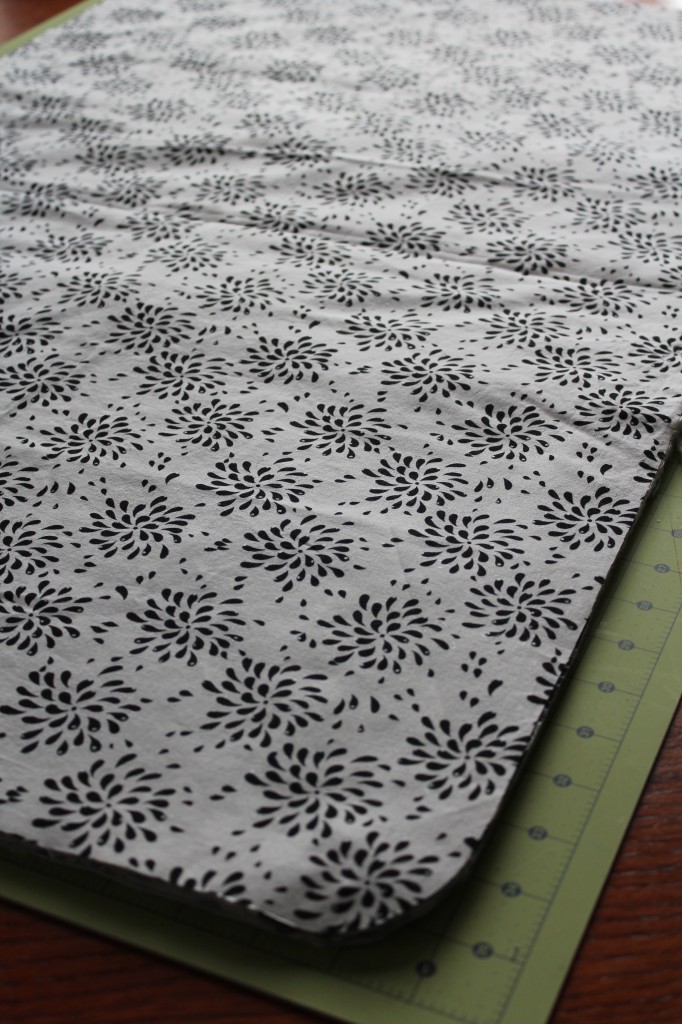 With the back piece still laying flat place the two front pieces on top. Line up all the edges. Make sure you overlap the top part of the front piece over the zippered part. This is how you will find out where to place the Velcro later on. Pin in place.
 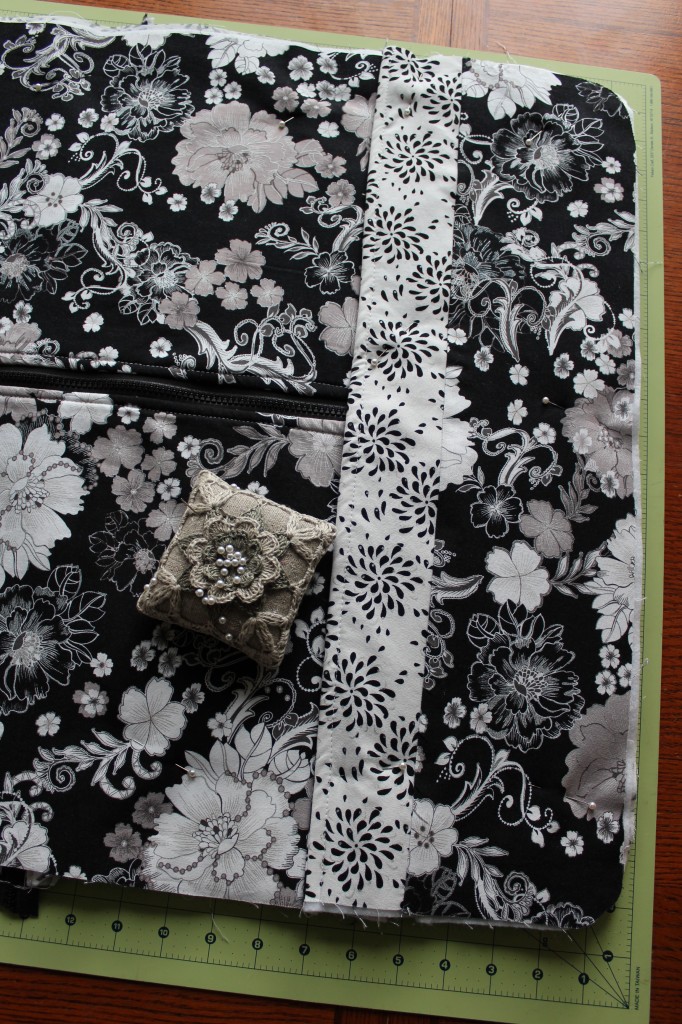 Trim all of the edges. Again be careful near your zippers and hand stitch the teeth together.
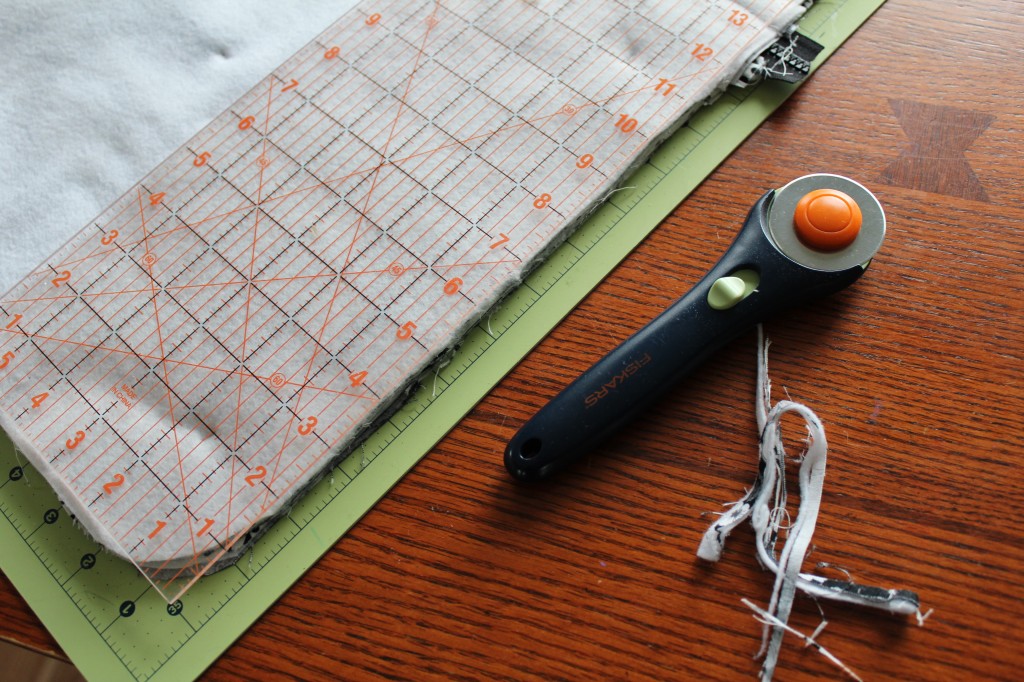 Grab your Velcro and cut it into two 7″ long pieces.
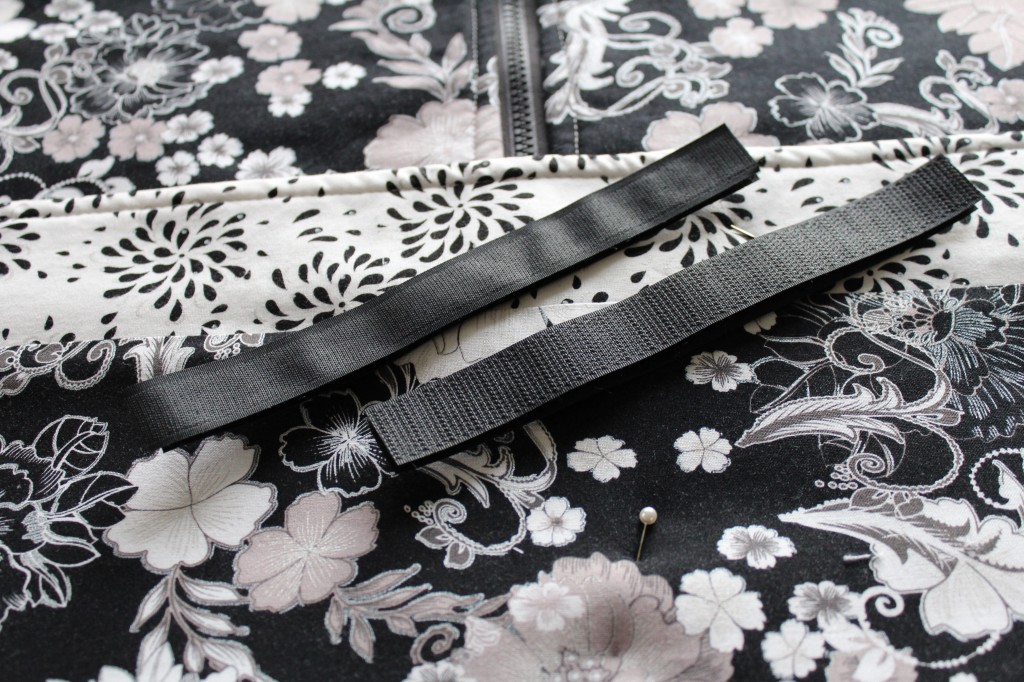 Line up the hook piece of velcro under the flap of the top piece about 1″ in from the edge. Line it up so that they are even on the right and left side of where the zipper lays on the piece below. Now place the loop piece of Velcro onto the front piece of bag that lays underneath. Make sure you line it up so that the velcro works once sewn on. Pin and sew in place.
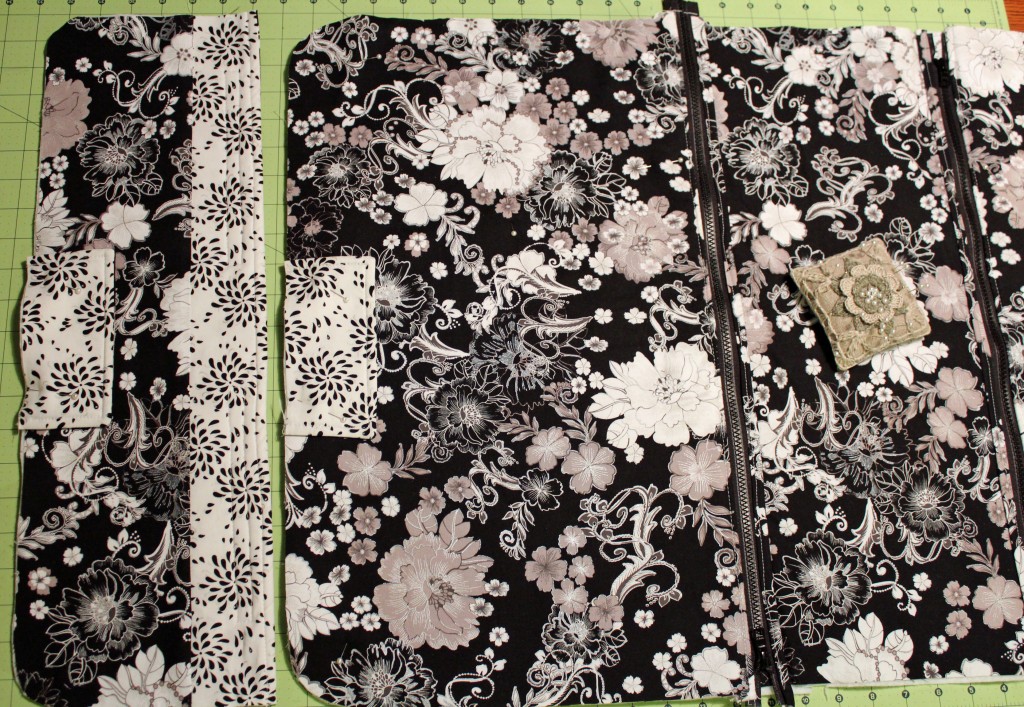
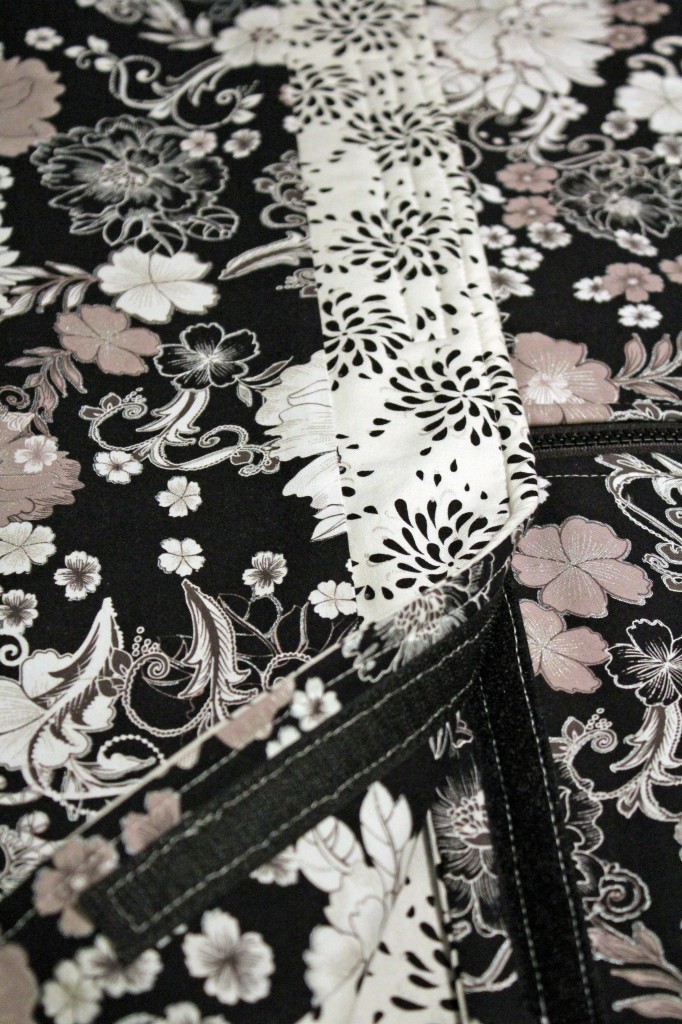 Gather the two hanger flaps. Place them on the top edge of the front and back pieces of the bags. See picture below. Just make sure they line up evenly.
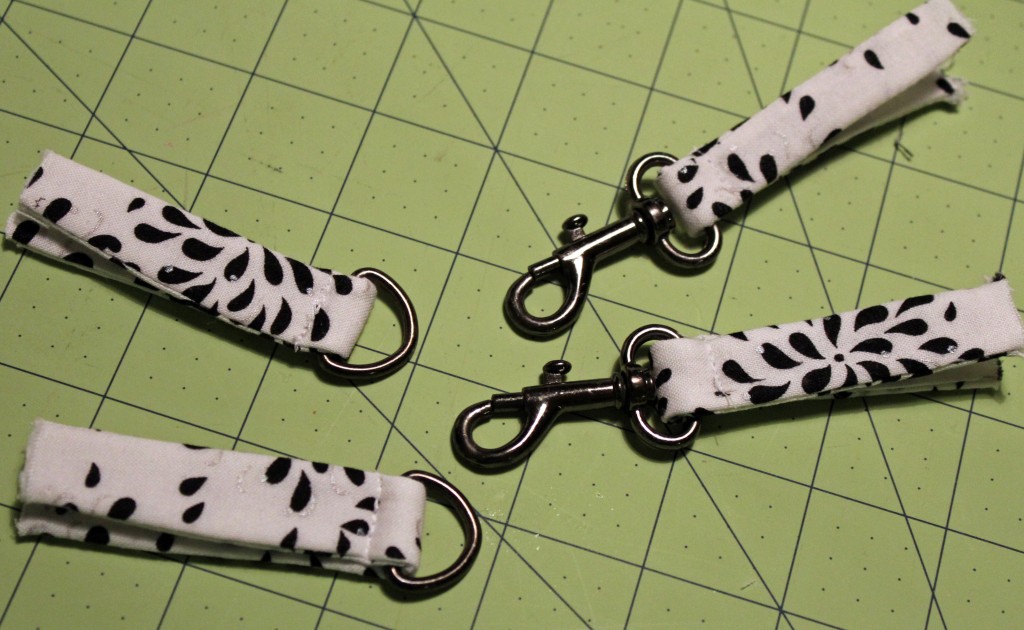
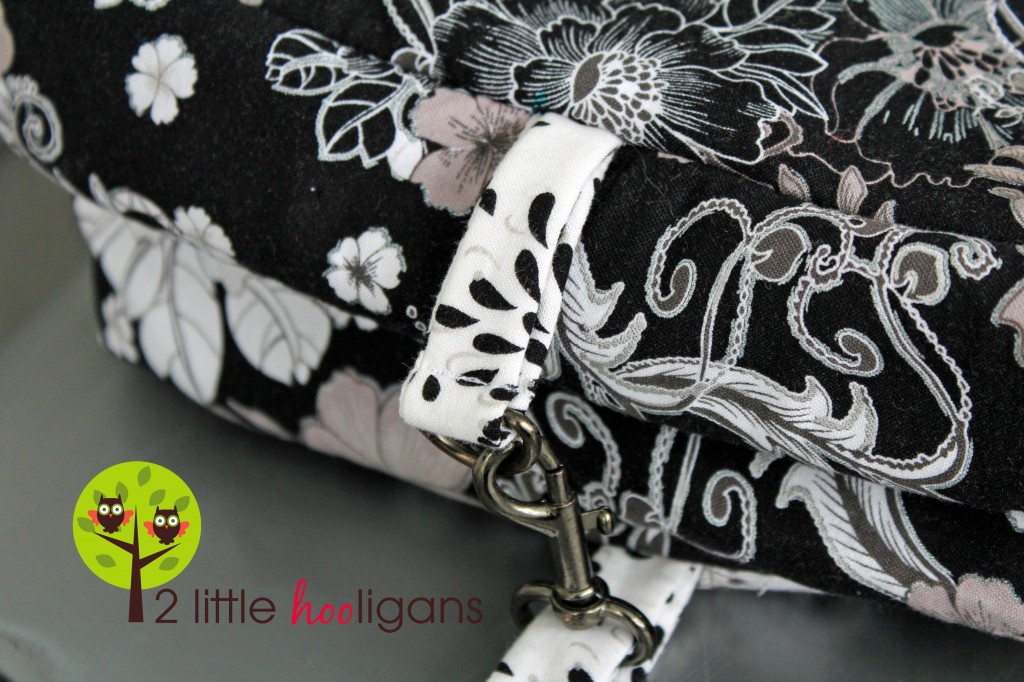
  Gather the two 1″ D-rings and matching clasps. Out of your scrap pieces of fabric make some tabs to attach the D-rings and clasps to. I think mine were about 5″ long so once looped through they are 2 1/2″ long.
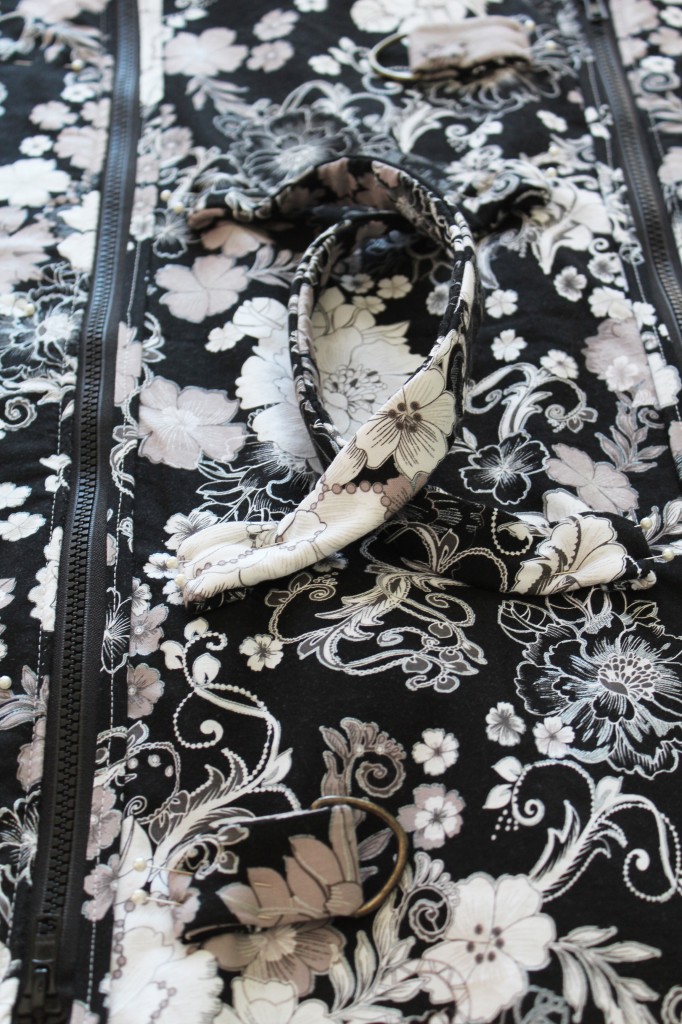
  Pin your D-rings and clasps in place on the zippered pocket side. I placed mine about 6″ in from the ends on all four sides.
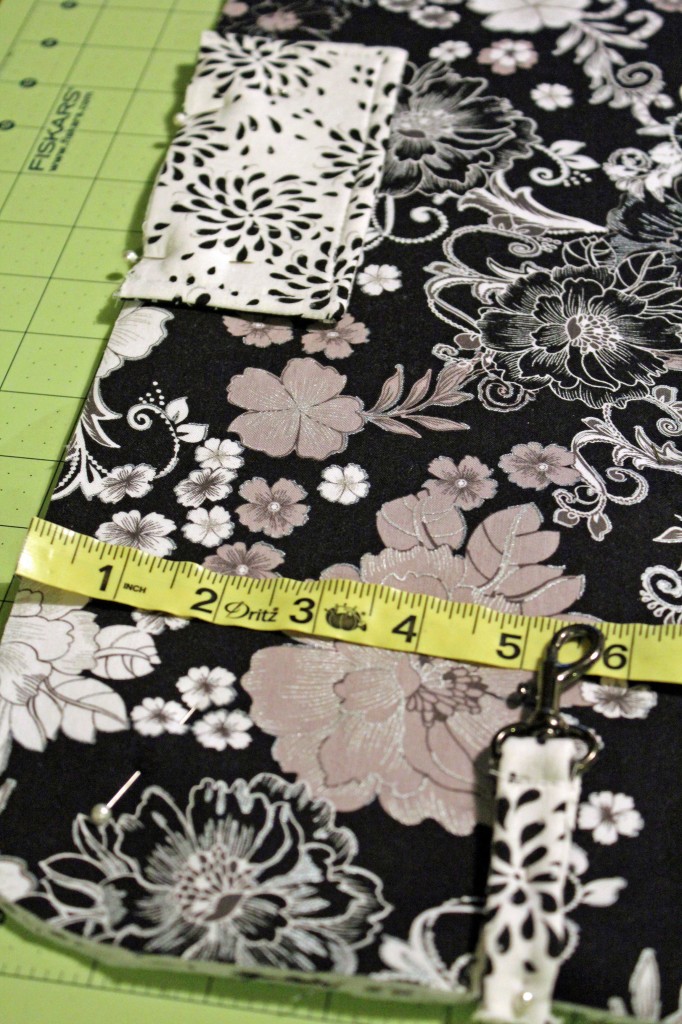 Make sure you pin one D-ring and one clasp on the same side of bag. I know it is hard to see below but I messed with my placement of D-rings and clasps and I didn’t realized it until it was to late. So don’t refer to my picture below for placement, instead learn from my mistake. Sew in place close to edges. Set aside.
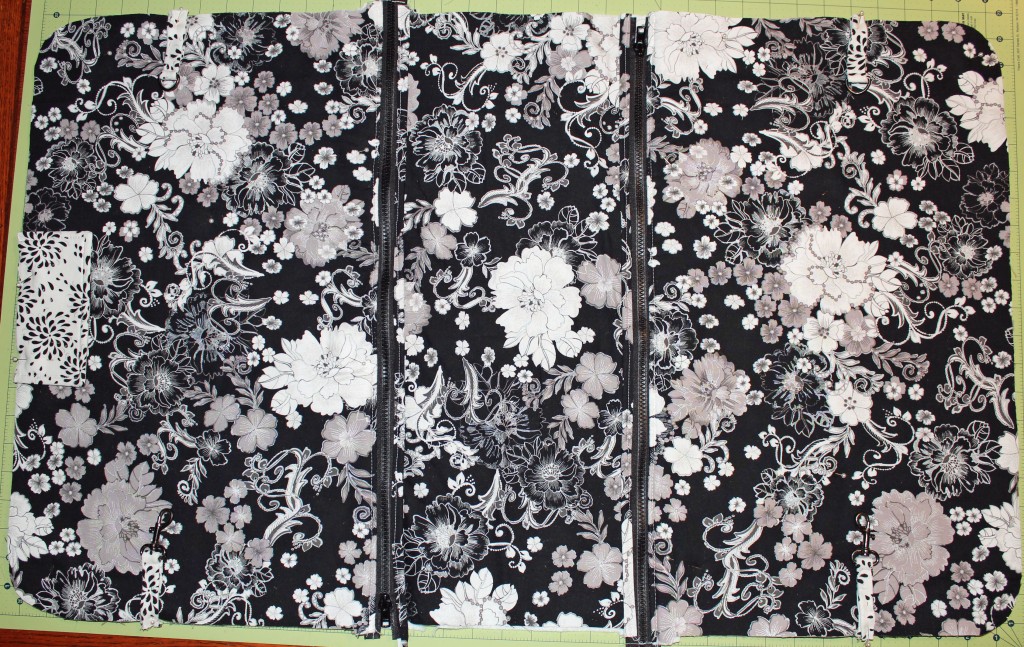 Gather the two 70″ x 3″ pieces of interior and exterior fabrics and batting along with the front bag piece. Sew each of the fabric strips together on the ends to make one continuous strip. Your piece will be about 140″ long or so.
 Gather the front piece of your bag as well the 3 strips that you just made. Lay the front of your bag exterior fabric side up. Now take your exterior fabric strip and layer your batting strip underneath. With the right side of your exterior fabric strip start pinning it to the top of your bag front piece. You want to start pinning in place on the middle of the hanger flap. At the same time pin the interior fabric strip to the bottom side of bag, right sides facing. Stop pinning when you have made it all the way around outer edge and your two strips are touching. You will have a bit of left over fabric so trim where the two fabrics meet. Now fold under the edges of all strip pieces 1/2″. Repeat another 1/2″ to cover up unfinished edge. You are doing this to cover up the unfinished edges on the strips. Make sure that the edges of the strips that are on the top of the bag line up exactly with the strip edges on the bottom of the bag . Top stitch ends of strips.
 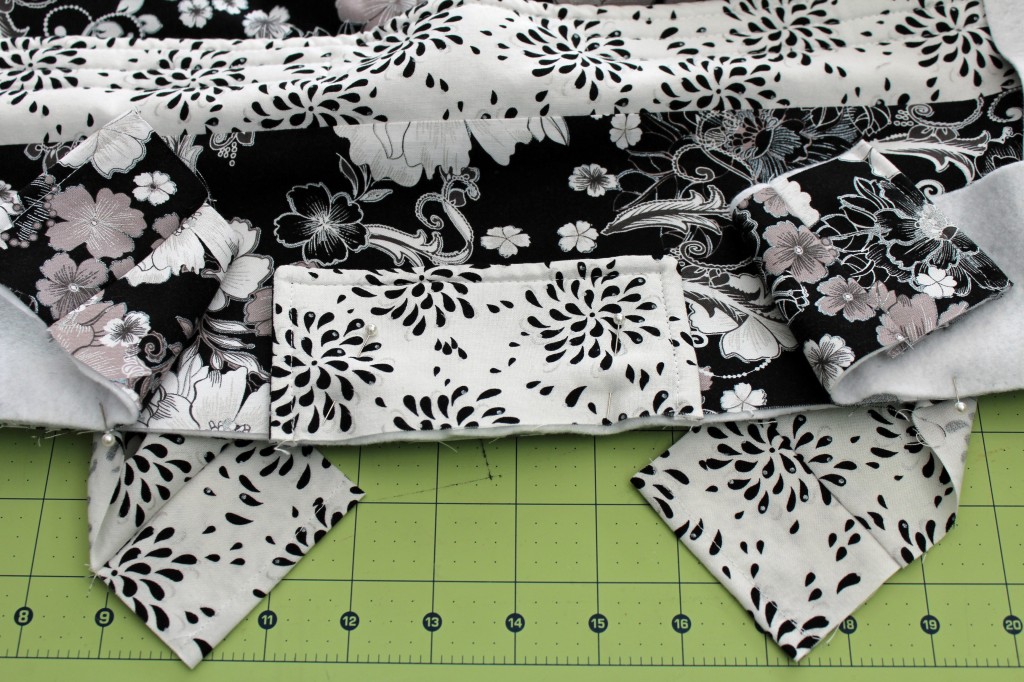 Gather the two 7″ x 1 1/2″ pieces of fabric. Make them into bias strips.
 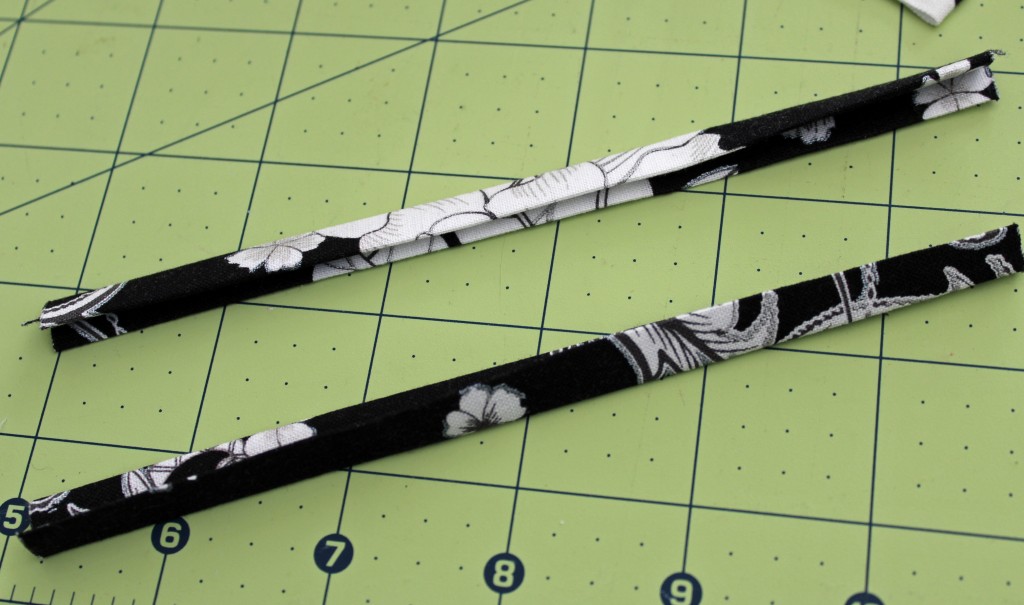 Take one of the bias strips and pin it over the unfinished edge of the hanger flap. Again this is so that you will not have any unfinished edges in the end. Sew bias tape in place as close to the edge as possible.
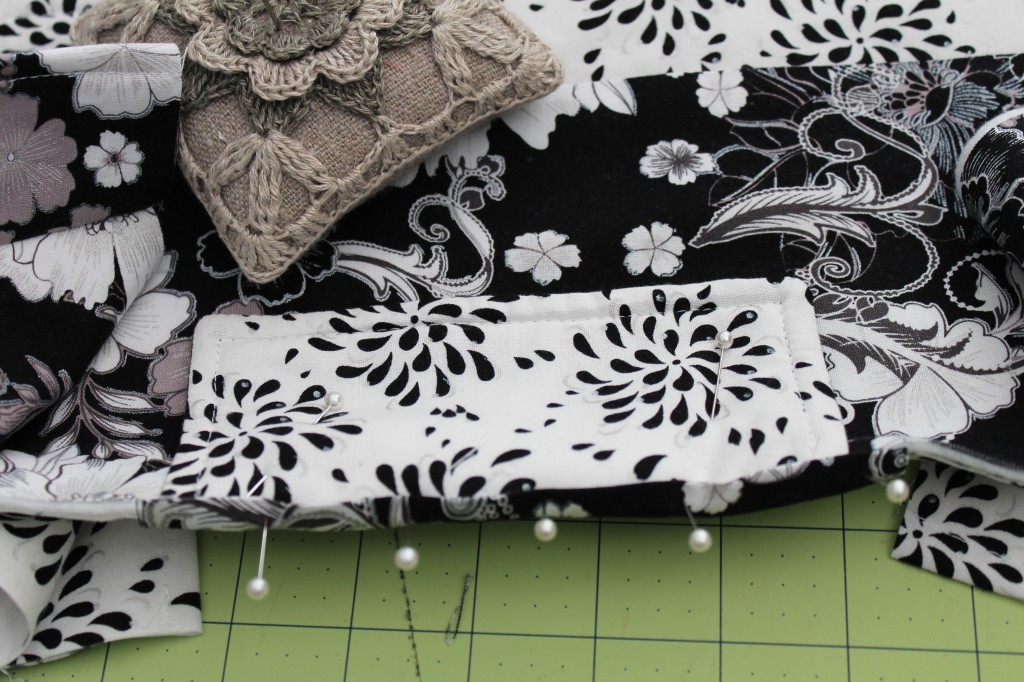 Now this is what the front of your bag should look like when it is all pinned in place.
 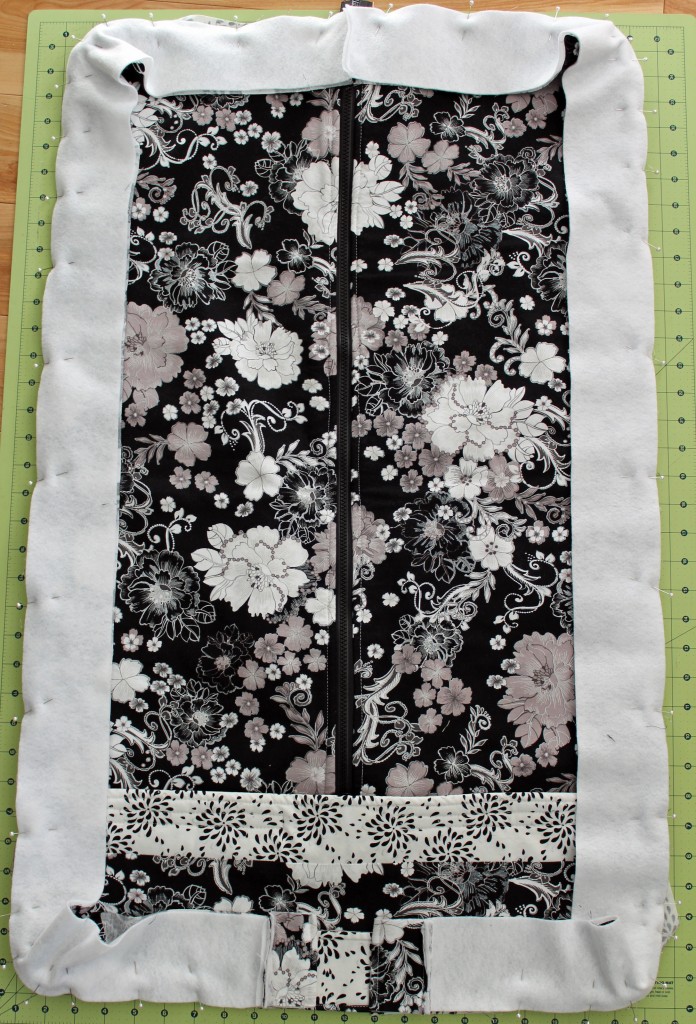 And the back.
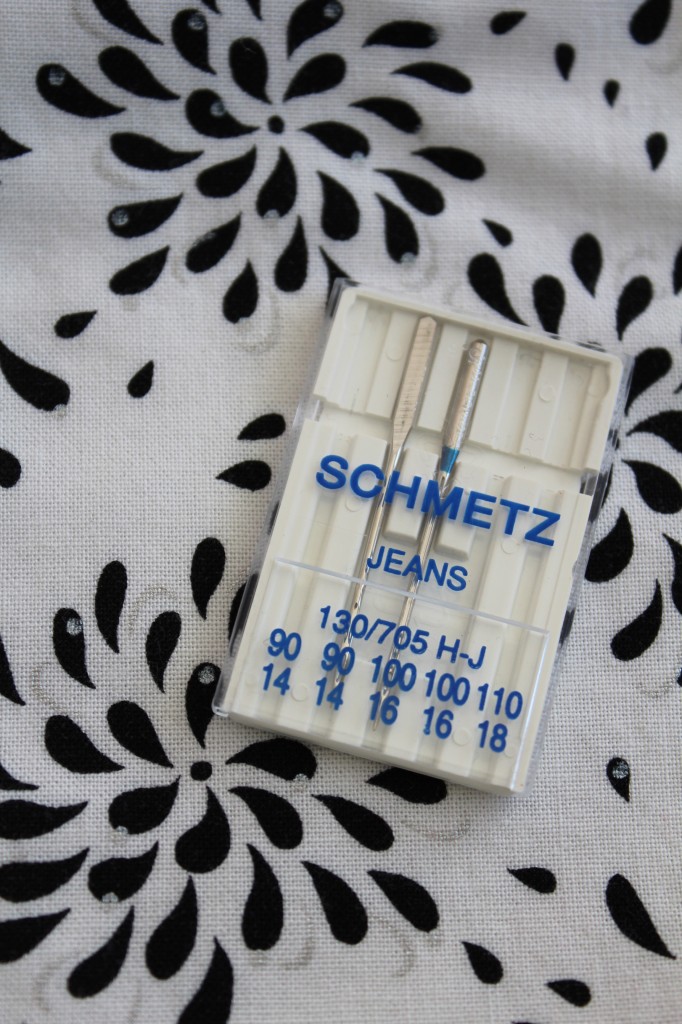
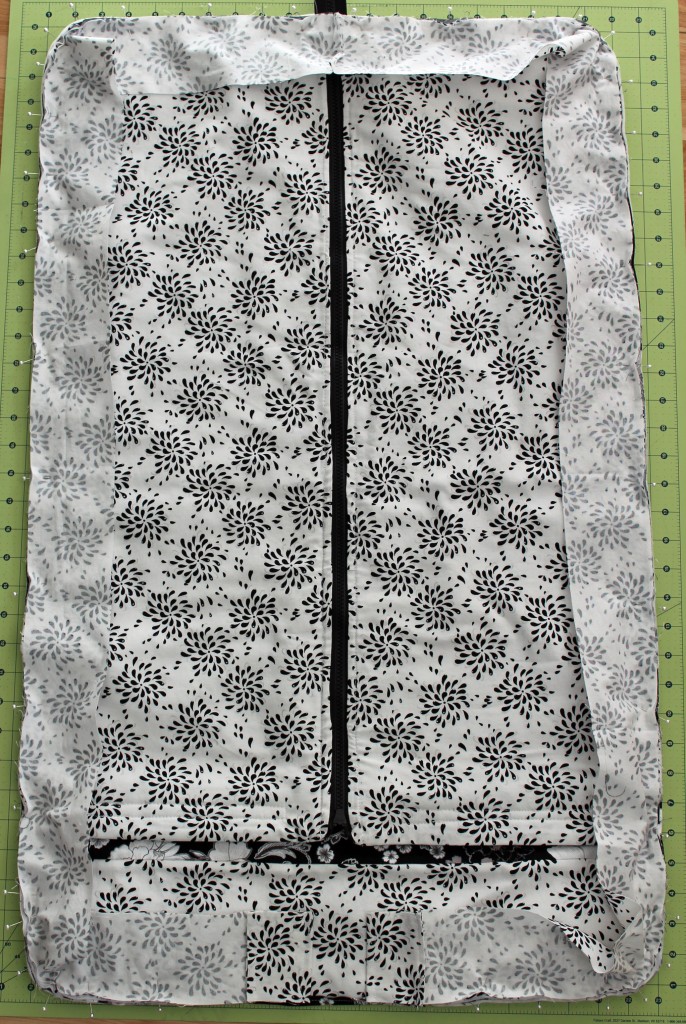 At this point you may want to switch to a different needle. The fabrics are becoming thicker and harder to sew through. Sew all around edges.
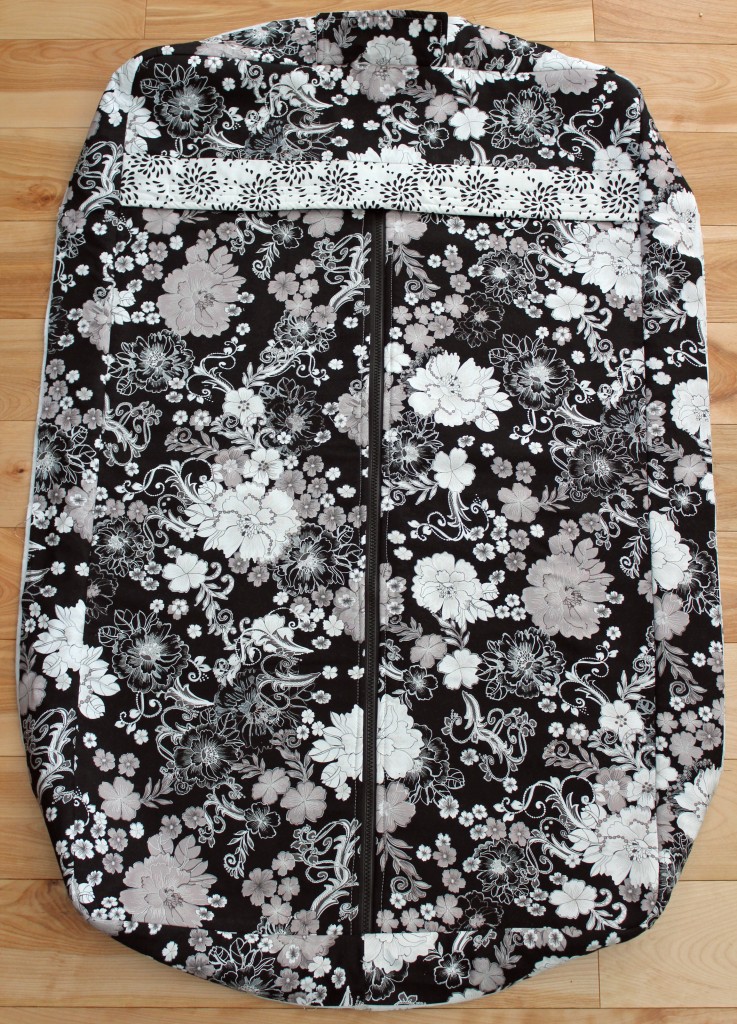
 Iron flat. This is what the front of your bag looks like now.
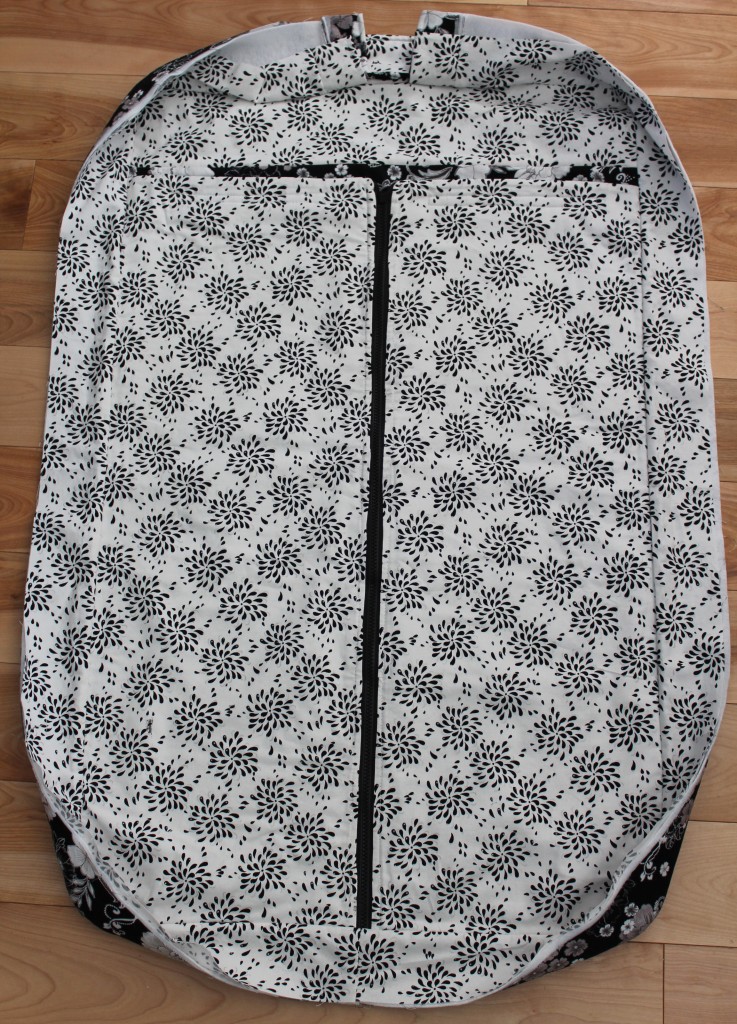
 The inside of your bag.
 Set the front of bag aside for now and gather the back of the bag that has the zippered pockets. You are going to want to make some handles for the bag as well as attach some D-rings for a shoulder strap to attach to.
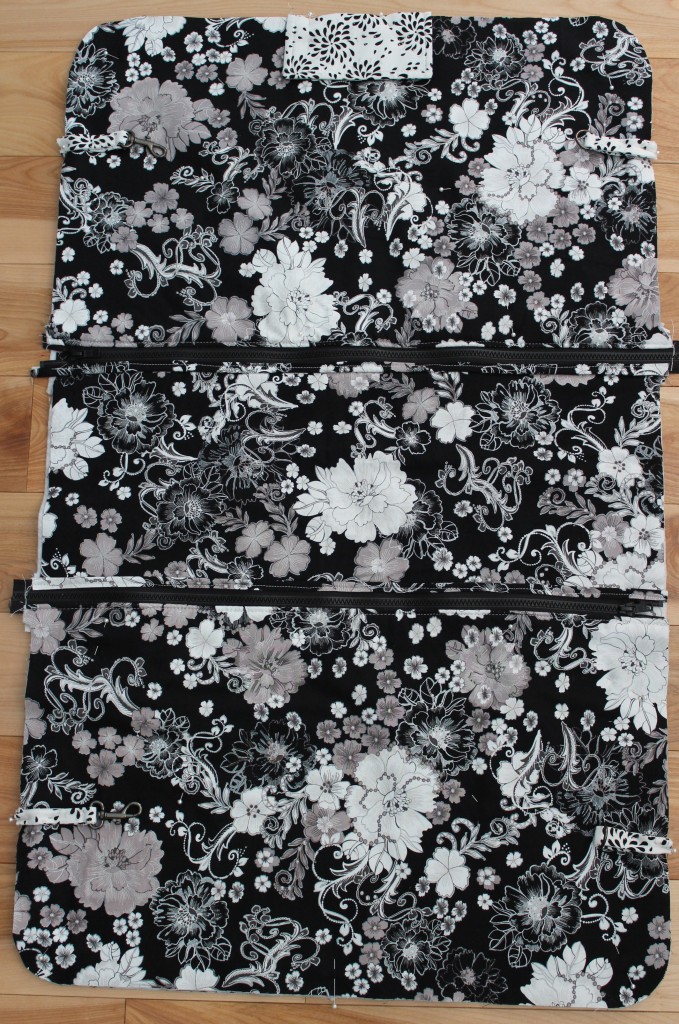 If you are going to make your handles just use your left over fabric that you cut off from the long strips. Cut one strip about 30″ x 6″ from the exterior fabric and batting. Of course you can make the handles longer or even use some cotton webbing instead to save time.
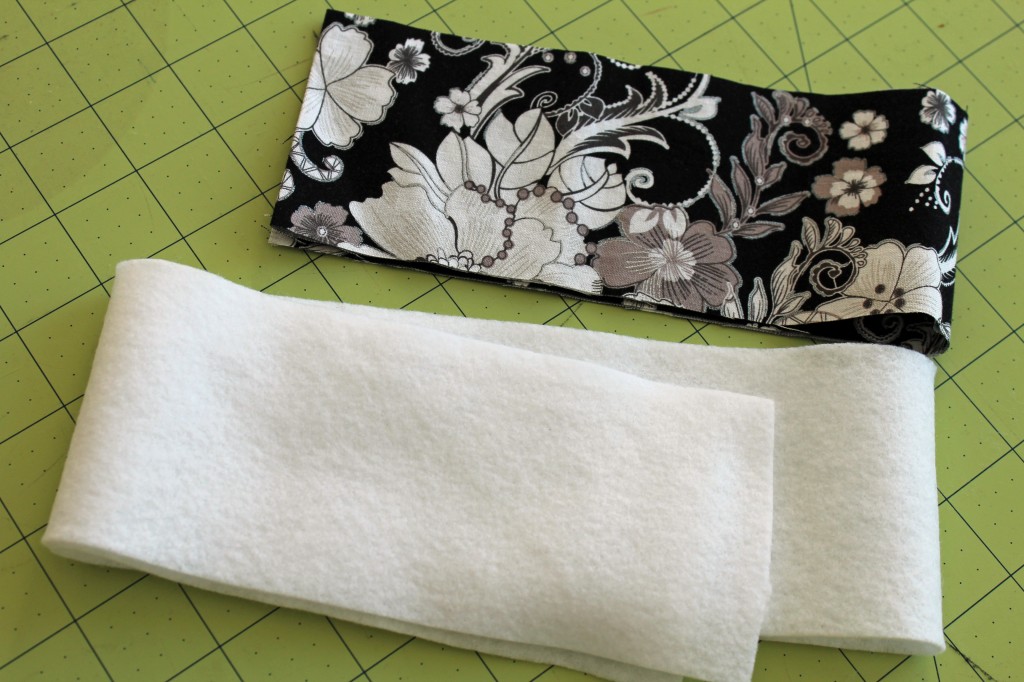 Sew into a tube. Turn right side out. Iron flat. Cut the tube into two pieces. Handles should now be about 15″ x 2″.
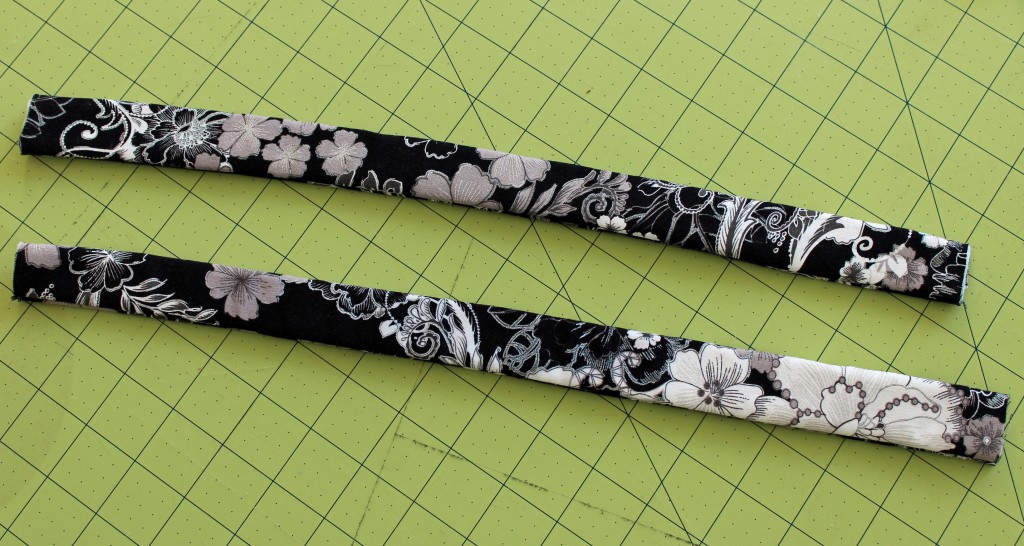 Pin the handles onto the bag in the middle in between the two zippered pockets. I placed the end of my handles in about 6″ from the edge and 1″ above the bias strip. Fold the unfinished ends under so that they are not seen.
 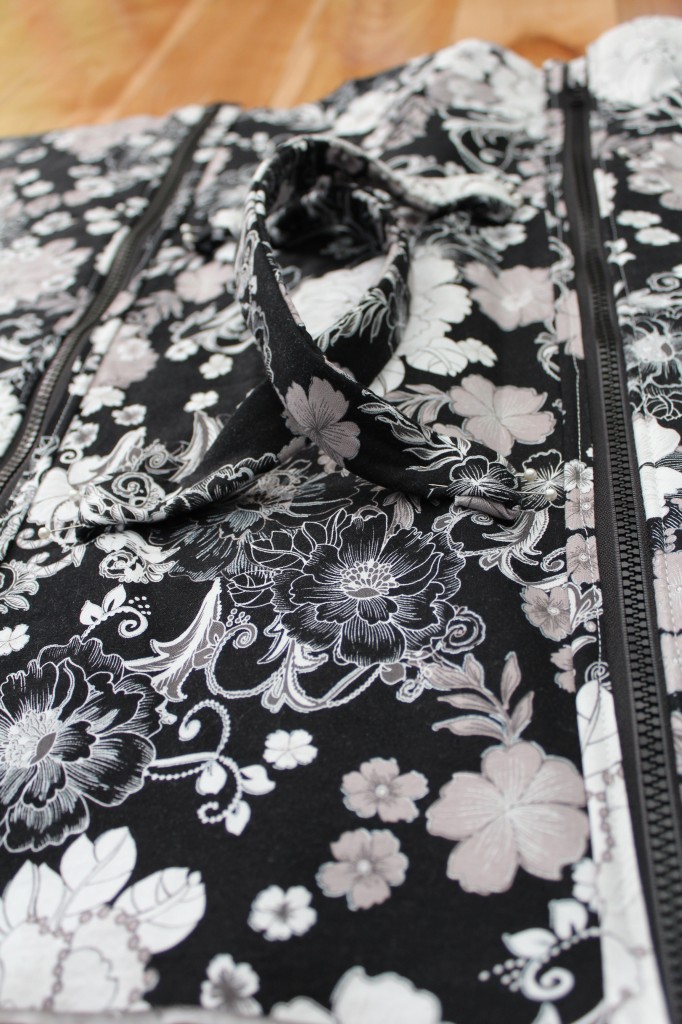 Make little tabs for attaching the D-rings to the bag. I used two scrap pieces that were about 7″ x 3″ and two batting pieces that were 7″ x 1 1/2″. Sew right sides of fabric together to make a tube. Turn right sides out. Iron flat.
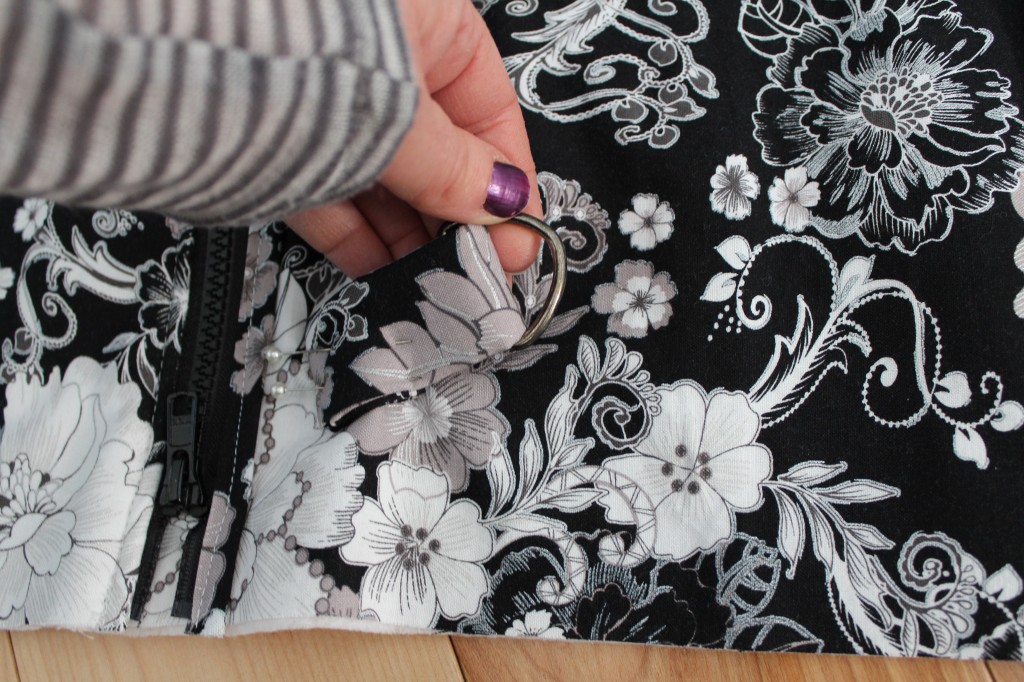
 Pull fabric through D-ring. Pin D-rings in place. I placed one tab 2″ in from the edge and 1″ above the bias strip (that is covering the zipper) that is on the left side of the bag. Then the other tab I placed 2″ in from the edge and 1″ above the bias strip that is on the right side. Remember to fold under once to cover up the unfinished edge. Refer to pictures below if you are a little confused on where I placed them.
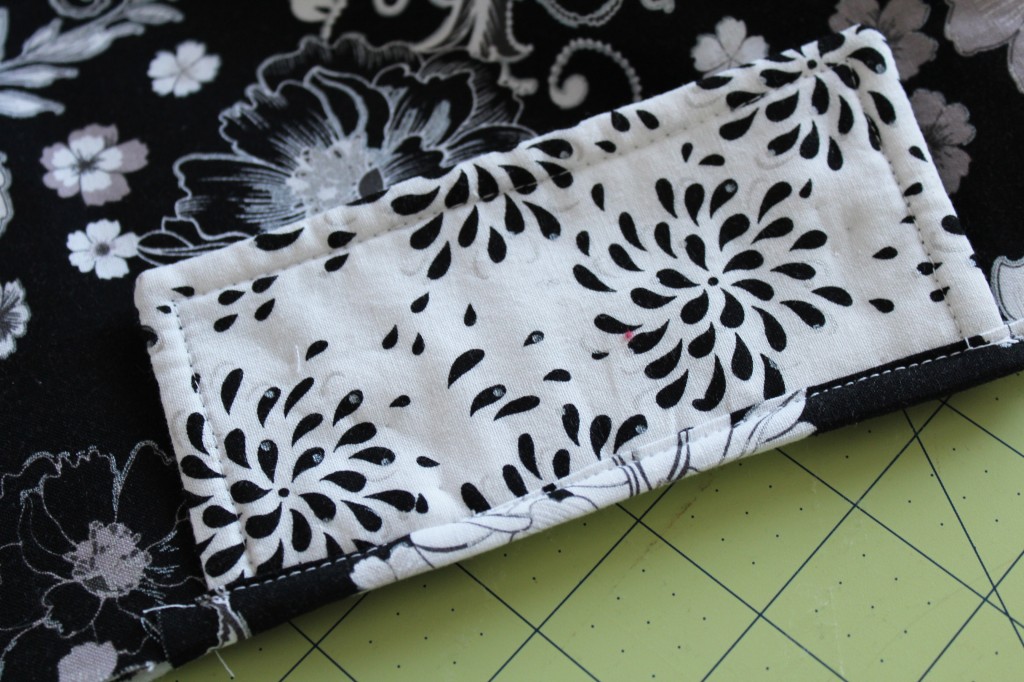
 Sew handles and D-rings in place. Sew once down low and then up a little higher so that you really cover up those unfinished edges and give the handles a little more strength. Set aside.
 Gather the other 6″ x 3″ piece of fabric that you made into a bias strip. Again pin over the hanger flap like before. Sew in place as close to the edge as possible. Now we are going to sew the front of the bag and the back of the bag together.
 Start by laying the front piece of the bag right side up.
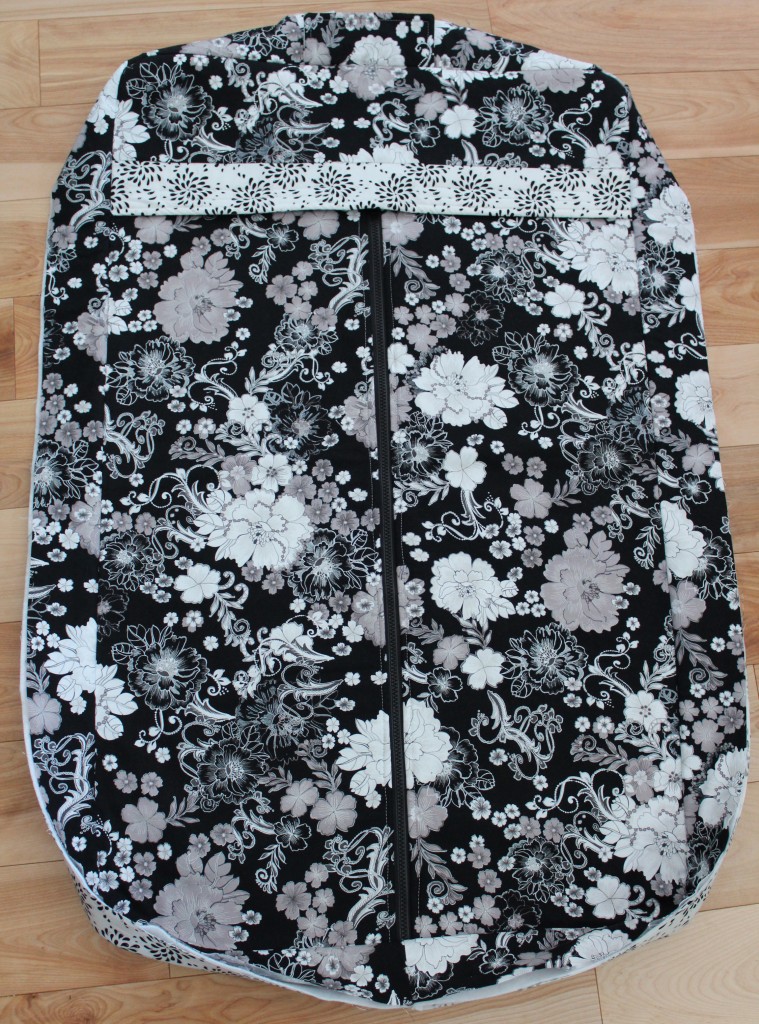 Now lay the zippered piece of the bag on top. Right sides are together. Make sure that the hanger flaps are on the same sides and line up evenly. Pin all around outer edges. Sew.
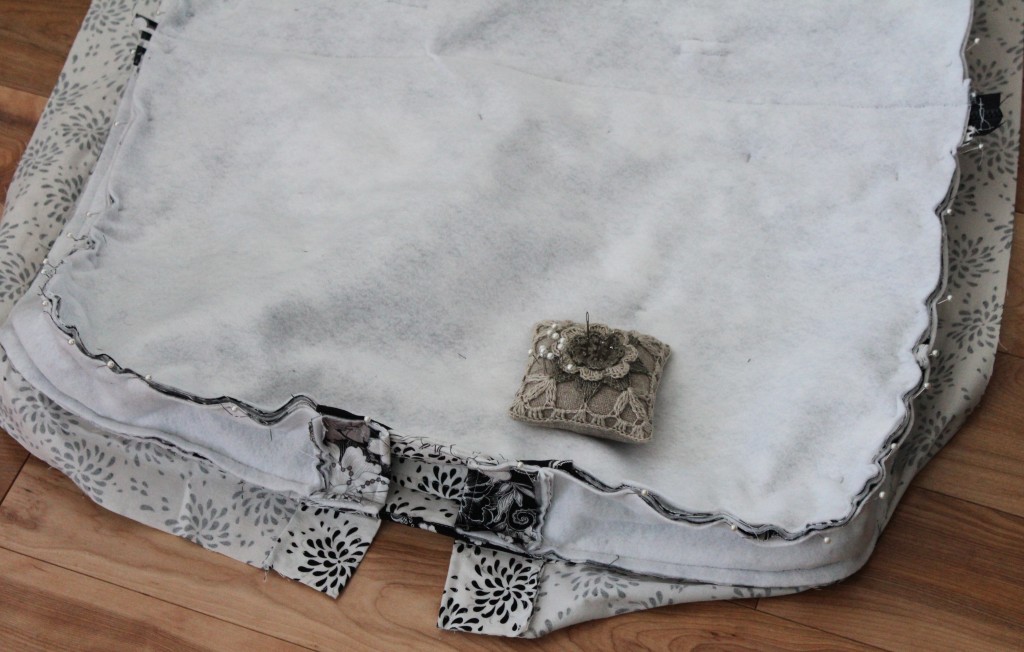 Turn right side. Iron. Bag should now look like this. Now turn bag back to wrong side out.
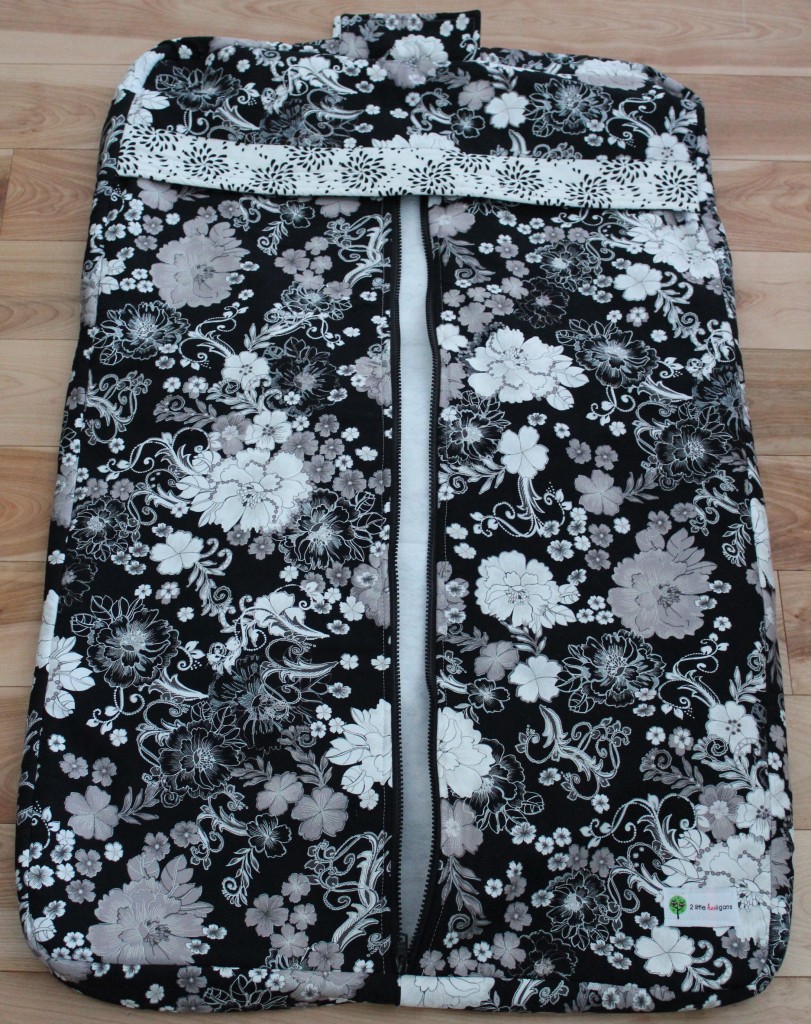 Gather your last 35″ x 22″ piece of interior fabric and pin rights sides together with the interior fabric strip. Sew outer edge while leaving a good 6″ opening for turning right sides out.
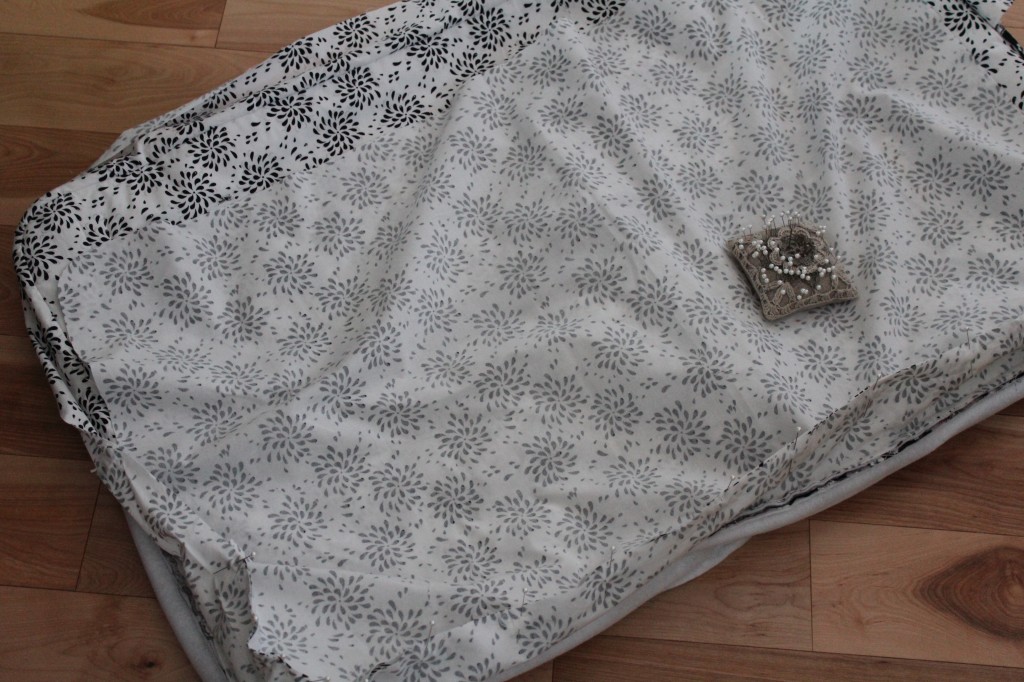 Pull right sides out through opening. Sew opening shut.
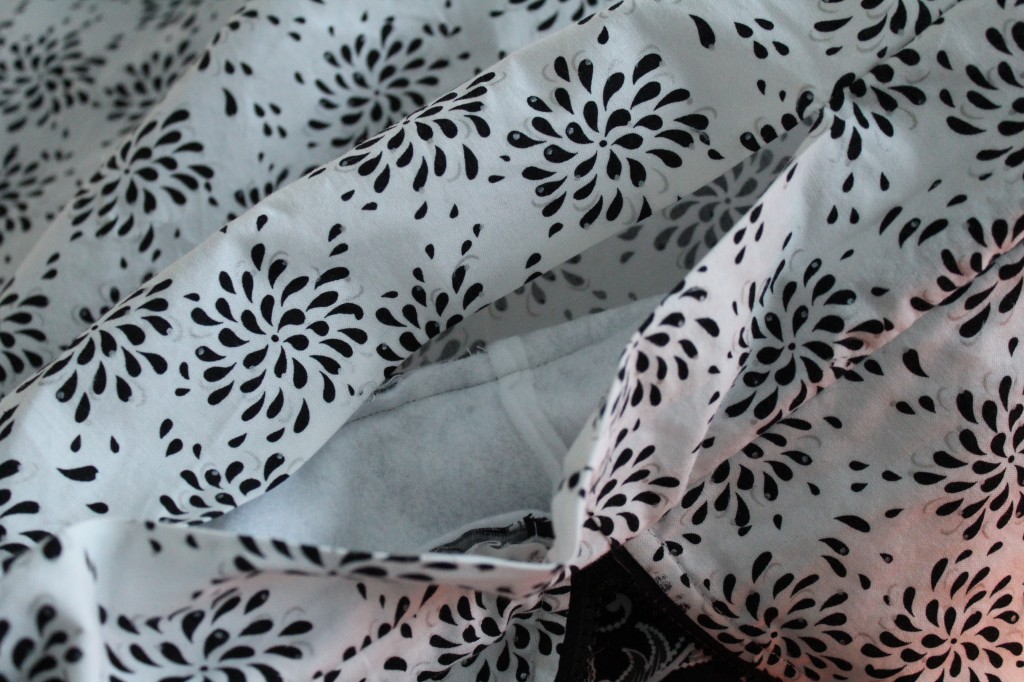 Turn bag front side out. Press bag edges. Now you just need to stitch the two bags together near the hanger flaps. You do not want any unfinished edges. Plus this will give a little more stability to the bag where the hangers will be.
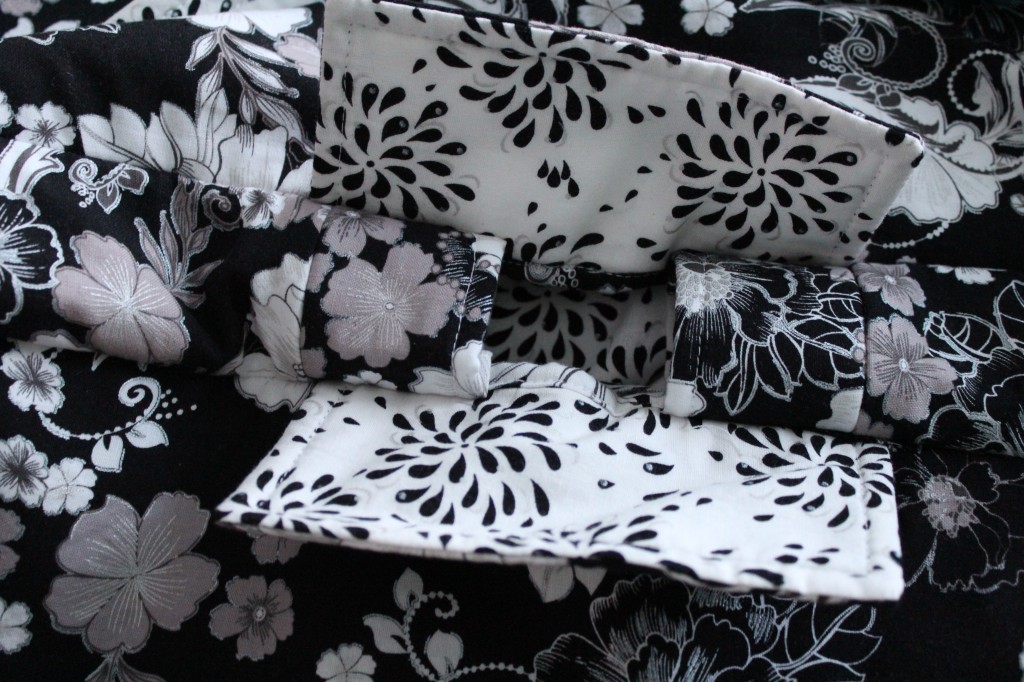 Pin edges together around opening.
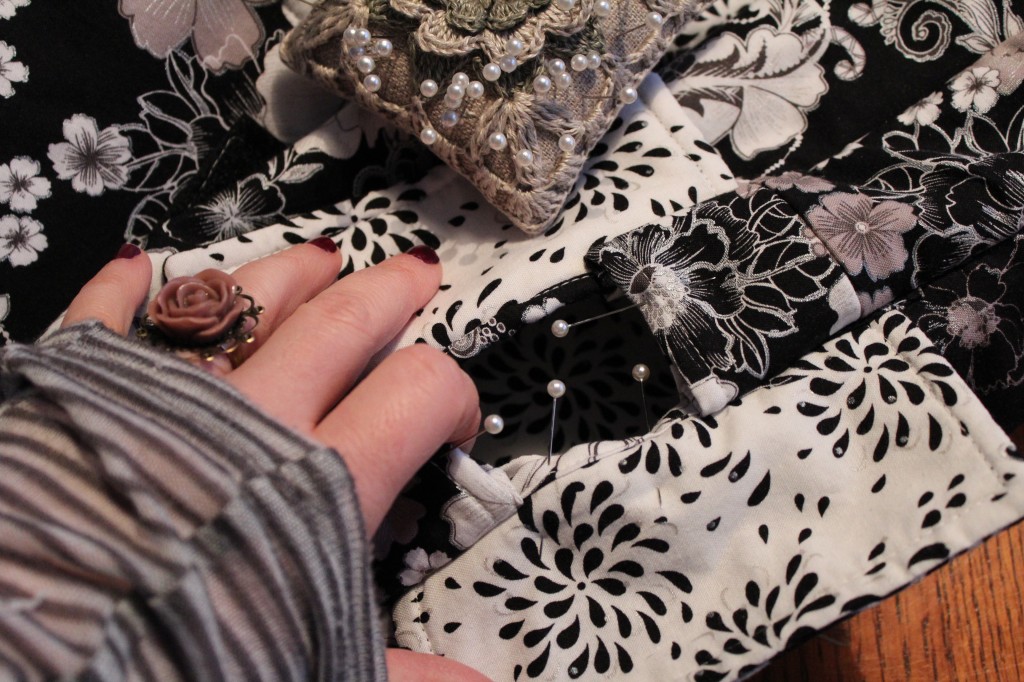 Sew as close the edges as possible.
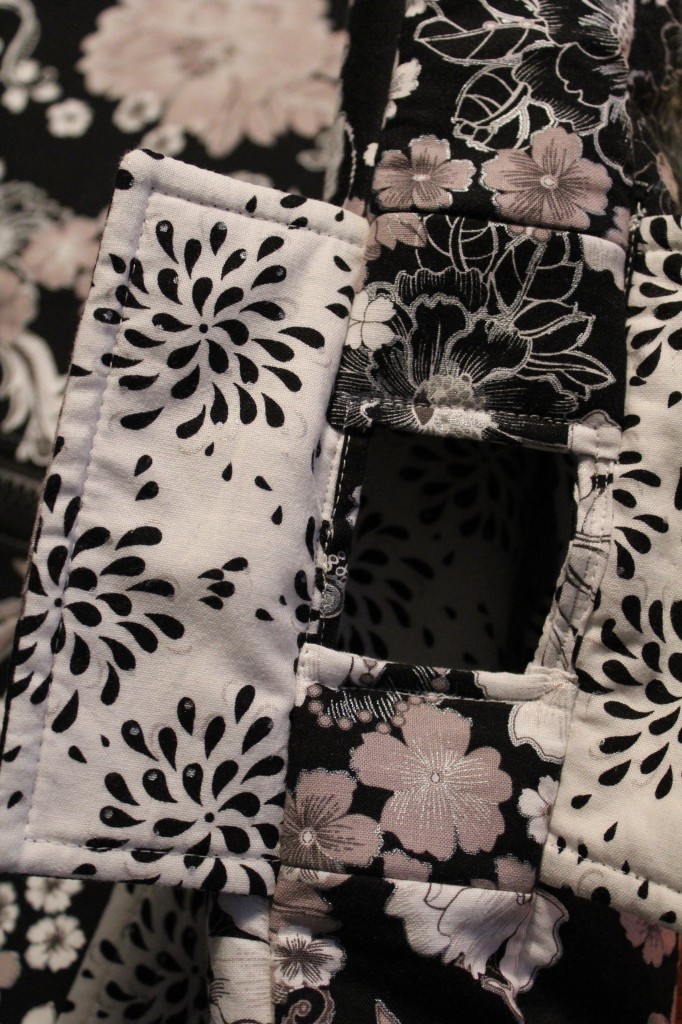 Lastly all you need to do is add a snap or velcro to keep the hanger flaps shut when in travel. Clip shoulder strap on.
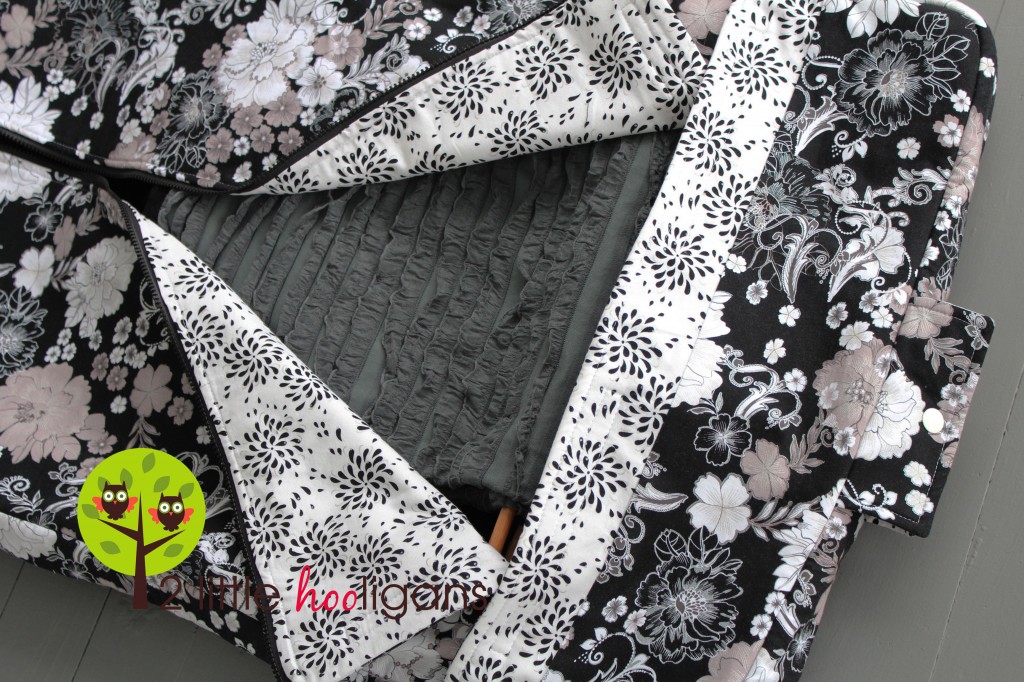
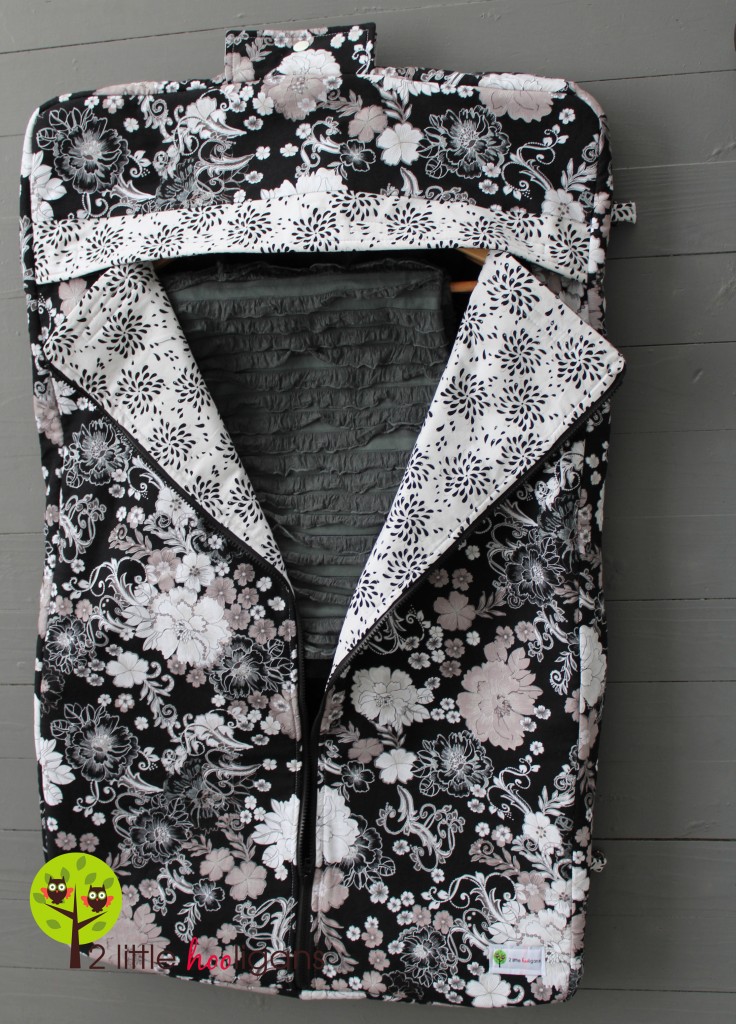
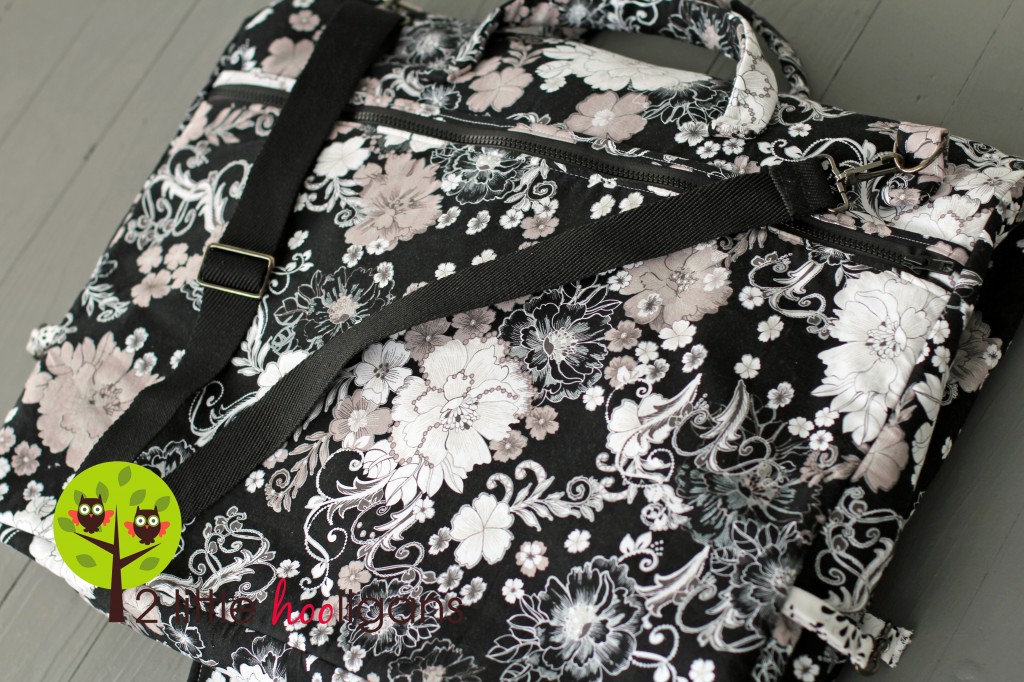
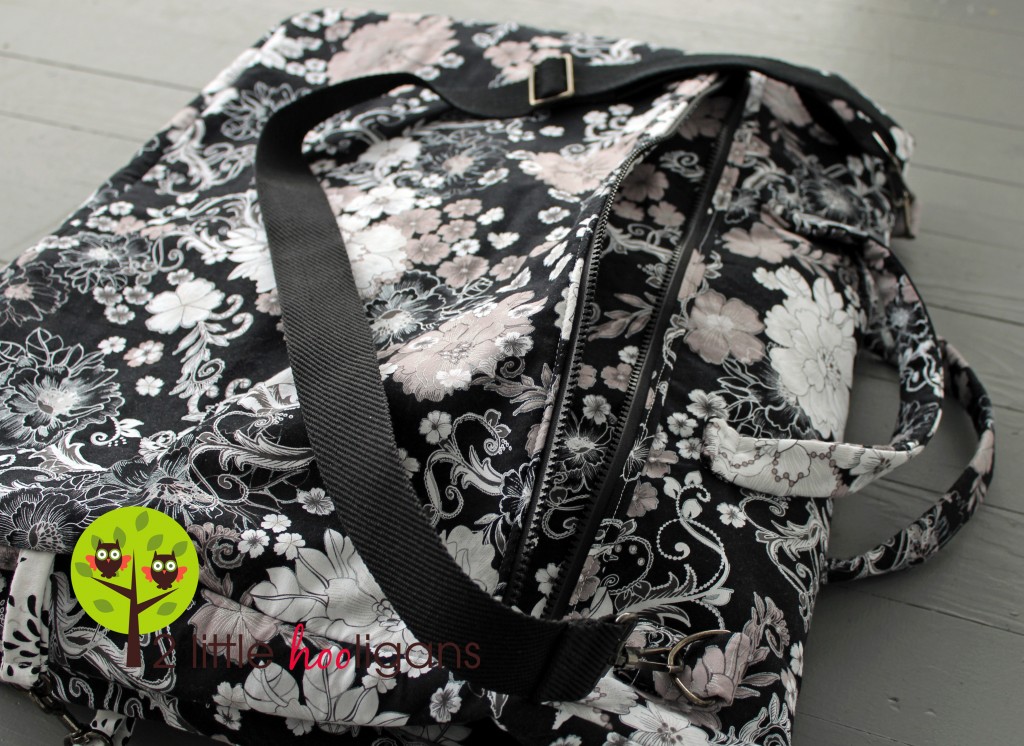
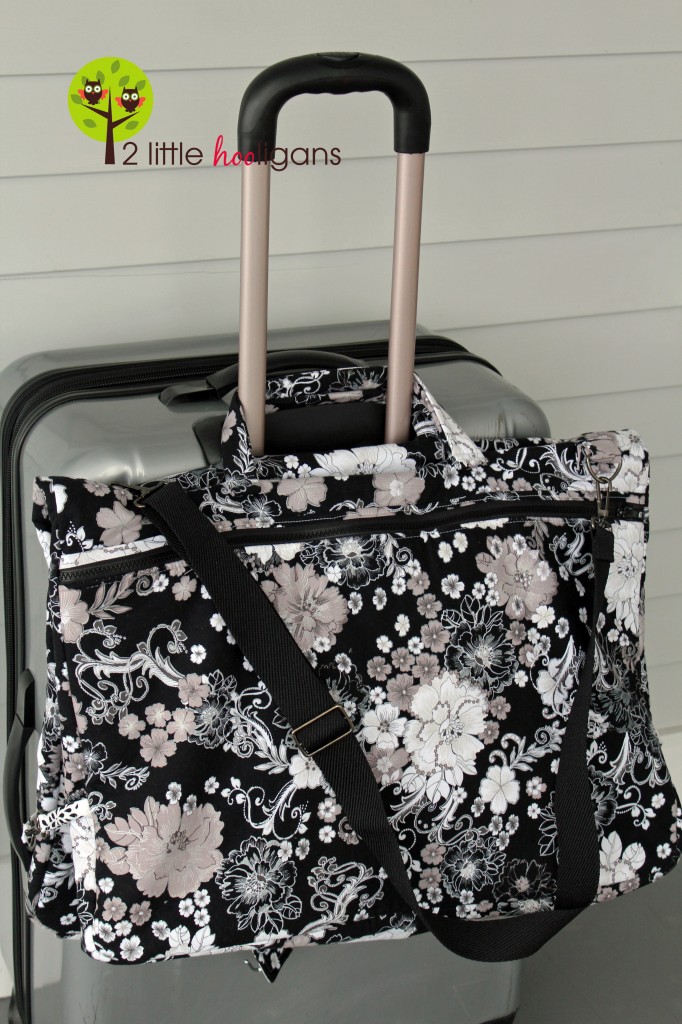
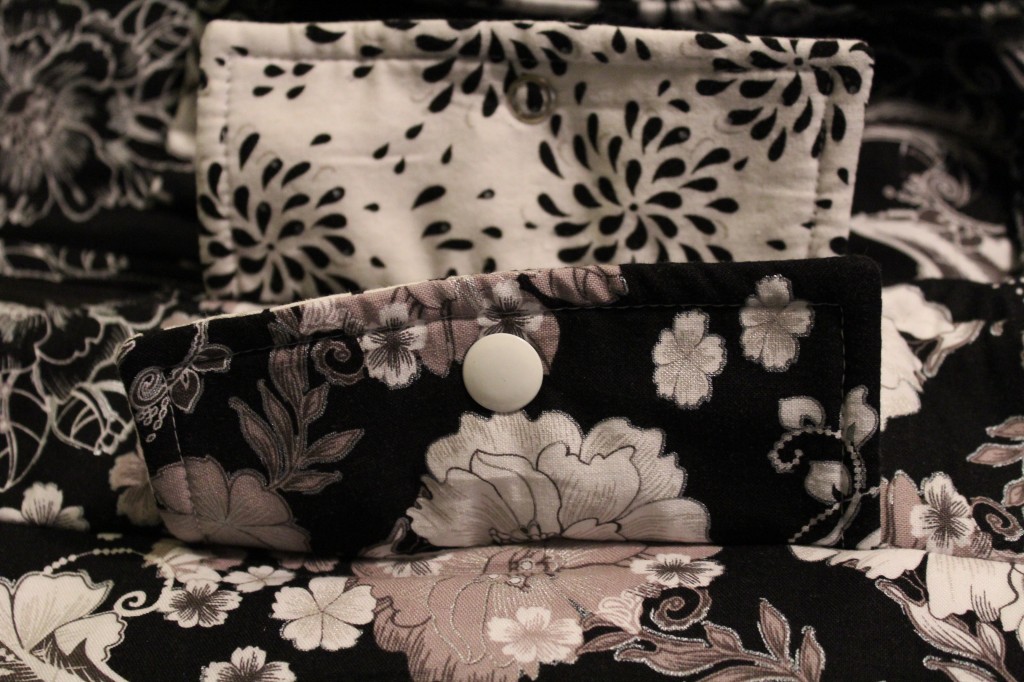 And that is it folks…your finally finished! I know it was a long tutorial and took a long time. But wasn’t it worth it? You will definitely have the cutest garment bag in the whole airport!
 The bag holds about 4 wooden coat hangers comfortably. You could definately carry more clothes in the bag if you used some wire hangers though. You may want to bring along a little piece of string to tie the top of the hangers together while traveling. Or if you want to get really stylish you could make a bias strip out of fabric and attach it to the top/inside of the bag for tying those hangers in place. Again, it’s your bag…do want you want!

woouuwwwwwwwwwwwwwwww
Wow! Amazing!
Superbe ! Voilà un produit et un tutoriel génial ! J’espère avoir le temps de le réaliser un jour ! Bravo !!
Amazing ! It’s a great product and a great tutorial ! I hope that I will be able to do it… one day ! Congratulations !! And thank you for this sharing.
It’s really a great and helpful piece of info. I’m satisfied that
you just shared this helpful info with us. Please stay us informed like this.
Thank you for sharing.
Her offering is thoroughly explained, and provides security for
anyone who may wish to try her methods. In the writings of Shakespeare he refers
to blister plagues in Romeo and Juliet that they say is a reference to herpes.
Most women do not feel comfortable talking about problems down below
even with their doctors.
Thanks for finally talking about >fabric garment bag, how to make a
garment bag <Loved it!
I feel this is one of the most significant info for me. And i’m satisfied reading your article.
But want to remark on few common things, The site taste is great, the articles is really great : D.
Excellent process, cheers
Three simple ways you can get the most out of utilizing an online Alternative Cure Resource.
People peform internet searches for coupons to save money on thier online transactions.
Travelling is also included in these promo codes and when used
on sales they decrease the price of things even more which workout as the best bargain ever.
A new set of characteristics named Extensibility allows developers to develop apps that can interact with other apps
(and even iOS itself).
These are all important prerequisites to make sure you do not end-up
cheated or got your project stuck in the middle. The Android applications are reliable
and cost effective. Android will beat the Apple’s i – OS soon, a report says.
Oh my goodness! Awesome article dude! Thanks, However I am encountering issues with your RSS.
I don’t understand why I can’t subscribe to it.
Is there anybody having the same RSS issues? Anyone that knows the
answer will you kindly respond? Thanx!!
I’m wanting to start a blog for my photography business.
What free blog would be best?.
There are thousands of threads online arguing this point
as to which platform is better for production, i.
brave frontier trucchi The Apple I, which was
demonstrated in April 1976, was the Apple’s first product.
You can search for far more added words plus in depth explanations online.
I’m impressed, I must say. Seldom do I encounter a blog that’s equally educative
and entertaining, and let me tell you, you’ve hit the nail on the head.
The problem is something not enough people are speaking intelligently about.
I am very happy that I stumbled across this during my
search for something regarding this.
Summary statement unwraps the indeniable information about medical seo and
ways it might cause problems for your organization.
Superb site you have here but I was curious about if you
knew of any user discussion forums that cover the same topics discussed in this article?
I’d really love to be a part of community where I can get responses from other
experienced people that share the same interest. If you have
any suggestions, please let me know. Bless you!
This is really interesting, You’re an overly professional blogger.
I have joined your rss feed and look ahead to searching for extra of your magnificent post.
Additionally, I have shared your web site in my social networks
This is a wonderful tutorial! Thank you for all of your hard work. I would like to make this bag, but lengthen it for a full length dress. Do you by chance have measurements for a longer bag? I am thinking I would like it to be about 45″ long when finished.
Thank you
WOW!!! I’m amazed and impressed by your attention to detail. I was actually looking for interesting ideas to create gusset type pocket on the outside of a garment bag for shoes. I’m working on a vinyl bag extra long for a man’s choir robe. In my mind it was to be a quick project, after seeing this tutorial there will be some modifications 😊! I really like how you handled the hangers as well as the front zipper. I have a 48″ separating zipper to use and I now have ideas on how to implement that. I I love that I stumbled onto your blog, I’m looking forward to exploring!
I love,
I love, love this bag. I agree with you. I wanted a cute garment bag but store bought ones cost too much. I just finished the bag following your excellent instructions. Your pictures were perfect! I’m pleased to give this as a gift to my daughter. I would love to send you pictures. Is there an email address I can send them to?