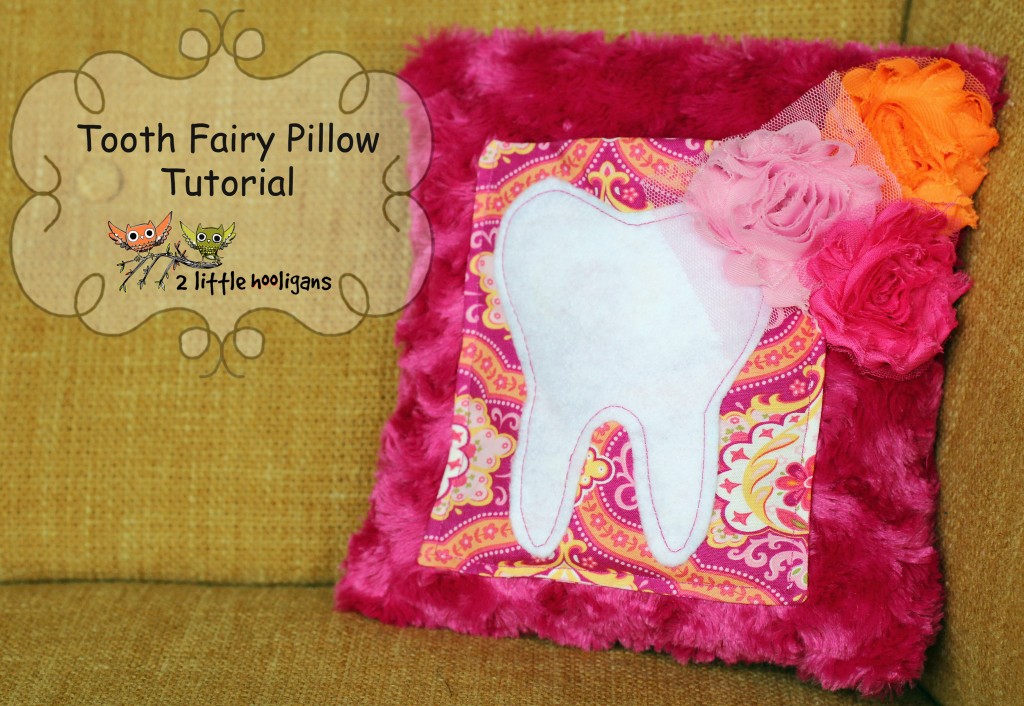
 A few days ago I made a tooth fairy pillow for one of my niece’s who has her first wiggly tooth. I thought this was the perfect time to make a tutorial for one. After all, I have been severely neglecting my fat quarter fridays haven’t i?! Plus, every little kid needs a special pillow for the tooth fairy.
  Materials Needed:
*2 pieces of fabric for the main pillow. I used a minky fabric but you can use whatever you have on hand. Cut the pieces to your desired size.
*2 pieces of cotton fabric cut a little bit smaller then the pieces of fabric for the pillow. These pieces are going to be used for the pocket.
*1 small piece of felt. Draw and cut out a tooth shape.
*Batting. Enough to fill your pillow with.
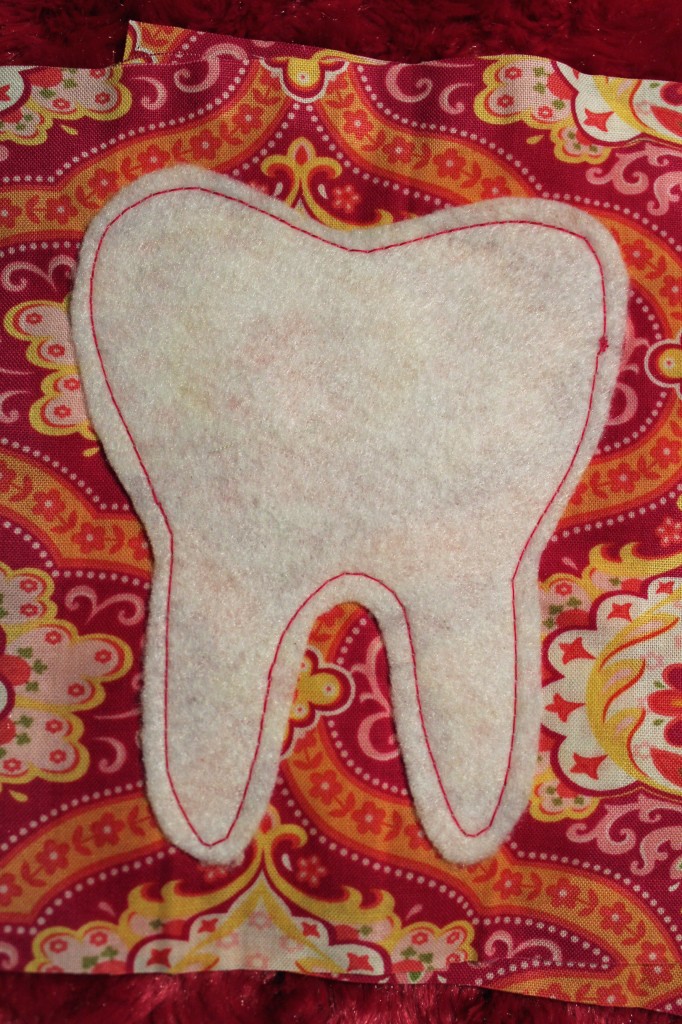
*Extra embellishments if desired.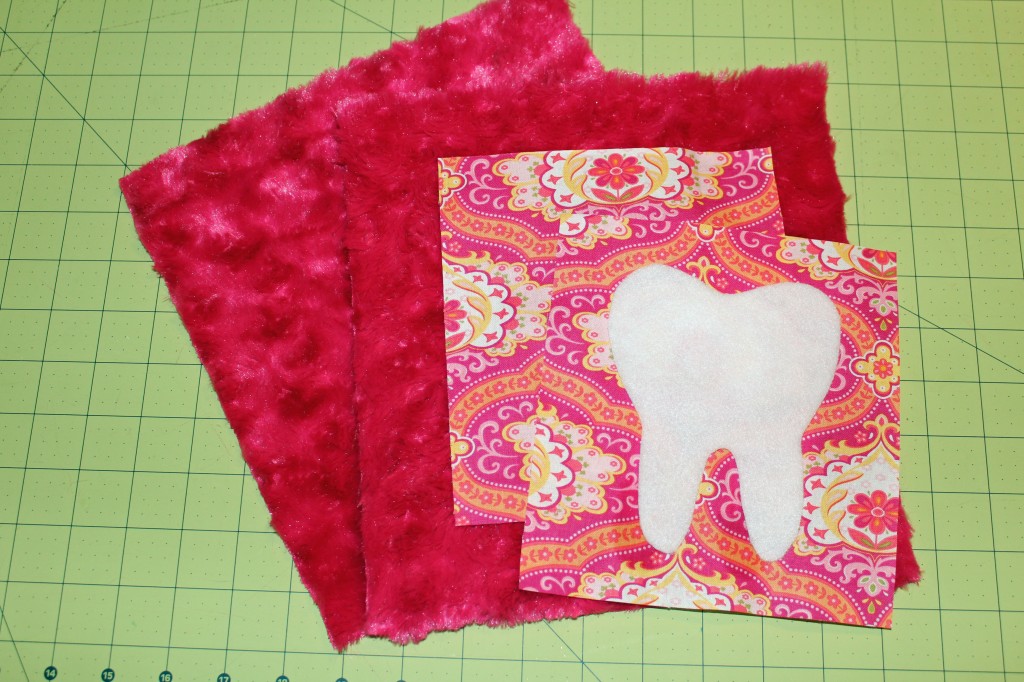 Start by taking your felt tooth and sewing it on to one of the pieces of cotton fabric. Just top stitch all around the edges of the tooth.
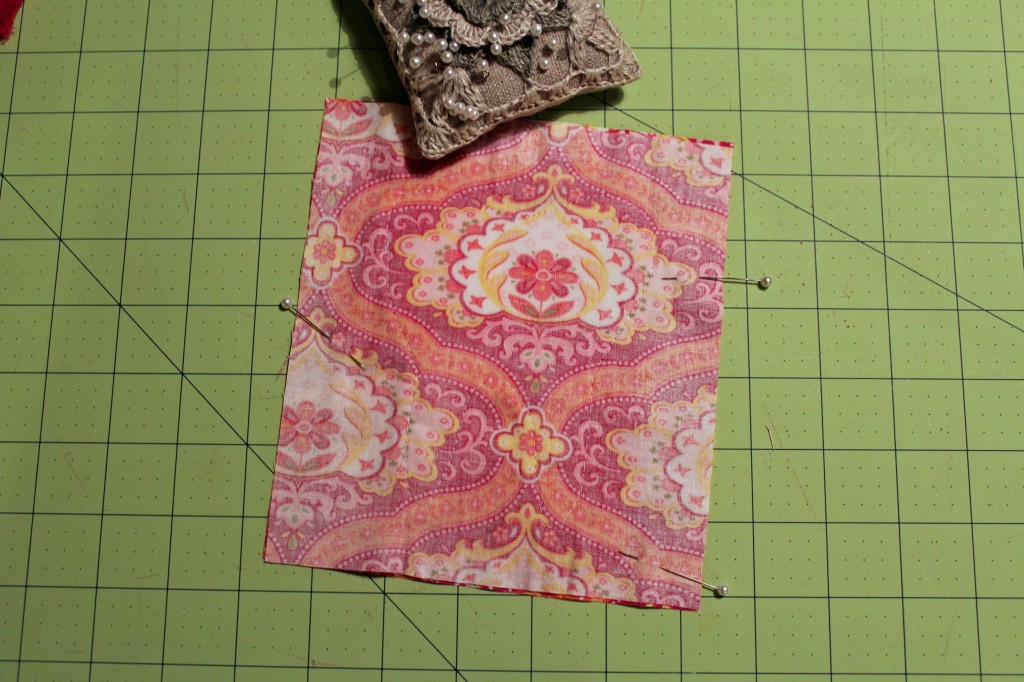
 Now take the other piece of cotton fabric and lay it on top of the fabric that has the stitched tooth on it. Make sure the pieces are right sides together. Stitch around all the edges while leaving a 1″ opening for turning right sides out.
  Turn right sides out. Iron flat. Now pin the cotton fabric piece onto one of the pillow pieces of fabric.
 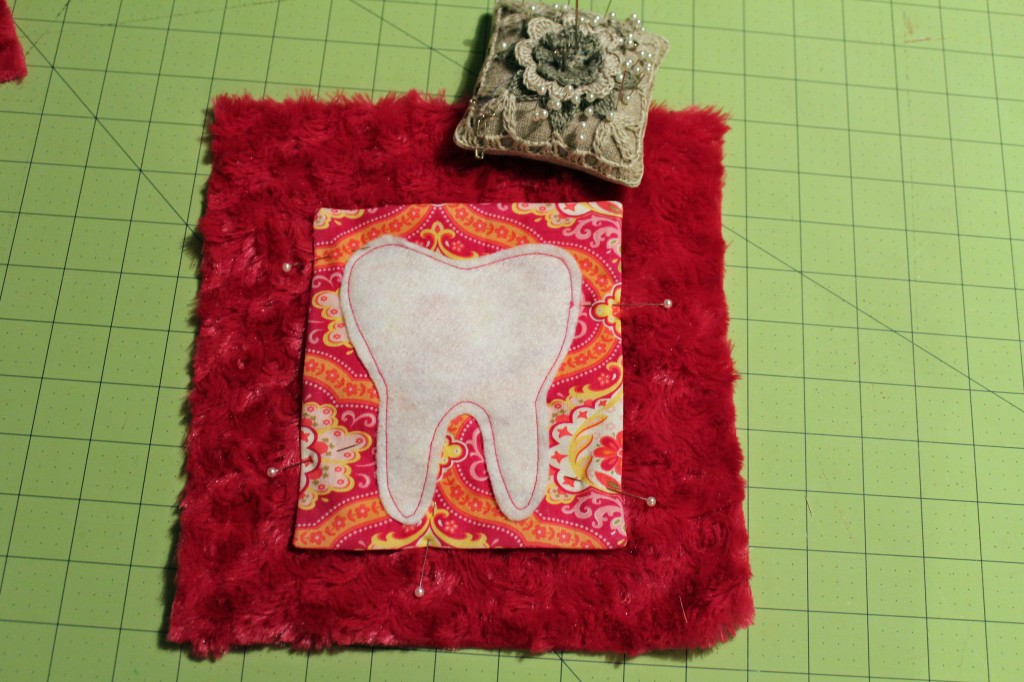 Sew around the sides and bottom. Make sure you leave the top open. This is your pocket now.
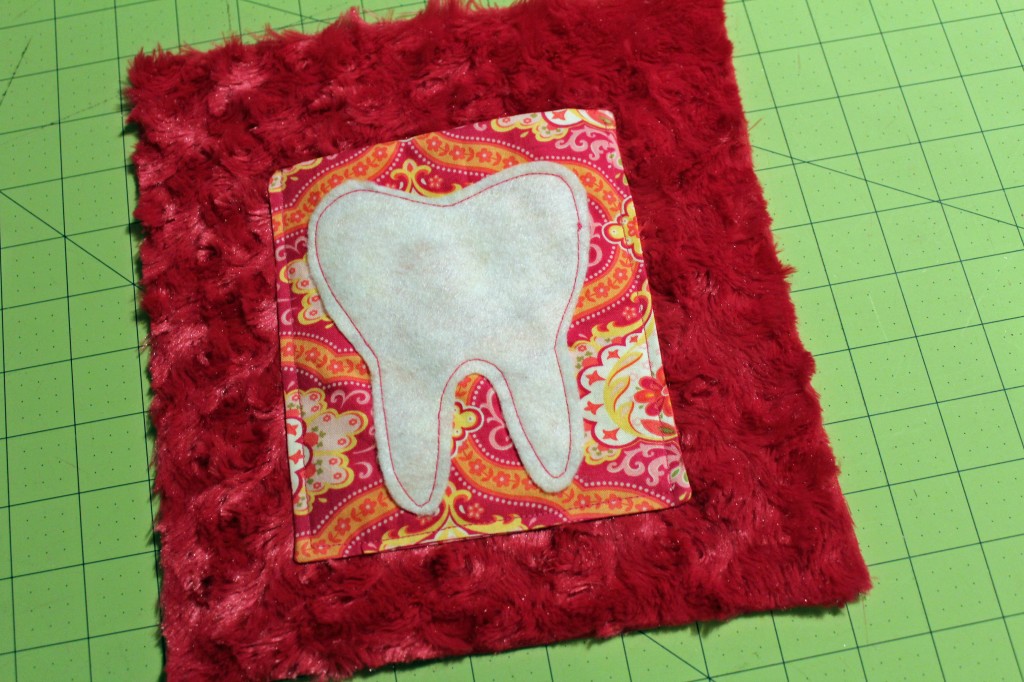 Take the other pillow piece of fabric and lay it on top, right sides together. Pin in place. Sew around all the edges while leaving a 2″ opening to turn right sides out. Turn right sides out. Iron flat.
 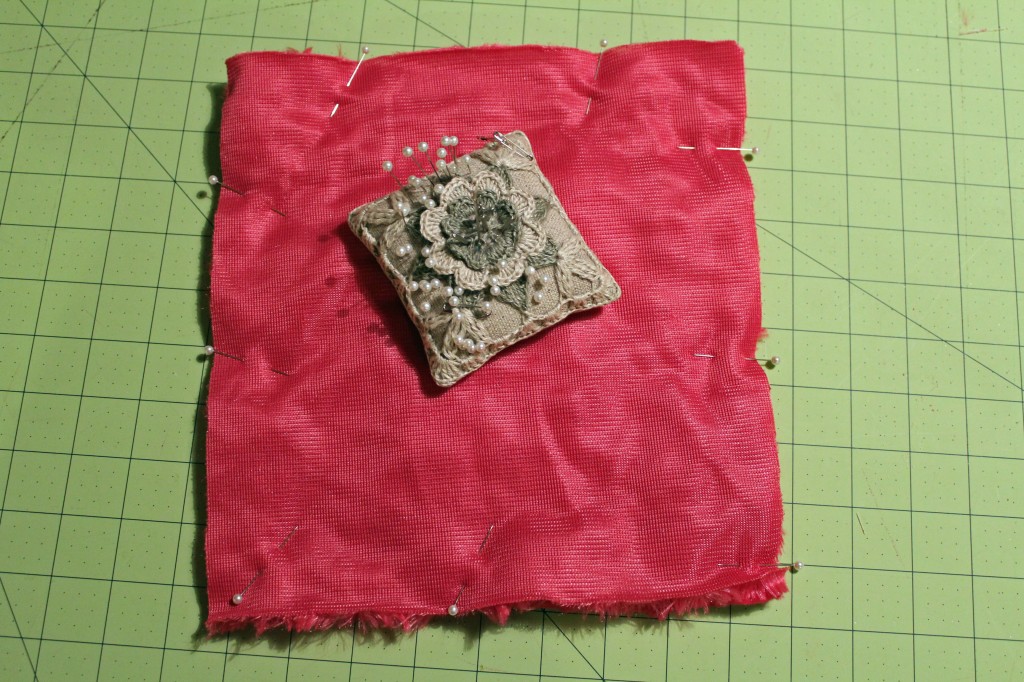 Stuff the pillow with batting. Hand stitch the opening closed.
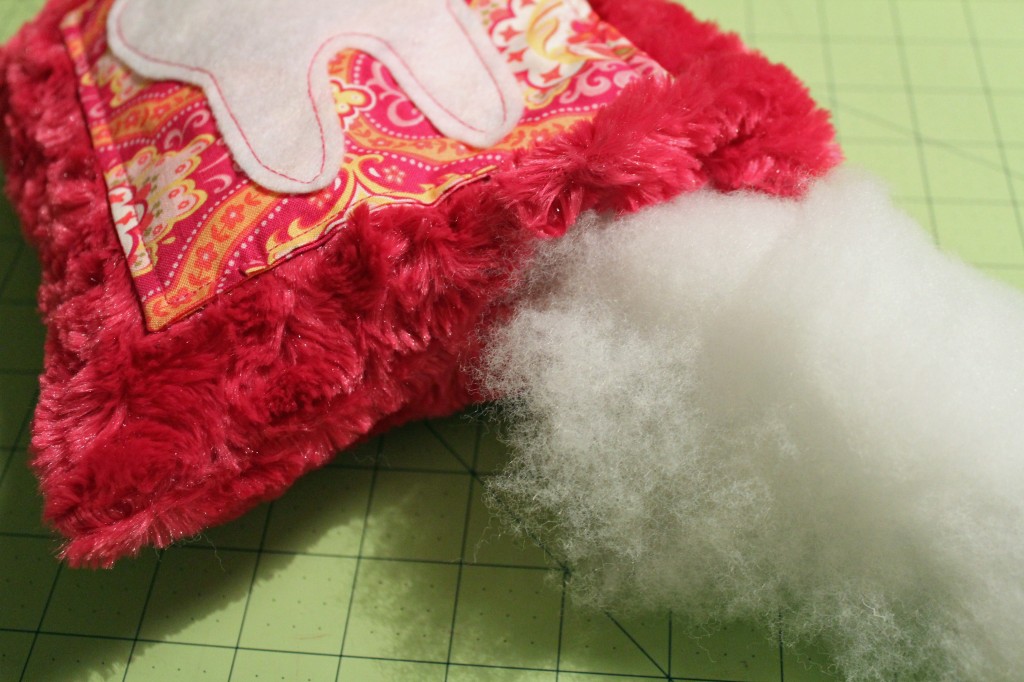
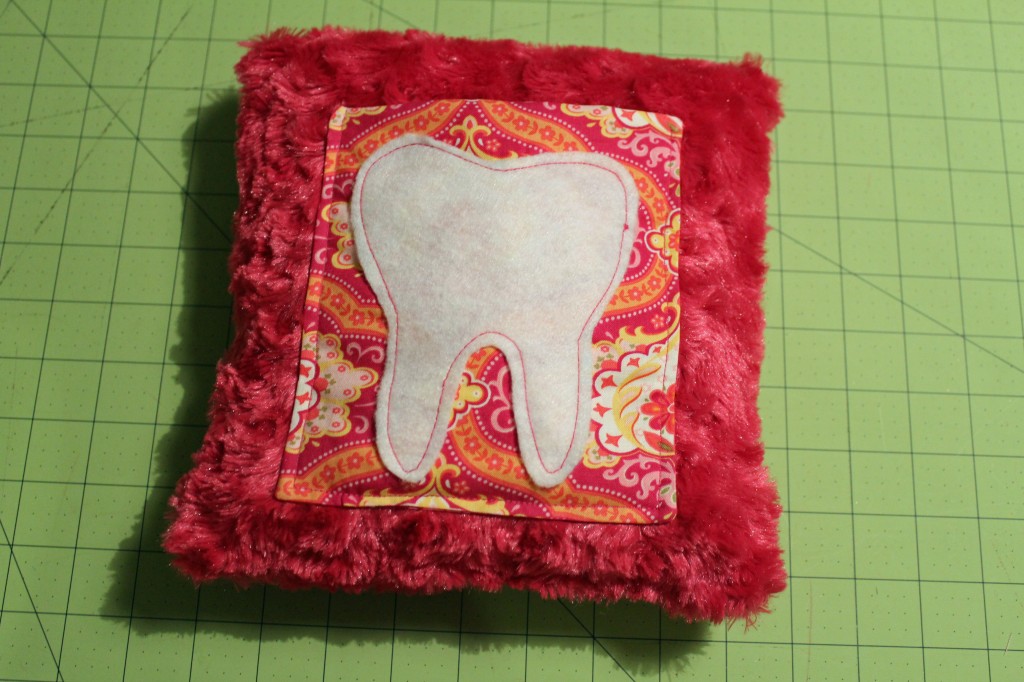 Add a few more embellishments if you want. I added a few flowers because I just couldn’t resist. The colors just matched perfectly!
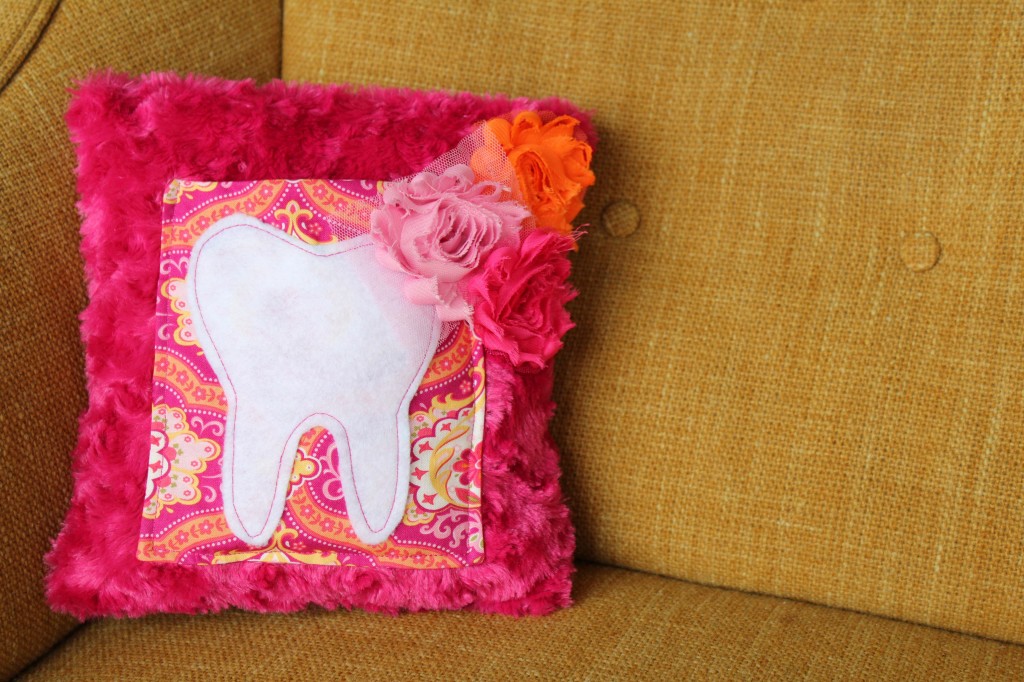 A sweet little pillow for my niece and her first wiggly tooth.


This is so cute! Would make a perfect gift! =)
Have a great weekend!
Love it, I want to make one, but I can’t draw a tooth. Can you provide your drawing?
Thanks
Jamie