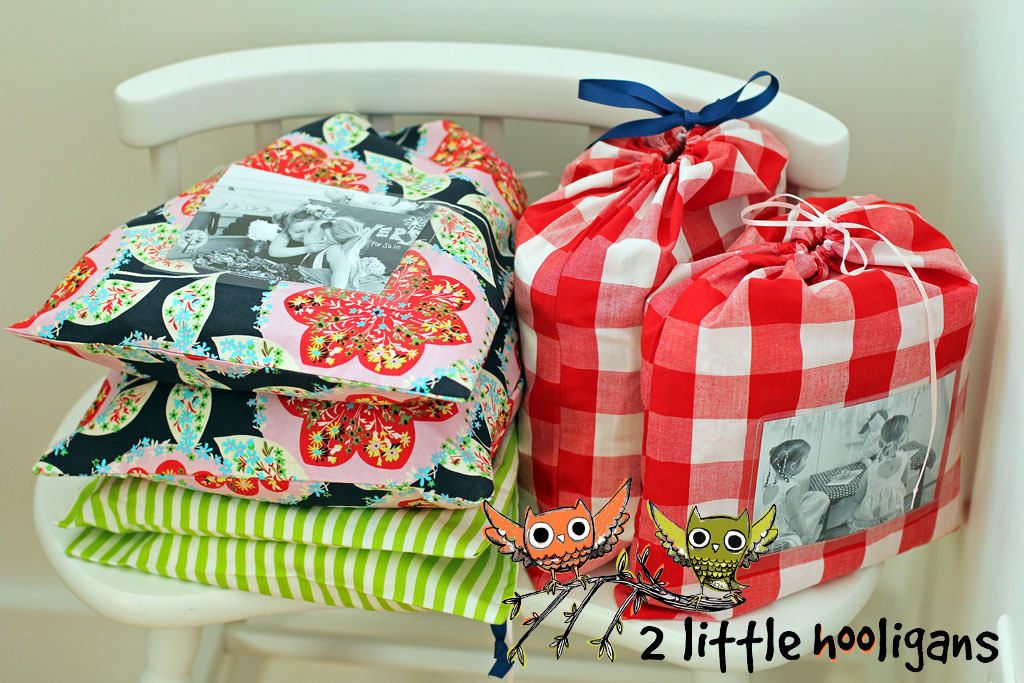
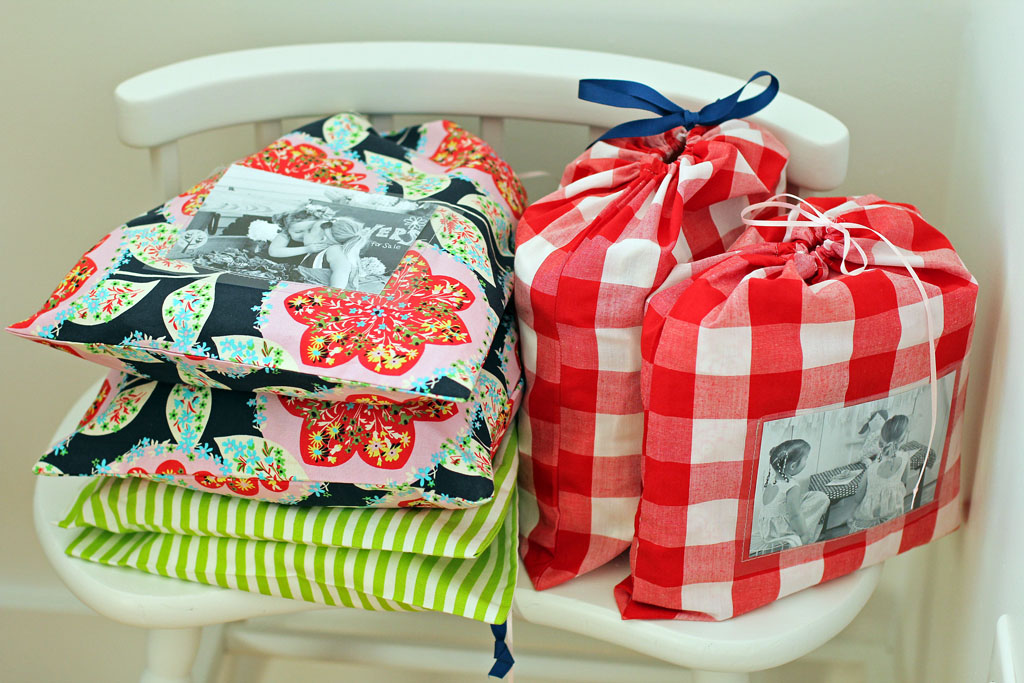
I’m over at Welcome to the Mouse House today for Hayley’s Kids Can Sew Series. I am showing a fun little sewing project to do with your kids for Valentines Day. 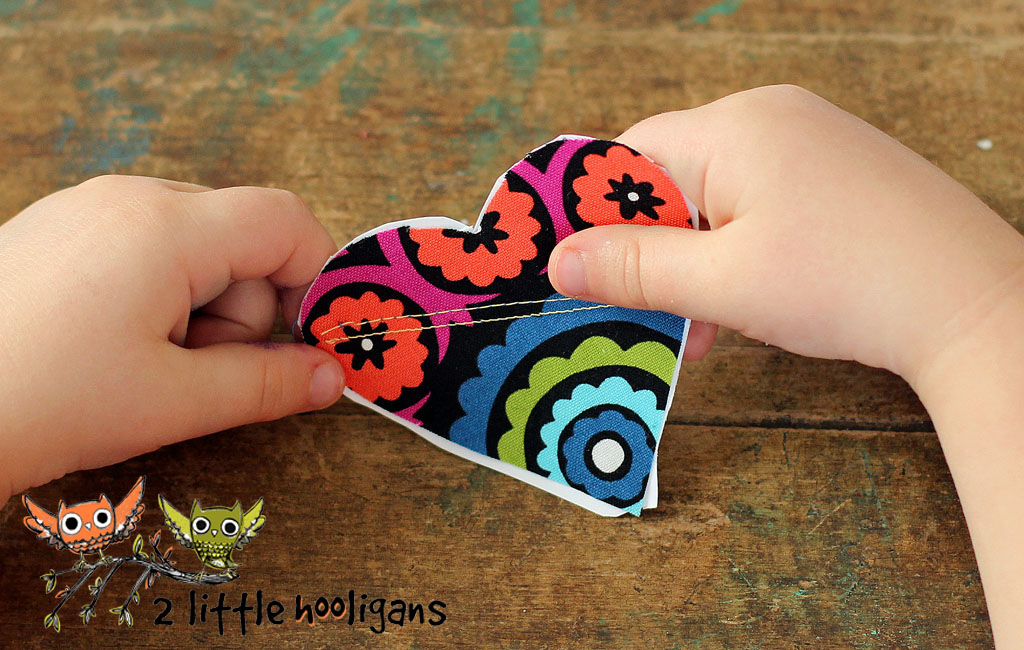
fat quarter friday {keepsake bags}
 What do you do with all of the handmade garments and items that you make for your kids?
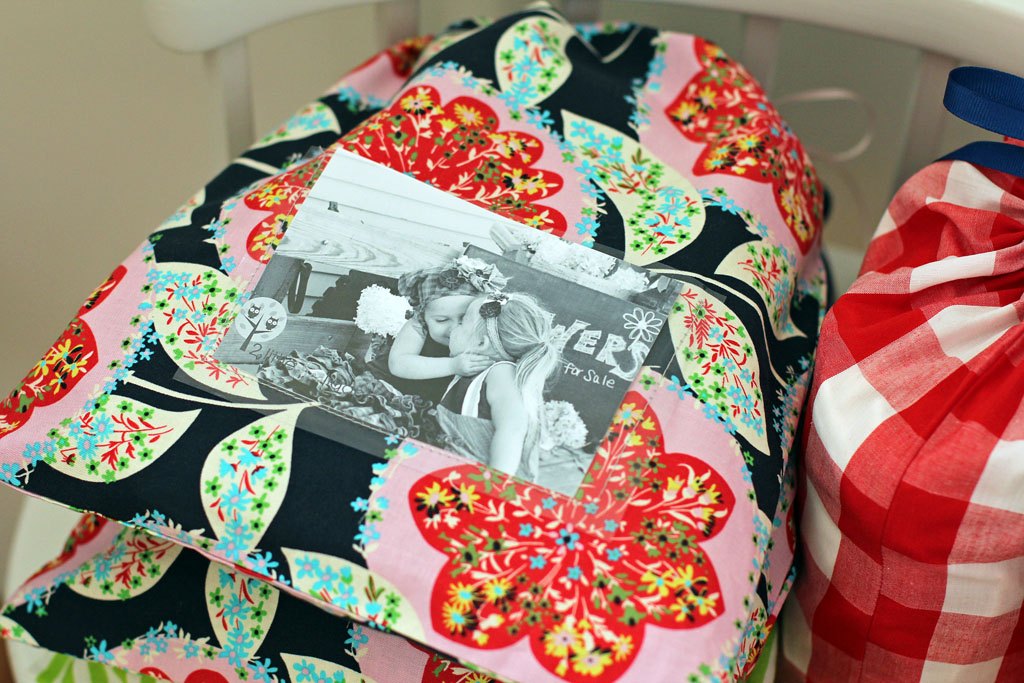
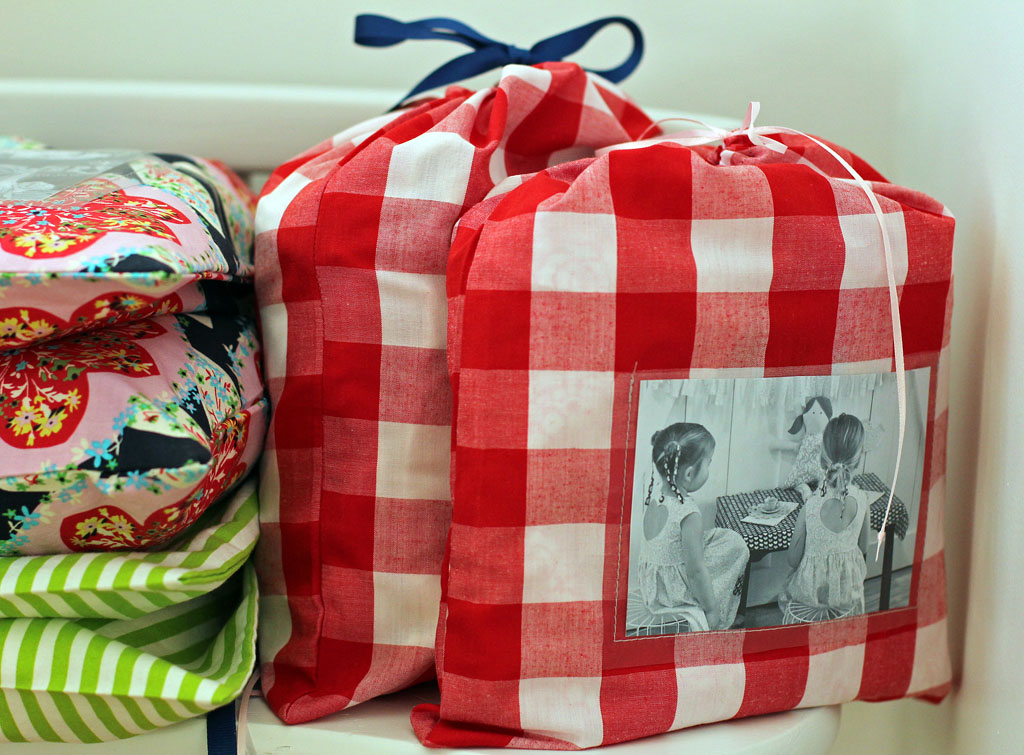
Do you hand them down to others or do you keep them? I give some of mine away to others and some of them I have to keep. I don’t know why but some of them I just cannot part with. I have to admit, I have visions of my grandchildren wearing them one day. I know that is probably just a dream but who knows, but I would rather keep them just in case then regret it later. Now of course it is impossible to keep every single thing I make for my kids. There is just too much stuff now, but there are a certain few items that I just loved or were the girls favorites. So I was thinking one day that it would be fun to make each of the items a little drawstring bag of their own and then add a little plastic sleeve to the front. That way there was a picture of my kids wearing or playing with the actual handmade garment or item that was inside. It would be a little keepsake bag of sorts.
Materials Needed:
* 1 piece of fabric cut into a rectangle shape. The size of the piece of fabric depends on the size of your bag you want.
*Ribbon or fabric for ties ties
*Clear Vinyl just enough for make little picture pockets with.
*Pictures of you children with the item or garment.
*Seam ripper and Fray Check
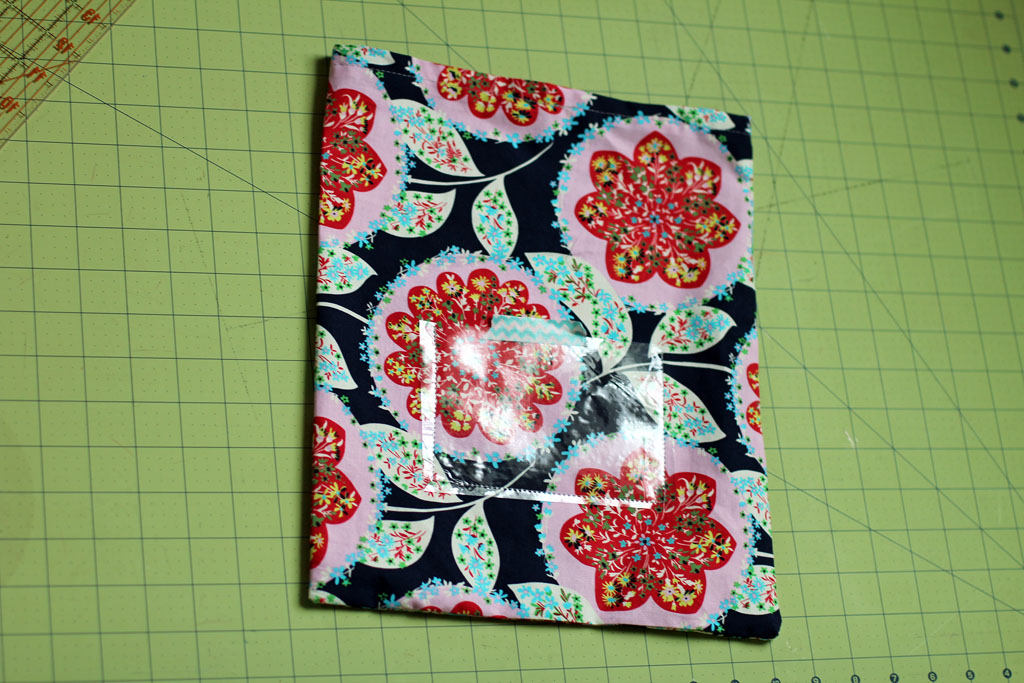
 Start by cutting out a rectangular piece from your clear vinyl. Make it a little larger then the size of your picture and factor in sew seams. You want to make sure you have enough space to insert a photo once sewn onto the bag. Sew the vinyl onto the bag. Make sure you only sew the sides and bottom. The top is where the photo will be inserted. If you are having a hard time sewing the vinyl switch to a Teflon foot and make sure you use masking tape or washi tape to anchor the vinyl in place onto the fabric. You do not want to pin the vinyl onto to the fabric, it will leave holes.
 Fold the fabric in half with right sides facing. Sew along the bottom and side. Finish off all raw edges that were just sewn. Make sure you leave the top open and is not sewn shut.
 Now take the top edge of the bag and fold over 1/2″ and iron flat. Fold over another 1/2″ and iron again. Now top stitch all along the top edge of bag.
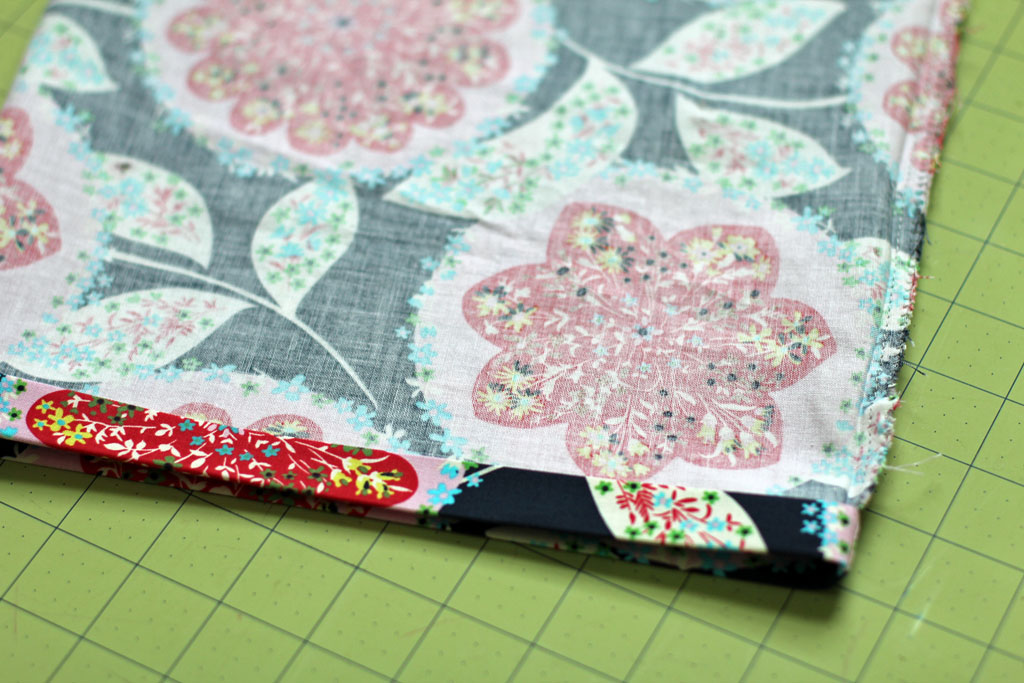 Turn bag right side out. Iron flat. ***Just make sure not to iron the vinyl!***
 Grab your seam ripper and some fray check.
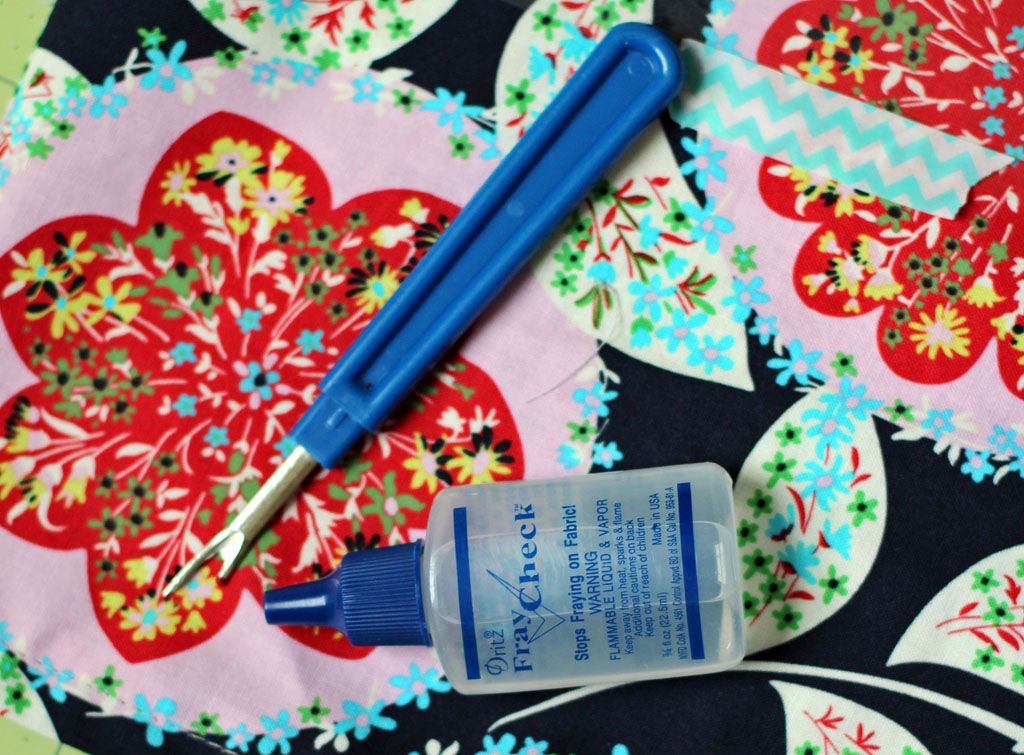 Make a little hole at the top of the bag for the ribbon to go through on one side. Add a little Fray Check if you want and let it dry.
 Tie the ribbon onto a safety pin and insert into the hole you just made. Pull the ribbon all the way through till it comes back out the hole in went into.
 And then you have your keepsake drawstring bags. Easy, right?!
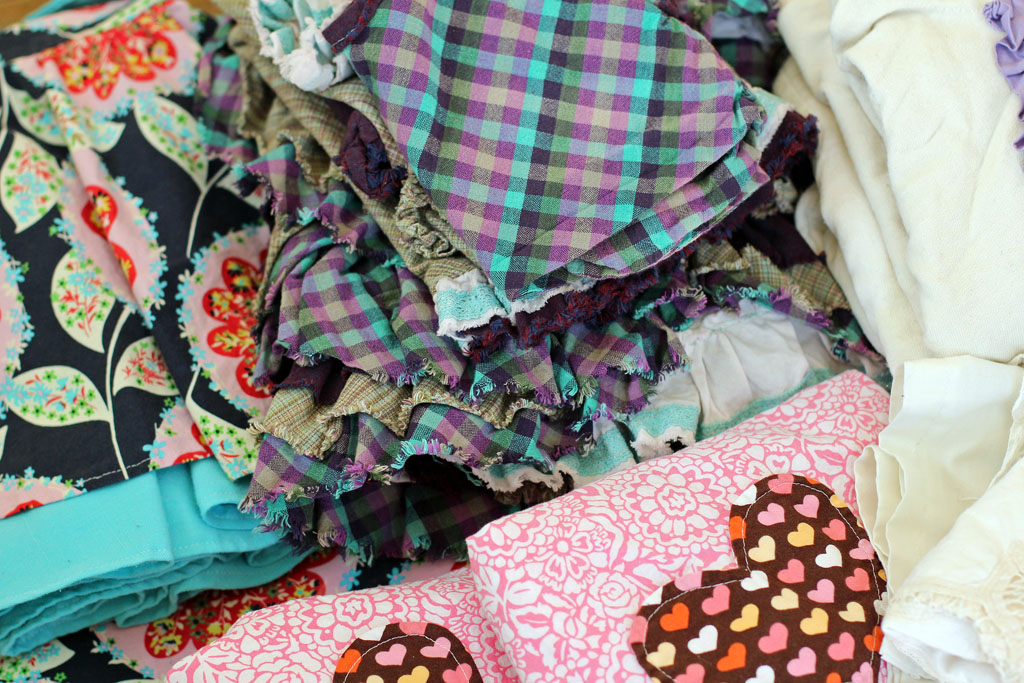
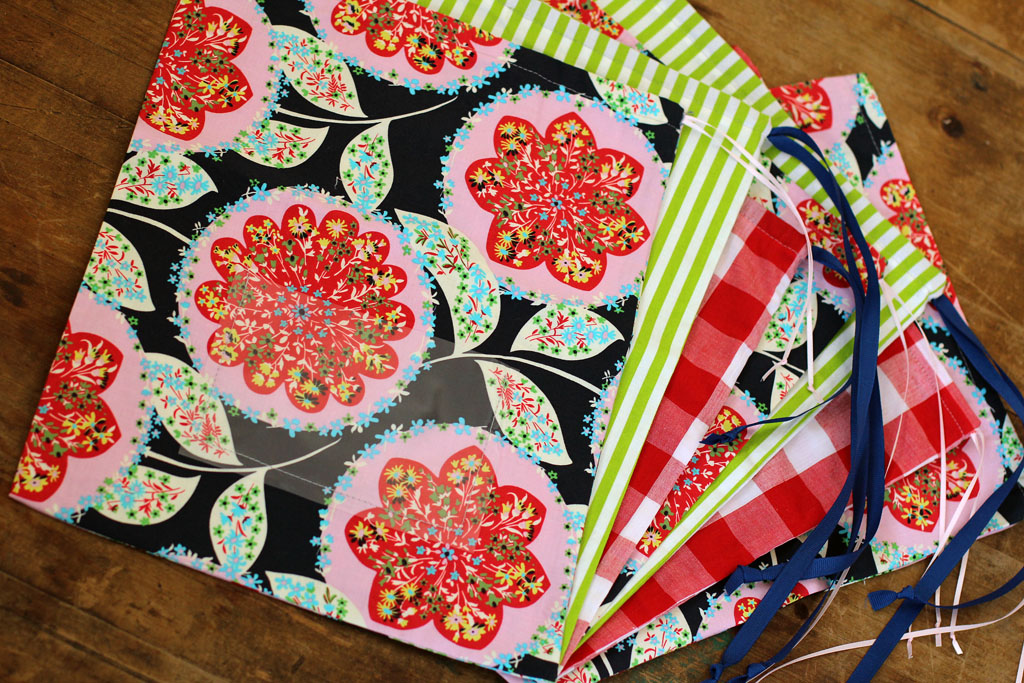 Now take the items that you cannot bare to part with, fold them neatly and start filling the bags.
 Take your photo and insert it into the clear pocket.
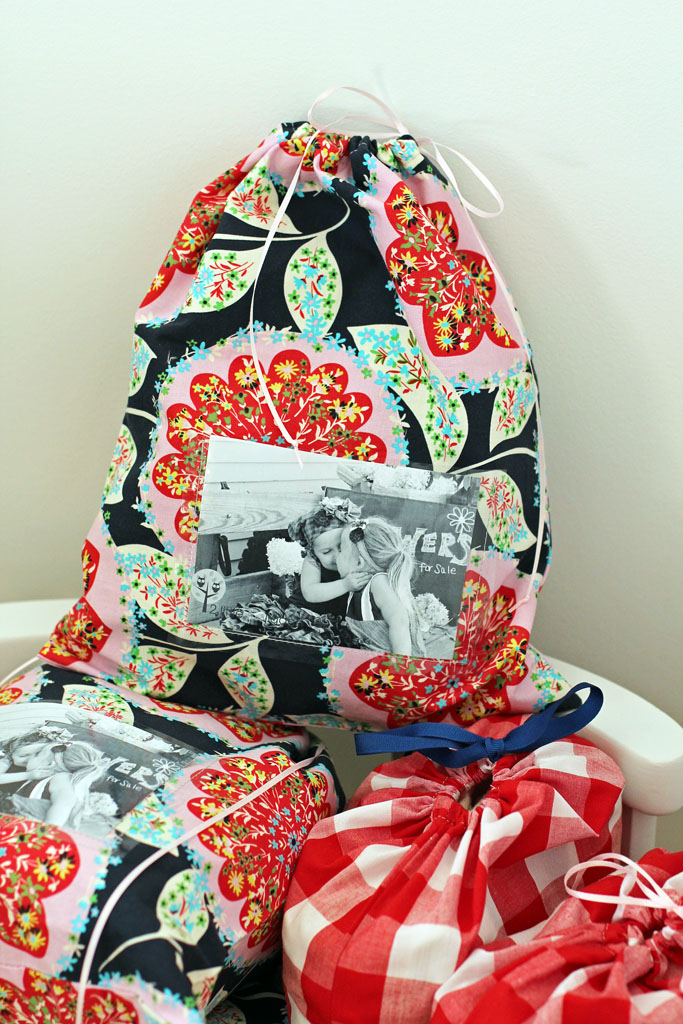 My girls went crazy over these bags…hopefully they will in about 25 year as well!
lbg studio e-book Photography for bloggers giveaway
A few months ago I was given the opportunity to review the e-book Photography for Bloggers by {LBG STUDIO}.
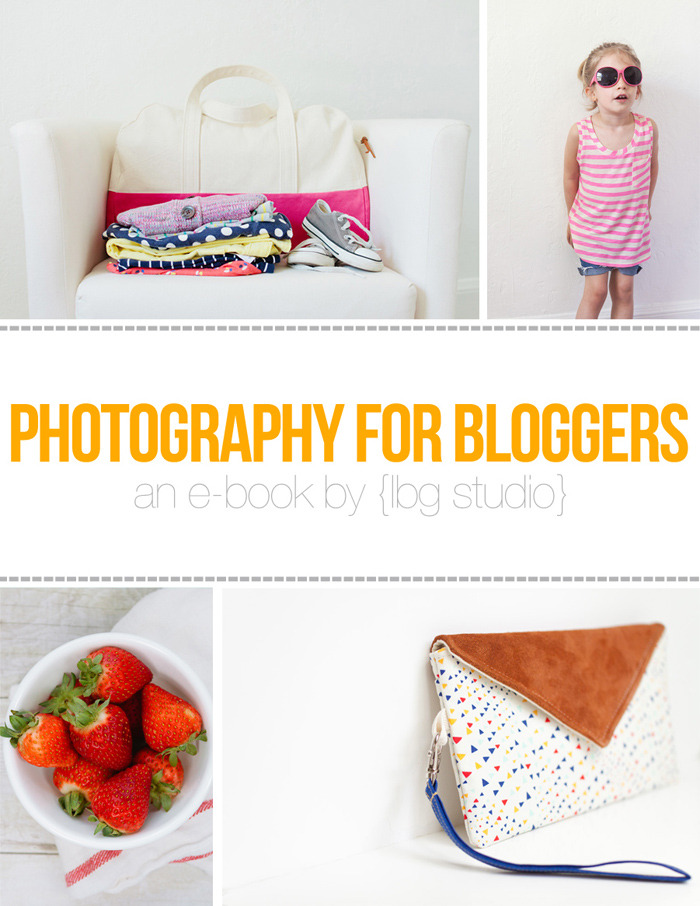
I was so excited with the opportunity because I am now at the point where I just need to figure out how my camera works. Since I started blogging I have upgraded 3 times with my camera and each time I saw a big difference in my photos. But I am now at the point where it is either learn how to really use my camera or settle with the pictures I am getting. I shoot with a cannon rebel t3i and shot almost entirely with my kit lens 18-55mm f/3.5-5.5 before reading the e-book. I rarely used my 50mm f/1.4 lens that I had spent so much money on. I just never seemed to fully understand the lens so there it sat. I never used manual mode to shoot in and certainly never used it to focus with. I guess you could say I was completely scared of manual mode.
The first time I sat down to read the e-book Photography for Bloggers I picked up on a lot of her tips and tricks as far as photographing indoors and how to set up a scene for photographing handmade items. Then the next time I sat down to read the book I decided to finally dive into the camera settings section. I grabbed my camera and read through it more in depth. I would read a little then actually try it with my camera. Lo and behold I could actually see the differences between each photo when changing the settings. It was amazing how much I better understood my camera and its settings just by doing this. I highly recommend you doing it as well. Of course I had to read and re-read the e-book a few more times before I finally got to the point where I felt comfortable with all of the settings and remembered what they all did. In the e-book Vanessa also shares tips on editing and uploading photos to the web. Again, I played around with this a bit. I uploaded a picture how I normally would and then a picture edited and resized how she states to in the e-book and what a huge difference!
I now shoot in manual mode with my 50mm f/1.4 lens all of the time and I have seen a huge improvement in my photos. You may not have noticed as much as I have because you are not closely looking for it and critiquing them, but trust me there is a huge difference. What I love most about the book is that Vanessa writes in a way so that I can understand all of the photography terminology. Plus she shows lots of examples throughout the book on how to get the best natural lighting. She not only tells you how to use natural light and ways to reflect it, but also shows you exactly how she sets it up. For a hands-on/visual type of girl that I am seeing those pictures made a world of a difference to me. I honestly cannot tell you how much just reading the e-book has greatly improved my photographing skills…just see for yourselves. Below are two pictures. The first one was taken before reading the e-book and the second picture was taken after reading the e-book.
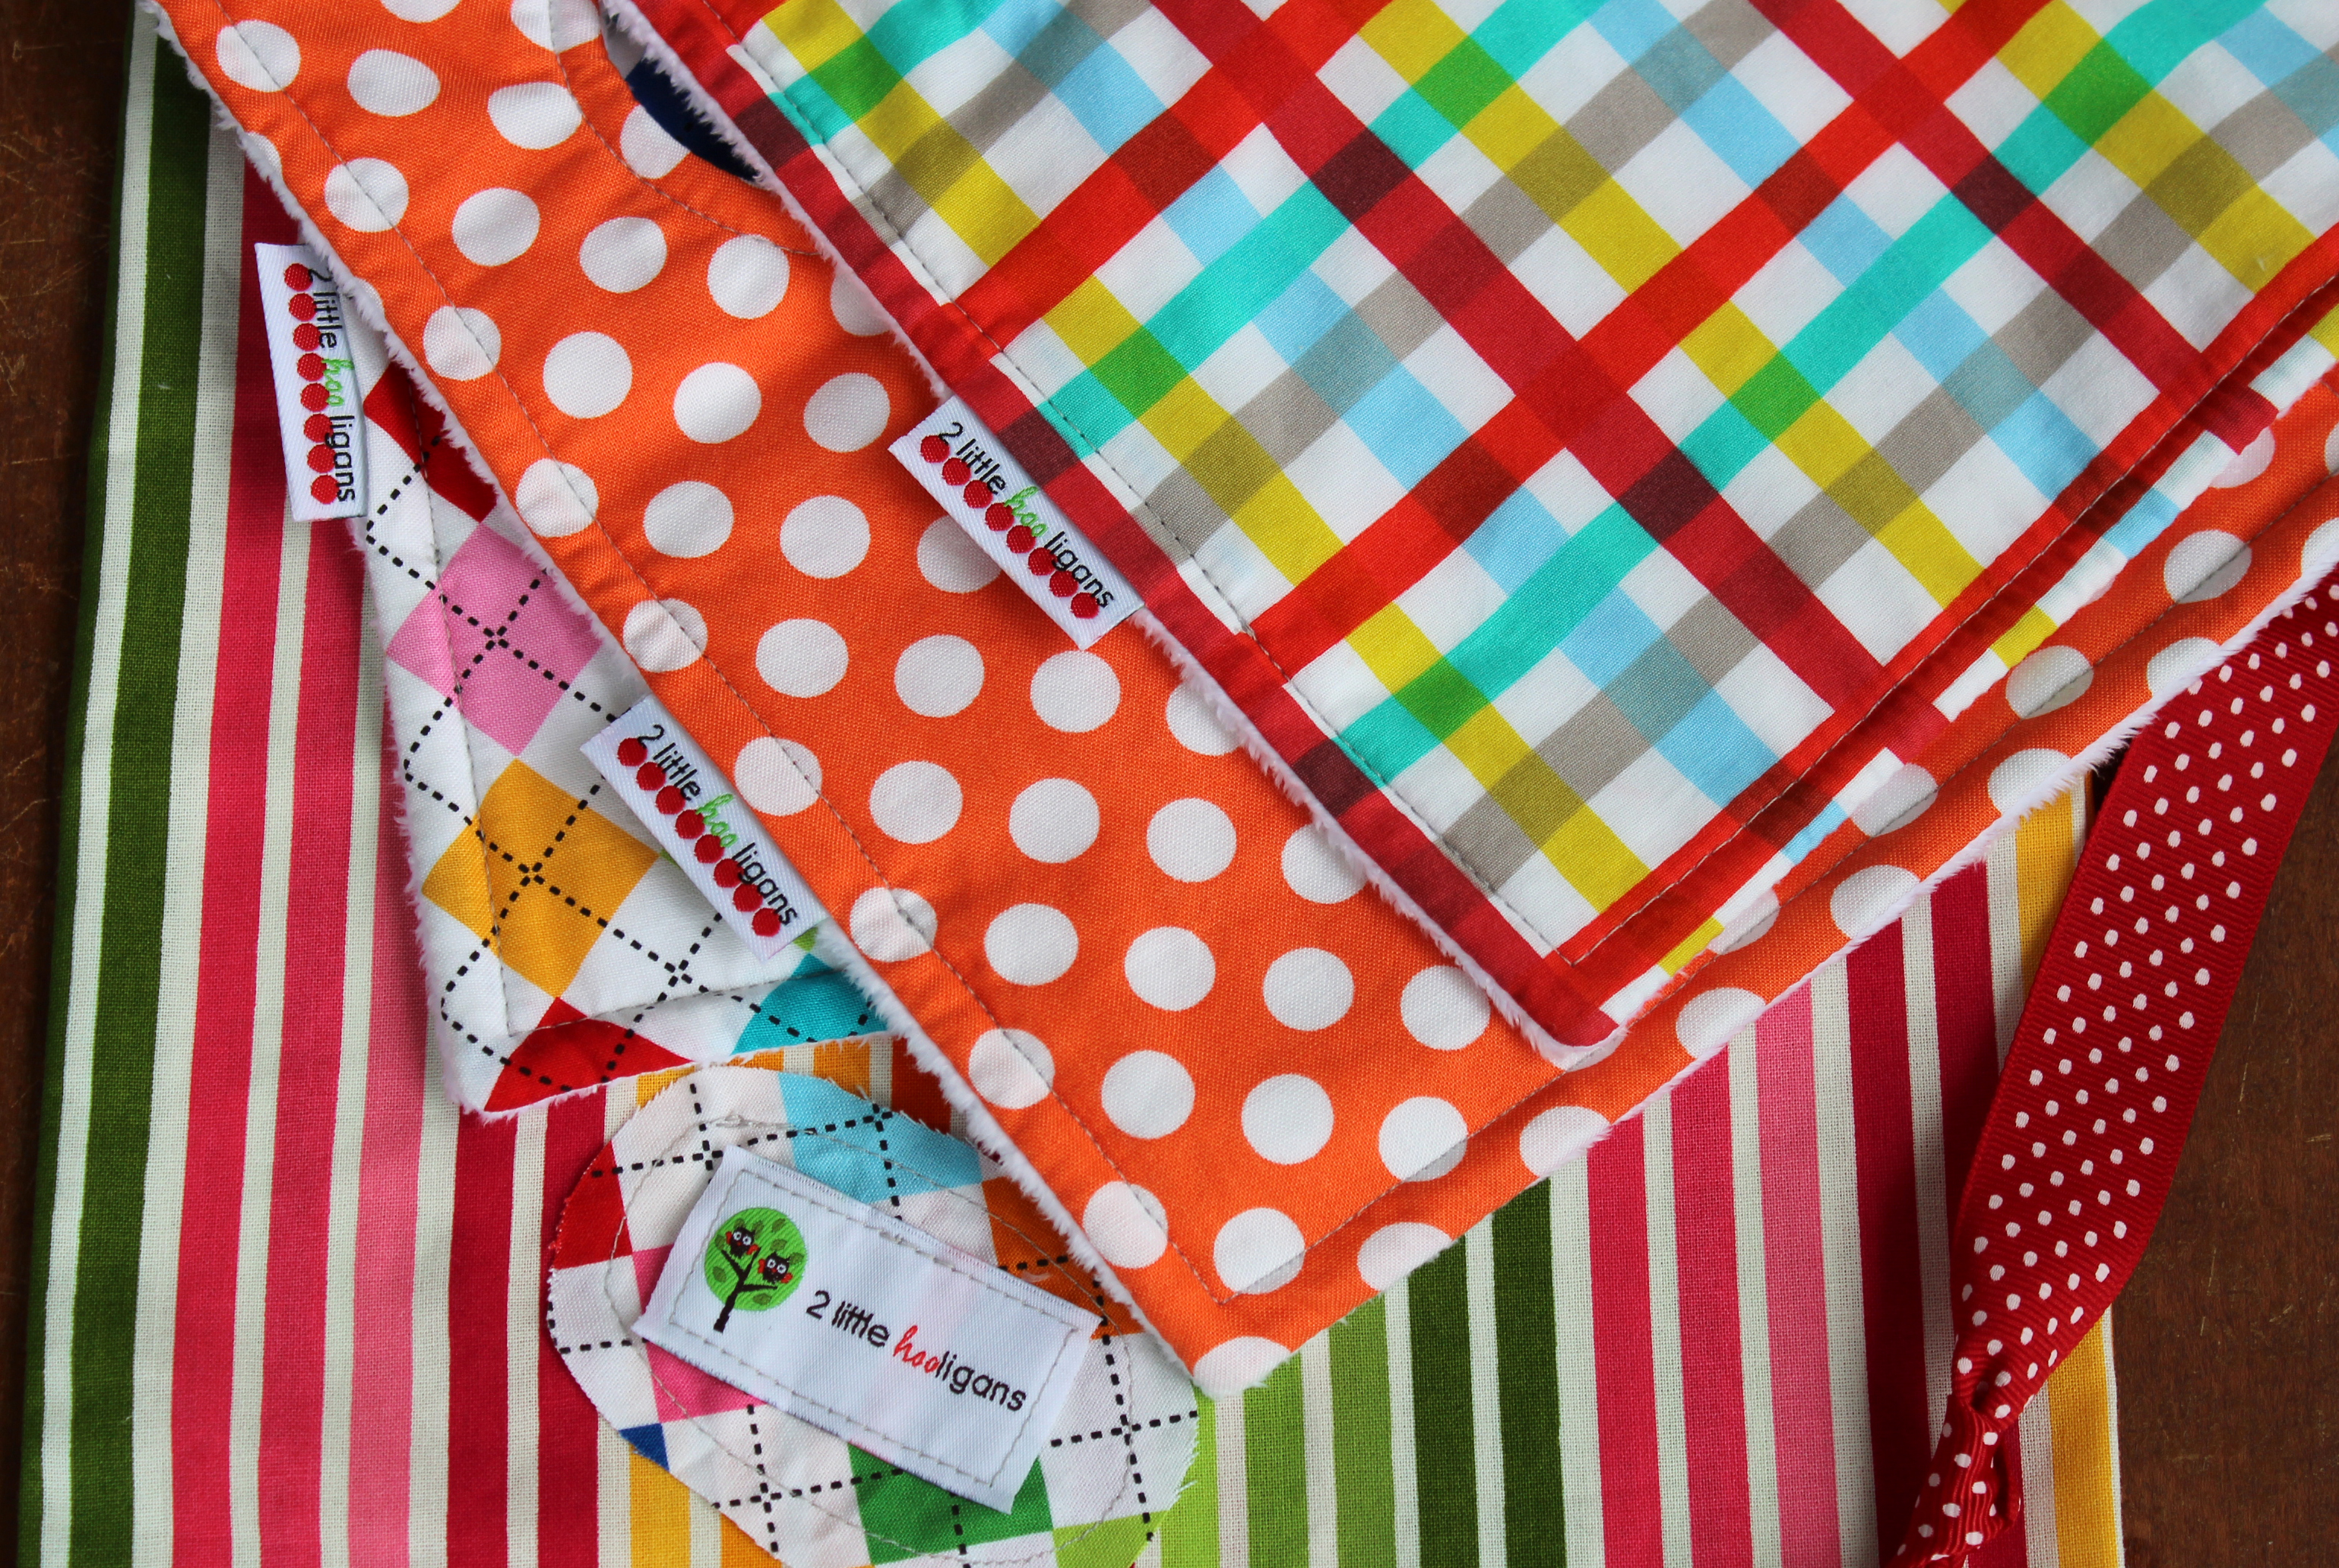 Picture taken before reading e-book
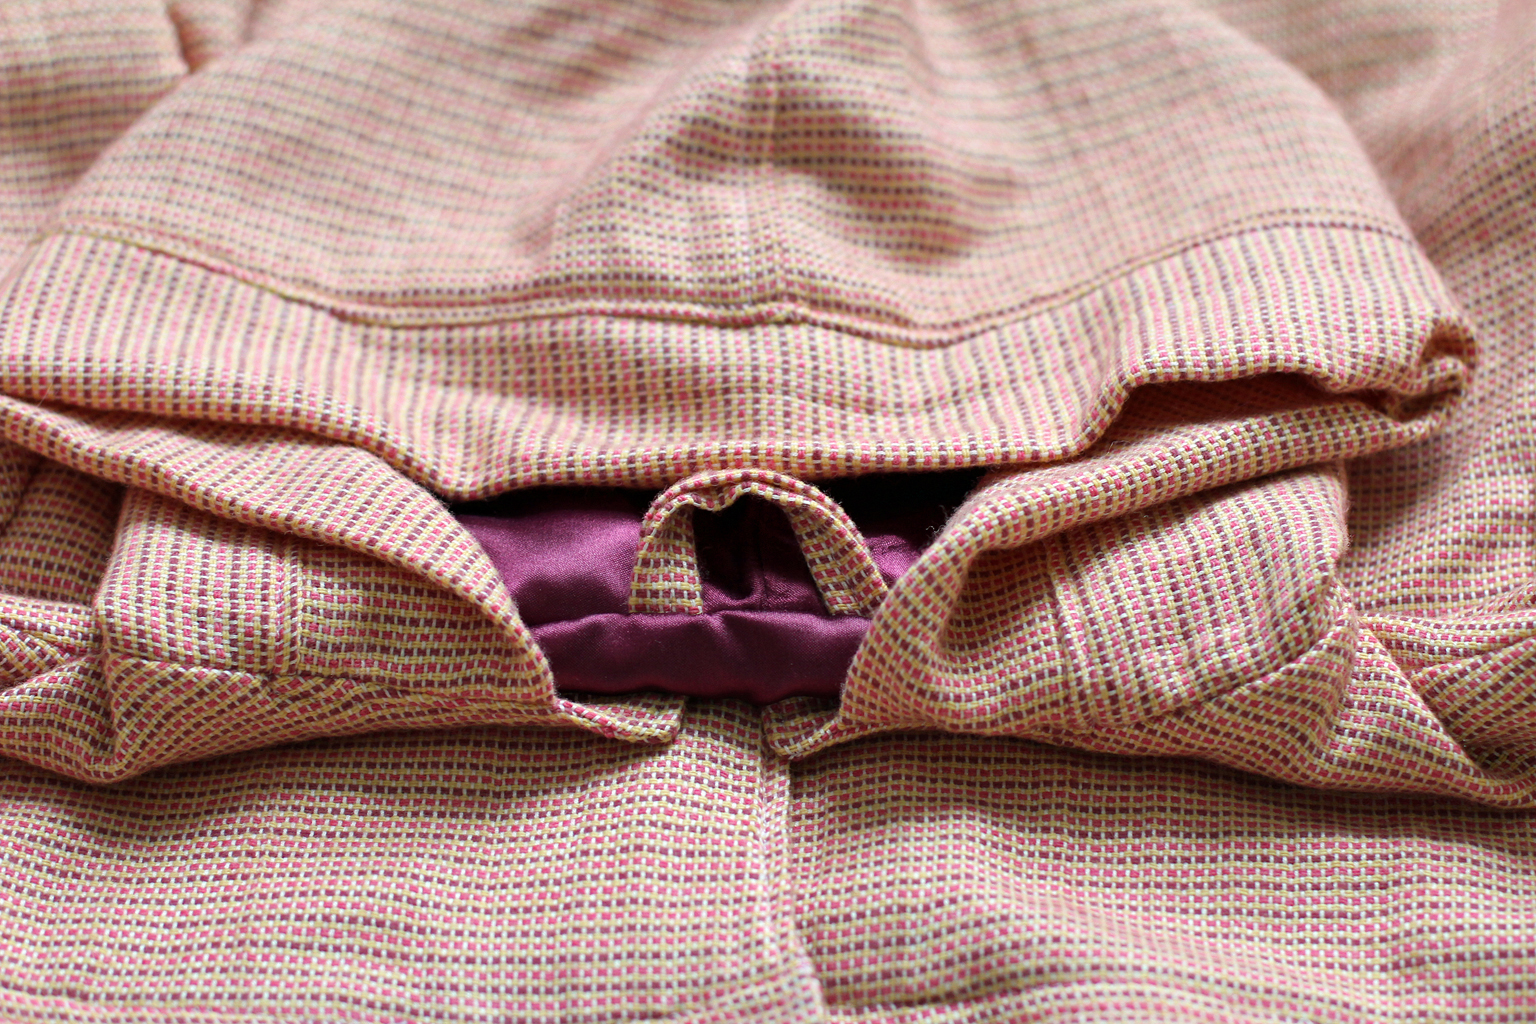 Picture taken after reading e-book
Big difference isn’t it? Vanessa has been kind enough to give away one copy of her Photography for Bloggers e-book to one lucky winner. To enter, just enter the Rafflecopter below. Good luck!
Sew together bag
For Christmas I made a few of these Sew Together bags by Sew Demented.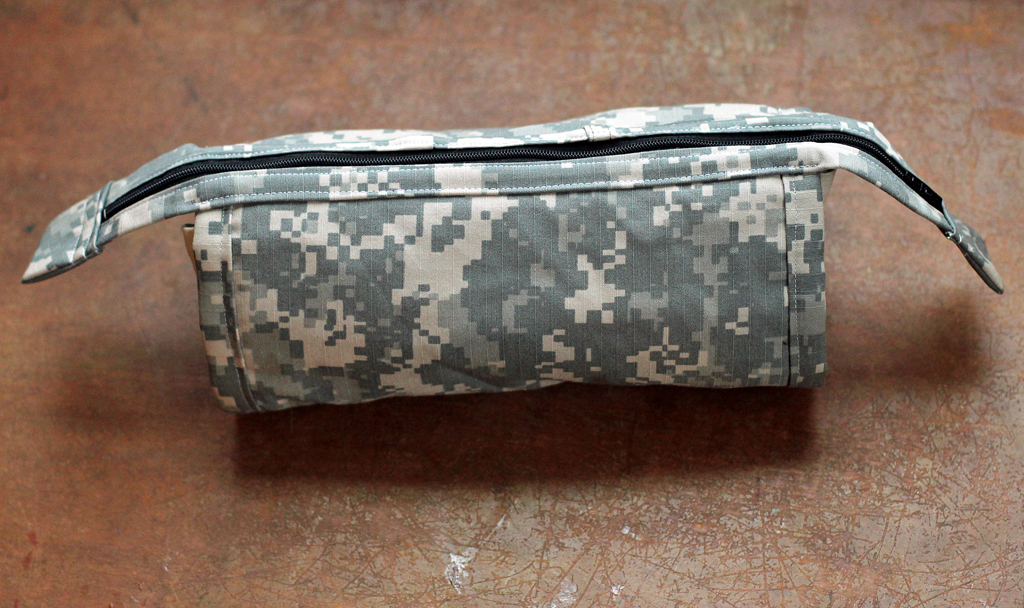 It is a great little bag that is full of pockets and zippered pouches. I keep thinking how great one of these would be to keep all those little items organized in a diaper bag. Or use it for a first aid kit, school supplies or a sewing bag on the go.
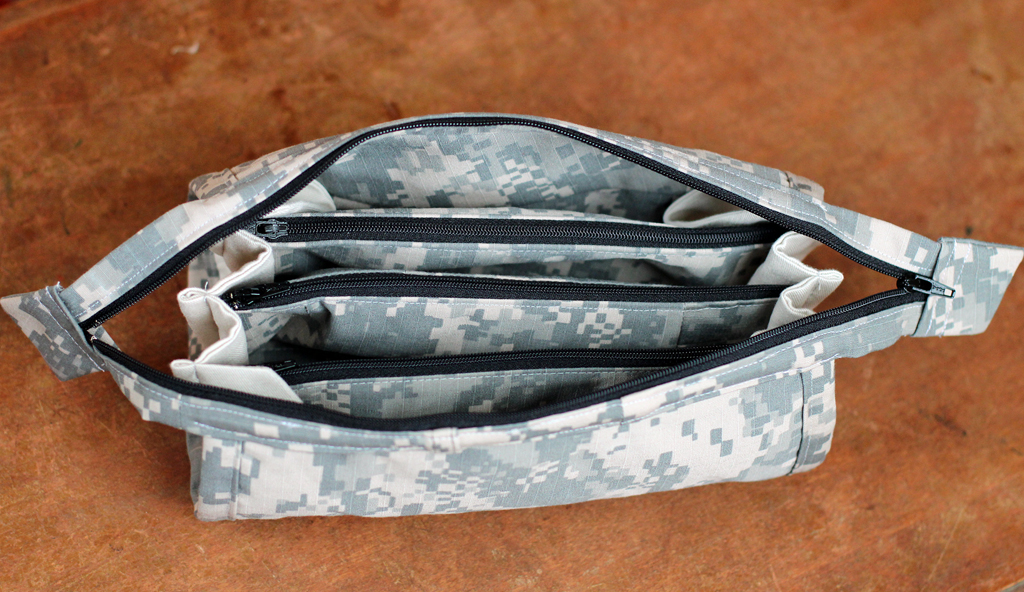 I do have to admit that the pattern was a little hard to follow. I had to read it a few times before it finally made sense to me. It is definitely not a beginner pattern or for those who need step by steps instructions with pictures. But with all that said, I love the outcome and recommend it to those who are up for a challenge.
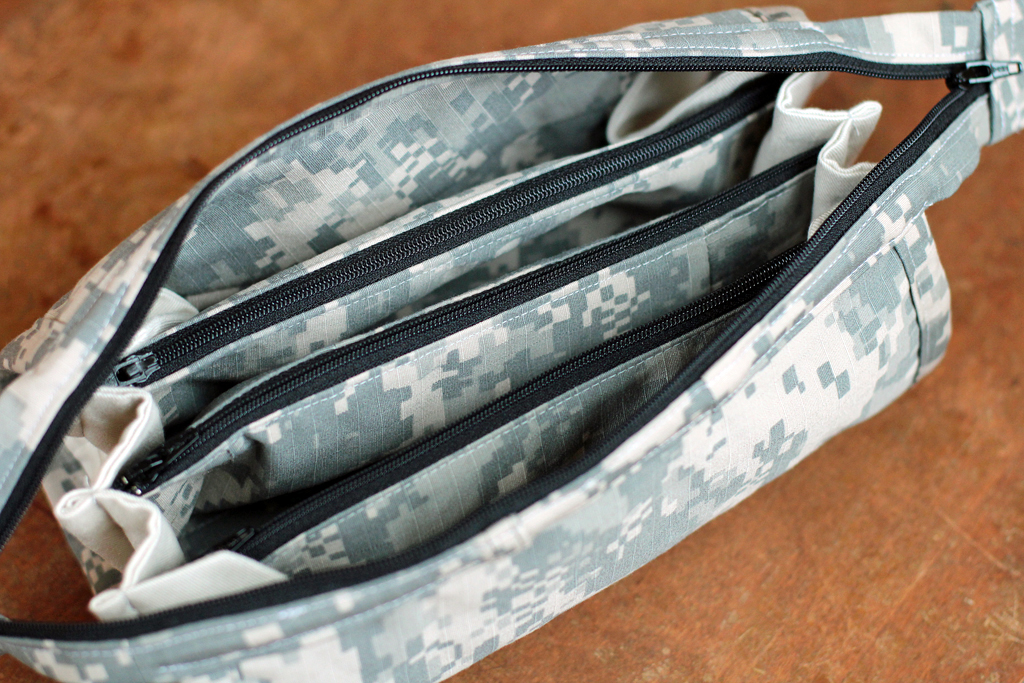 What I love most about this bag is that it can easily be a great handmade gift for a girl or a boy. We all know how hard it is sewing for boys or men.
Book Giveaway
Today I am over at Welcome to the Mouse House giving away one of our favorite books as part of her Kids Can Sew series. Head on over HERE to check it out!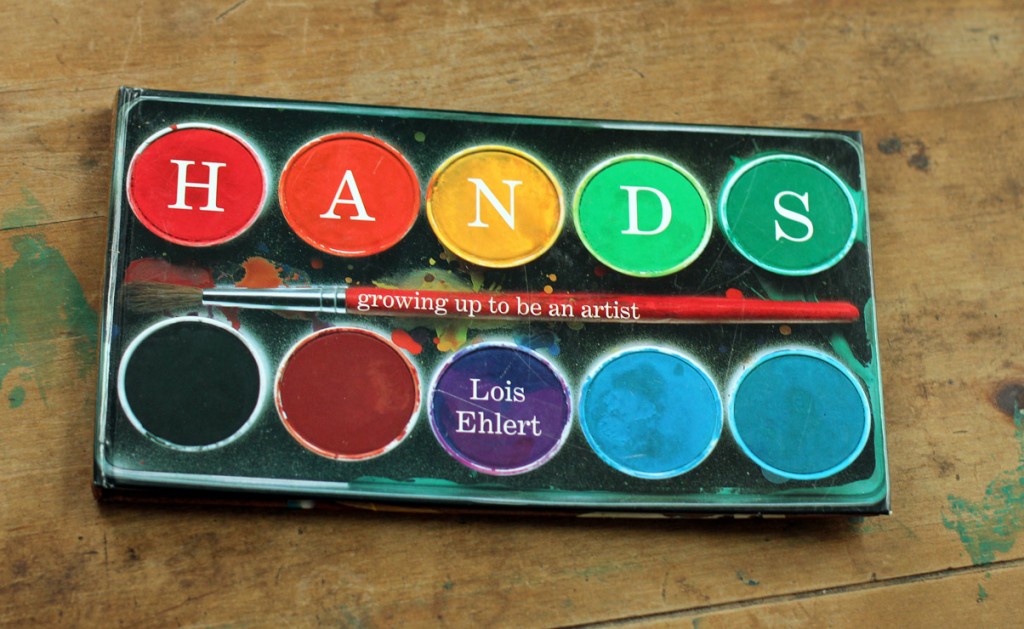
2013 in review
It is always so fun to look back through my posts from the past year and see how much I made. I also like to see how much my sewing has evolved and of course I love too see how big my kids have grown in a years time.
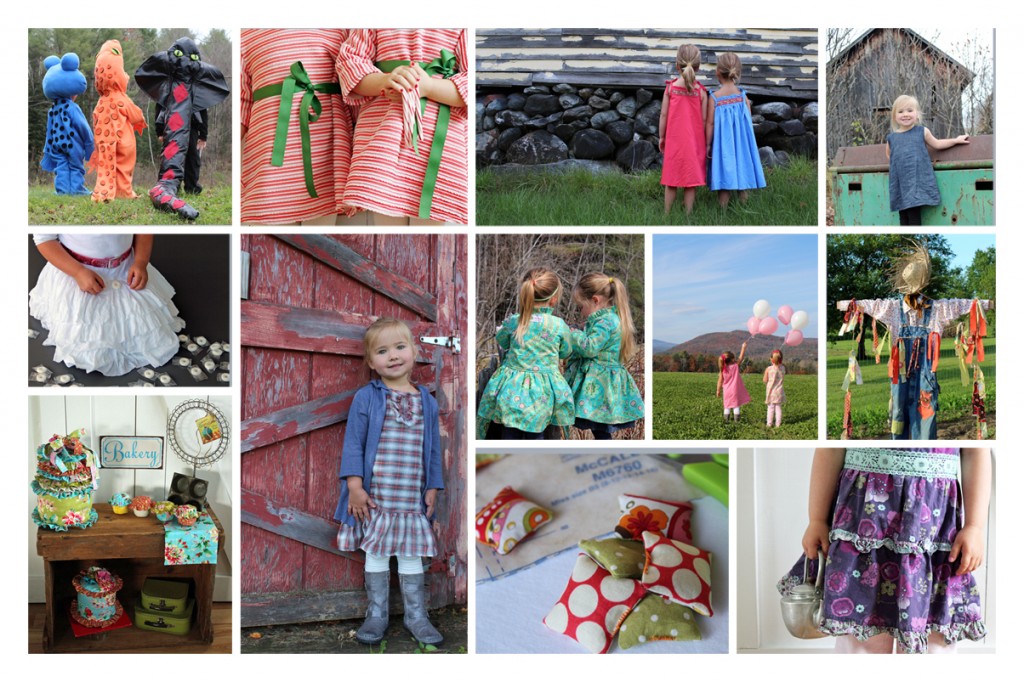 Halloween costumes, Norah Dress pattern tour, Oliver & S Popover Sundress pattern remix, Debbies Birthday Dress, Grampa’s Candy Dress, Mad for Plaid Dress, Willow’s Wrap Jacket, Debbie’s Birthday Dress, Scarecrow, Fabric Bakery, Pattern Weights, Toddler dress refashion to toddler apron
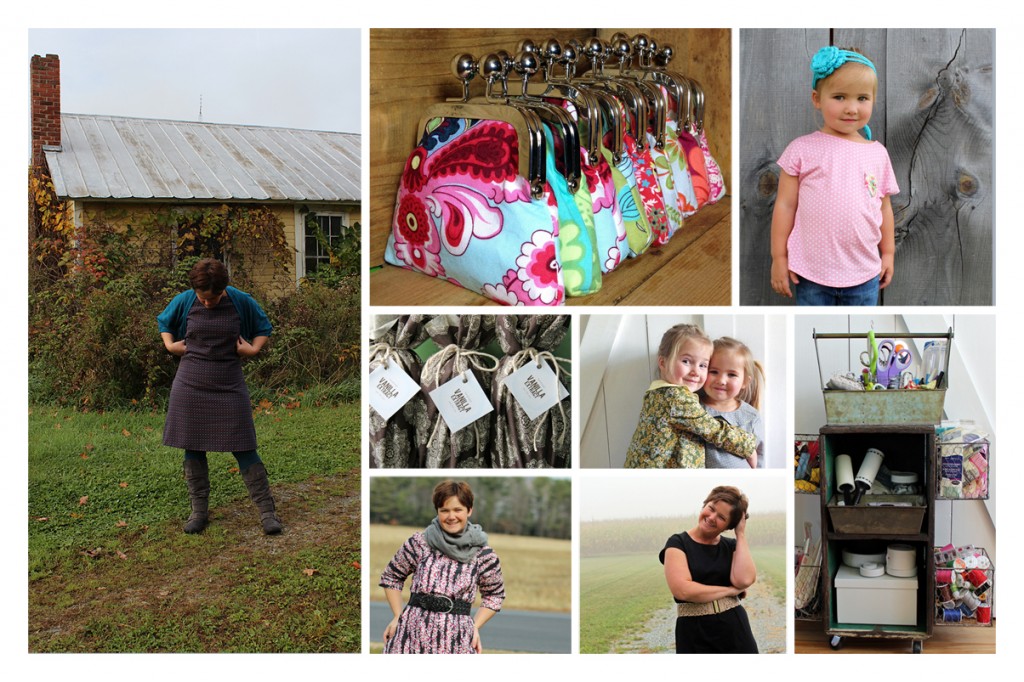 Fashion Era Challenge, Clasp Coin Purse, Skipper Top Pattern, Homemade Vanilla Extract, Norah Dresses, Sewing Caddy, McCall’s Pattern 6488, Little Black Dress
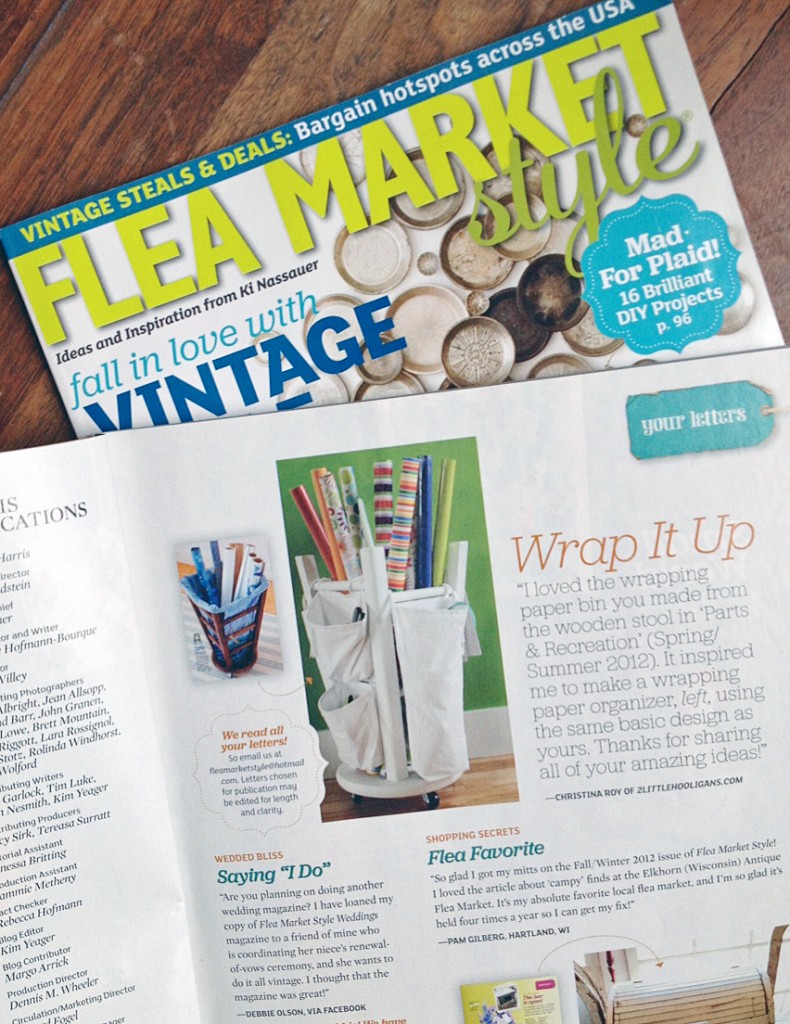
Not only did I make a lot of fun things this year I also had the opportunity to travel to LA for a weekend of fabric shopping with a lot of amazingly talented bloggers. It was so much fun and I made real friends that go beyond just a blogging friendship. Quit possibly the most exciting news for 2 little hooligans in 2013 was when a picture of one of my creations was published in a real magazine…my favorite magazine at that! I was pretty excited to say the least! I know it is just one little picture but for me that is all is takes.
2013 was a great year and I am really looking forward to what 2014 brings!
Christmas dresses
I know Christmas is over but I still want to share a few of the things I made. First up are my girl’s Christmas dresses.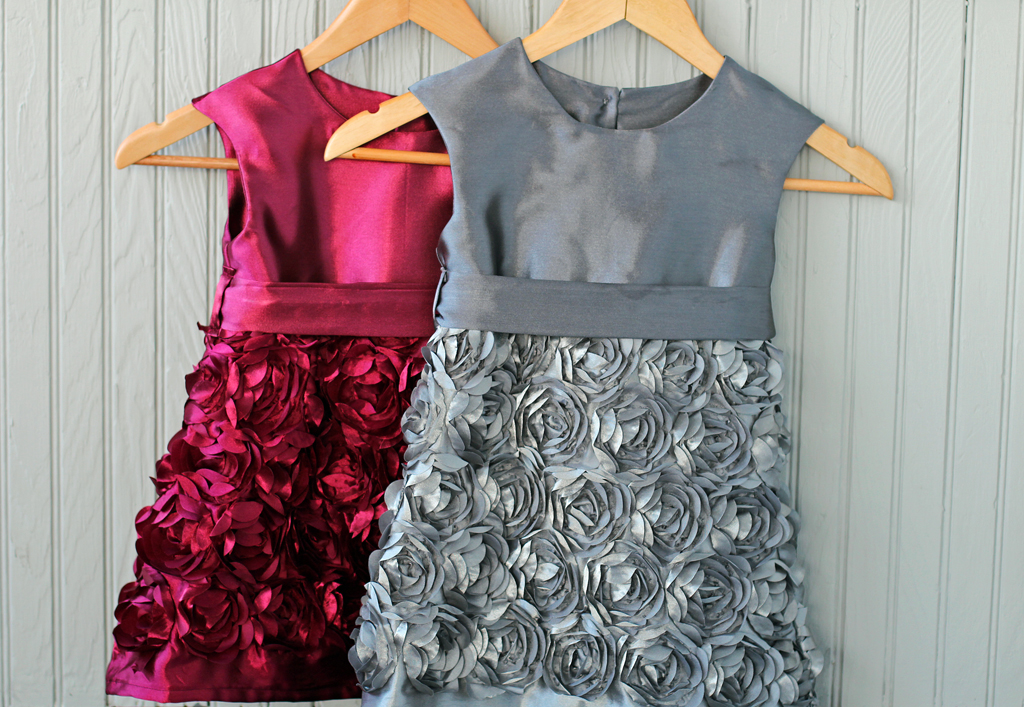
I used satin rosette fabric and coordinating satin fabric that I purchased from fabric.com. Isn’t that rosette fabric simply beautiful? My little girls went crazy over it…so did I!
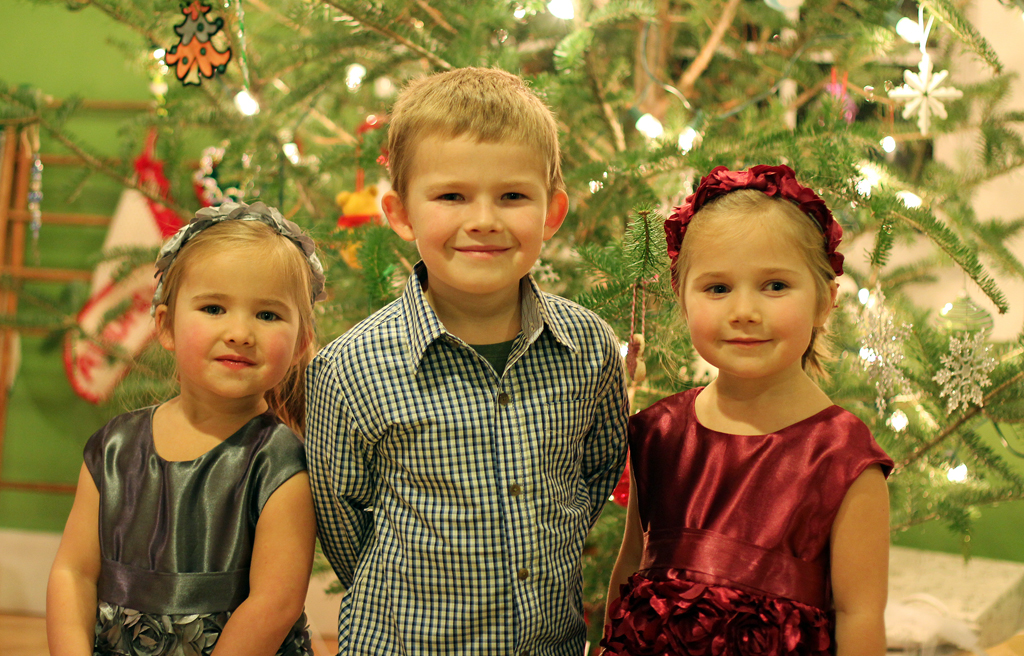
For the bodice I used Mouse House Creations The Caroline Party Dress pattern and then used The Norah Dress pattern for the skirt part. With all those pretty flowers the skirt part needed to be a simple a-line shape.
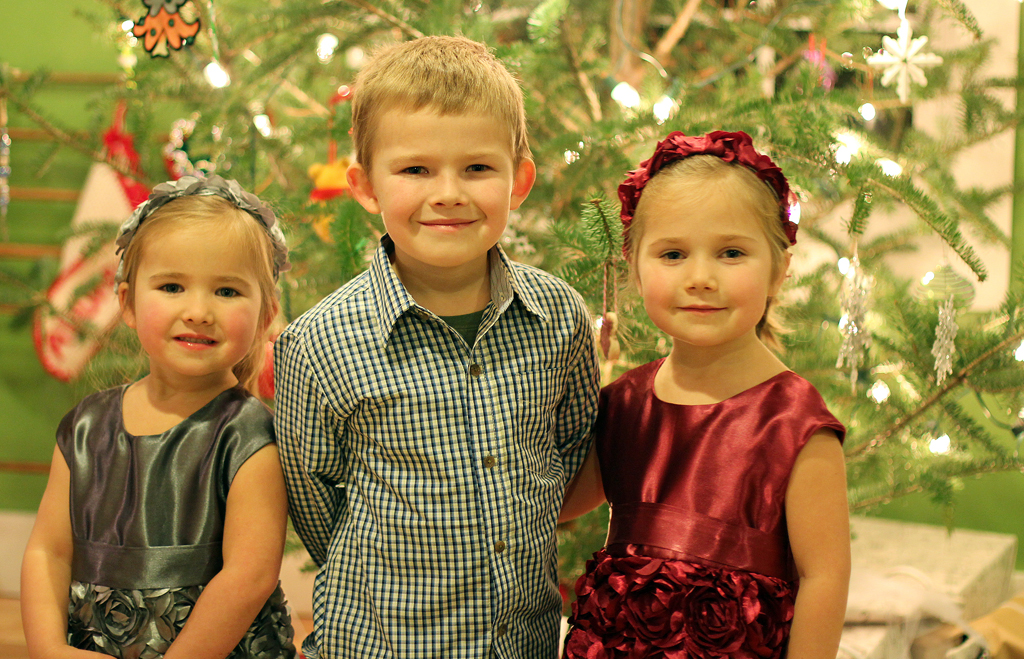
I also made some matching headbands to go along with the dresses. My girls loved the headbands but they may not have been the best idea when it came to church. They ended up turning their headbands into spy glasses and every other funny thing they could think of. Mass at night is always a challenge for us and put the excitement of Christmas on top of that you never know what you are going to end up with.
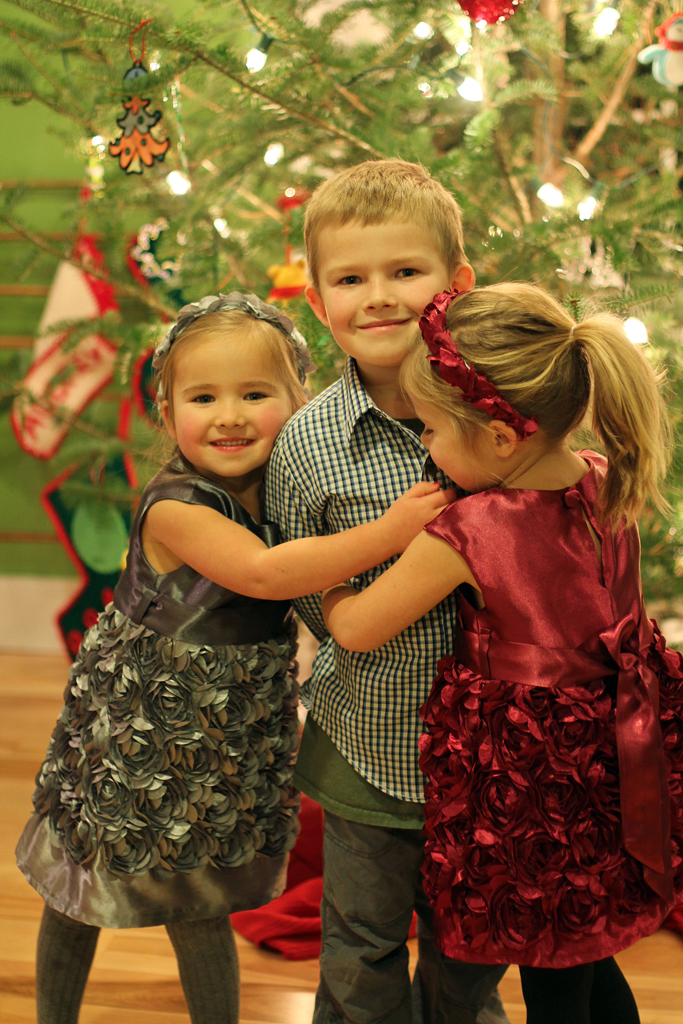
It was my second time working with satin and as much as I love the looks of it I am pretty sure I will not be using it very often. It is a very fussy fabric.
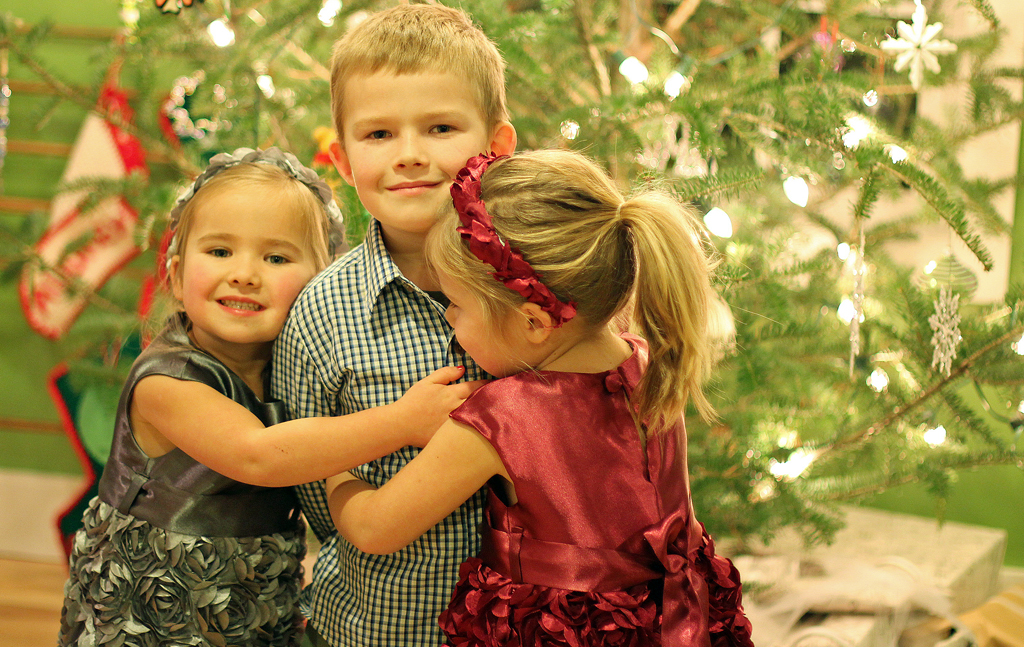
Melly Sews has a great post for working with satin and other fancy fabrics. You can read that post here. I highly recommend you reading it before you wash or start working with your fabrics.
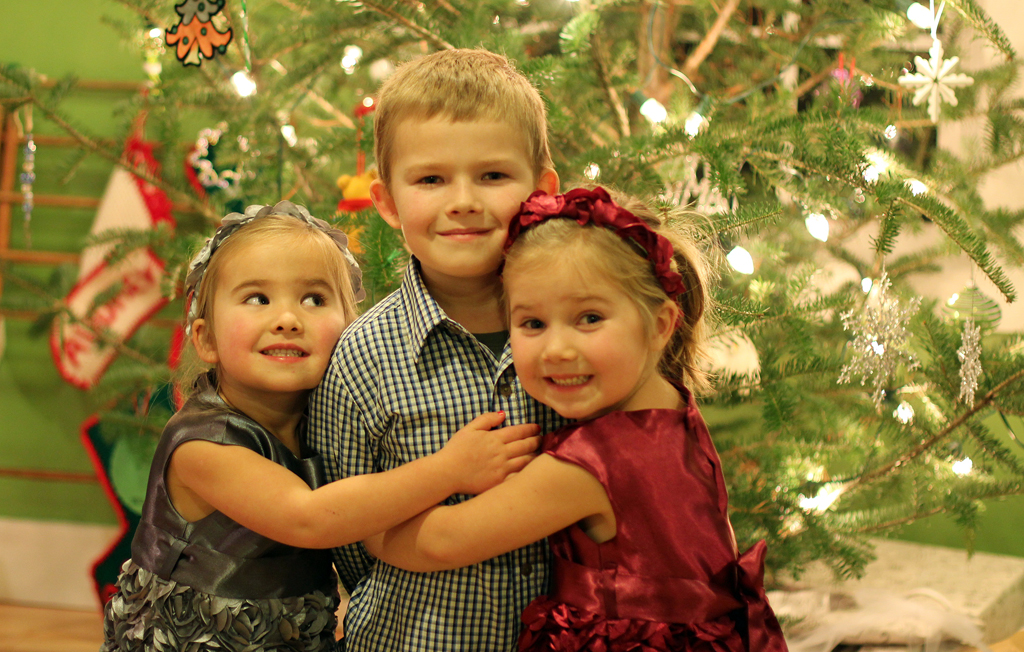 In case you are wondering that is a store bought shirt for my little guy. Next year I must make him something. He definitely gets a lot less handmade goodies then the girls.
Teaching kids to sew
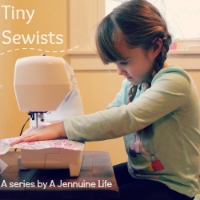
Pretty darn cute isn’t she? I think she is on her way to being one good seamstress…then again I am just one proud Momma! As you already know I have strong passion for sewing and seeing my kids show interest in it is pretty special. My kids are ages 3, 5 & 6 and they really are the perfect age to start learning. My three year old can be a little tough behind the machine at times but she is learning and that is what it’s all about. Heck I am still learning.
Don’t know where to start? Well Hayley from Welcome to the Mouse House and Jenn from A Jennuine Life have started their own sewing series centered around teaching kids how to sew.
Kids Can Sew by Welcome to the Mouse House
 and
and
Tiny Sewists by A Jennuine Life
I am really looking forward to following along both of these series and hope you will too. Let’s get our kids loving to sew just as much as we do!
Sew all 26: the letter O
Today I am part of no big dill’s sew all 26 series. It is a fun series in which you choose a letter and sew a garment inspired by that letter.  I chose to sew for the letter O.
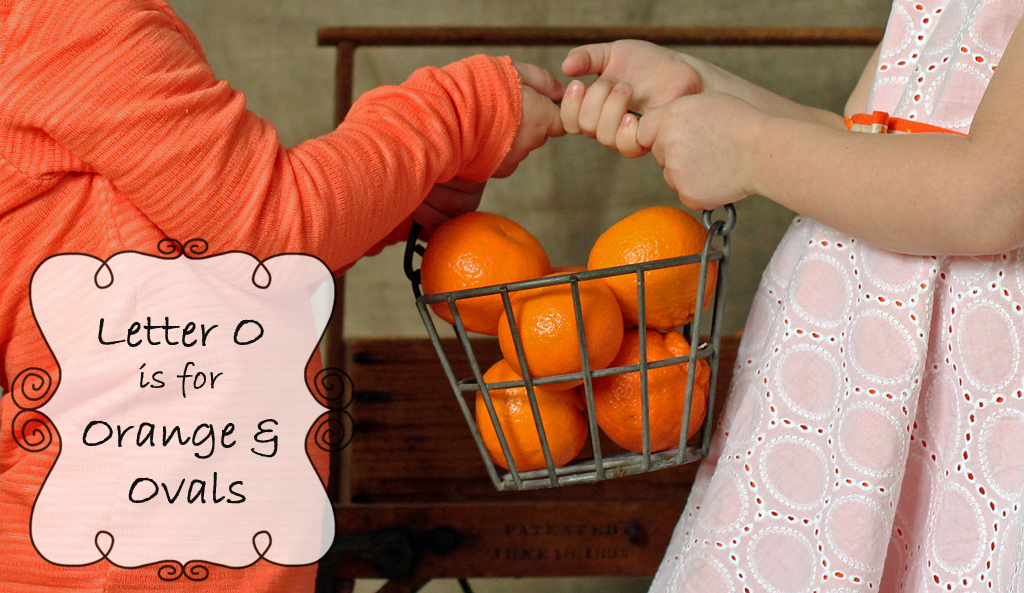 The letter O is for the color orange and for ovals. Of course you knew I would chose the color orange, didn’t you? I know, me and my crazy obsession that color. Well I am not the only one. Katy from no big dill shares the same obsession with it. So it just seemed fitting to pick the color orange to sew with for the letter O. Ovals were only chosen after I saw this cute eyelet fabric. It is funny how a design is created some times.
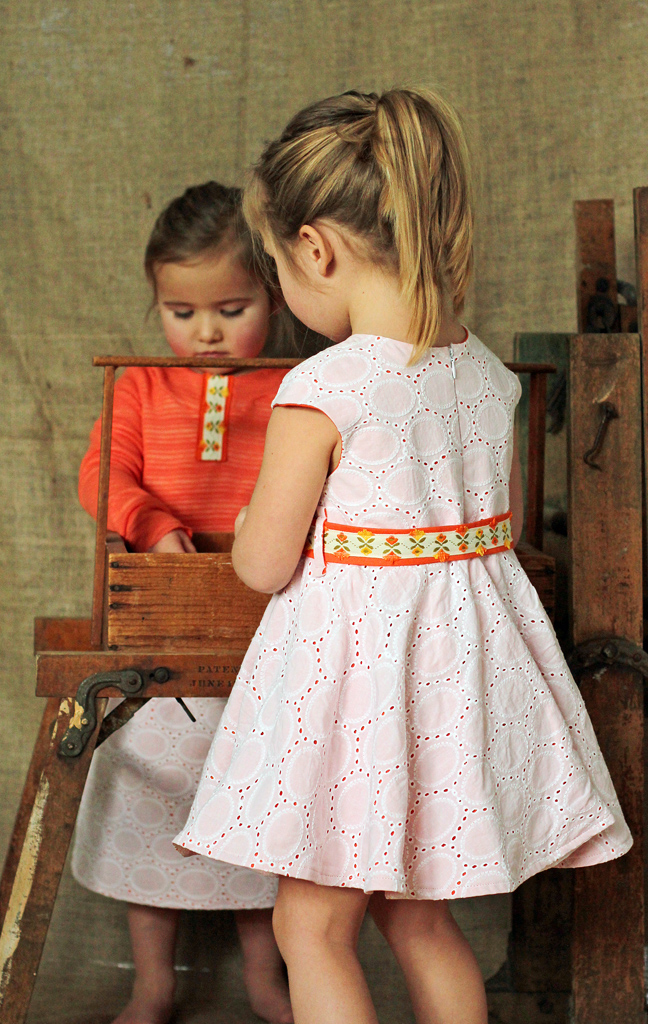
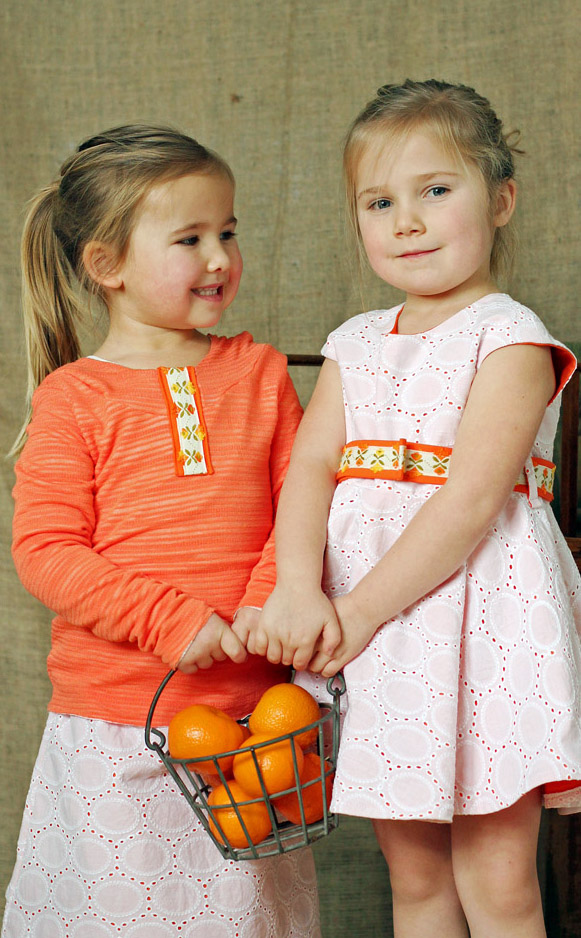 All of my fabrics were purchased from fabric.com. I used the bodice part of The Caroline Party Dress and Lil Blue Boo’s Twirl Skirt Pattern for the bottom of the dress. I did have to make a few adjustments so that the patterns would work together but in the end I really like the dress…and so does my little girl.
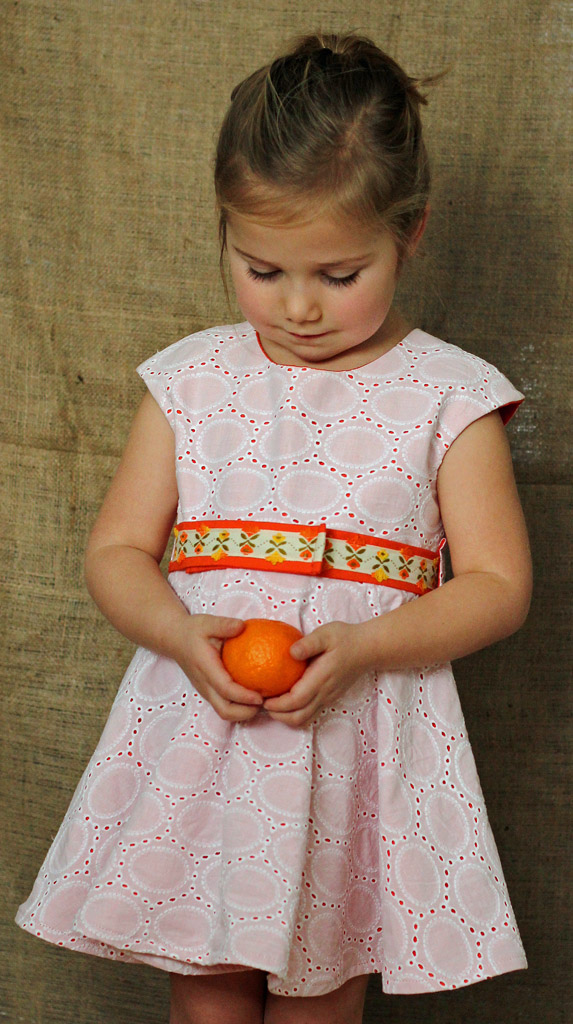 I have some very opinionated little girls watching me sew lately and they are making wishes known. Thank goodness the belt was part of their design, because I can’t help but love it with the dress. It gives it a vintage look, plus the colors were perfect together. I made the belt from some ribbon that I had in my stash and just layered it over some of the orange fabric. Simple but pretty.
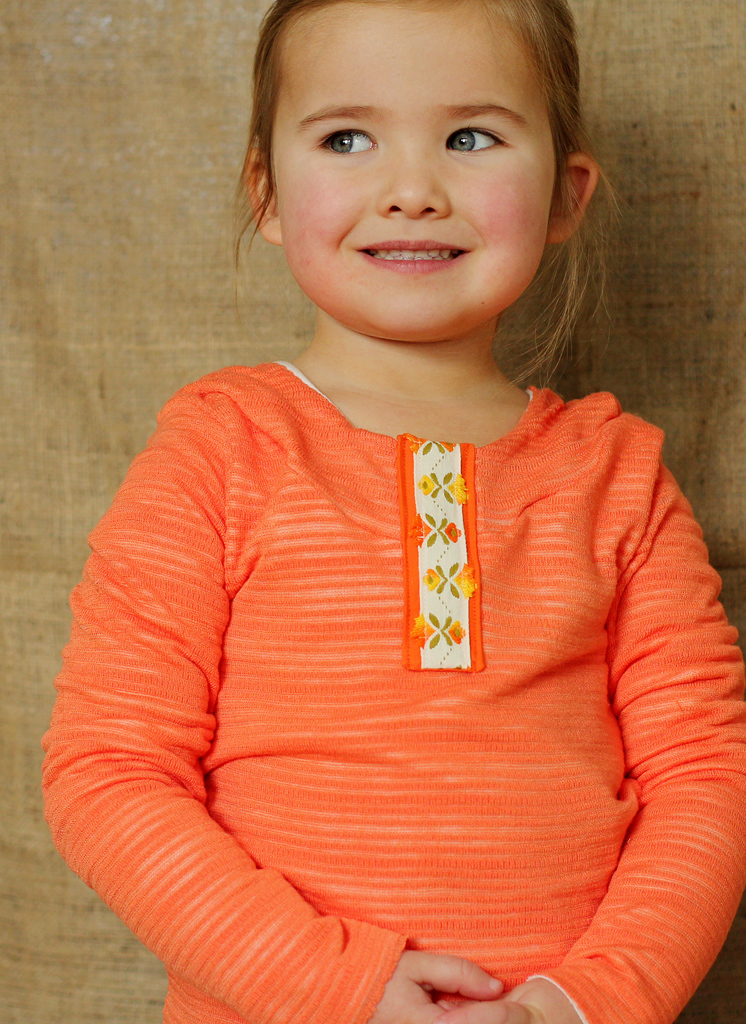 For the other outfit I used some orange knit fabric and The Bimaa Sweater pattern. The orange knit ended up being too thin so I ended up lining it with a white knit fabric. I added a little ribbon accent to the front of the sweater so that it coordinated with her sister’s dress. Plus it may or may not be covering up an off center seam. In the end I think its super cute and apparently so does she. She snagged it out of my sewing room that night and wore it to bed. Makes my heart melt just a bit.
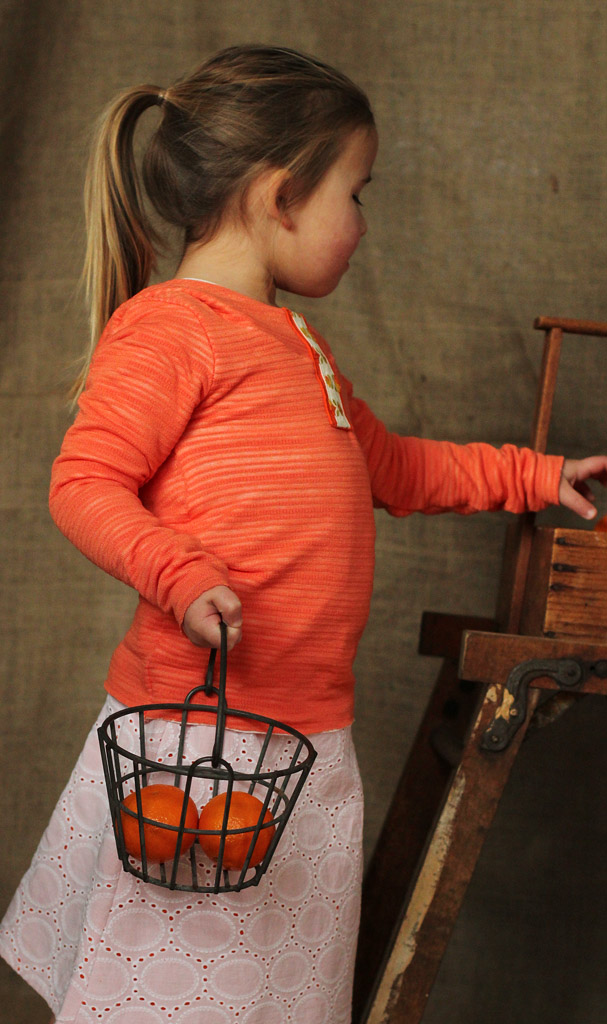
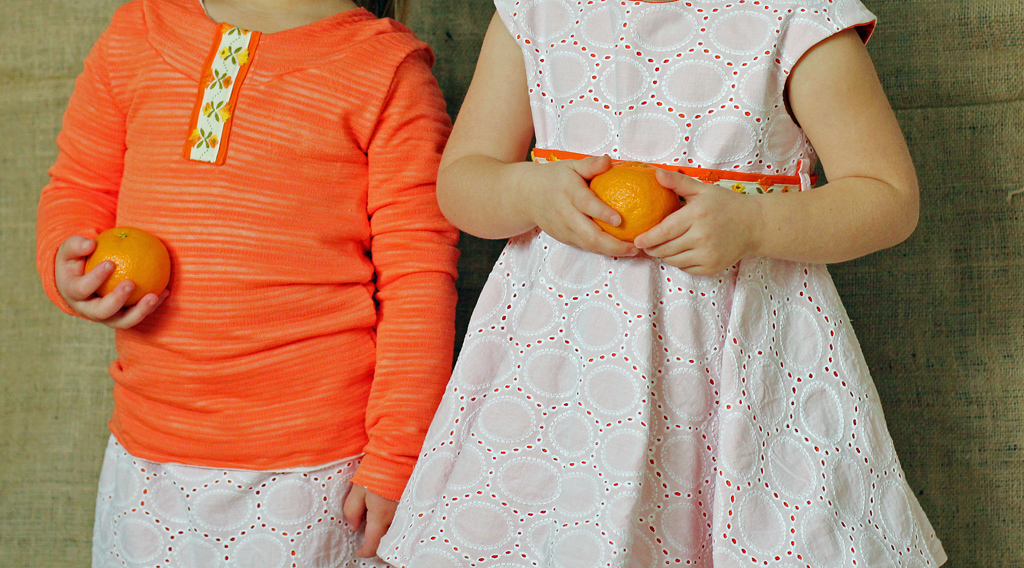 For the skirt I used the bottom portion of The Norah Dress Pattern and then added a simple gathered waist band.
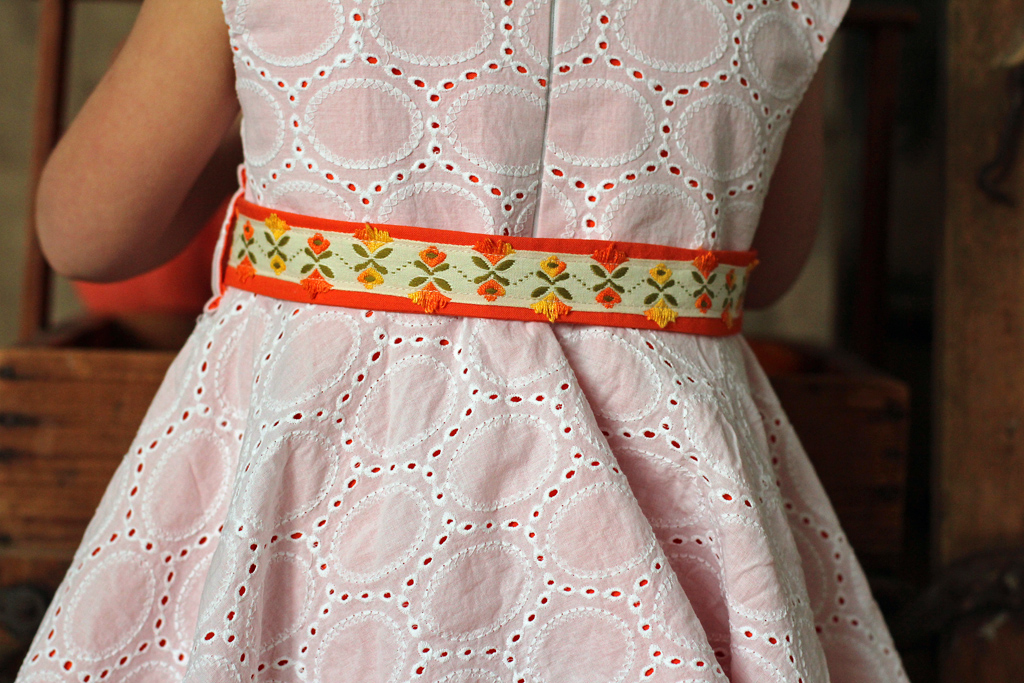 My favorite part is how the orange fabric peeks out through the eyelet fabric and how you can slightly see the orange from the lined bodice peeking out. I think it looks so pretty!
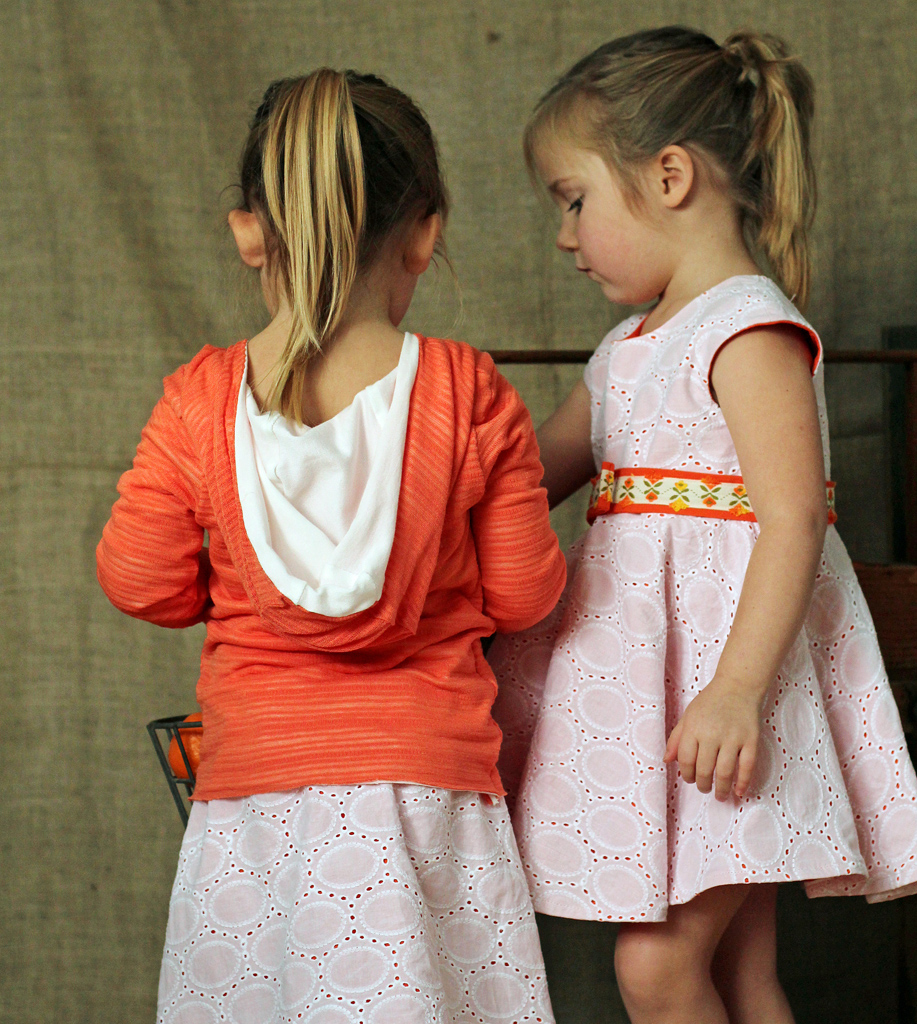
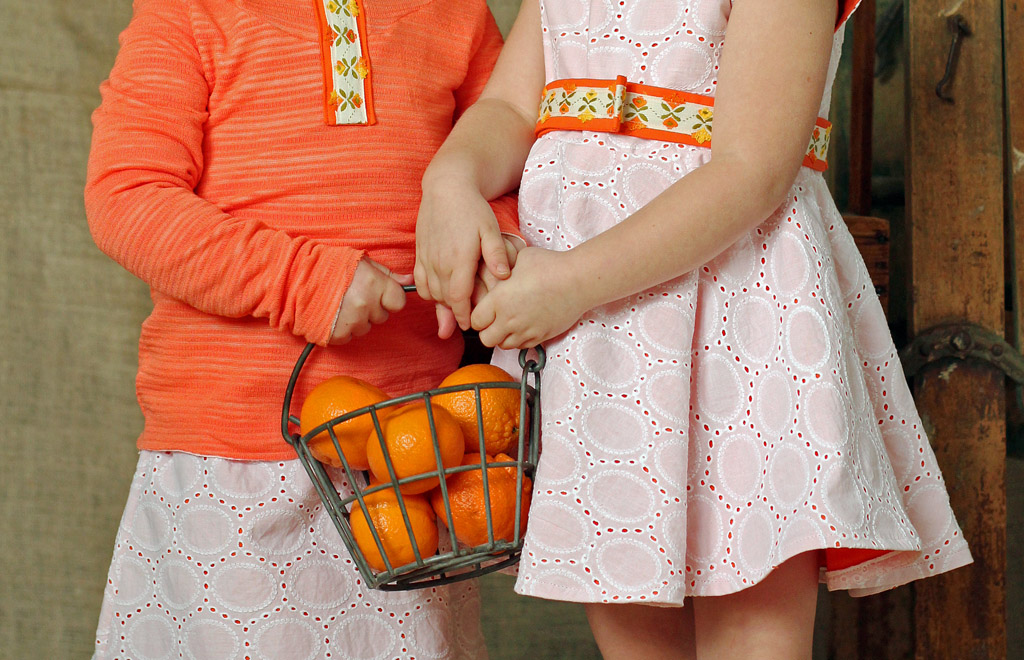 I really love these two looks together. They capture my little girls style just as much as mine…all thanks to the letter O.
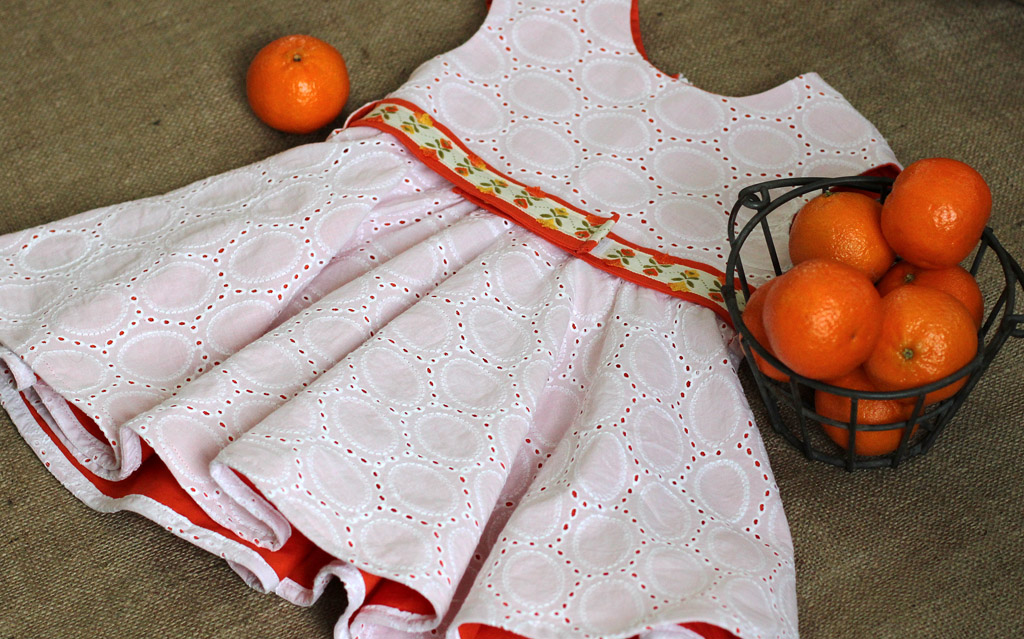 Thanks again Katy for having me as part of your sew all 26 series!
McCall’s Pattern M6641
For Christmas this year I decided to make one of my niece’s a fully lined wool coat. I purchased the wool from Fabric.com and used McCall’s Pattern M6641. When I purchased the fabric I thought it was going to be a medium weight fabric but it turned out to be a lightweight wool/polyester blend. I guess that is the downside of ordering fabric on line. I do however love the fabric and the feel of it. Since it is a 50/50 blend the coat has a nice soft feel to it and hopefully it wont be too itchy either.
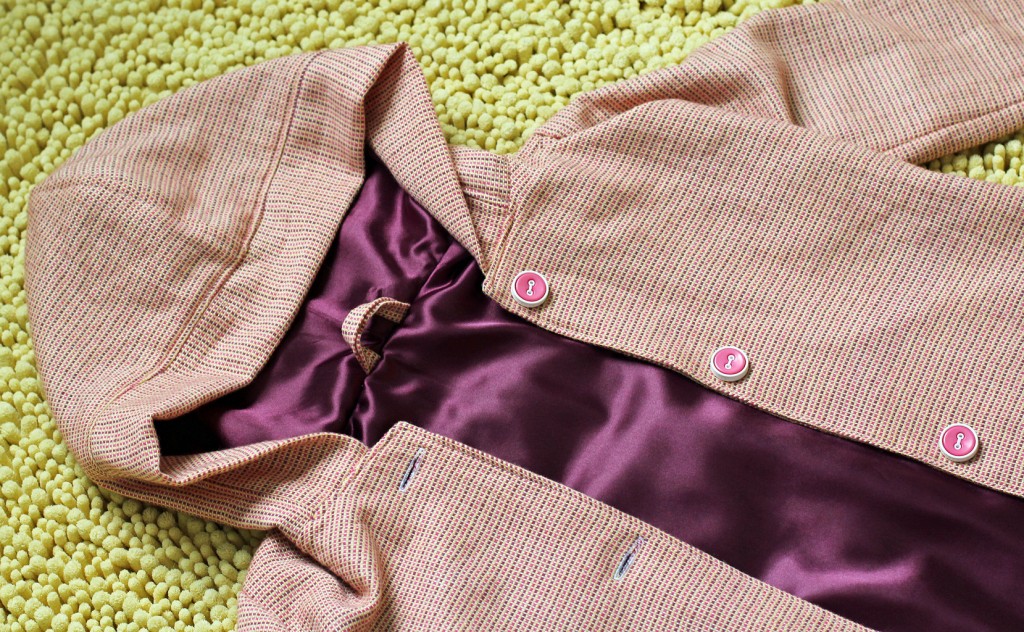
The pattern was easy to follow except when it came to hemming the bottom layers and the sleeves. It was confusing with the different layers, plus the pattern was a little vague. So I just ended up hemming it the only way I knew how. I know it is not perfect, but it works. And yes, it drives me crazy that it is not perfect.
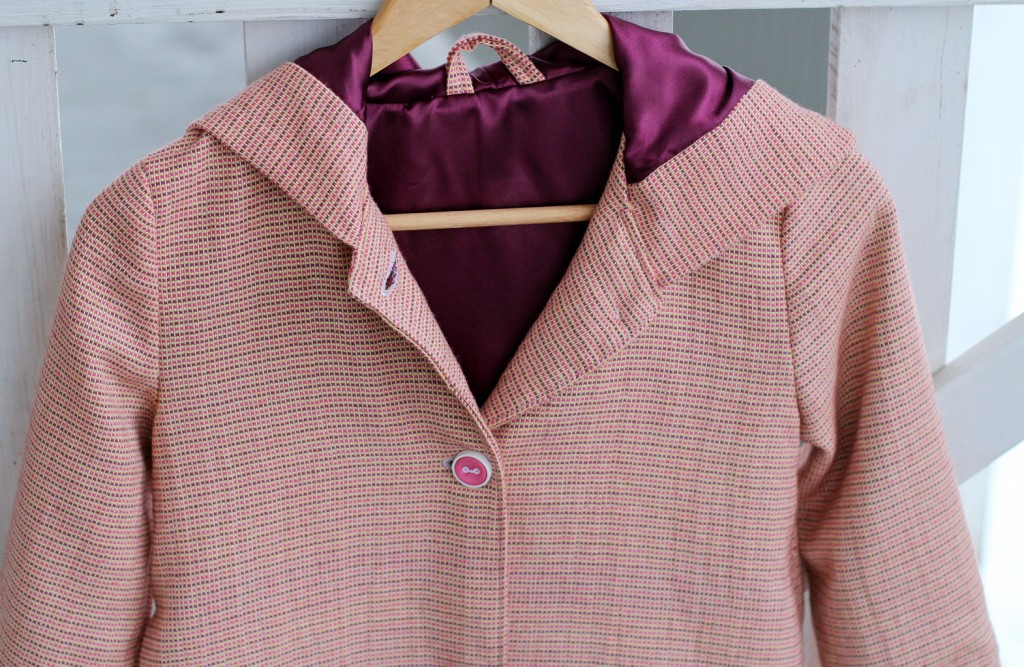 I did add a little hang tag on the inside for easy hanging. One little detail that all coats should have.
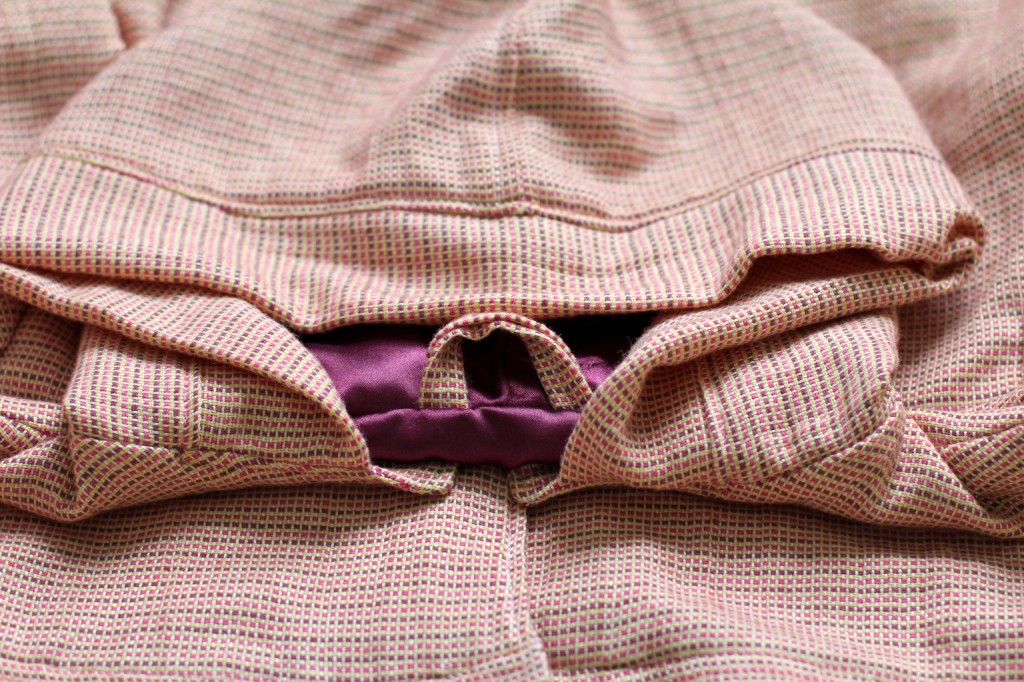 I would have to say that the hood is my favorite part, along with the buttons. Thankfully the lightweight material made sewing in button holes easy. I was really nervous about adding them in but they came out great. You just never know what is going to happen when you are working with a new pattern or materials.
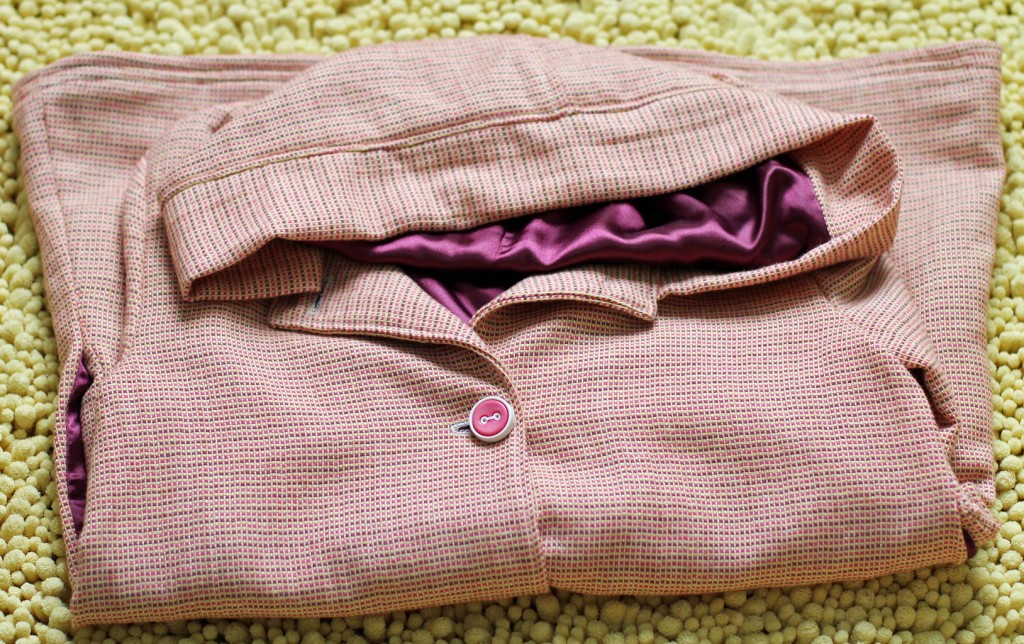 The only thing I wish I would have done differently was add in more top stitching…and of course properly hem it.
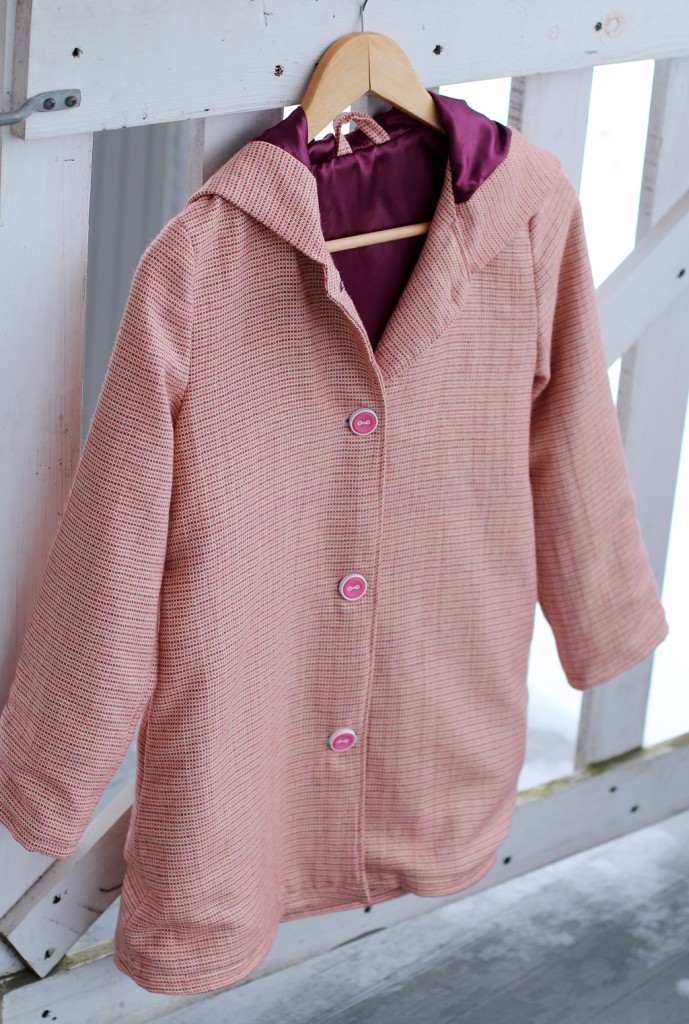 Fingers crossed that she likes it.
Have any of you made a lined coat before? Any good tips you want to share?

