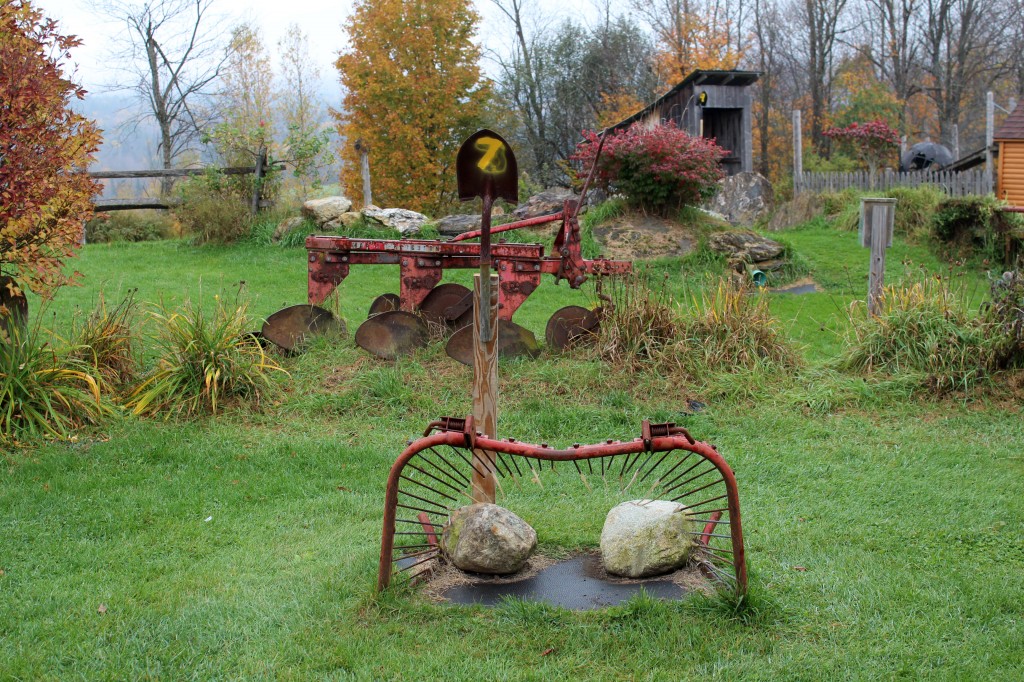
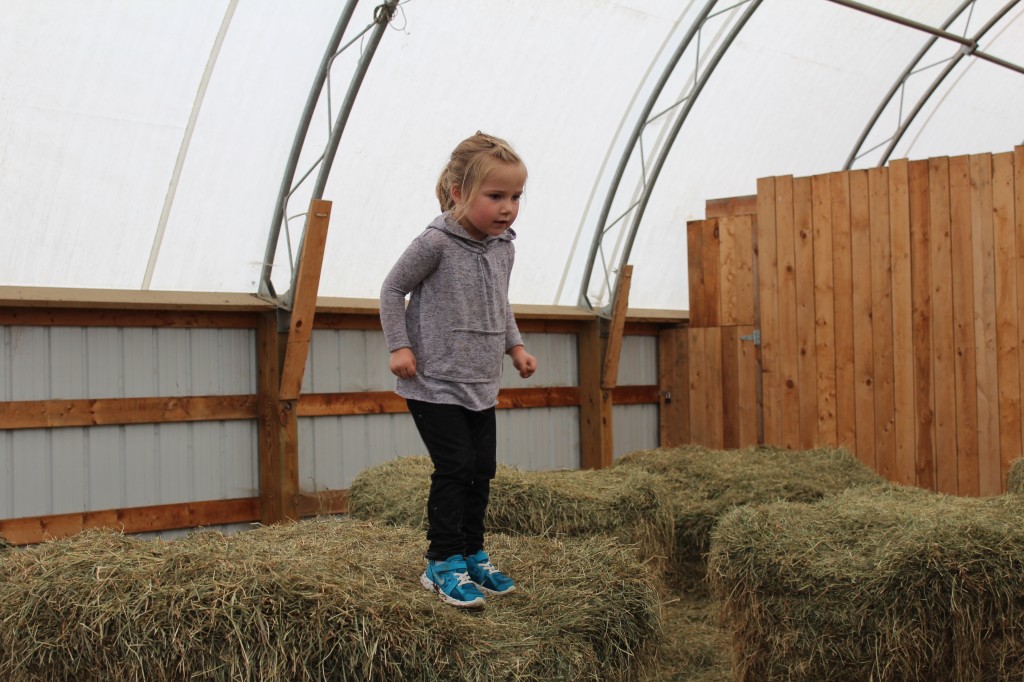
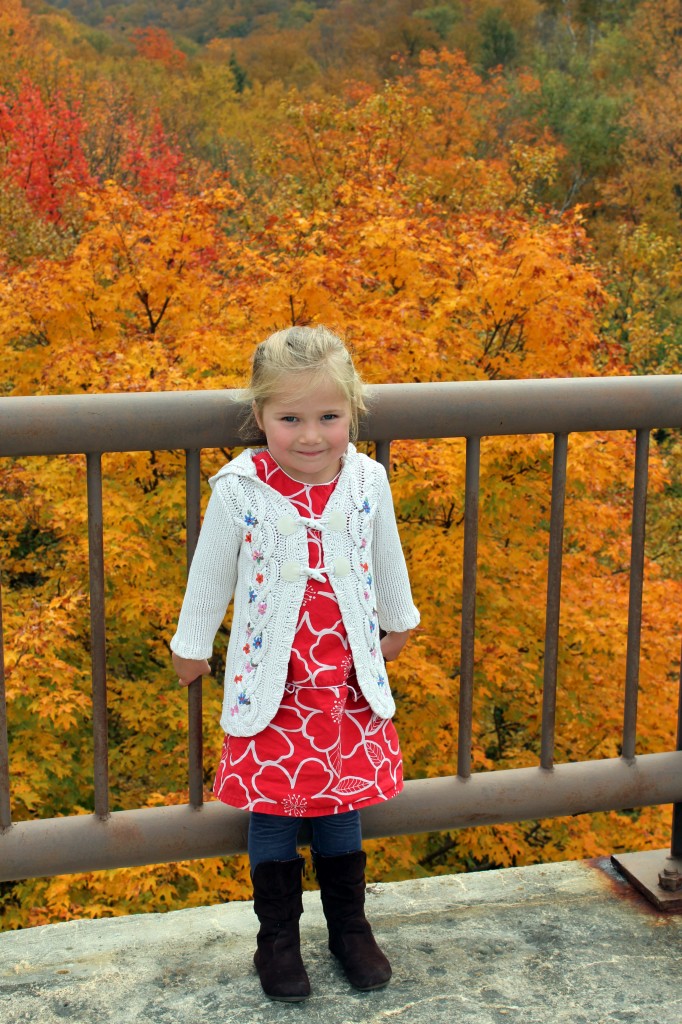
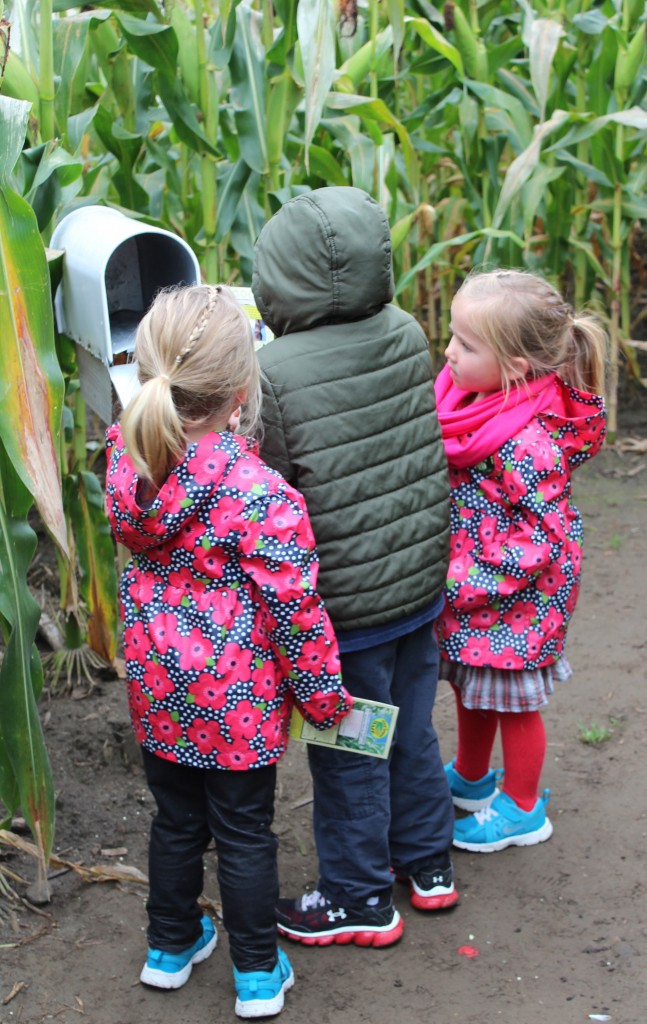
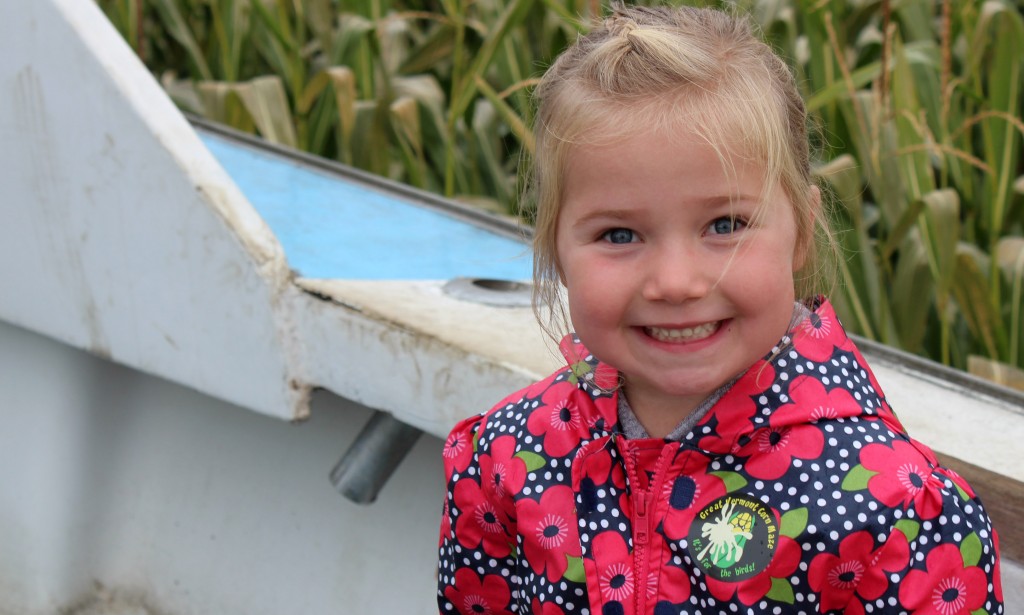
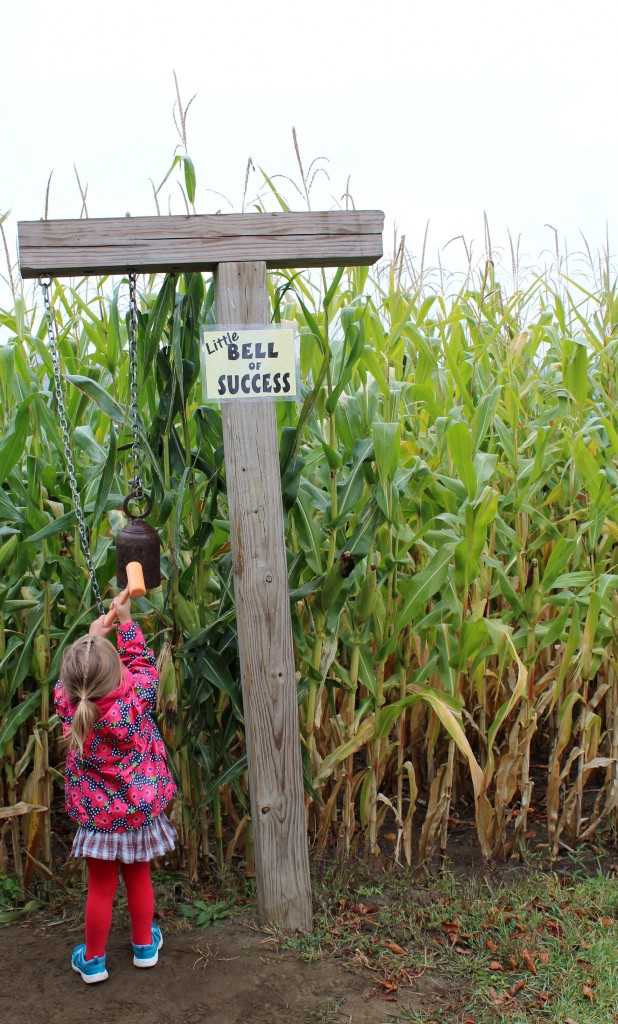
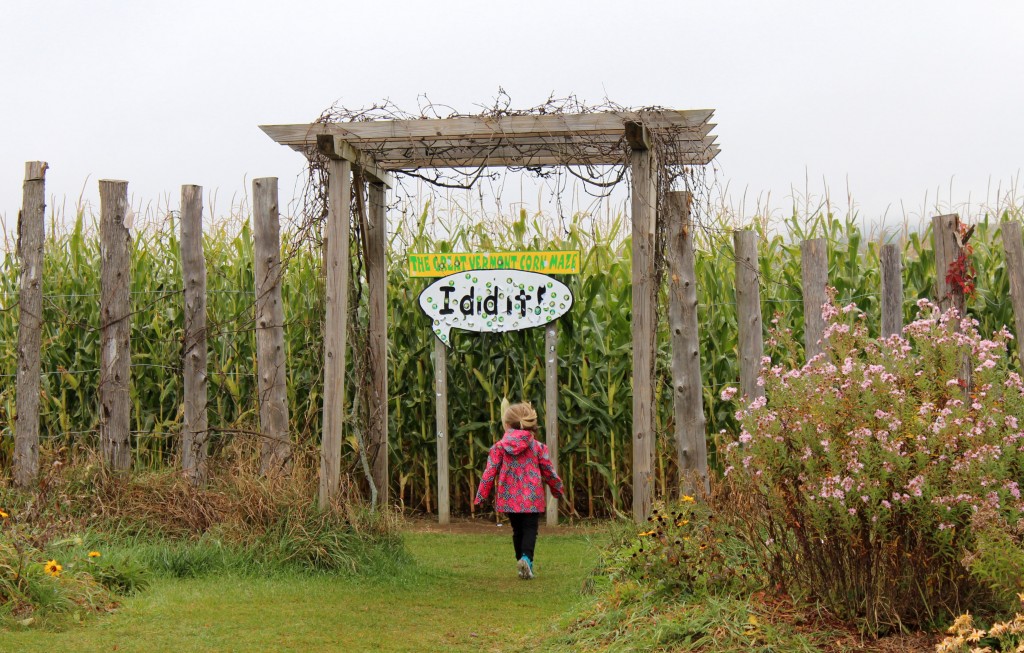
Another Fall, means another trip to the Great Vermont Corn Maze. Even though it was raining we still made the most of it!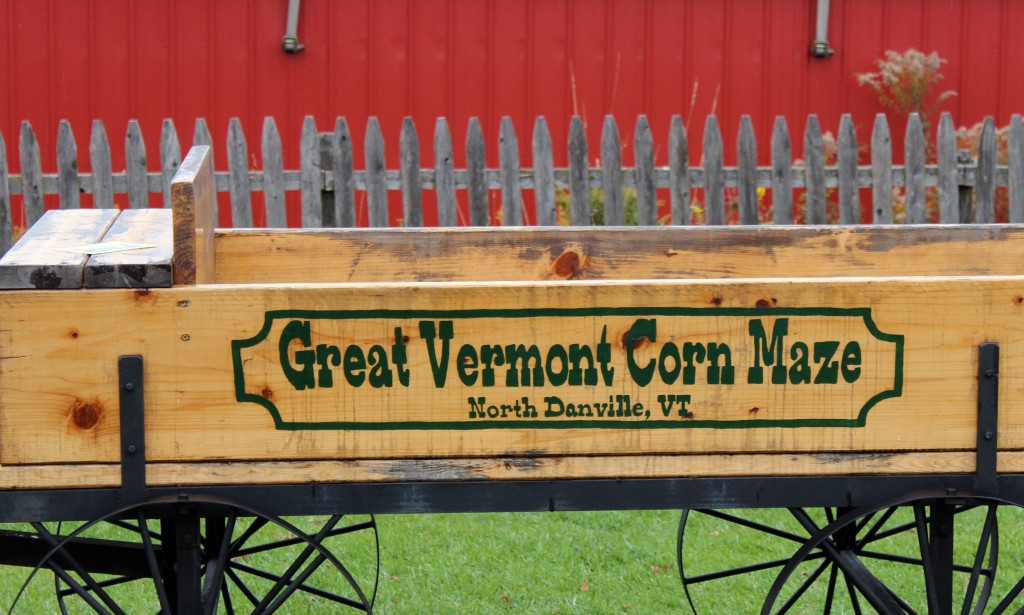




Apple cider party
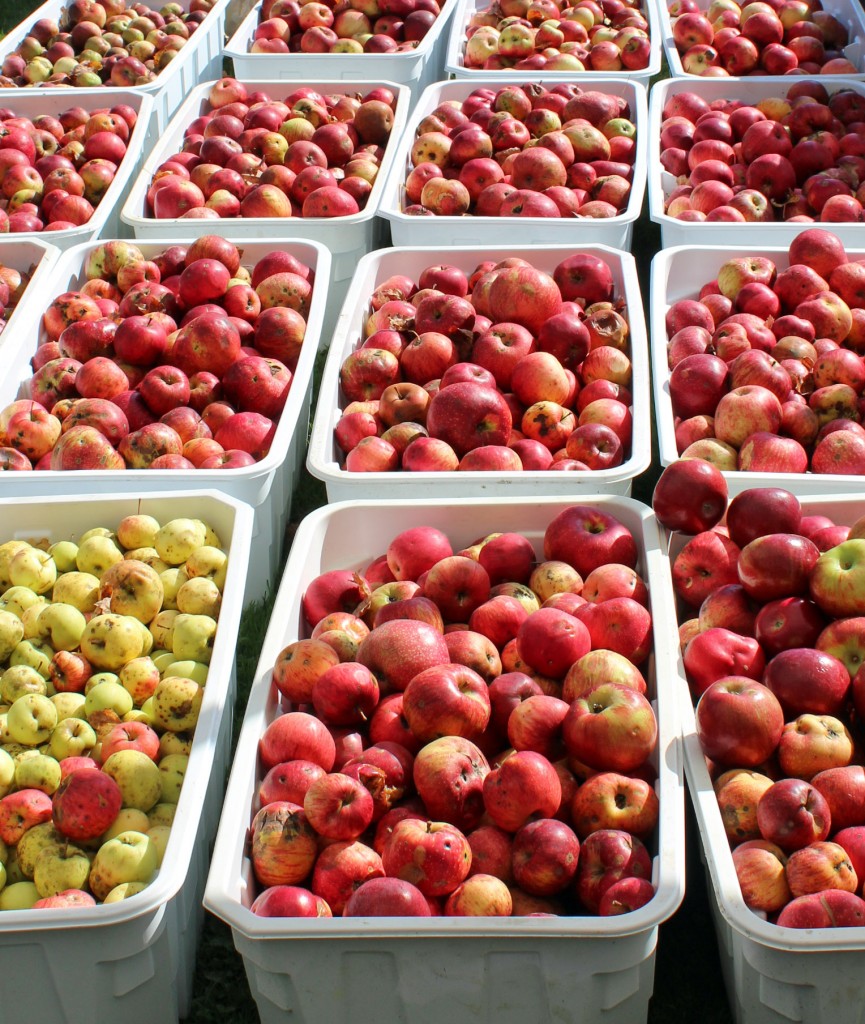
This past weekend we went to a Cider Party. We were really excited to be invited but we sure didn’t know what we were in for until we arrived.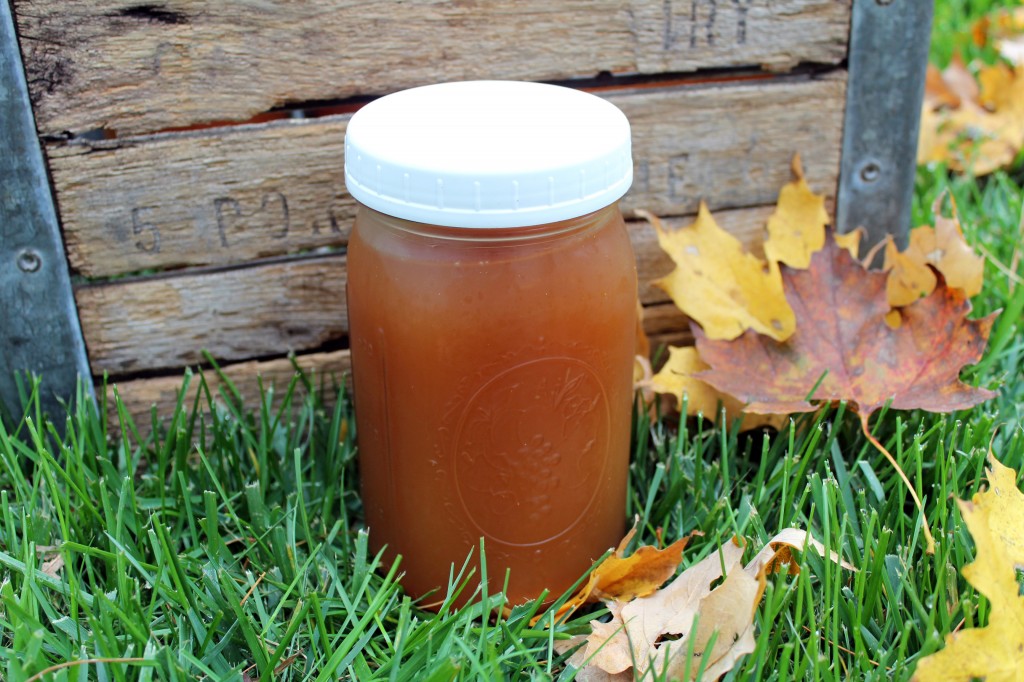 There were 2 truck beds full of apples, plus a bunch of tubs were full of apples!
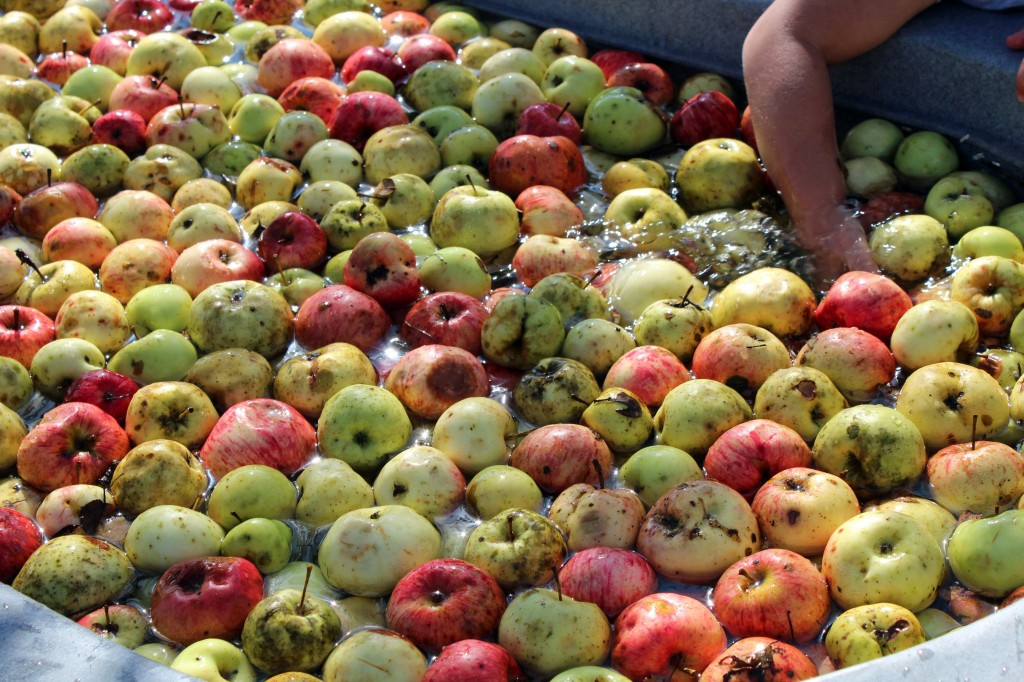
  We quickly joined the others and got working. Apples needed to be sorted and washed.
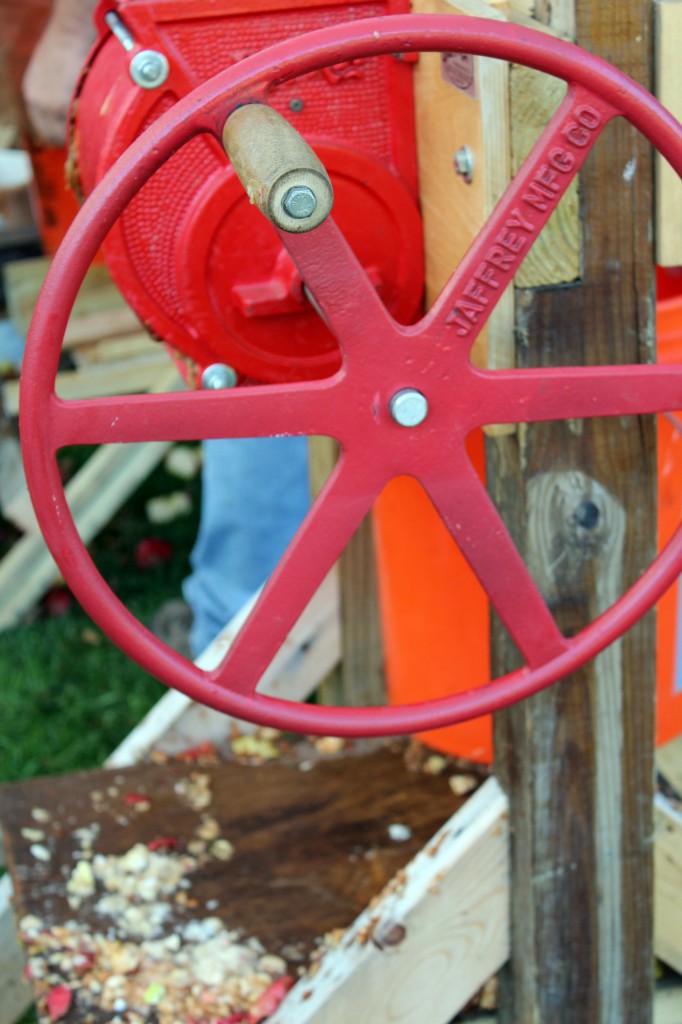
 Apples needed to be cut up and ground.
 Then of course the apples needed to be pressed.
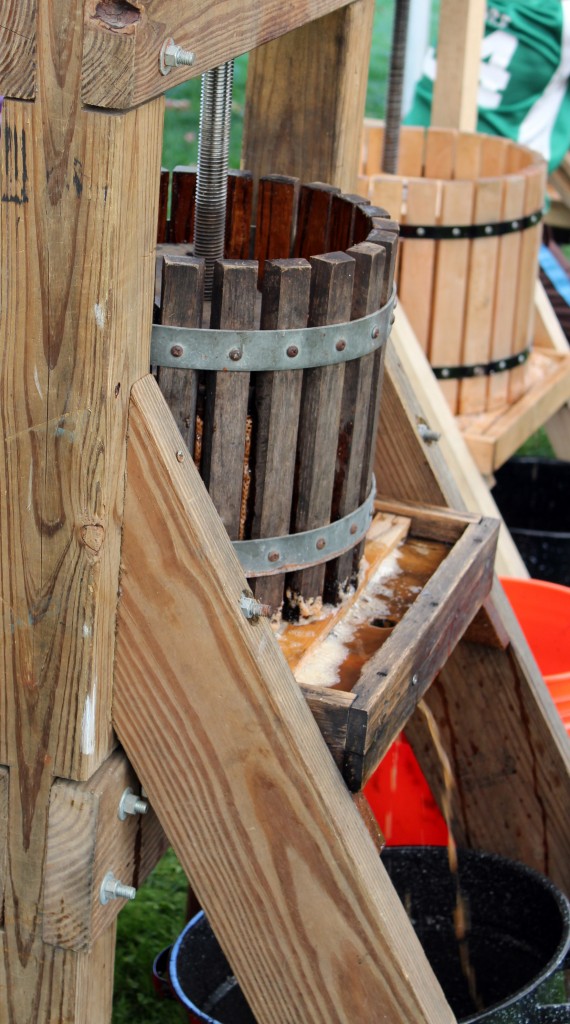 The cider was so yummy! And we definitely left with a far share of it.
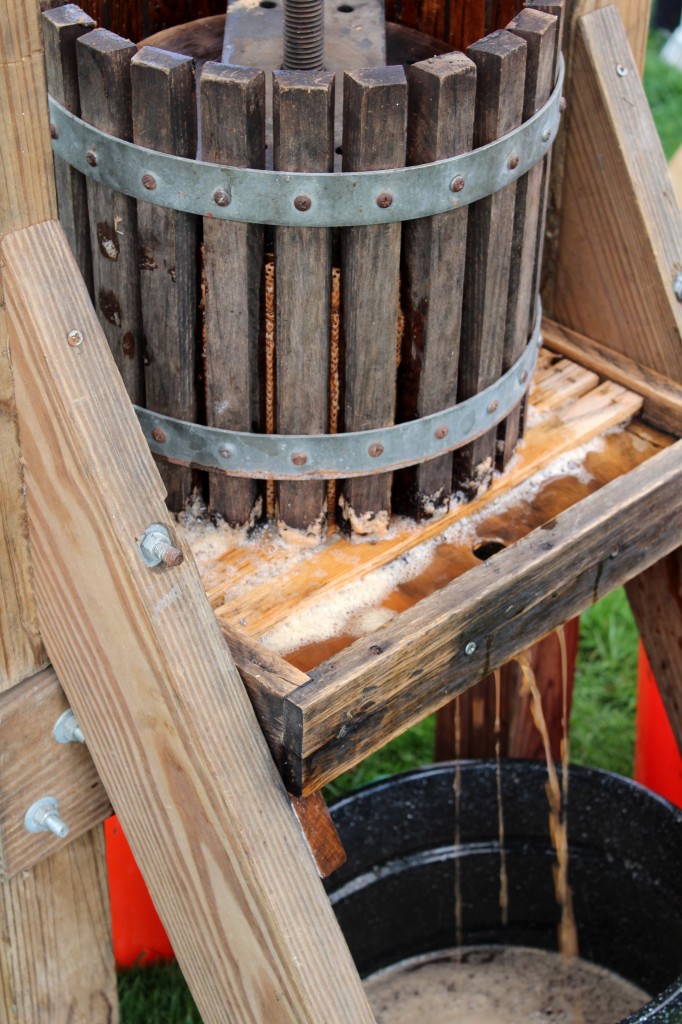 At the end of the day about 100 gallons of cider was made. We left with 3 tired but super happy little kids.
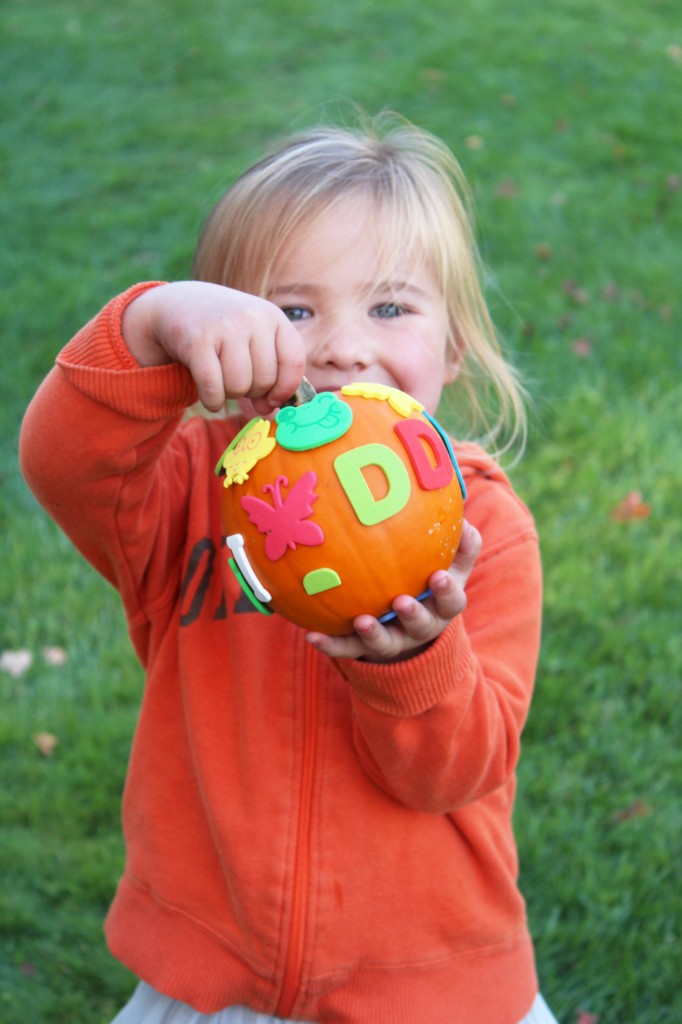 Those two sure do know how to throw one great party! We are already looking forward to next years Cider Party.

Fat Quarter Friday {tooth fairy pillow}
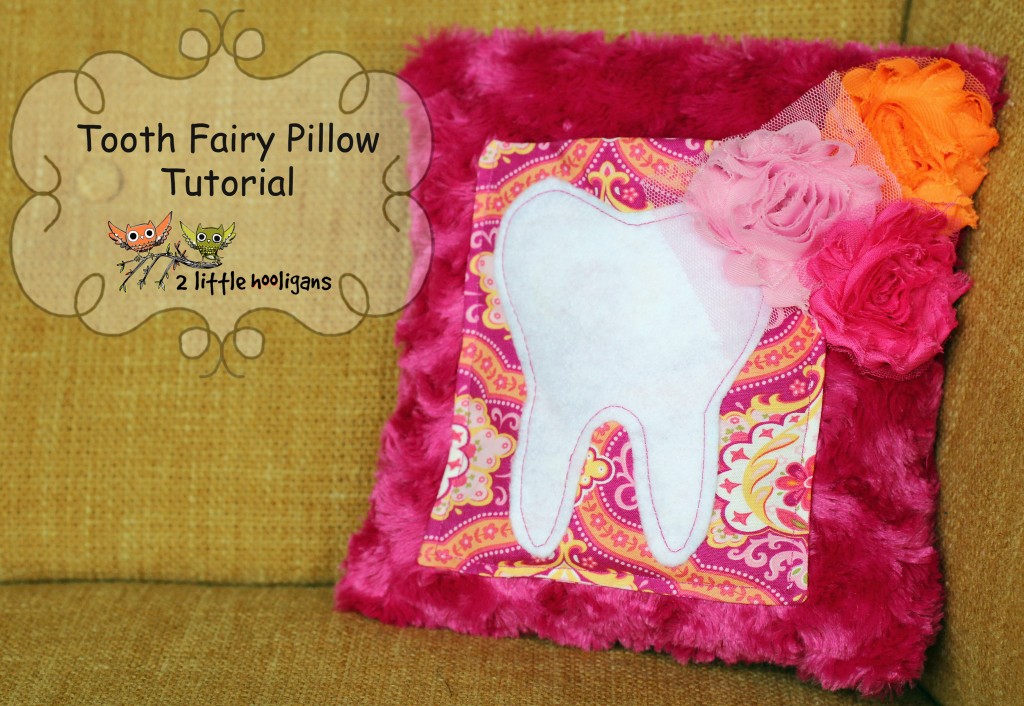
 A few days ago I made a tooth fairy pillow for one of my niece’s who has her first wiggly tooth. I thought this was the perfect time to make a tutorial for one. After all, I have been severely neglecting my fat quarter fridays haven’t i?! Plus, every little kid needs a special pillow for the tooth fairy.
  Materials Needed:
*2 pieces of fabric for the main pillow. I used a minky fabric but you can use whatever you have on hand. Cut the pieces to your desired size.
*2 pieces of cotton fabric cut a little bit smaller then the pieces of fabric for the pillow. These pieces are going to be used for the pocket.
*1 small piece of felt. Draw and cut out a tooth shape.
*Batting. Enough to fill your pillow with.
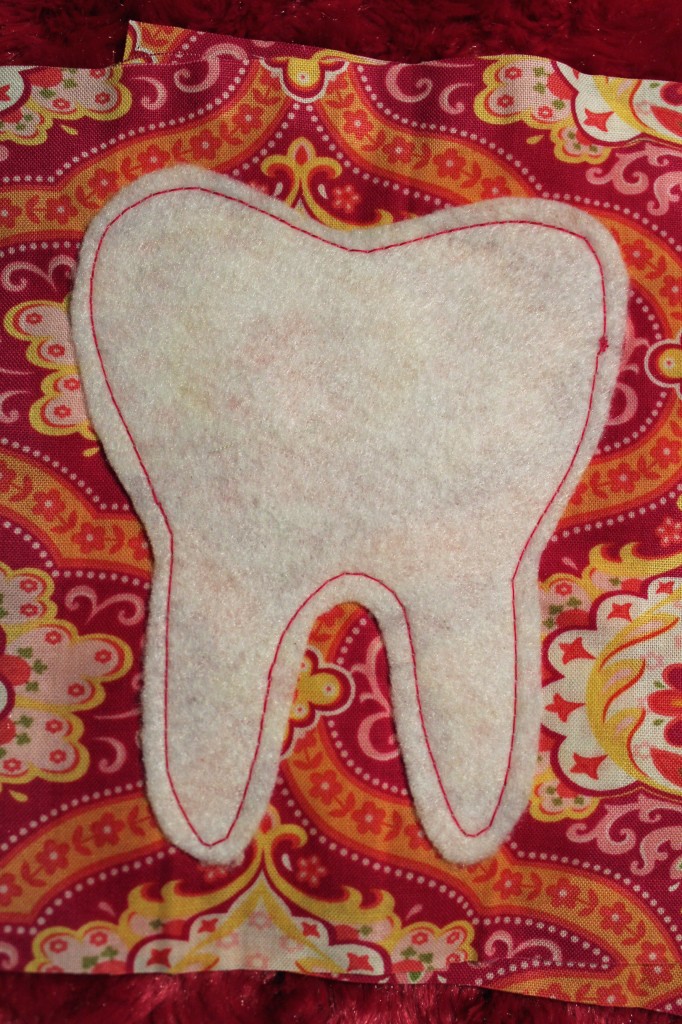
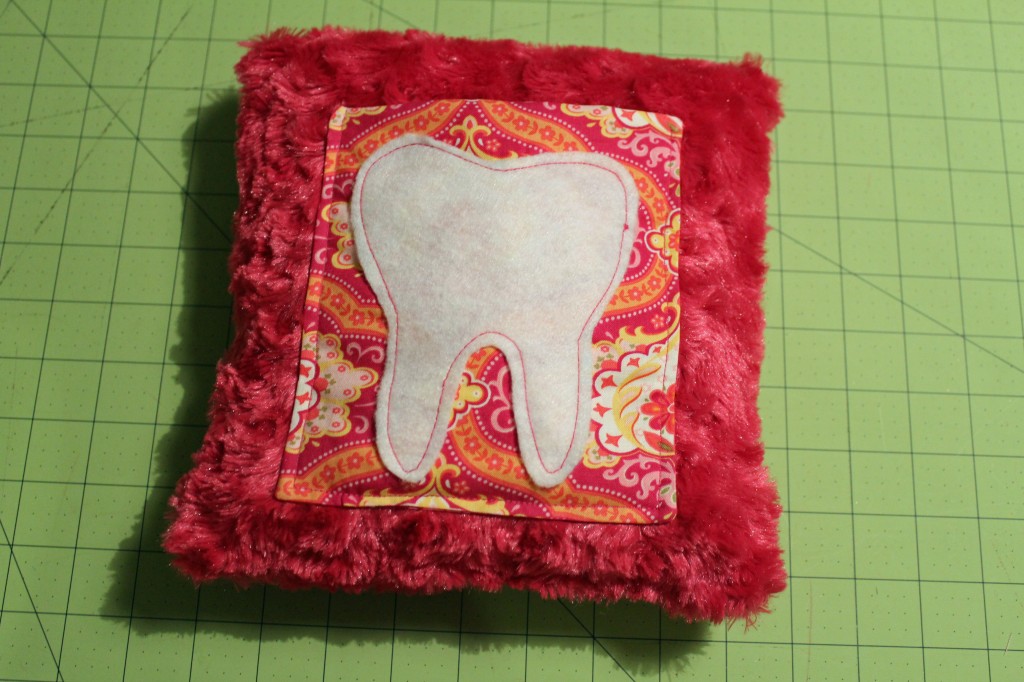
*Extra embellishments if desired.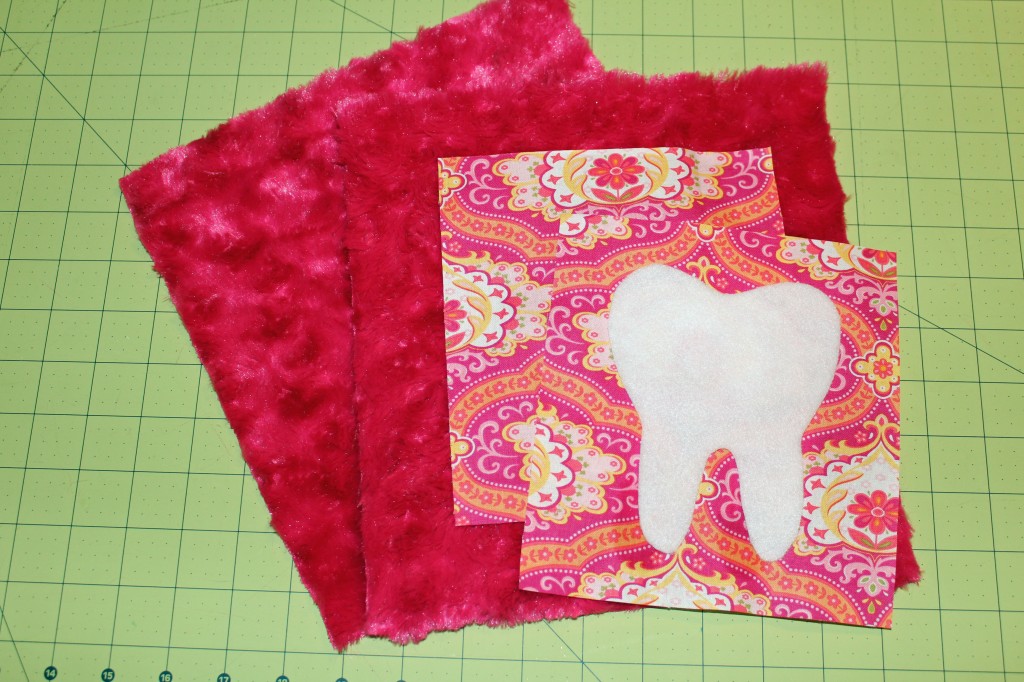 Start by taking your felt tooth and sewing it on to one of the pieces of cotton fabric. Just top stitch all around the edges of the tooth.
 Now take the other piece of cotton fabric and lay it on top of the fabric that has the stitched tooth on it. Make sure the pieces are right sides together. Stitch around all the edges while leaving a 1″ opening for turning right sides out.
 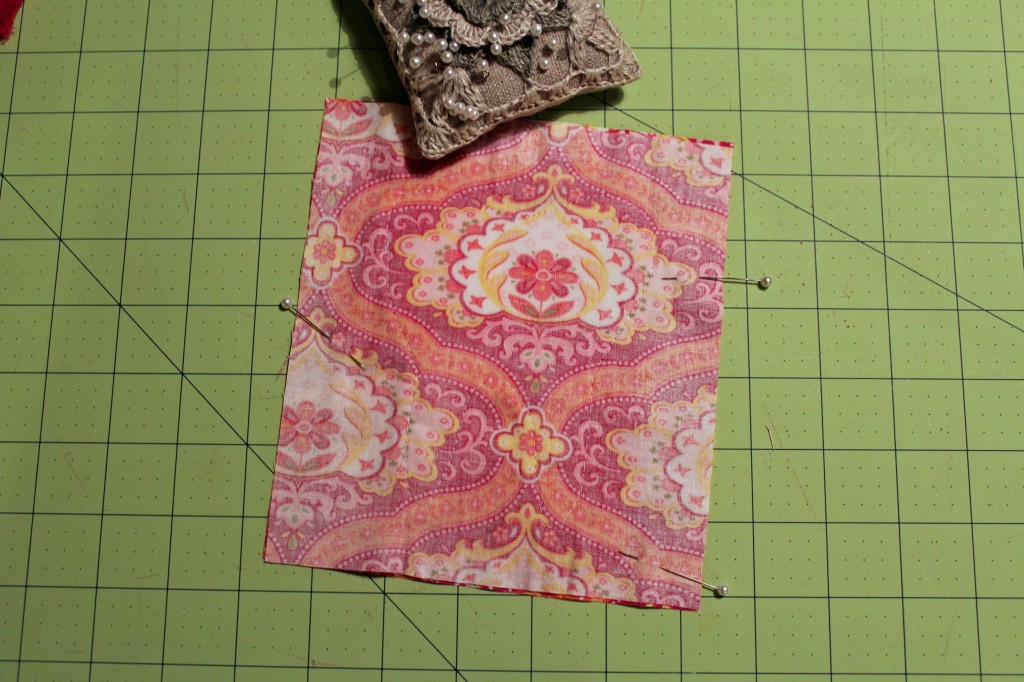 Turn right sides out. Iron flat. Now pin the cotton fabric piece onto one of the pillow pieces of fabric.
 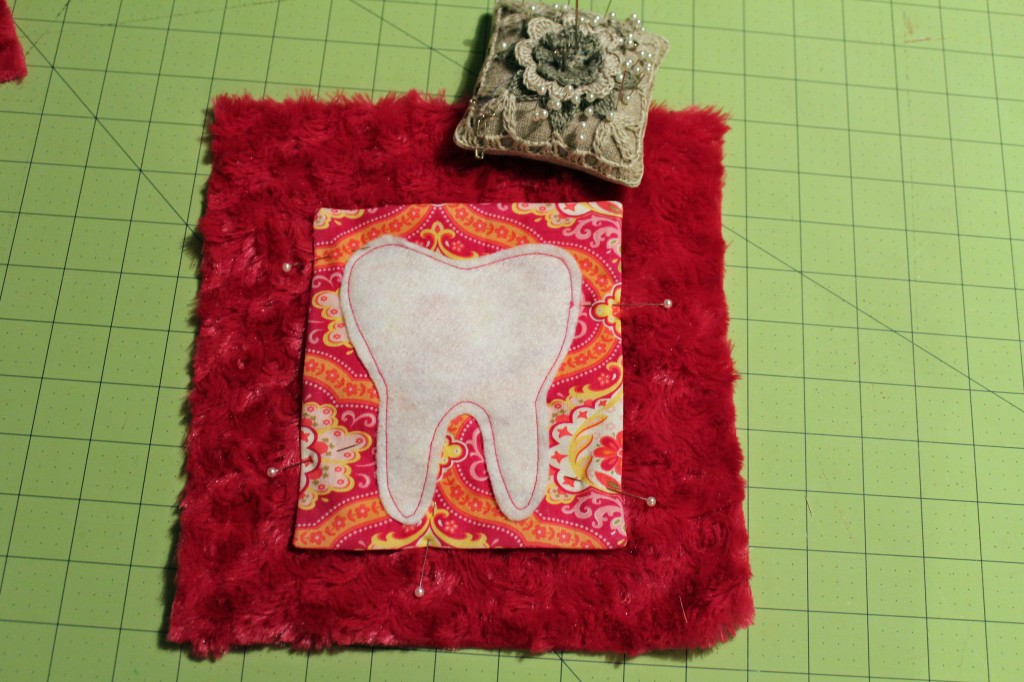 Sew around the sides and bottom. Make sure you leave the top open. This is your pocket now.
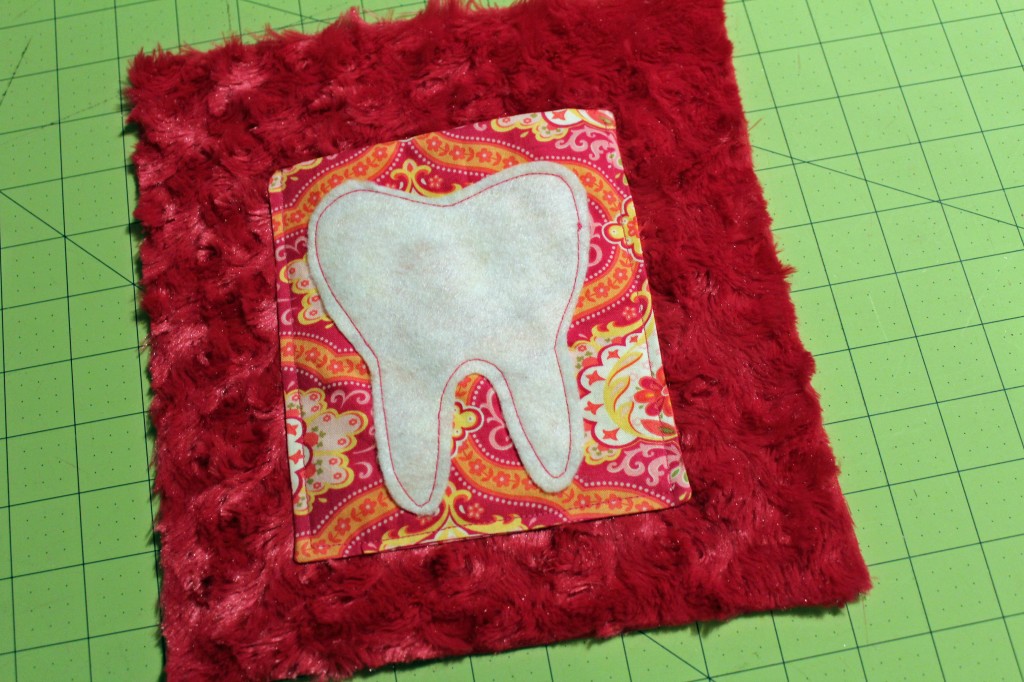 Take the other pillow piece of fabric and lay it on top, right sides together. Pin in place. Sew around all the edges while leaving a 2″ opening to turn right sides out. Turn right sides out. Iron flat.
 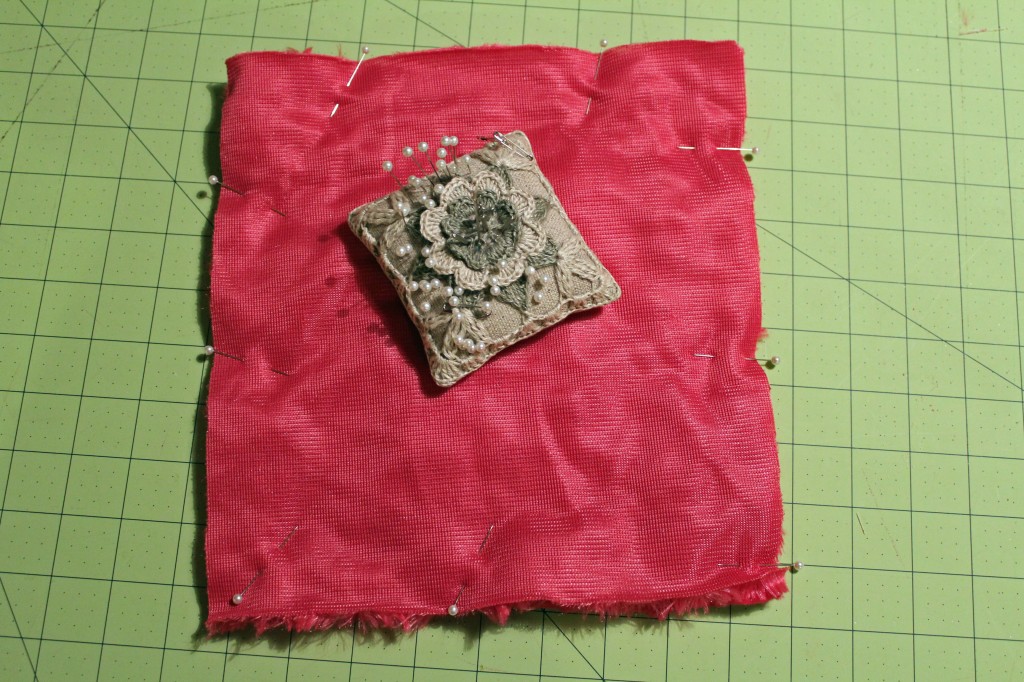 Stuff the pillow with batting. Hand stitch the opening closed.
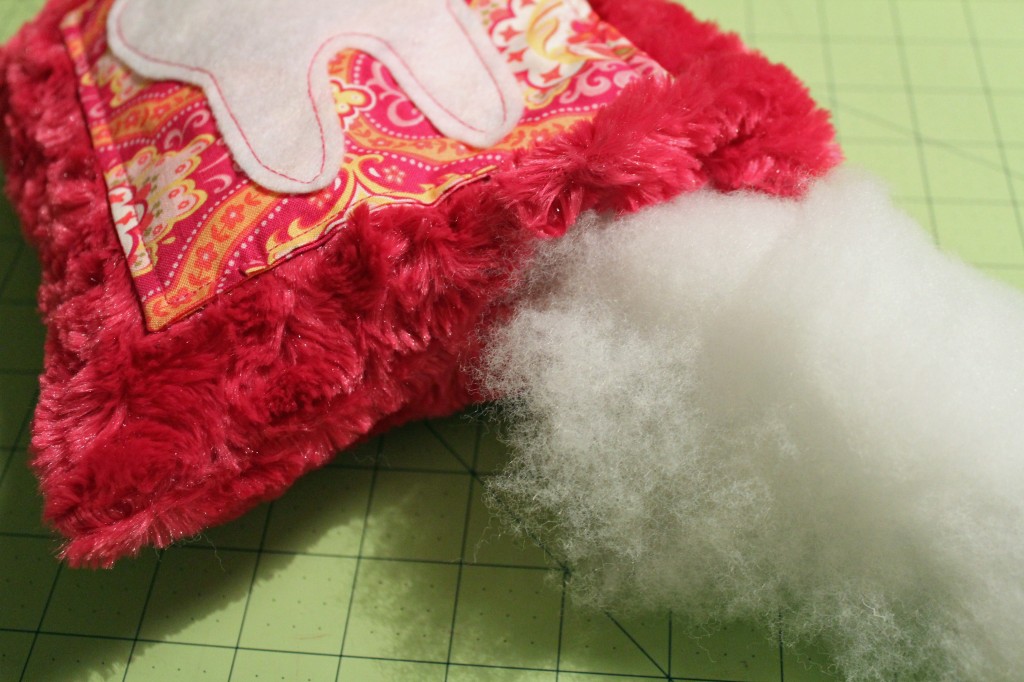
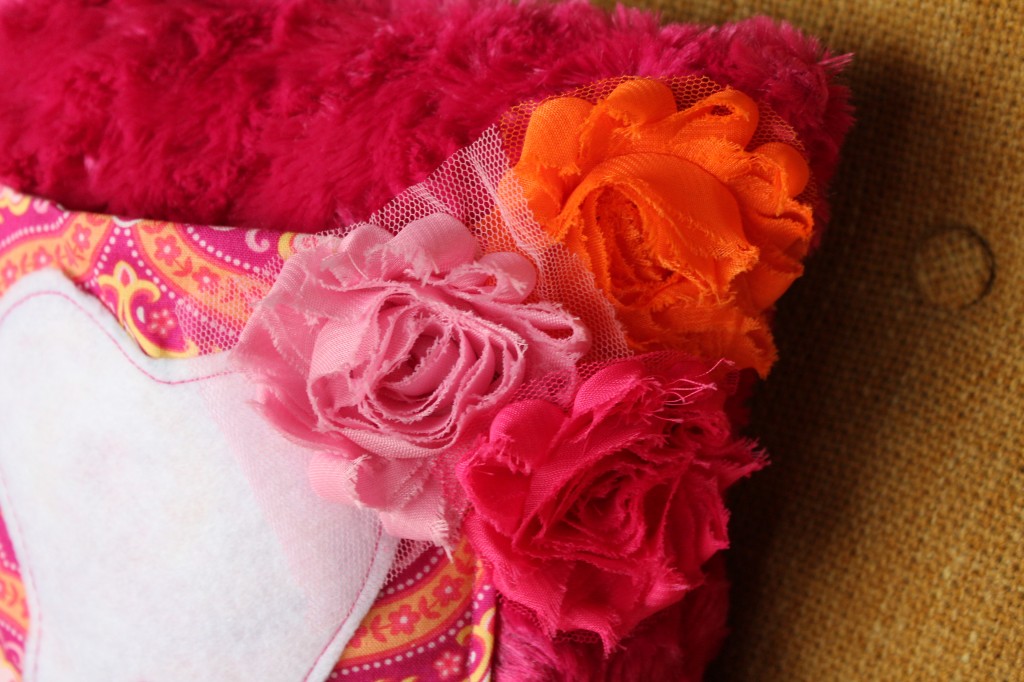
 Add a few more embellishments if you want. I added a few flowers because I just couldn’t resist. The colors just matched perfectly!
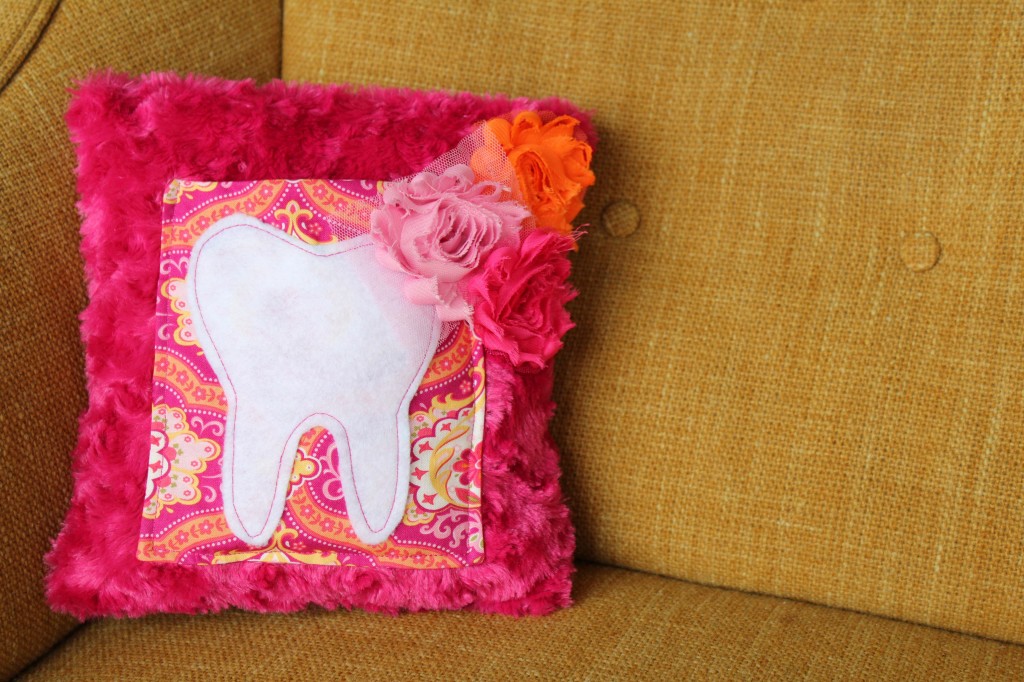 A sweet little pillow for my niece and her first wiggly tooth.
Project Sewn: The Fashion Era Challenge
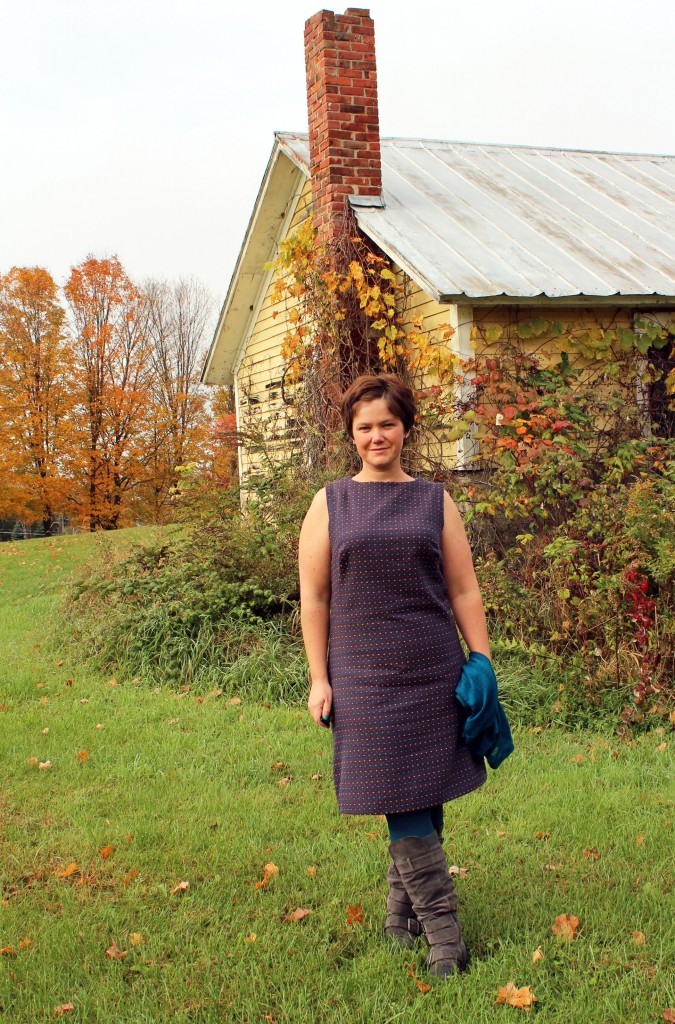
This weeks theme for Project Sewn is The Fashion Era Challenge. I chose to make a 60’s dress. I just love the shape and simplicity of the 60’s dresses.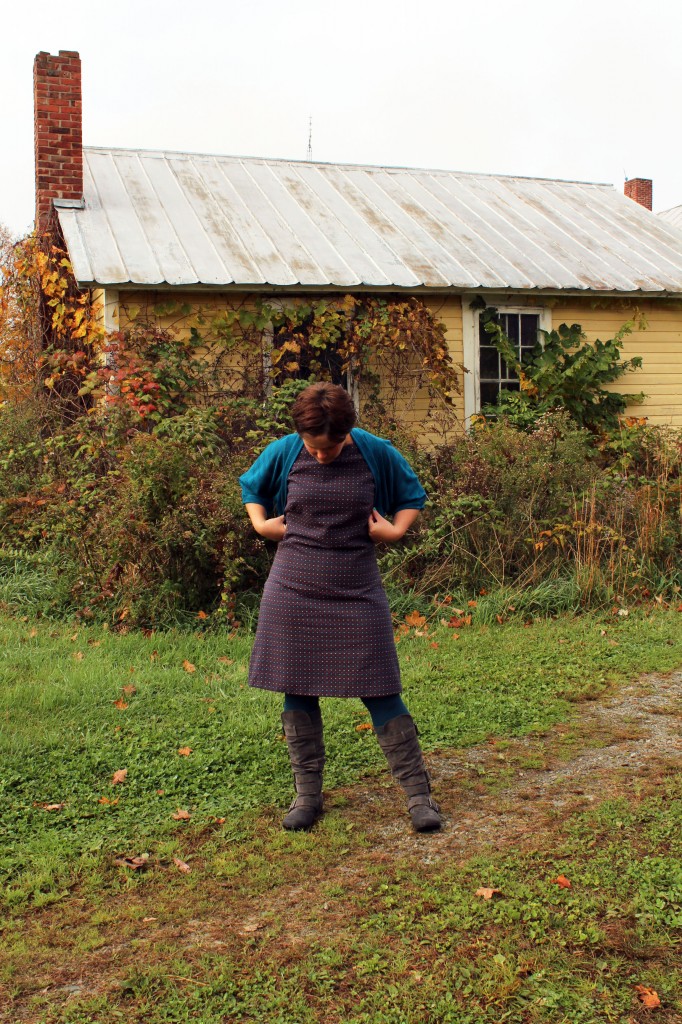 I used this pattern from Simplicity. The fabric that I used to make the shrug and dress were both purchased from Jo-Ann Fabrics. The knit fabric that I used for the infinity scarf was purchased locally.
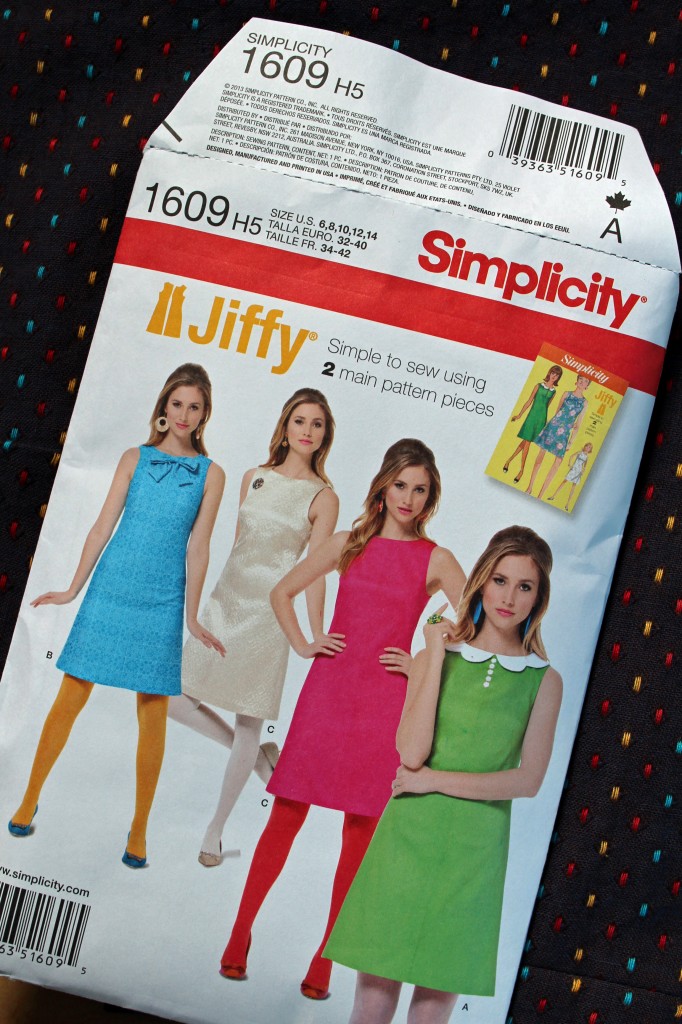 Like most patterns I sew from I had to make lots of alterations and I really should have made a few more on the darts in the bodice. They are still off a bit. This is only the third dress I have made that had darts in it. Plus sewing for my figure is not easy!
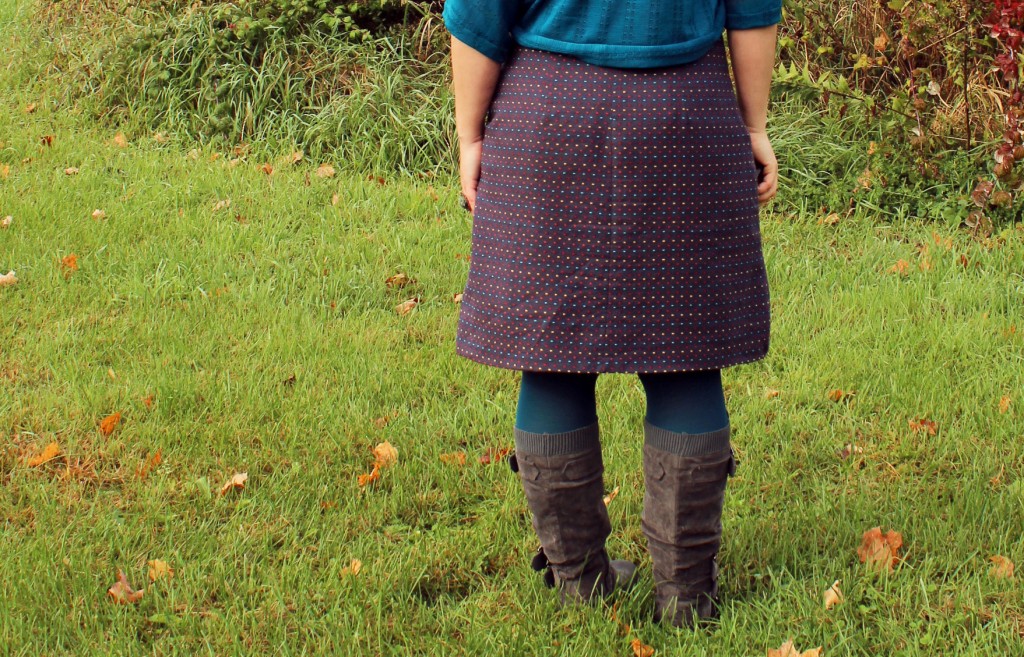 I am learning fast that the more simple the shape of a dress is, the harder it is to get the fit perfect.
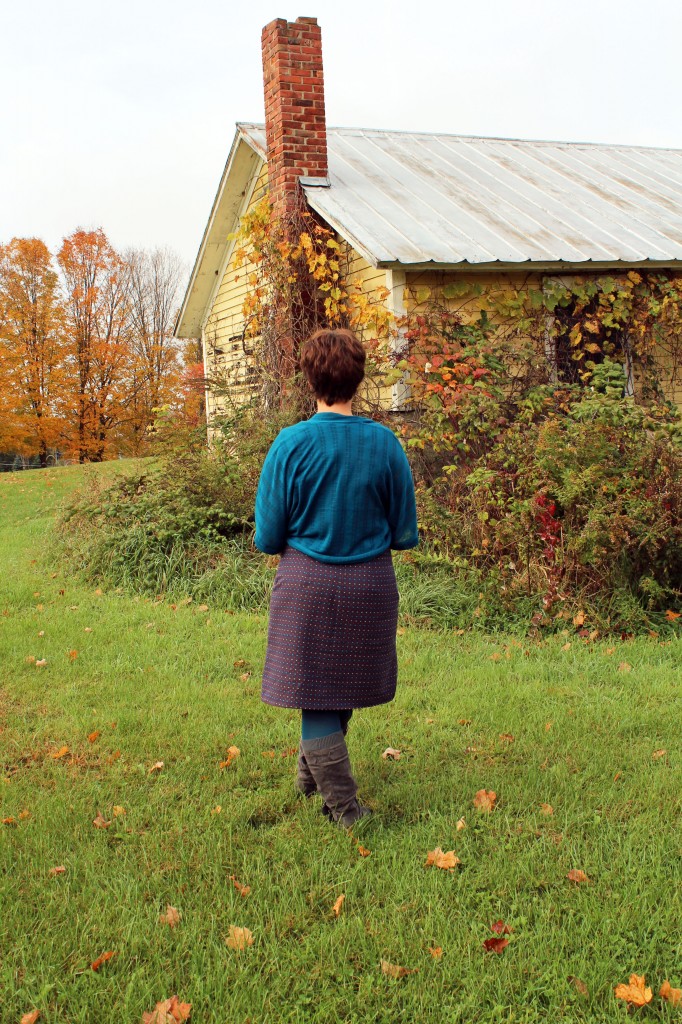
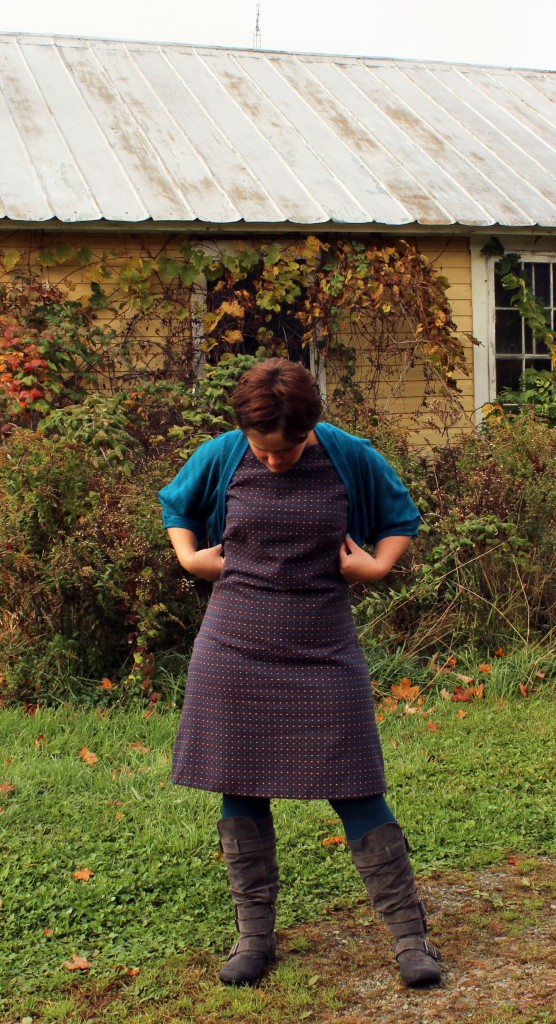 I love how different it can look just by changing my leggings and adding a scarf.
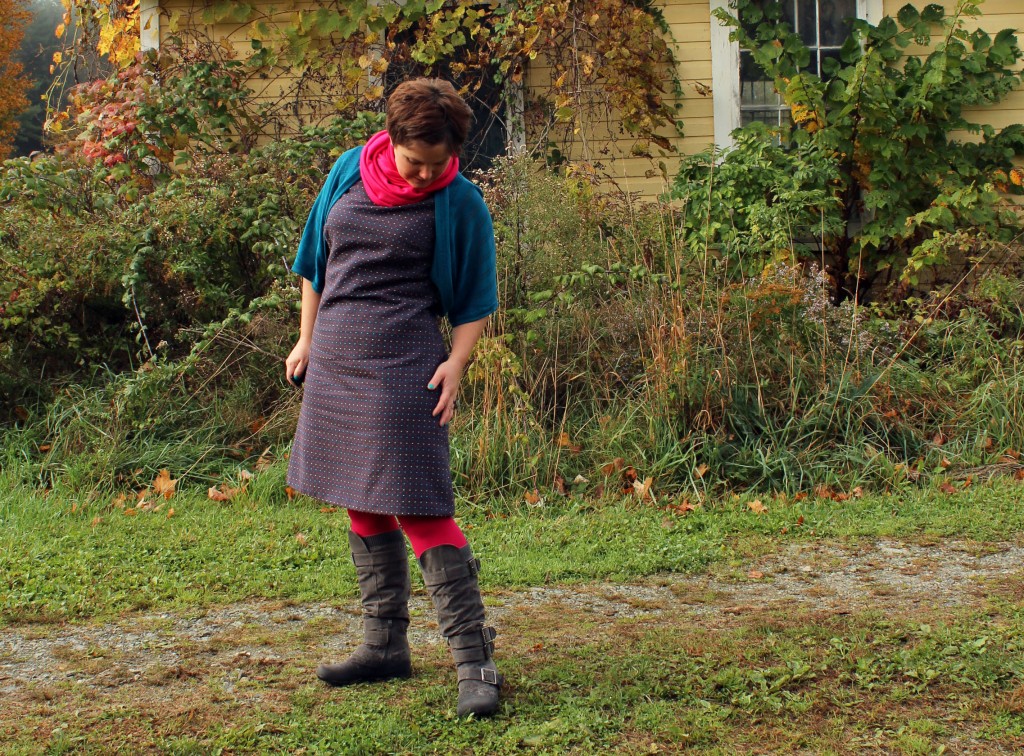 The dress is fully lined even though the pattern did not call for it. This fabric was just a little too lightweight so I decided to line it. But it is still lightweight enough to be worn in the warmer months.
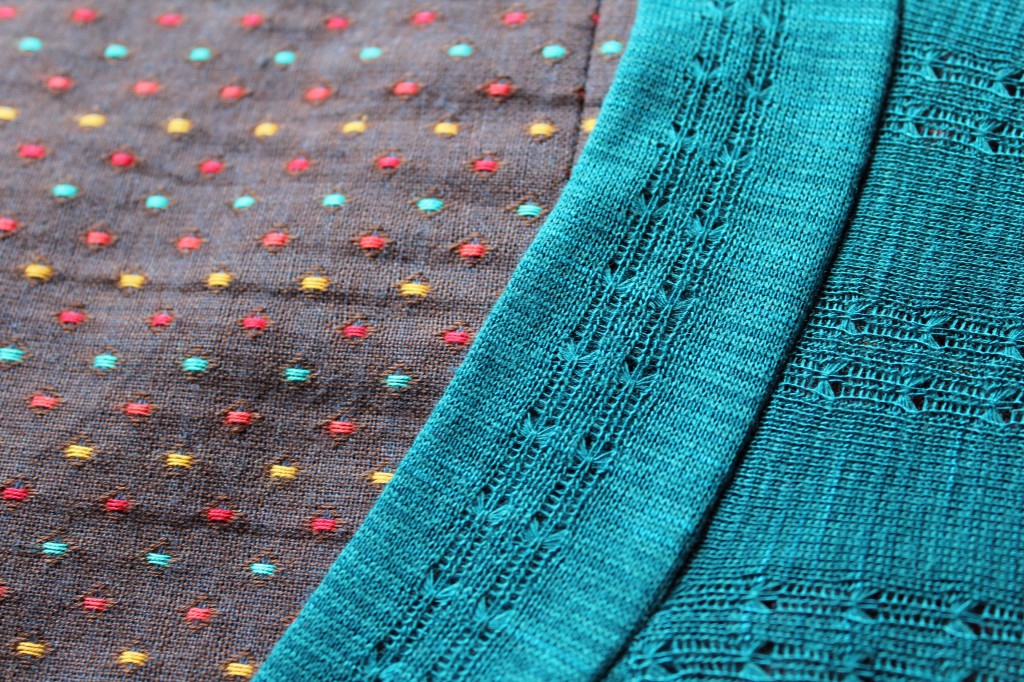
 I made the shrug by using a shrug that I already had as a template. It went together super easy and I actually like the one I made better then the one I purchased.
 See the beautiful textures both fabrics have?
 Now make sure you head over to Project Sewn and vote for your favorite sew-along look.
Plus, don’t forget to vote for the contestants looks . They are beyond amazing this week!
leaf peeping with the girls
Project Sewn {The Little Black Dress}
Just like Project Run and Play, Project Sewn has a sew a long group and the first weeks challenge is all about The Little Black Dress.
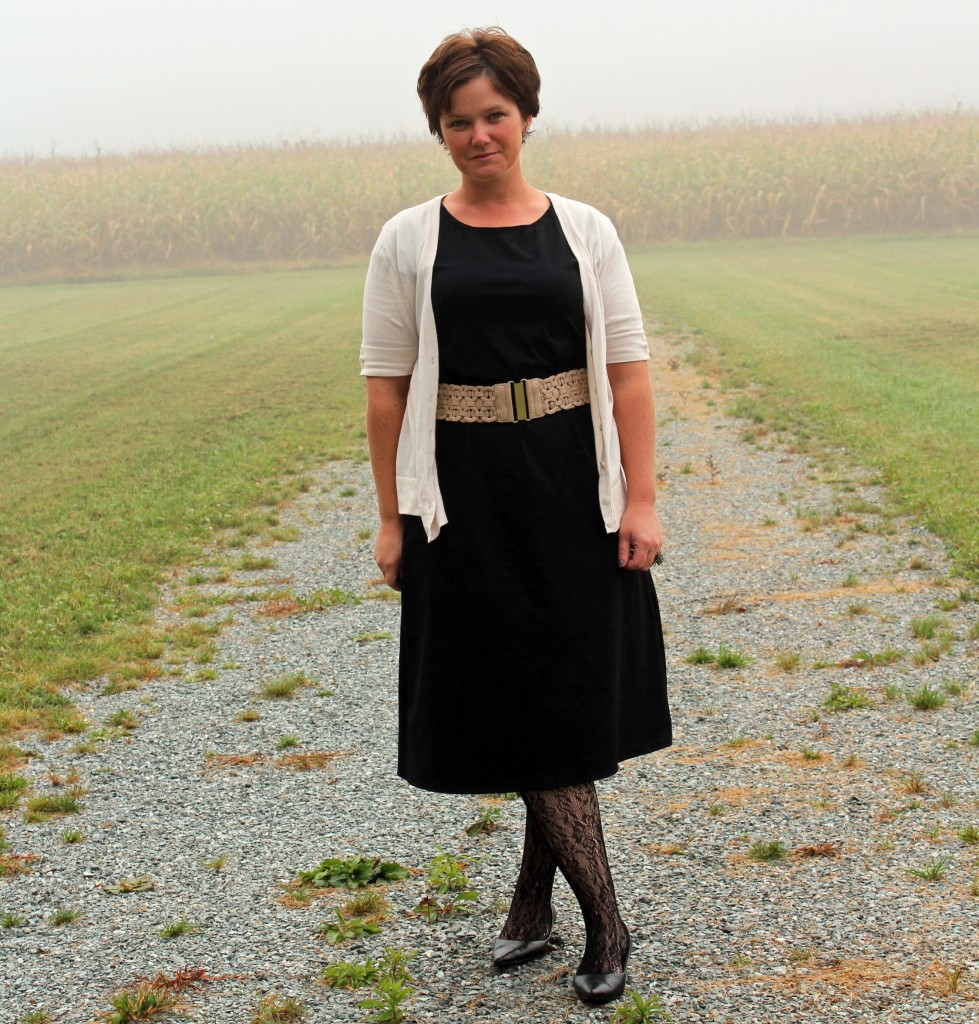 I used this pattern from McCall’s and as you can tell its an old pattern. The date on the back says 1979. I don’t normally sew from older patterns but I really like this one and will make more dresses from it for sure.
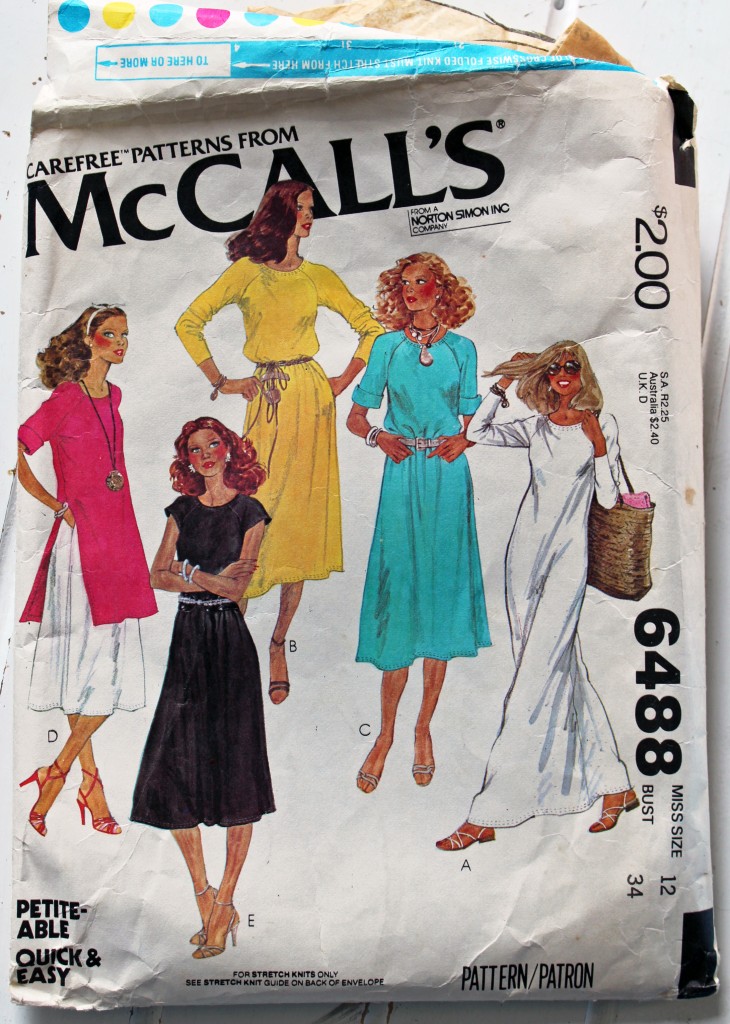 The fabric that I used was a medium weight knit of sorts. It has a lot of stretch to it and I’m not sure which it is but it has either lycra or spandex in it. The wrong side of the fabric is smooth and the right side of the fabric has a nice woven look to it. I really wish I knew exactly what type of fabric it was because I would buy more for sure. It is the most comfortable material I have ever worn! It was a little hard to work with though. Super stretching and smooth. It definitely challenged my top stitching skills.
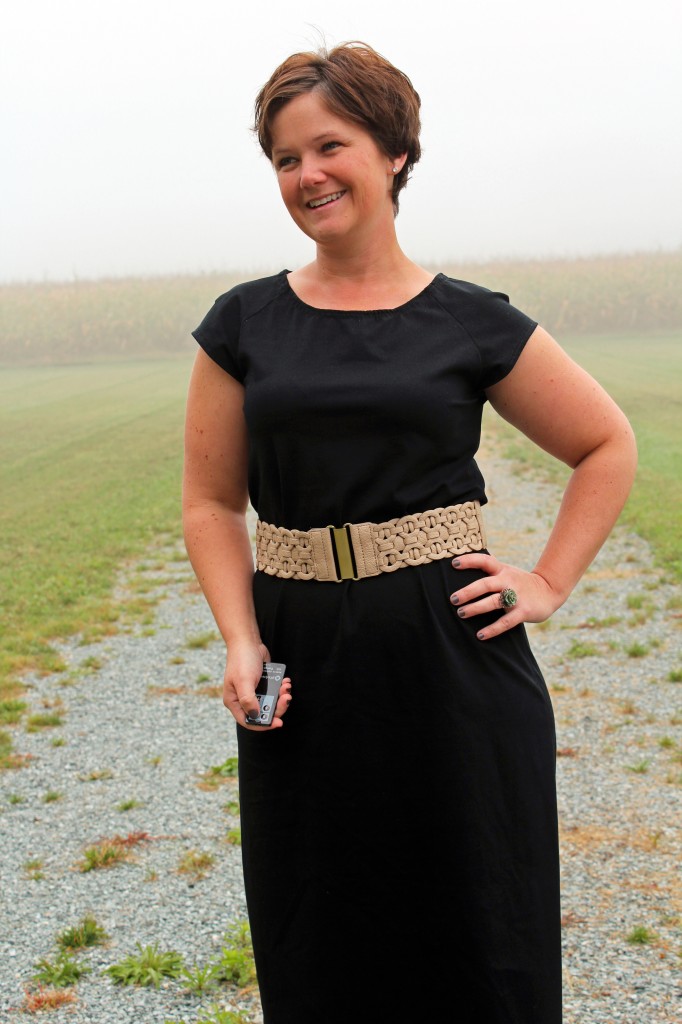 The pattern was for a loose fitting dress so I had to do a lot of altering. This type of fabric just looks better as a more structured fitting dress.
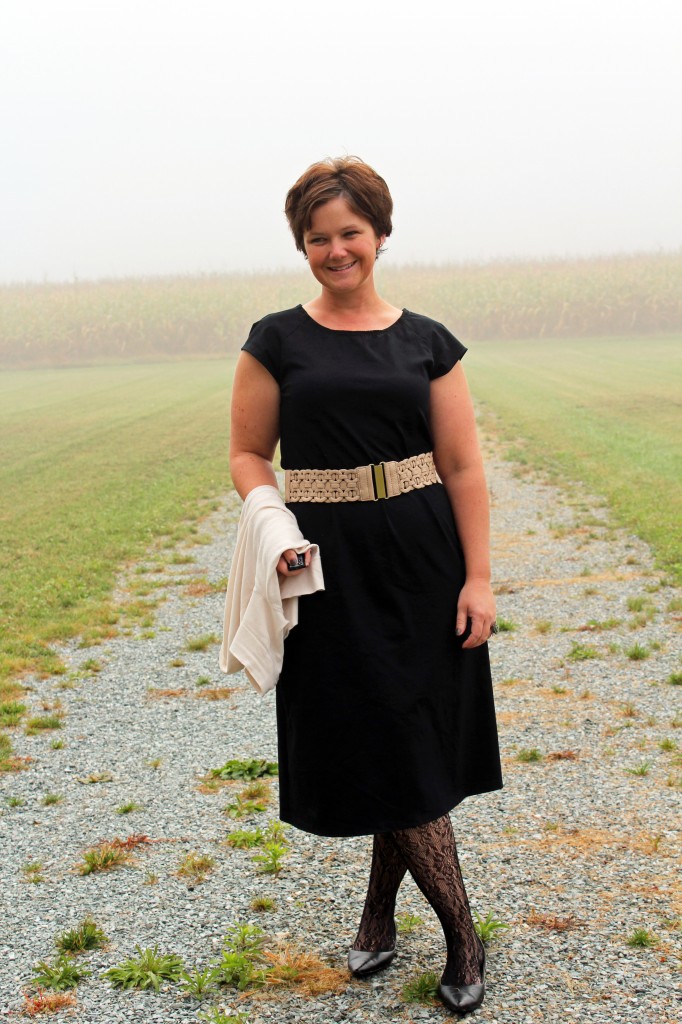 I did shorten the capped sleeves and made the dress fall about mid-calf.
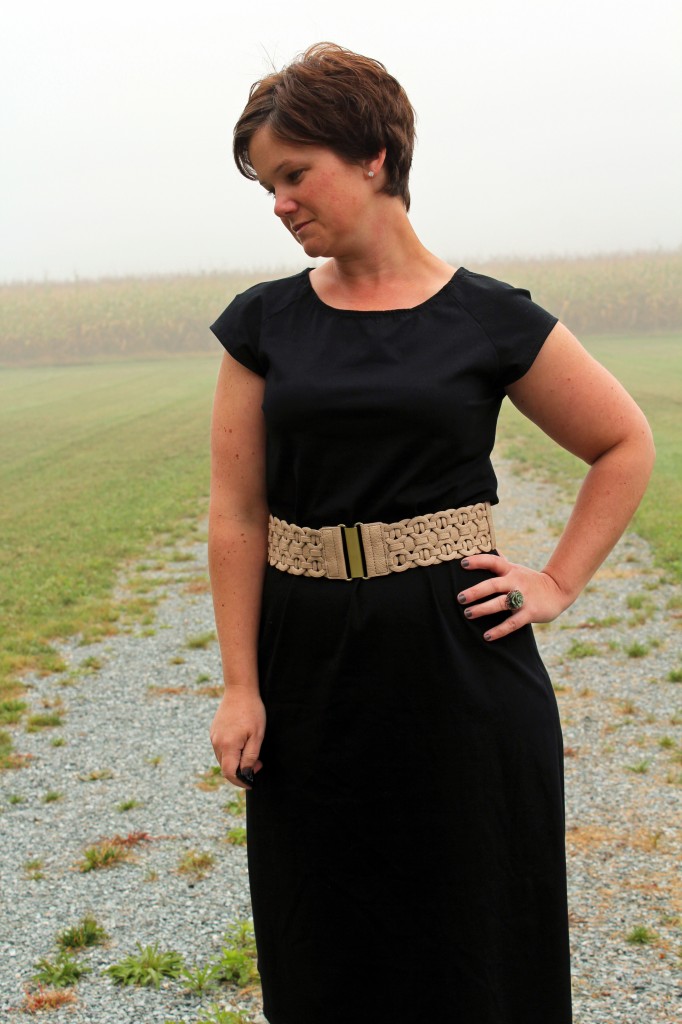
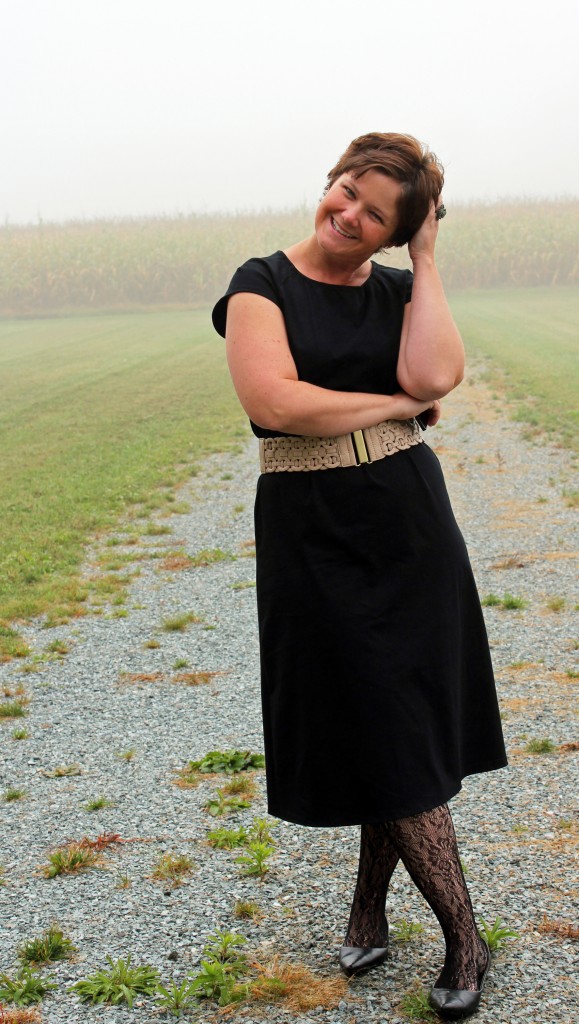
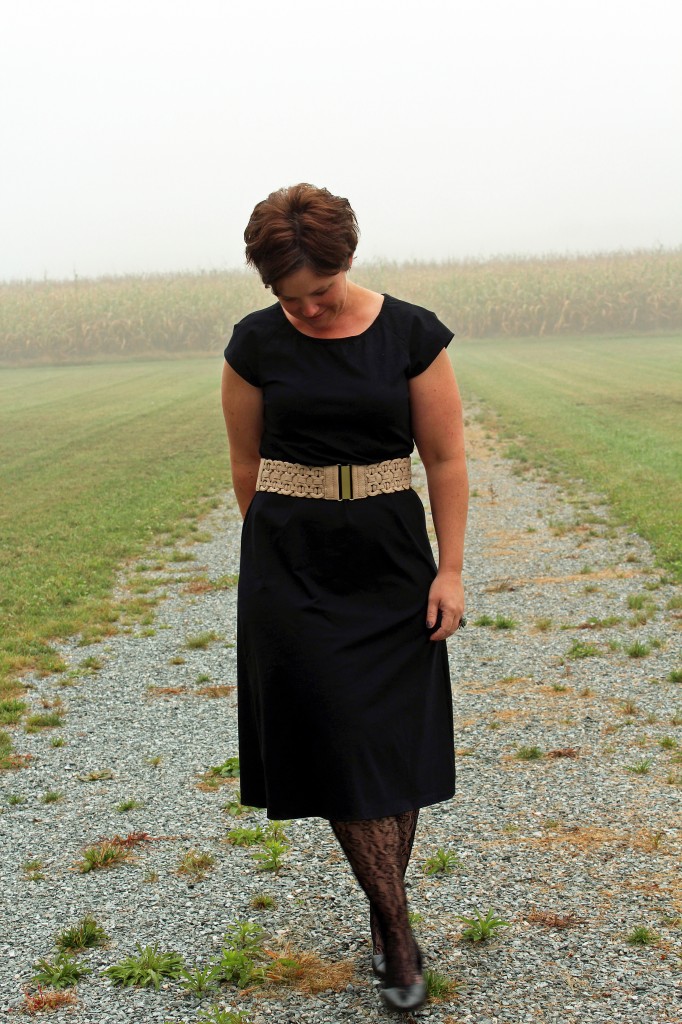 Now head on over to Project Sewn to see what the competitors made. They are all simply amazing!
Popcorn
We harvested our popcorn yesterday.
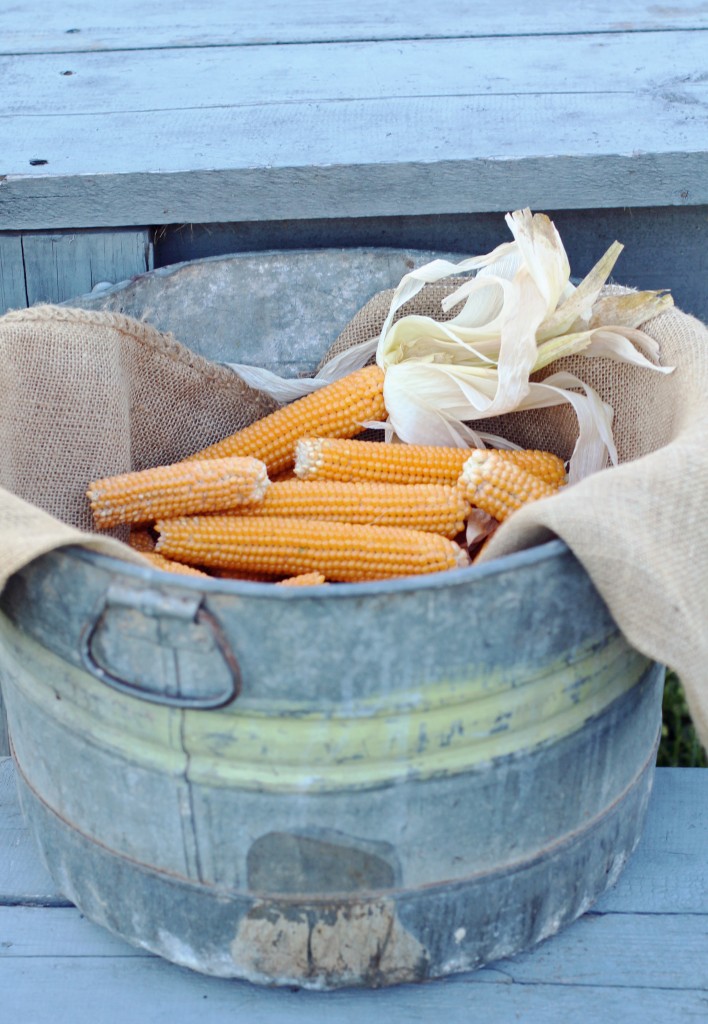 Even though the rest of the garden did not do so well this year, we still ended up with a pretty good popcorn crop. We popped some last night, but it still needs a little more time to dry before it is ready for popping.
 So we impatiently wait.
 Have you ever tried homegrown popcorn?
Ruched Collar Shirt
I have been making clothes for myself lately and have really been loving it.
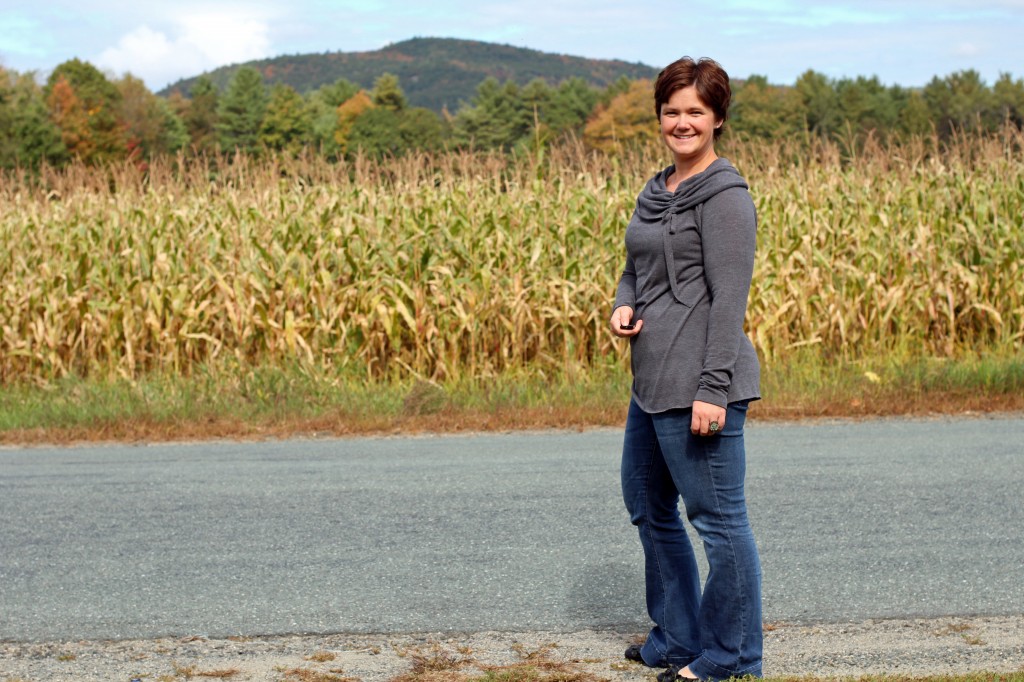 I have finally dared to wear my creations in public and thankfully they stayed in one piece. Yes I was nervous about it so much that I always brought backup clothes just in case. Now I have to admit that I am still having a hard time taking pictures of myself. Taking pictures of yourself is really awkward, is it not?
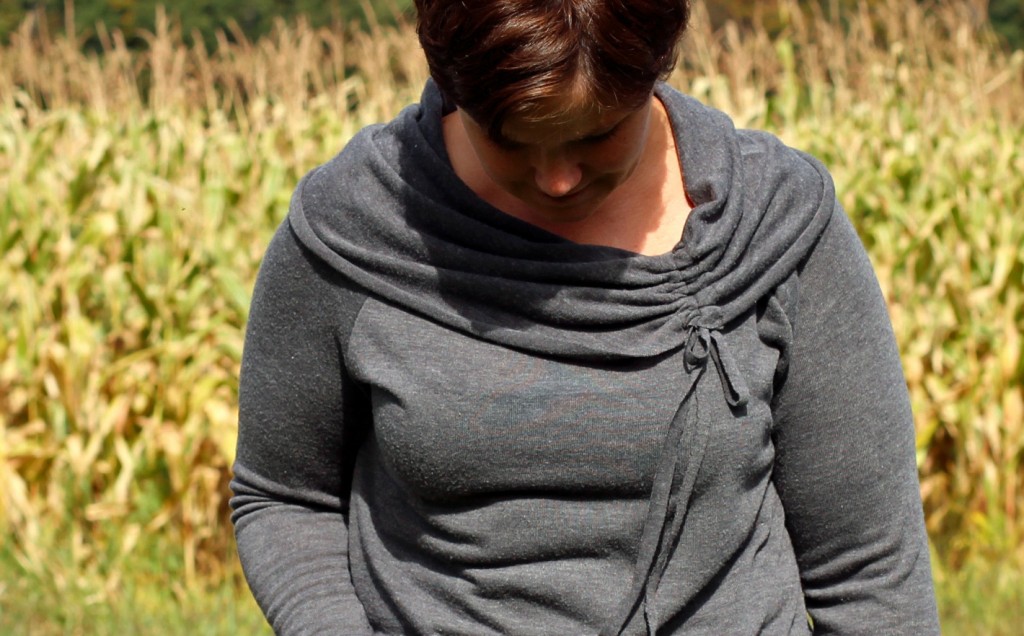 The other night I made this ruched collar shirt and I just love it. It is super comfy! I simply used one of my favorite shirts as a template. The tee came together really quick and easy. I didn’t do any top stitching and I even left the edges raw. I am actually a fan of raw edges on my tees for some reason. The fabric is a nice sweater knit fabric that I purchased from Michael Levine when I went to LA for Fabric Weekend. It is lightweight and has a great stretch to it.
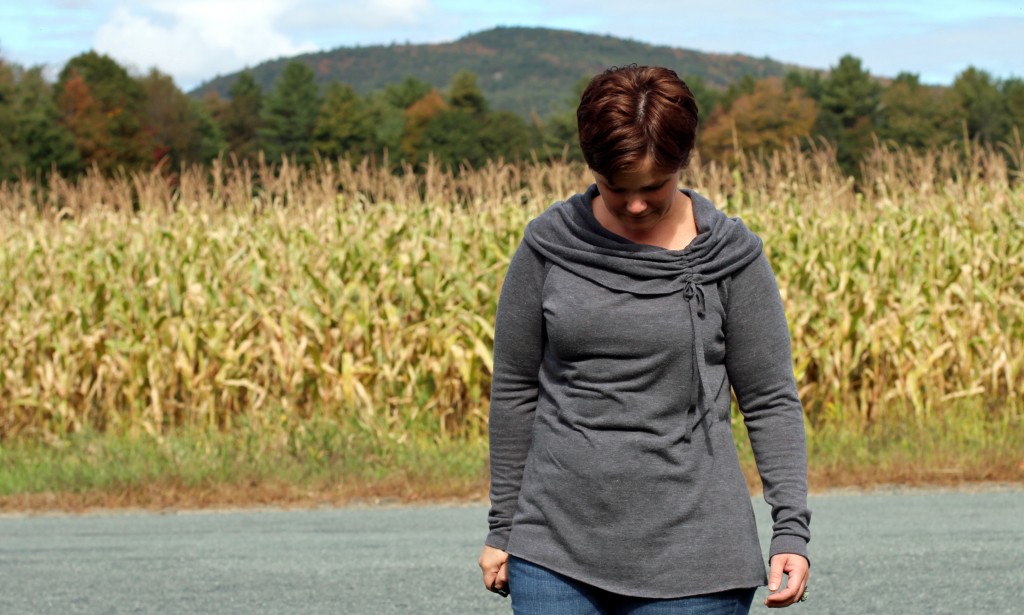 Who else is trying to do some selfish sewing? I still have a dress in the works that I must finish for a wedding this weekend.
Project Run and Play {Mad for Plaid}
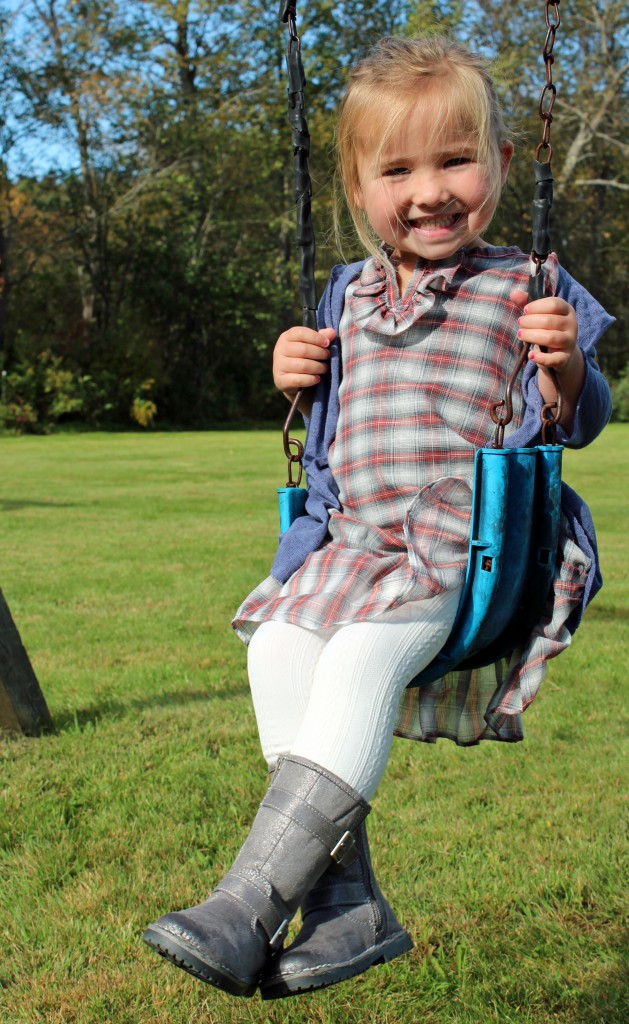
This weeks theme for Project Run and Play is Mad for Plaid.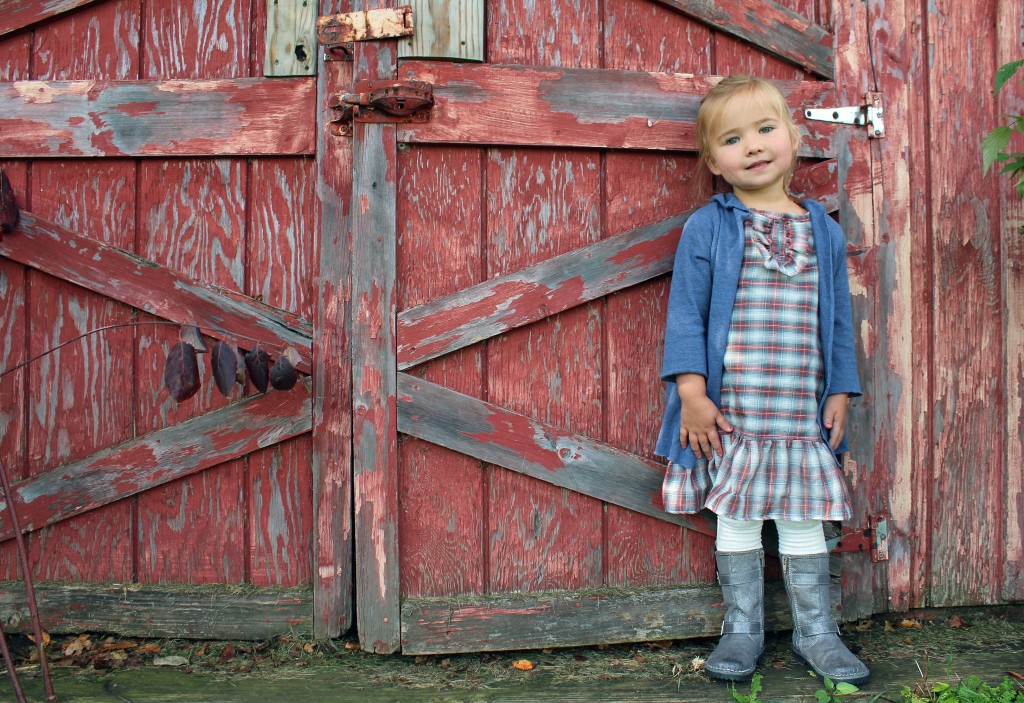 This is one of my favorite themes…I love me some plaid! Luckily I had two yards of this plaid fabric in my stash. I had purchased it from Walmart when it was on clearance for $1 a yard.
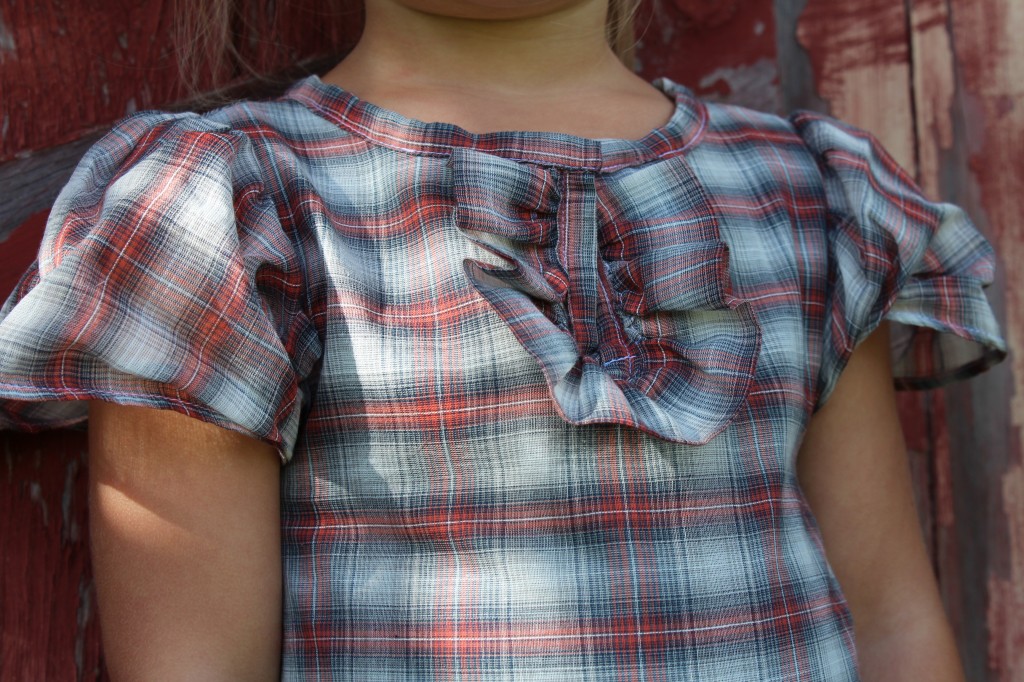
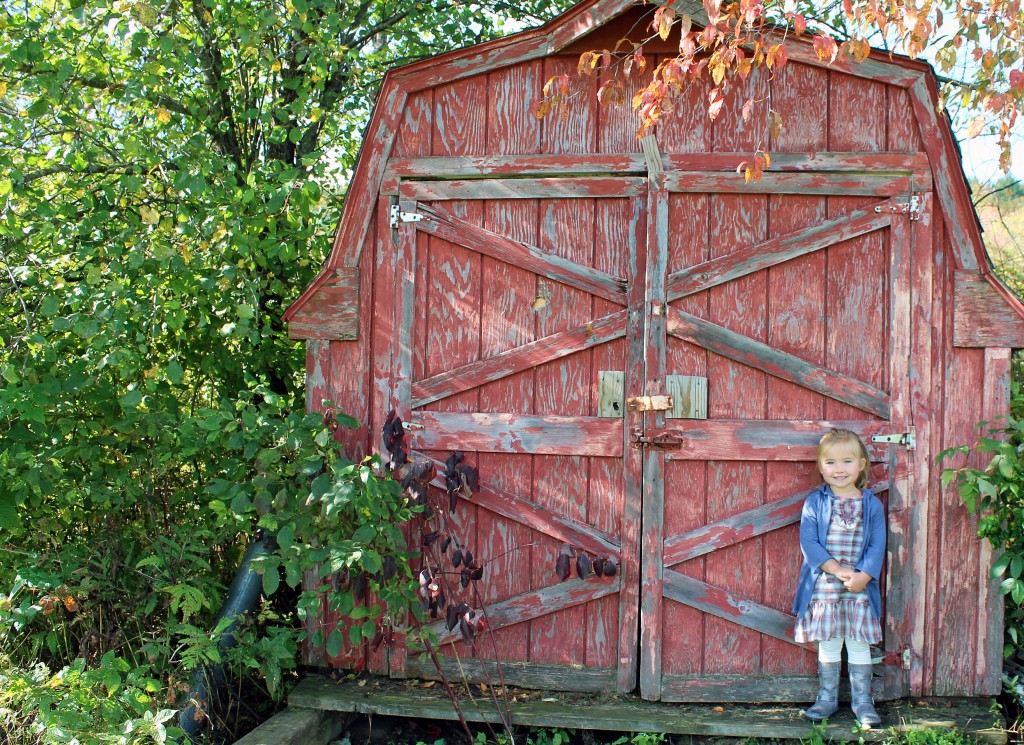 The dress is a pretty simple A-line shape with fluttery sleeves and a ruffle on the bottom.
 At the neckline I added a little ruffle down the front of the dress and topped it with some bias tape. I was going to add a button for a closure but decided against it in the end. It is kind of a fun way to make a dress with no closures.
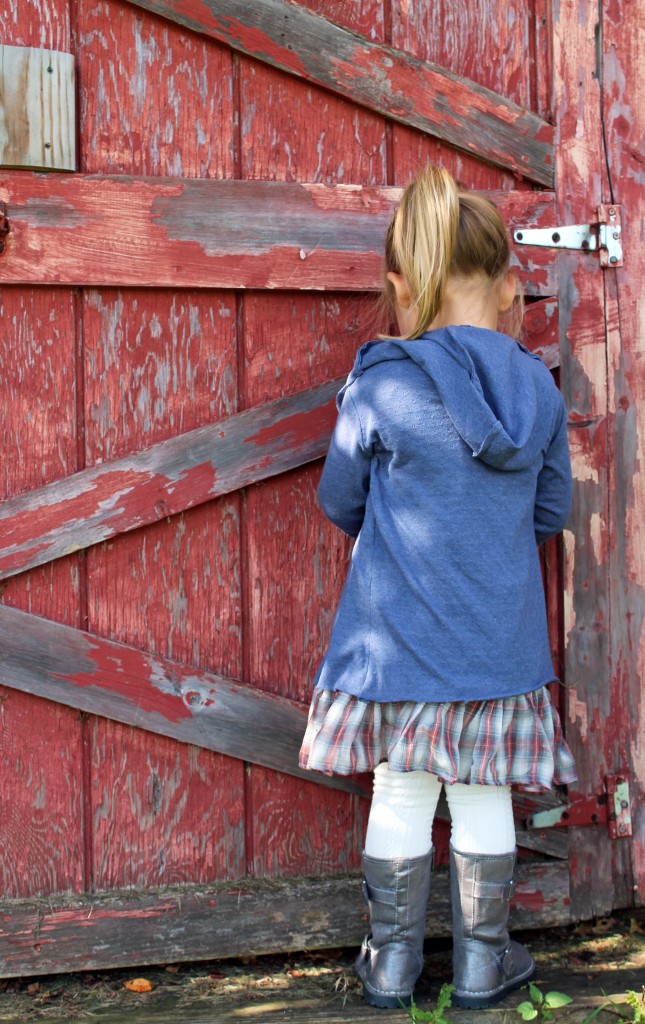
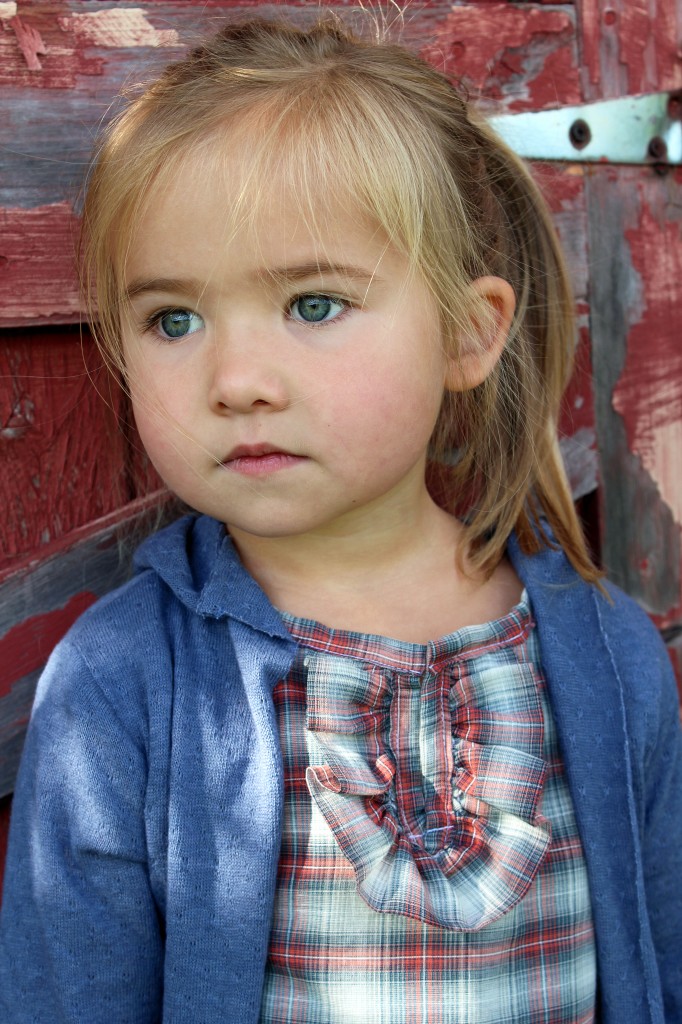 The hooded cardigan was made from some more $1 a yard fabric from Walmart.
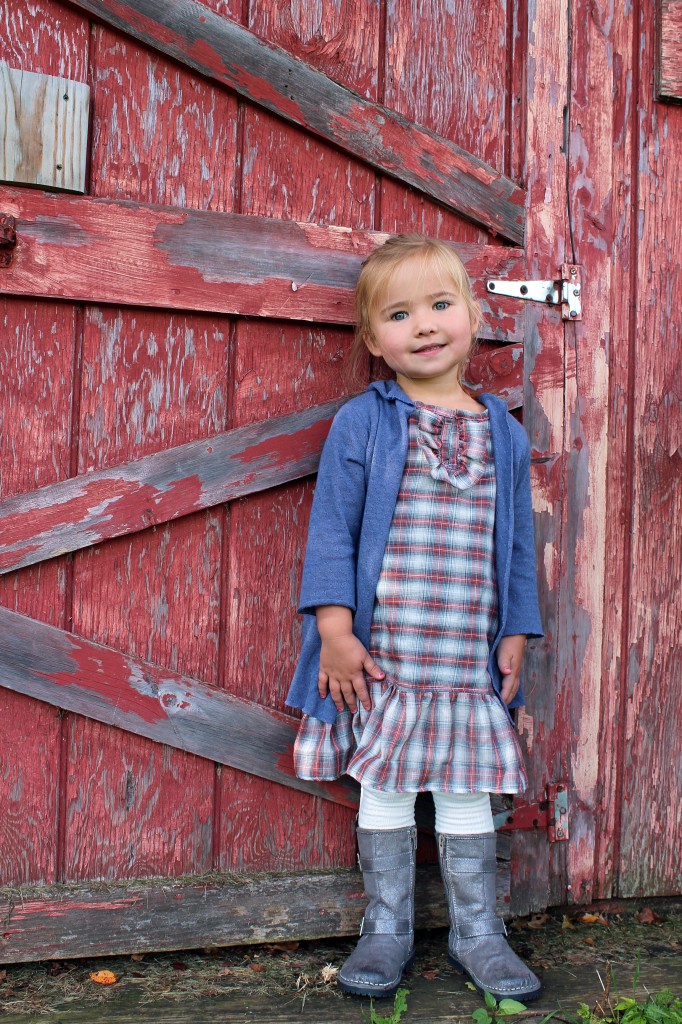 So the whole look cost about $3.00 to make.
The tights are from Target and are lined with fleece. The girls are loving these tights! The cute little boots are from Target as well.

 Her reward for being such a good model!
Dritz Twin-Fit Petite Dress Form
My birthday was last week and I decided to treat myself to something that I have wanted (and I think needed) for some time now…a dress form.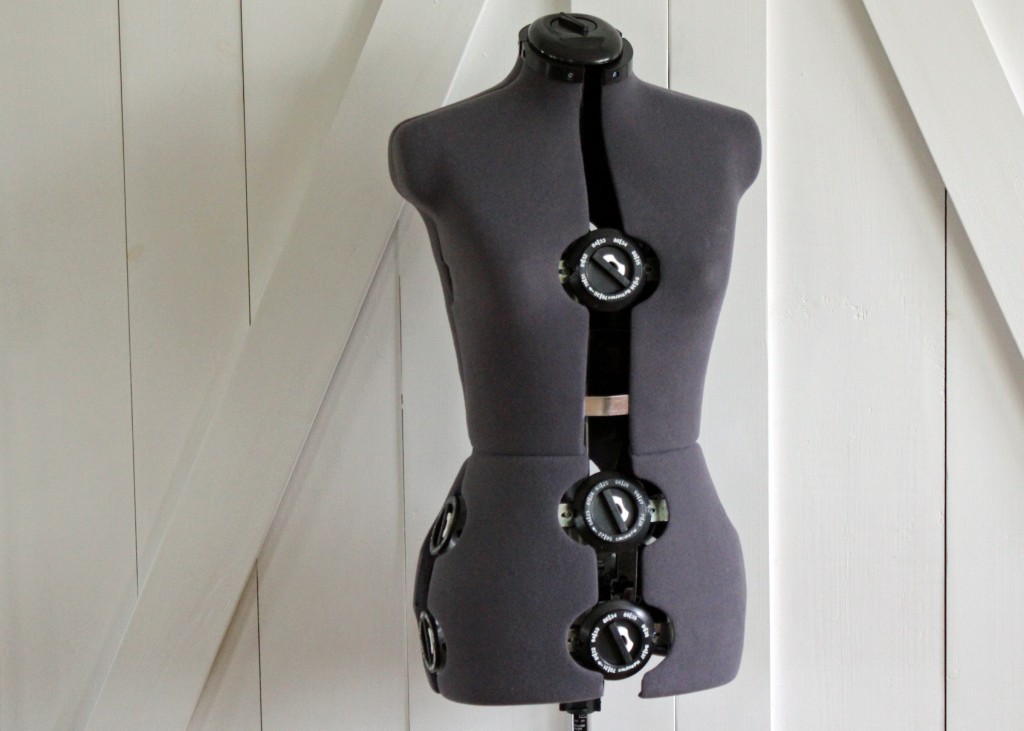 I had debated for weeks on what type of dress form to purchase. My logical side was telling me to buy a cheap adjustable dress form but my (hi, I want to be like project runway) side was telling me to buy a good professional dress form. And then there was my interior decorating side that wanted a cute vintage one. But as you can see I went with my logical side.
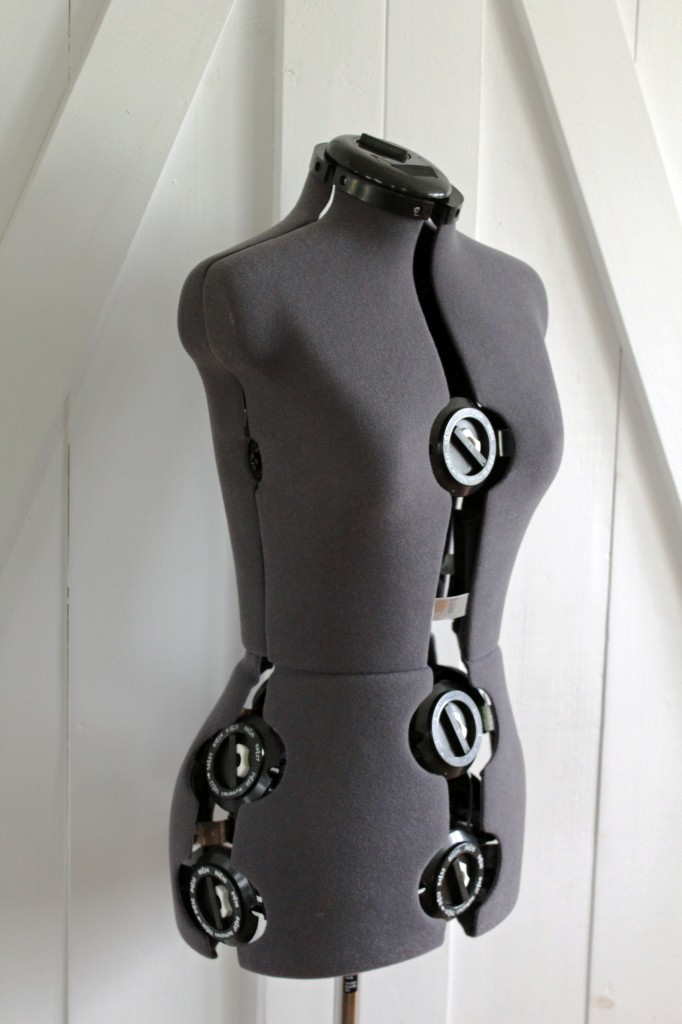 And I am so glad I did! My body is pear shaped and I’m petite, but this adjustable dress form is me to a T. I know I would not have gotten this from any other dress form.
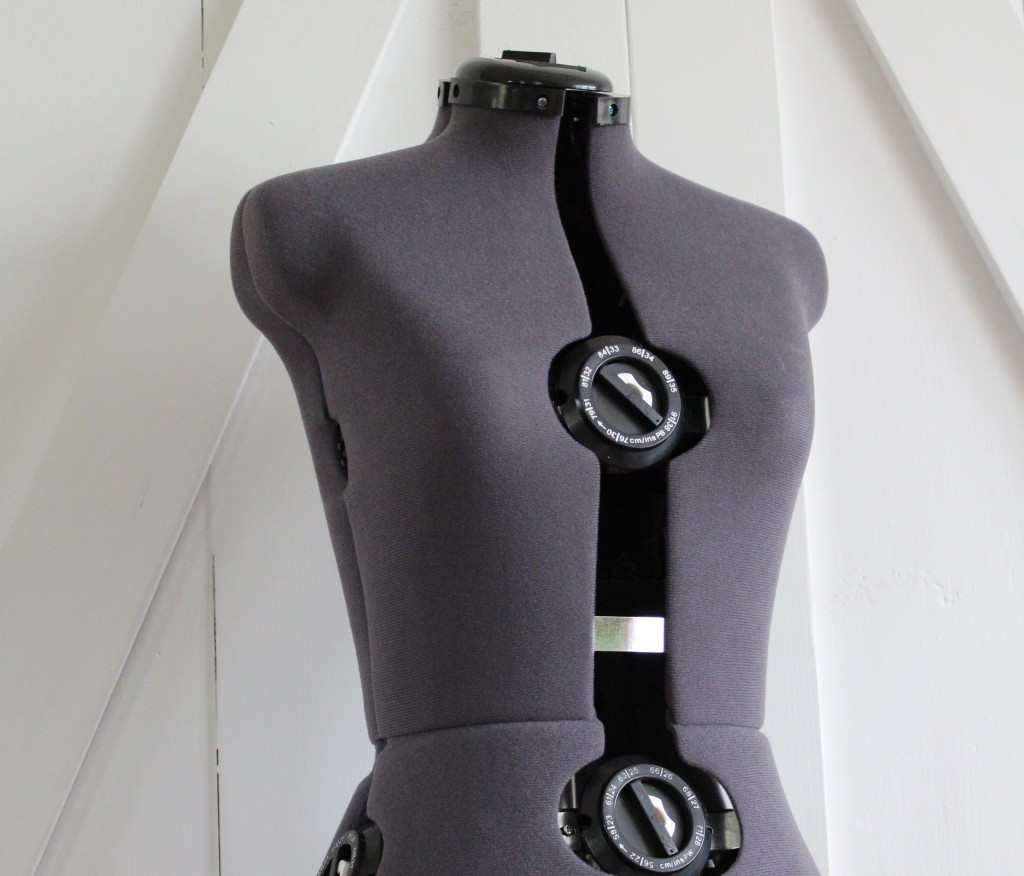 So this is a Twin-Fit Dressform by Dritz. I purchased it from Amazon for $121.00 with free shipping. It is sized petite. You can adjust the measurements at the neck, bust, waist, hips and at the height. Like I said, I was able to get my exact measurements on this dress form.
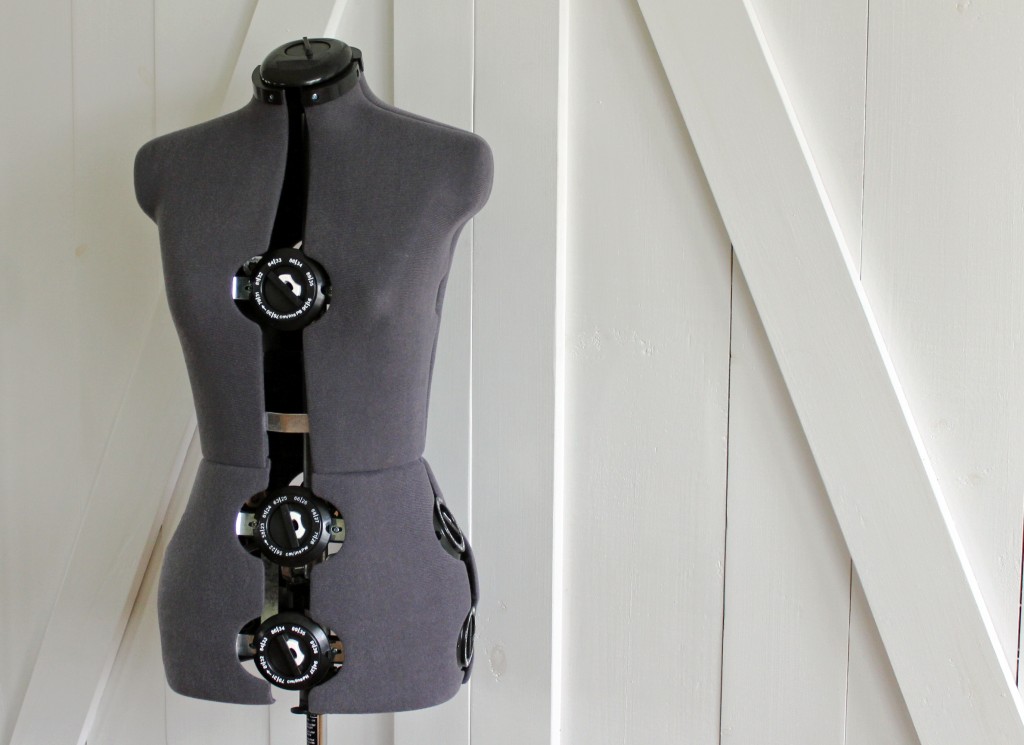 The dress form is pinnable but it does not pin as well as I thought it would. I have read that using tape or velcro works well when working with these types of dress forms.
The legs are a little wobbly and the quality is not the highest but I don’t mind. It does what it is supposed to. And I already LOVE it!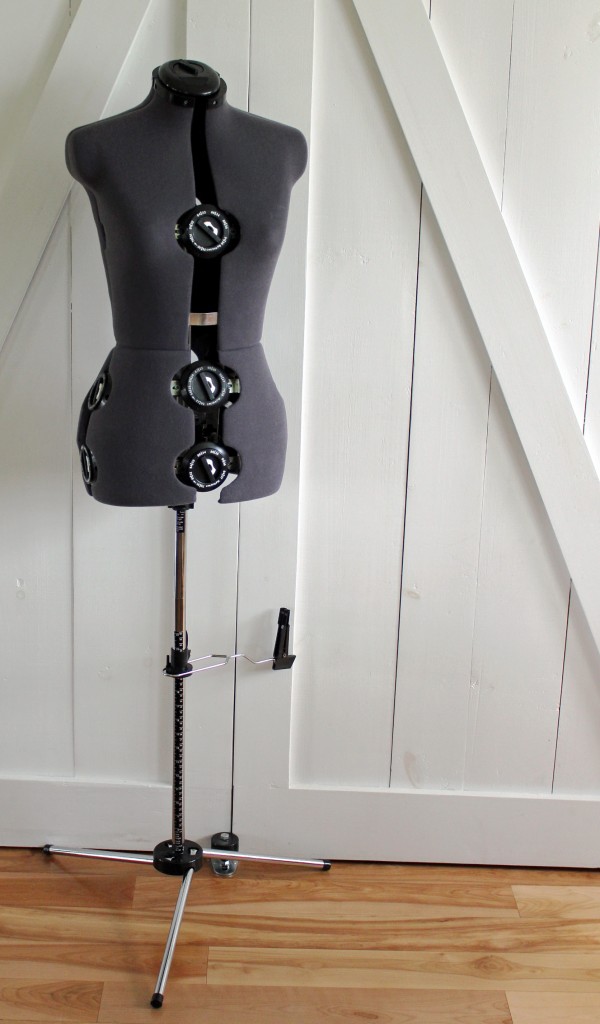 So do you have a dress form? Do you use it all the time?

