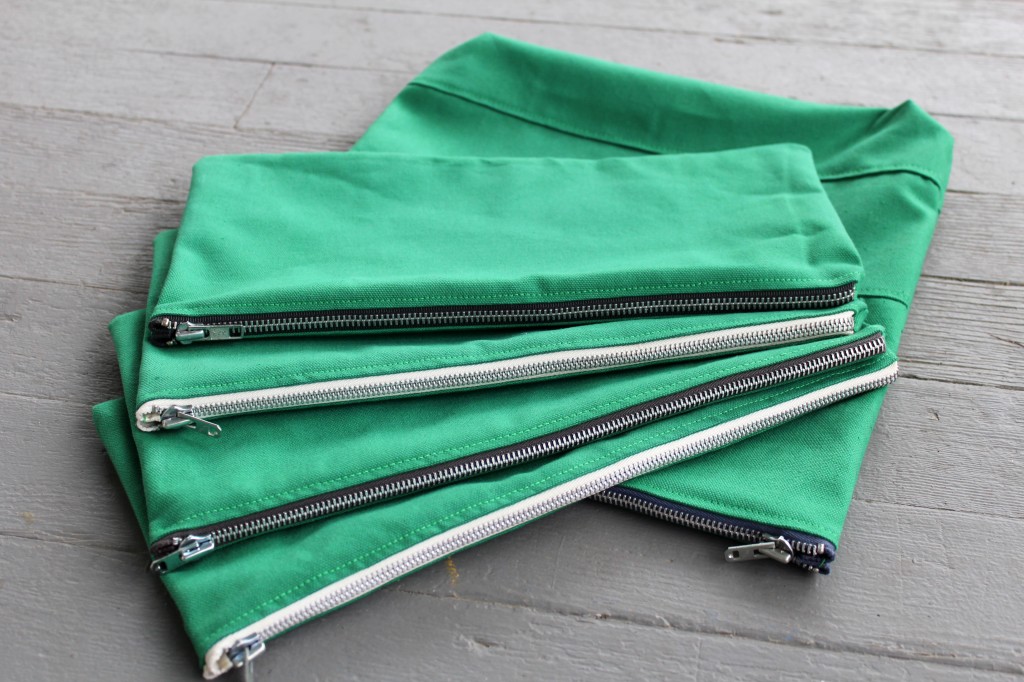
Finally a sewing project for the hubby! He is a tough one to sew for I tell ya, but after seeing him eye some zippered pouches at The Home Depot one day I knew they would make the perfect gift. Even men need zippered pouches.
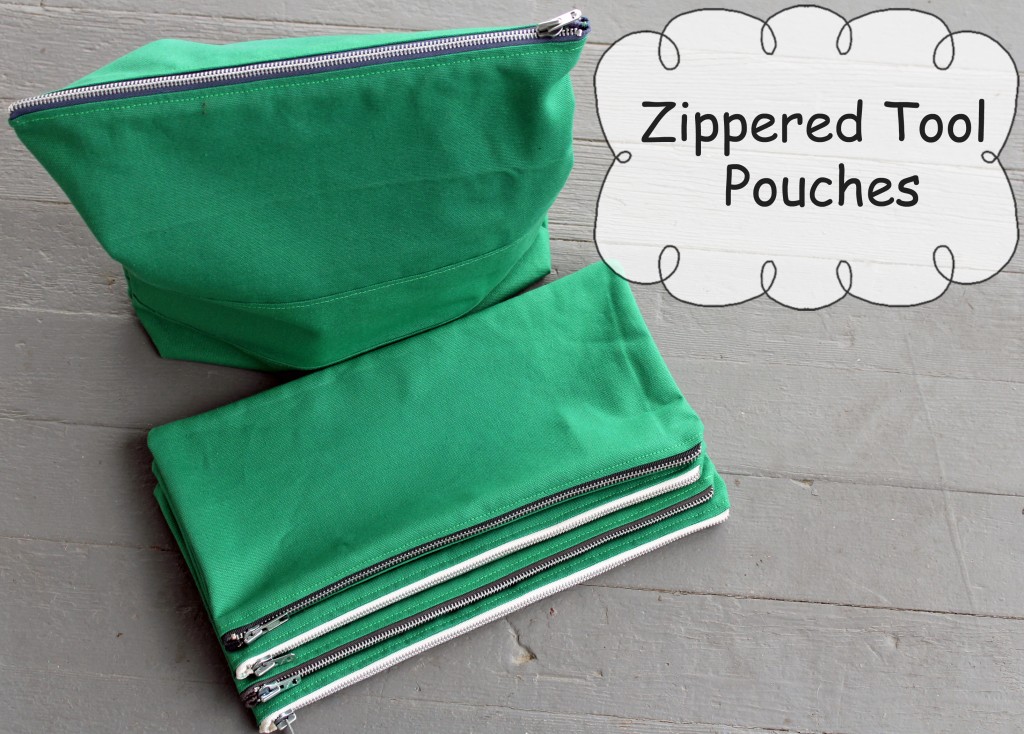 Zippered pouches are a great way for them to keep all their tools organized or in my hubby’s case…wire nuts, meters and other stuff that I cannot remember what they are called. I used a heavy duty canvas fabric from Jo-Ann Fabric and Craft Stores and some metal zippers that I had in my stash. I sewed them up like I would any zippered pouch but instead of lining them I just finish off the raw edges.
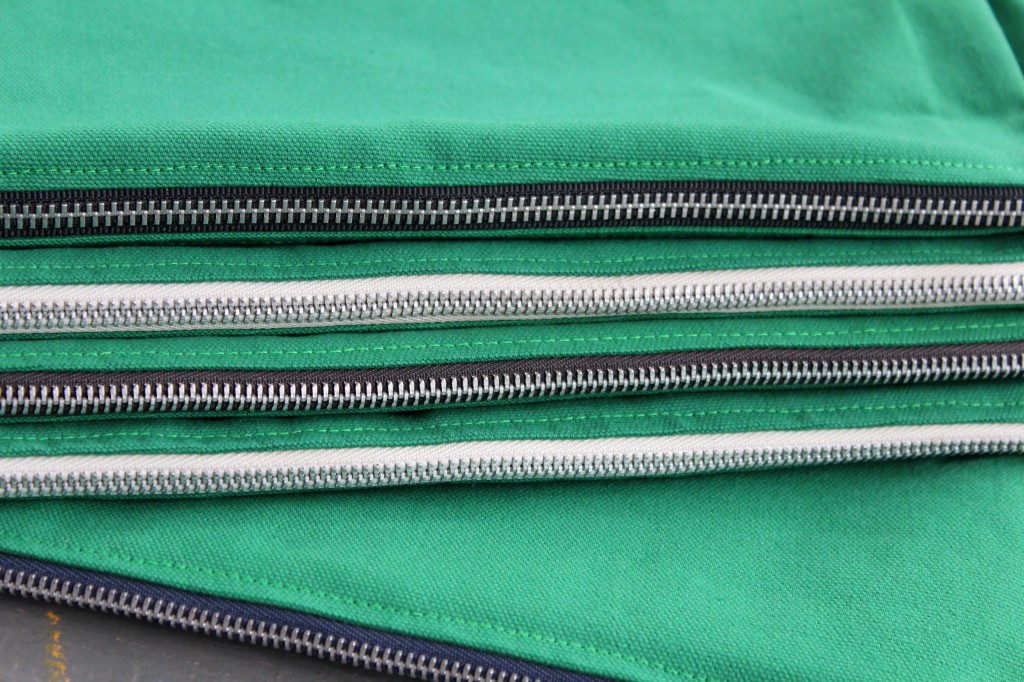 I do have to tell you that after I gave him all these cute little zippered pouches he quickly took out his sharpie marker and wrote all over them…so not cute anymore, but they are serving a purpose and that is what I love most about sewing. When I can make something that is useful I am a happy girl!
How to make a sewing caddy
Unfortunately I do not have a sewing room, which means my I have to sew at my dining room table. I store all of my fabric and supplies upstairs in 2 large armoires. So every time I need some of my sewing supplies I have to go upstairs to grab it. As you can imagine there is a lot of going up and down the stairs while I am sewing. It is just not fun. So a few weeks ago I decided to make a large sewing caddy. At least then I would have all of my sewing supplies in one convenient spot.
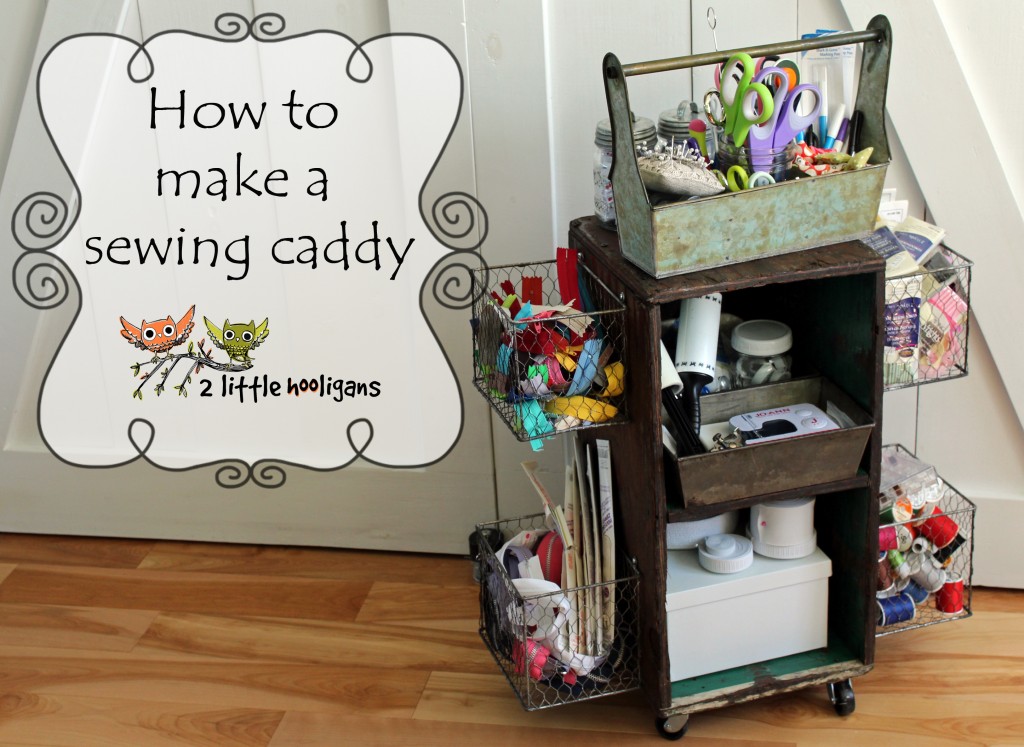
Materials needed to make one sewing caddy:
* 1 wooden crate
*4 rolling castors
* 4 baskets
* screws
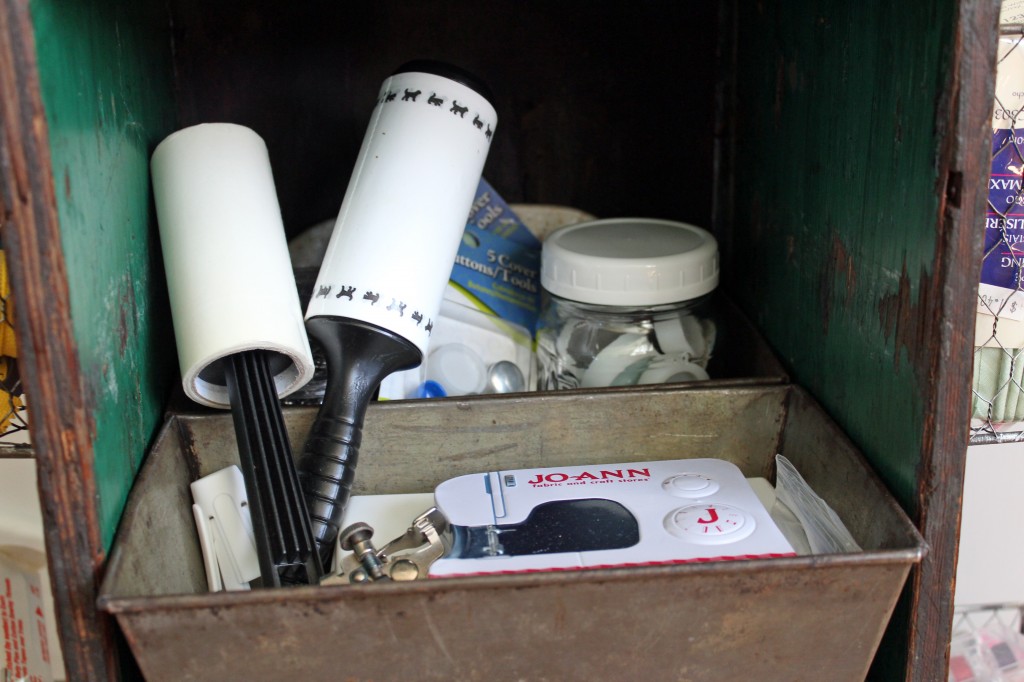
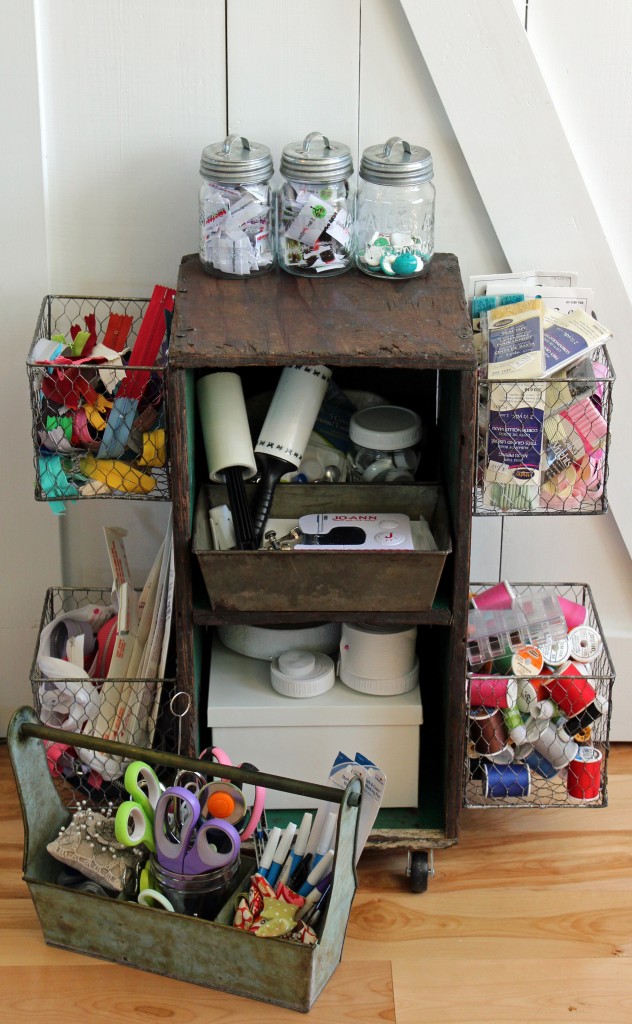
I started by using an old wooden box that was headed for the trash. It needed a good washing, but other then that it was the perfect size, shape and I loved that it had a shelf in the middle. And honestly, I kinda like the vintage worn look of it. Guess I am a sucker for free old junk! Once the box was cleaned I let it sit outside in the sun for a few days to get any of the smells out. Then I wiped it down with a little Old English. Once it was clean I added some rolling casters to the bottom of the box. Having it roll around the table was key to me. Lastly, I screwed 4 wire baskets to the sides. The baskets came from Decor Steals and they were the perfect size. Now came the hard part…organizing and de-stashing.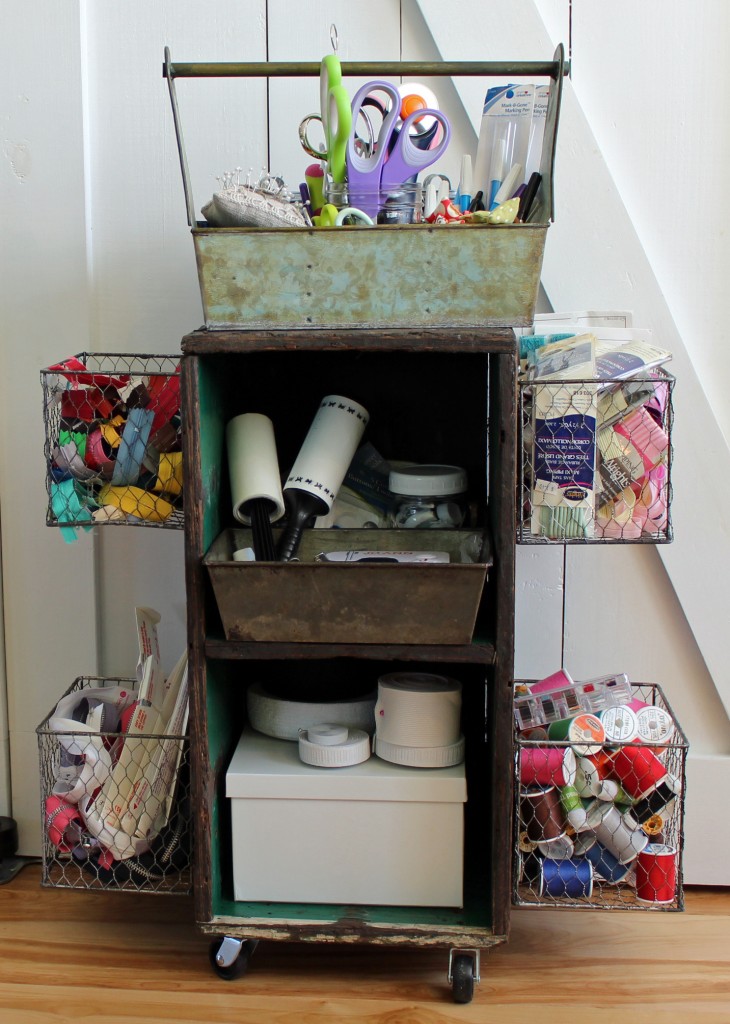 The top shelf holds all of my button making and snap making supplies. It also holds my sewing feet, needles, lint rollers and other little random sewing accessories. As you can see I used two of my bread pans on this shelf to hold my items. The bread pans just happened to fit perfectly in there.
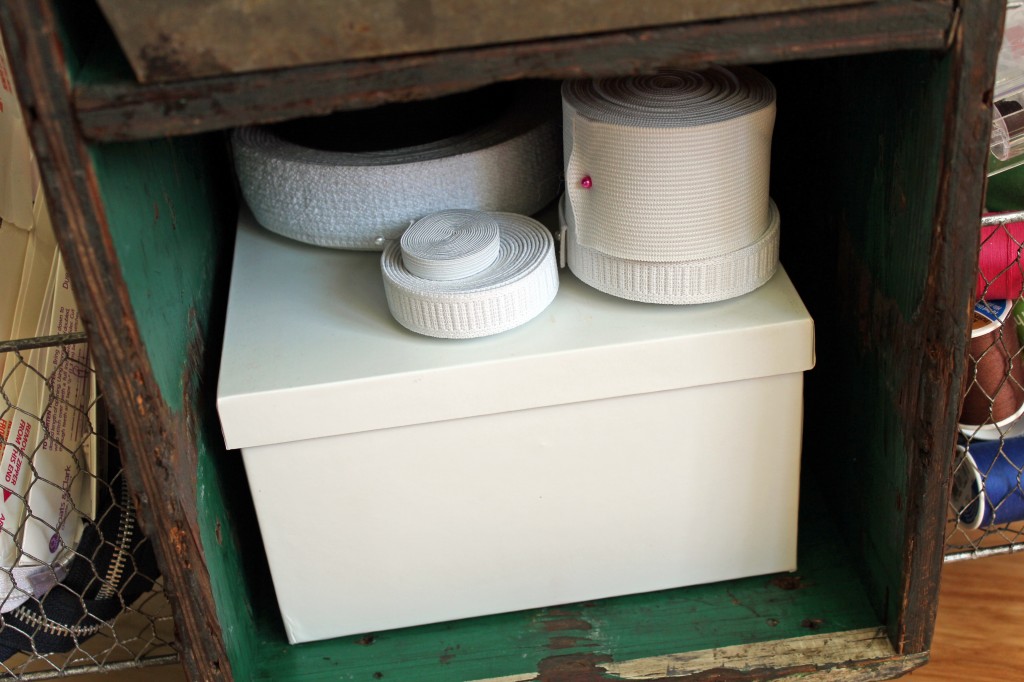
 On the second shelf I used a box to store all of my metal clasps, d-rings and all my other little metal extras. On top of the box I have all of my rolls of elastic.
I use this smaller metal caddy to hold all of my sewing supplies that I use each and every time I sew. I like having all of my sewing supplies in a smaller caddy so that I can move them straight to my table when being used. 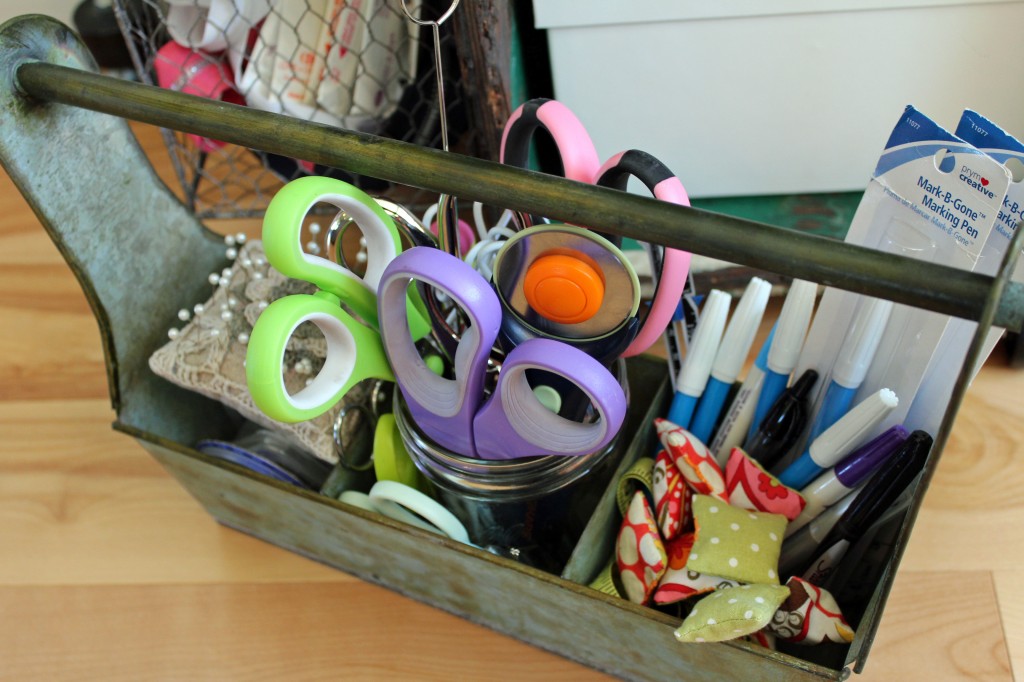
One of the baskets on the side of the caddy holds all of my smaller zippers.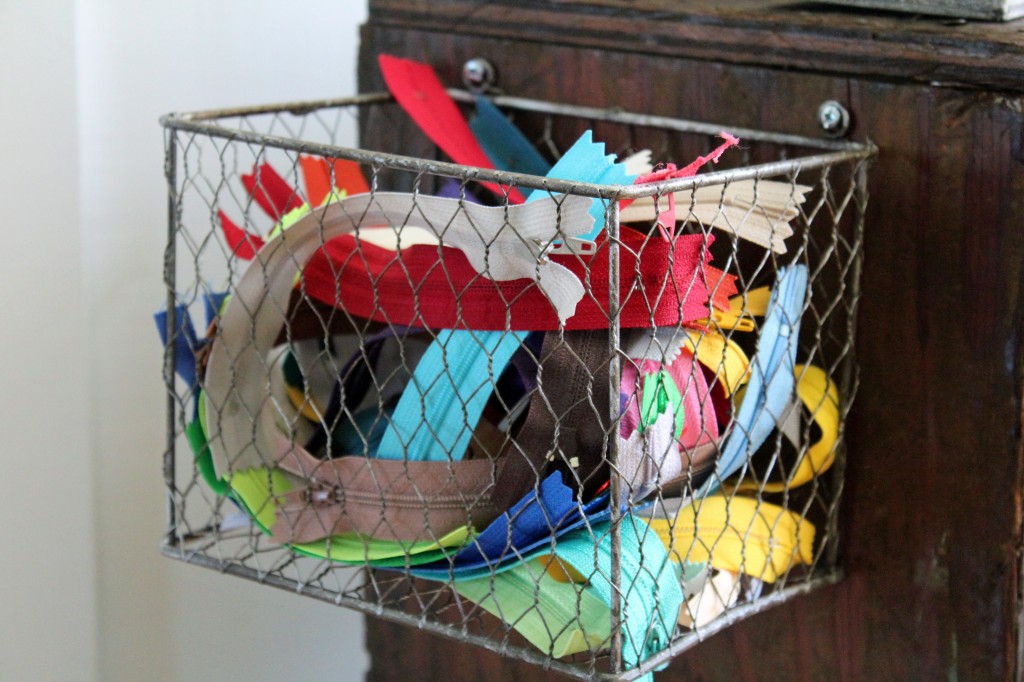
And one holds my larger zippers.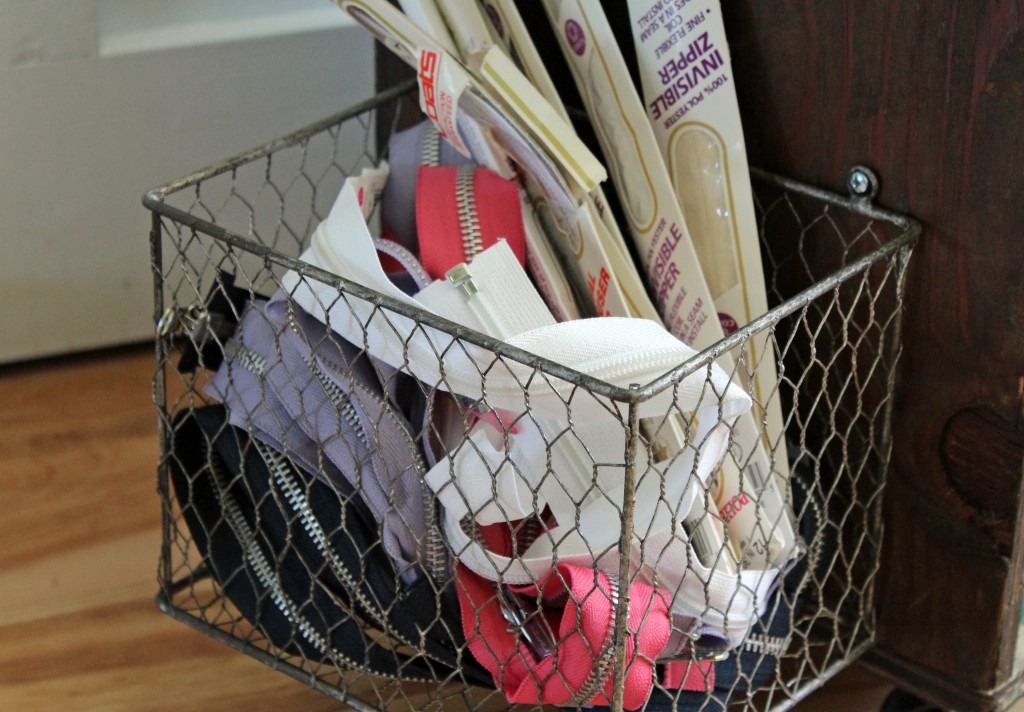
Another basket holds all of my elastics, bias tape and piping.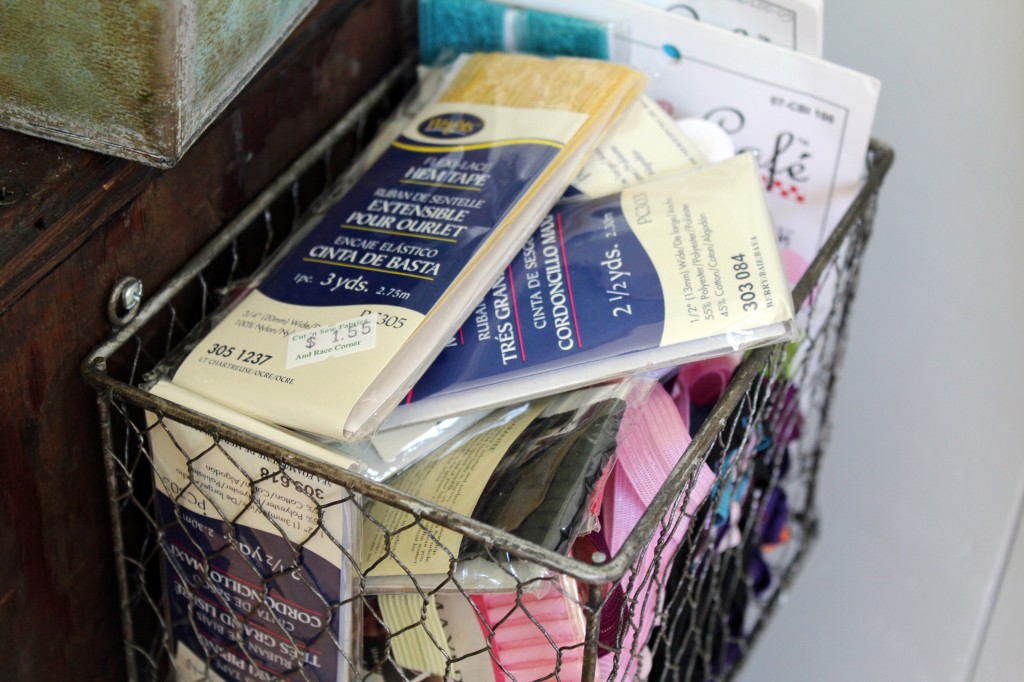
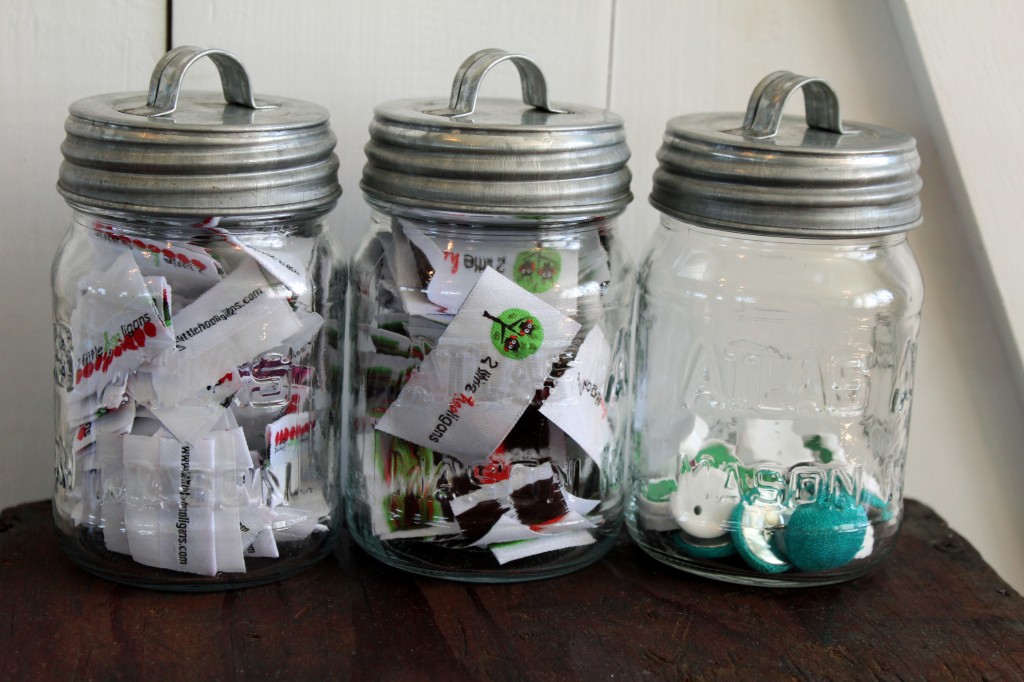
And of course I have a basket for all of my thread.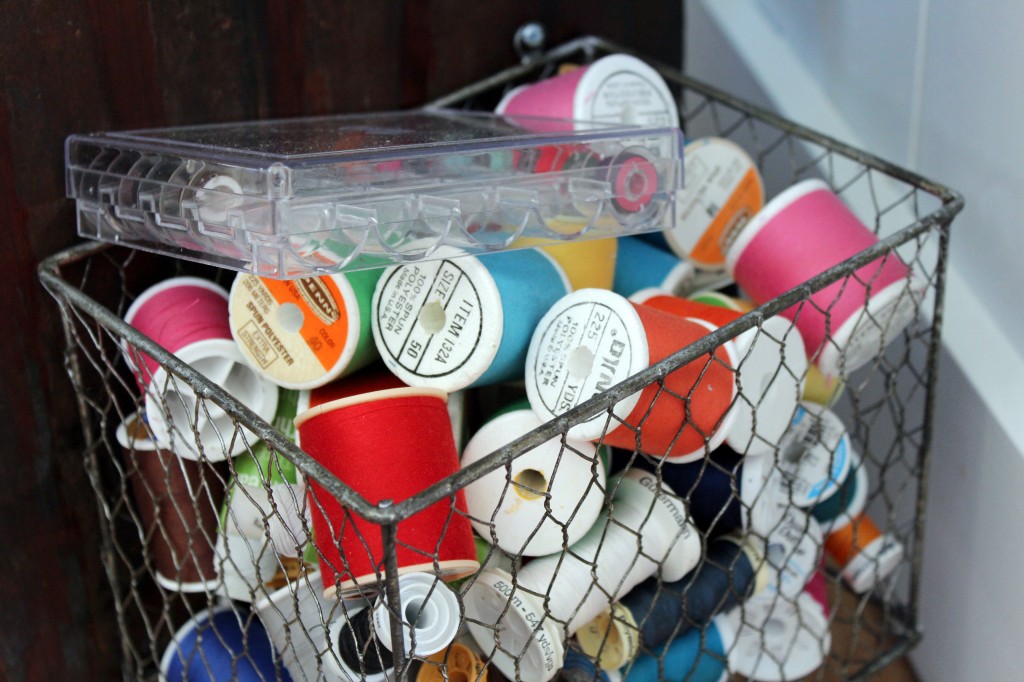 I use a few canning jars to hold all of my labels and some buttons.
 Now I have all of my sewing supplies in one convenient spot. When I am sewing I can roll it right up to the table and have everything I need within reach. And when not in use I can hide it out of sight.
 How and where do you store all of your sewing supplies? Do you have to sew at your dining room table too? Any other fun organizing tips for me?
Fabri-Quilt Giveaway Winners
I have two giveaway winners to announce today!
Momchalant is the winner of the growth chart panel.![growth_chart[1]](http://www.2littlehooligans.com/wp-content/uploads/2013/08/growth_chart1-296x300.jpg) And Linda Wilward is the winner of the lap-size quilt pattern.
And Linda Wilward is the winner of the lap-size quilt pattern.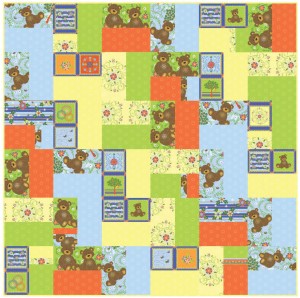
Congratulations ladies! I will be in contact with you via email soon!
Fabric Growth Chart Tutorial {and 2 giveaways!}
Join me over at Fabri-Quilt’s blog Inspired by Fabric today where I am sharing a tutorial for this fabric growth chart. Then make sure you head back here to enter the giveaways below.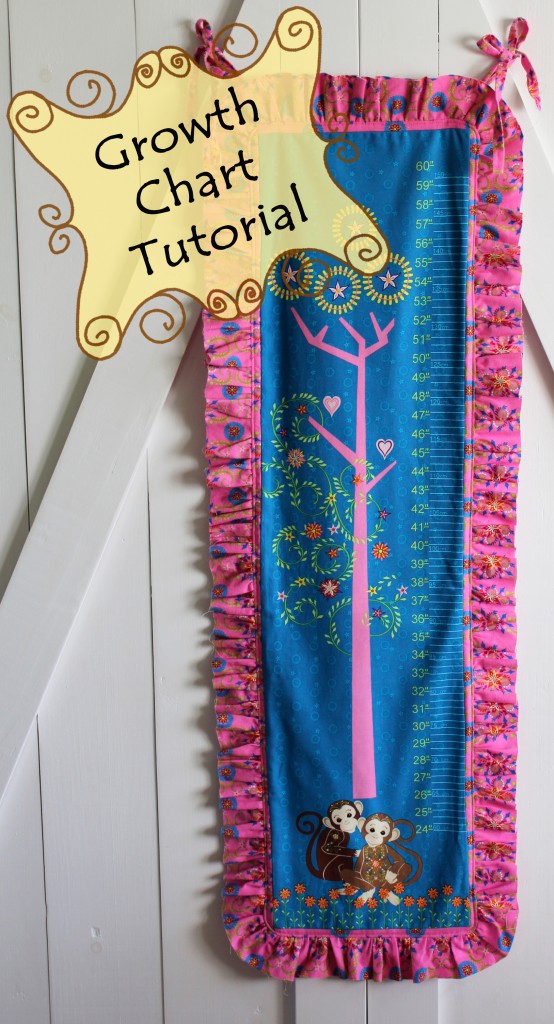 There are 2 giveaways being offered!!
One lucky person will win their choice of one of the growth chart panels pictured below, plus the needed fabric to complete the growth chart that I made above. The winner will be able to choose which of the three colorways/animal themes they’d like for each prize.
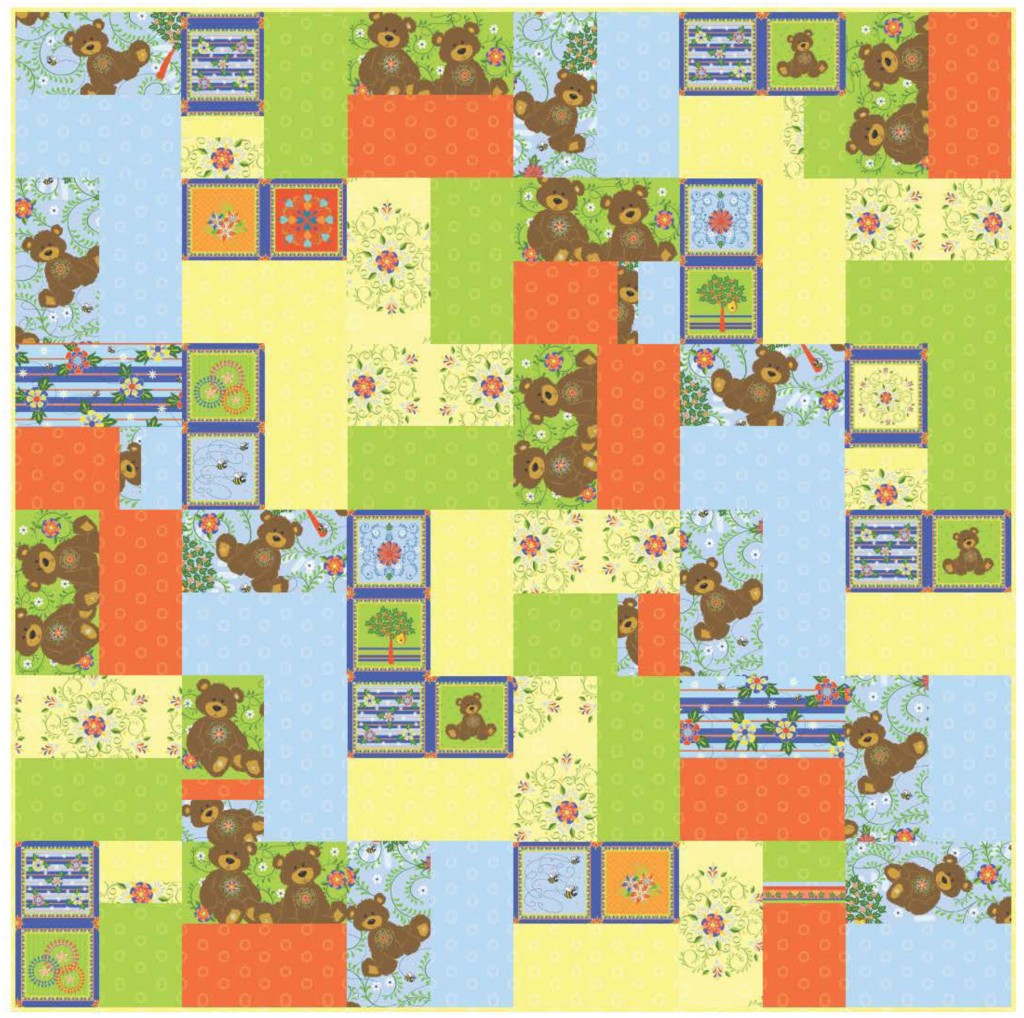
![growth_chart[1]](http://www.2littlehooligans.com/wp-content/uploads/2013/08/growth_chart1.jpg) Plus…One person will win a lap-size quilt pattern featured on Fabri-Quilt’s website using Mystic Forest. Winner will be able to choose which of the three colorways/animal themes they’d like.
Plus…One person will win a lap-size quilt pattern featured on Fabri-Quilt’s website using Mystic Forest. Winner will be able to choose which of the three colorways/animal themes they’d like.
 How to enter:
1. Head over to Fabri-Quilt to see which of the three colorways/animal themes you like best.
2. Follow Inspired by Fabric via Bloglovin’ or by email and leave me a comment telling me you did so.
Giveaway ends Wednesday, August 7th 2013 and is open to only those living within the United States. Make sure to leave your email address so that I can contact you.
Summer
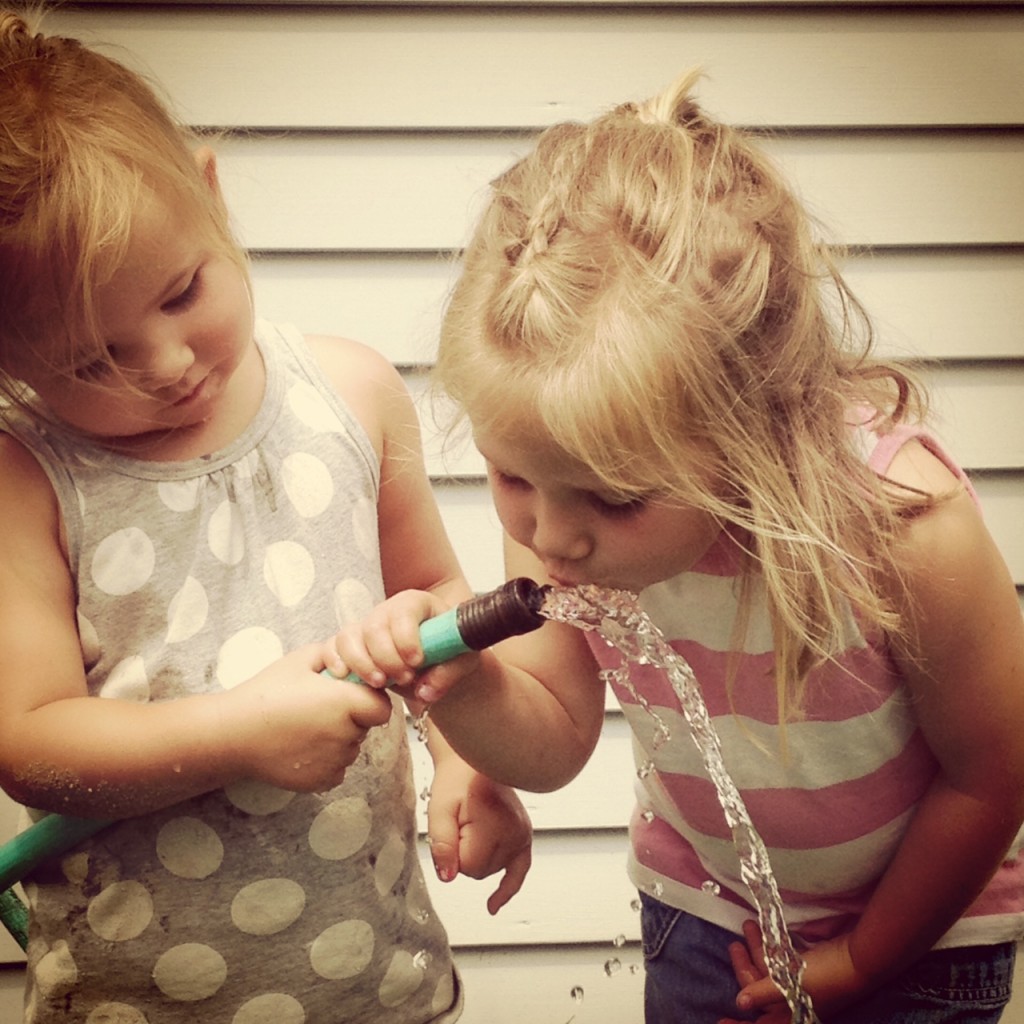
The days and weeks seem to be flying by for us. I’m sure you can all say the same. We have gone on some pretty fun day trips and spent lots of time swimming at the pool and the beach. We have collected a bunch of bugs, spent a ton of hours in the garden and made more snakes out of hoses then I want to count. It has been fun…and slightly tiring.
Skirting the Issue
 This year they have changed things a little and are donating more then just skirts. They are also donating handmade pillowcases, blankets, dolls and bereavement gowns. To learn more about Skirting the Issue and how you can help then head on over here to the Fact Sheet.
 beach days
Summer of Jo-Ann Chalkboard Signs
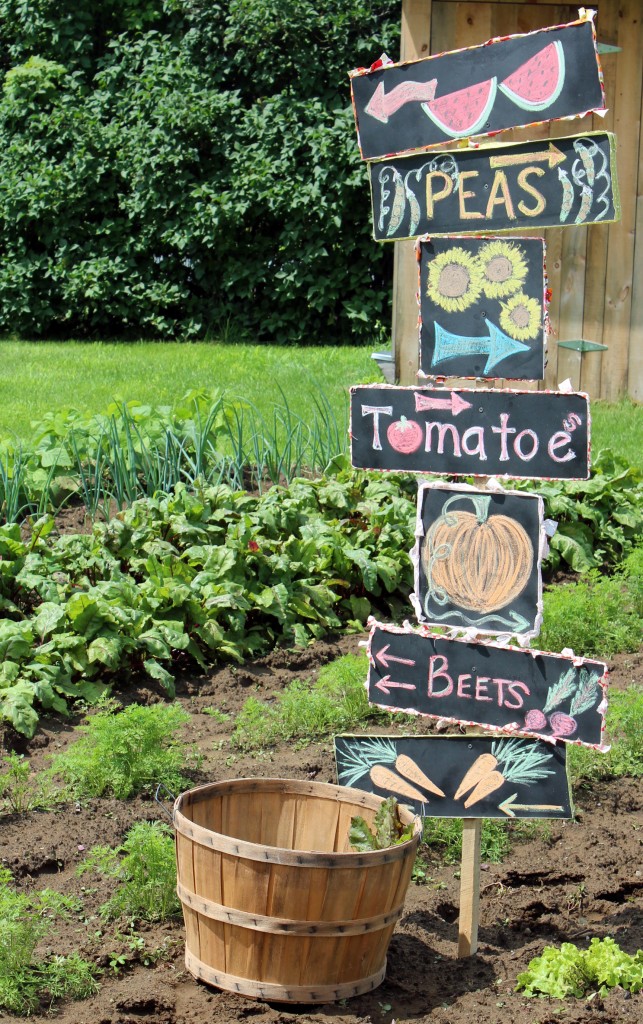
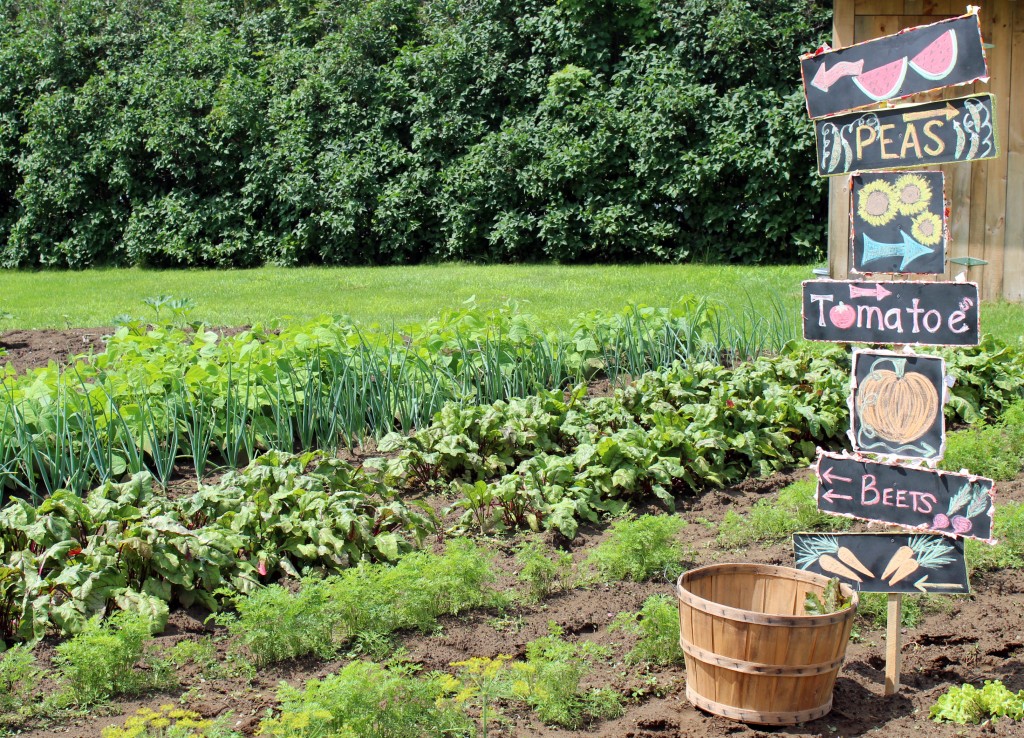
I have had the honor of working with Jo-Ann Fabric and Craft Stores as part of their Summer of Jo-Ann. I was given a choice of recreating one of the 72 featured projects from their Cape Discovery Spring Craft Catalog. The project that caught my eye first was Destination Imagination chalkboard signs. I immediately knew that these signs would make the cutest little addition to our garden. As you can see we decided on a “Pick Your Own Veggies” theme because I am one of those theme loving people and think it would be so much fun to throw a harvesting party or a “pick your own veggies” party for the kiddos.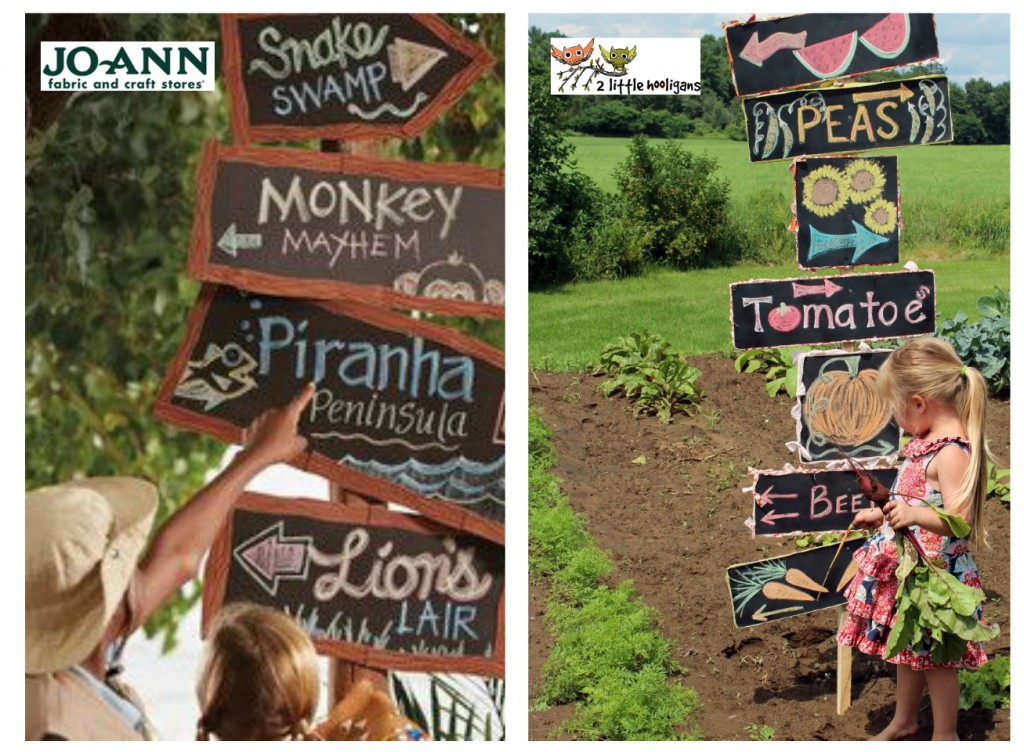
Above on the left is the inspirational picture I had to work from and on the right is what I came up with. We were encouraged to recreate their projects using our own style and ideas.
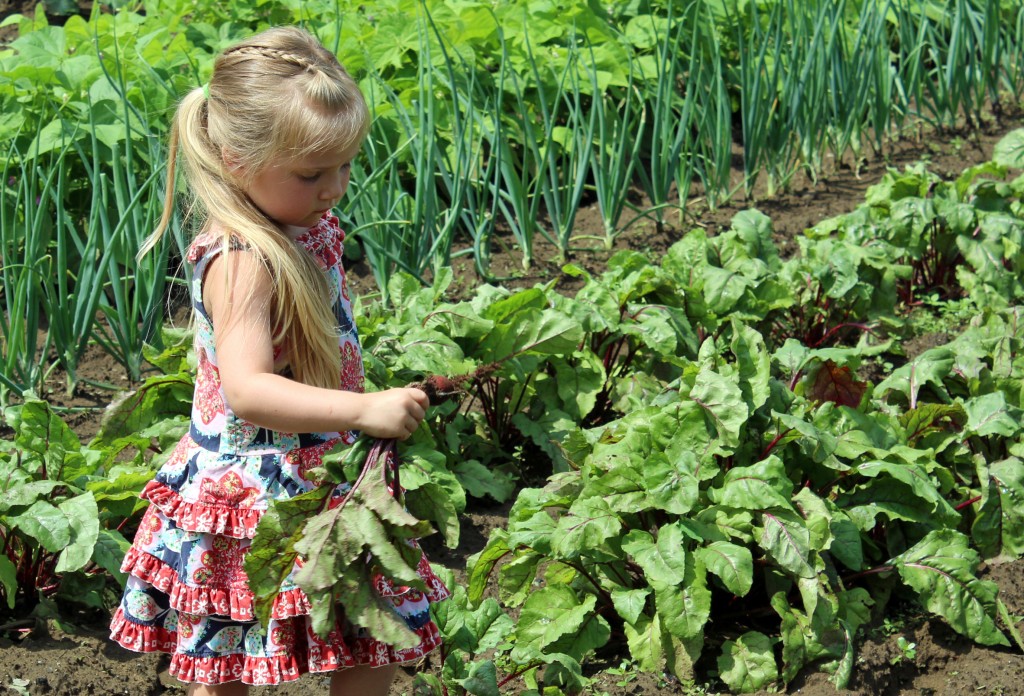
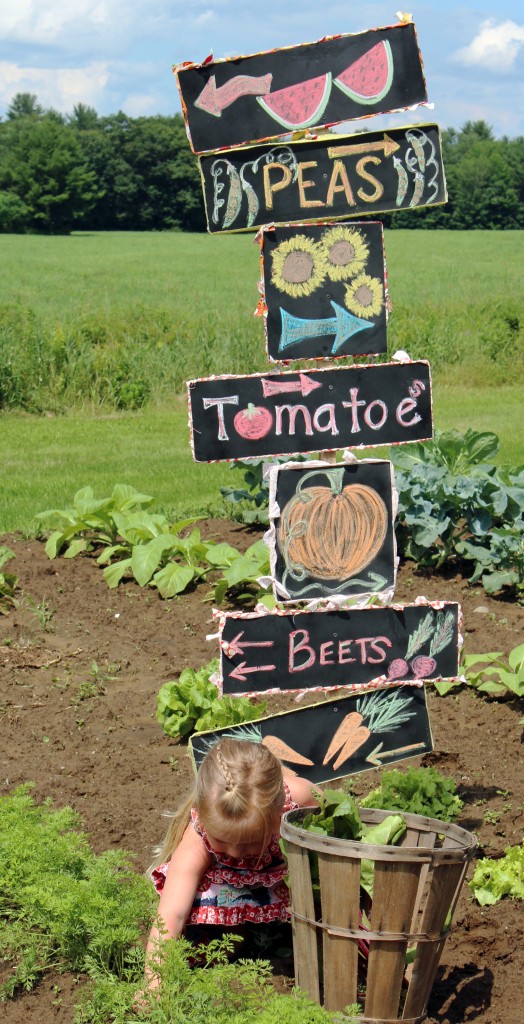 It is still a little early for a harvesting party but my little girl still had fun picking.
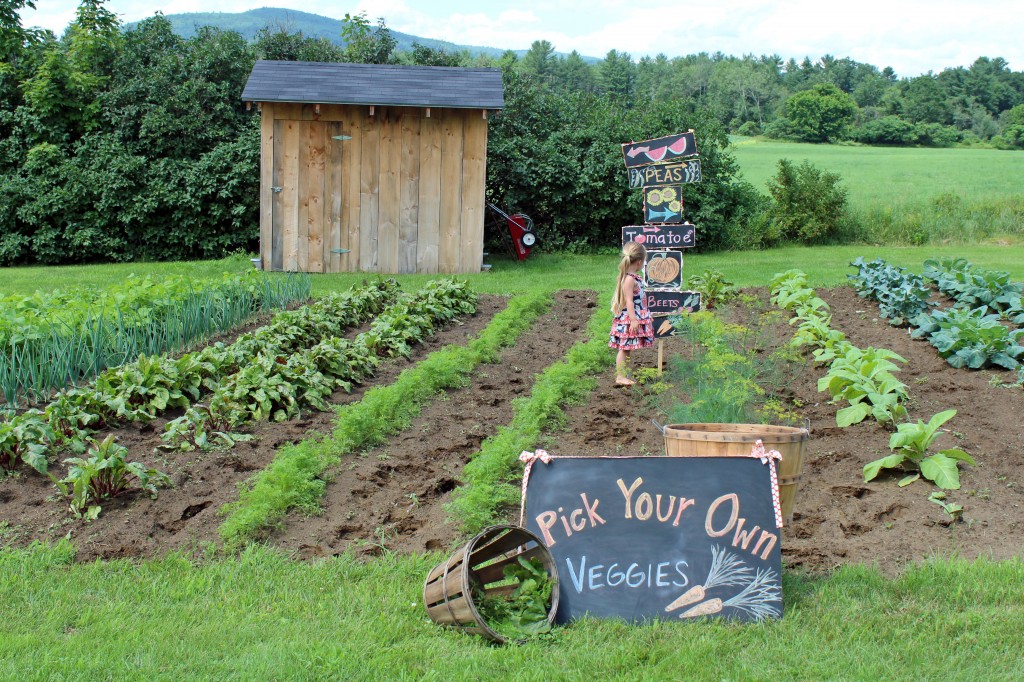
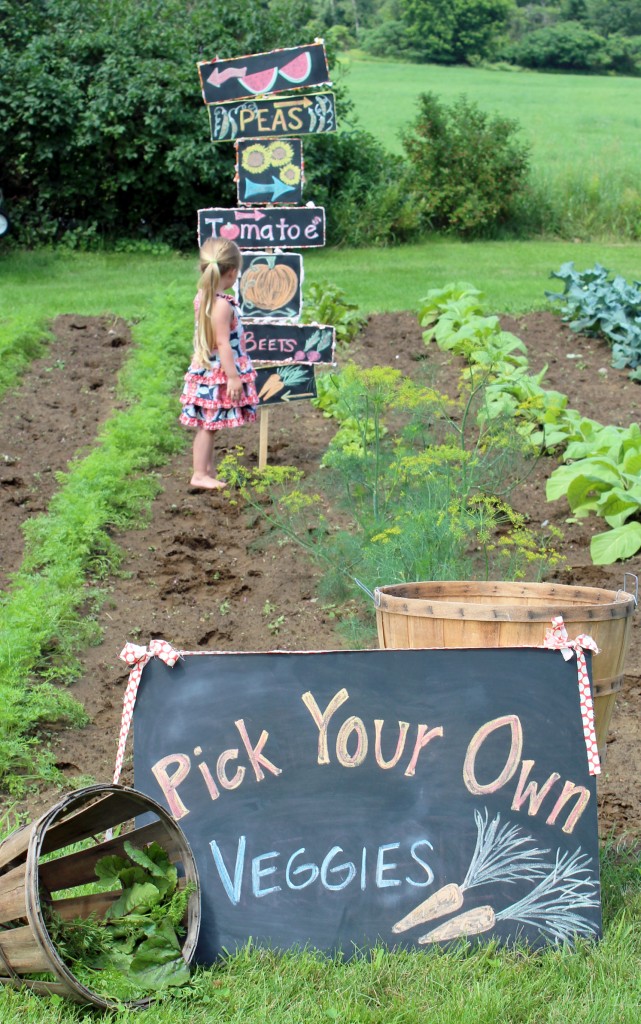
The Chalkboard signs are really easy to make and only require a few materials to complete.
What you will need:
*Crayola Washable sidewalk chalk
*Krylon Matte Spray Clear Finish
*Fabric scraps
*Pins
*6 foot wooden stick for screwing chalk board signs to (I purchased mine at the garden store for $1.99.)
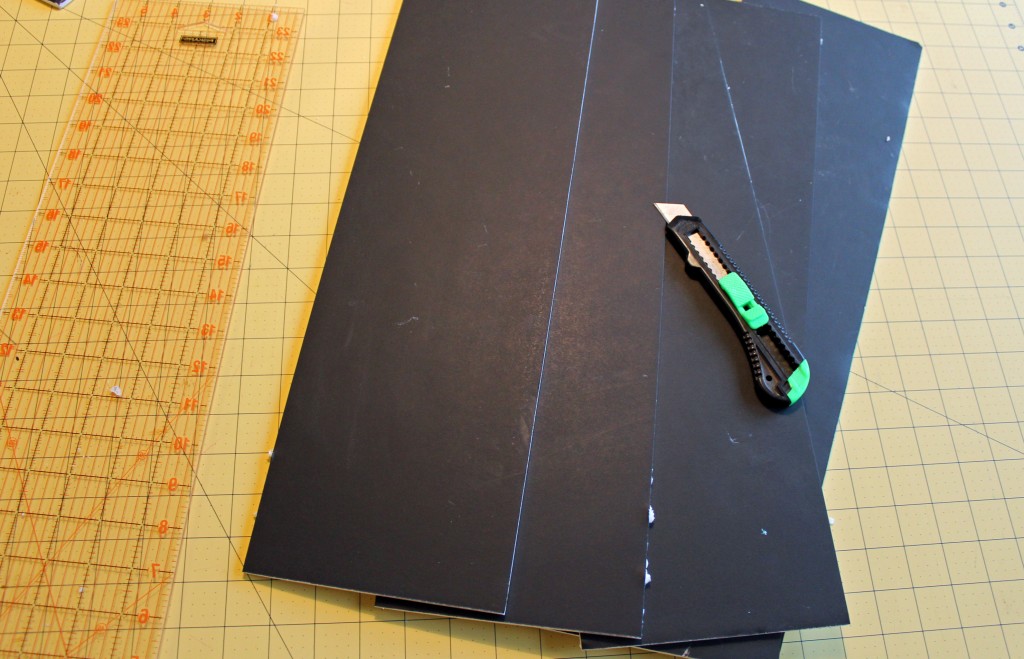 Start by cutting the Foamcore board into your desired shape and size. I used a razor blade and my cutting ruler.
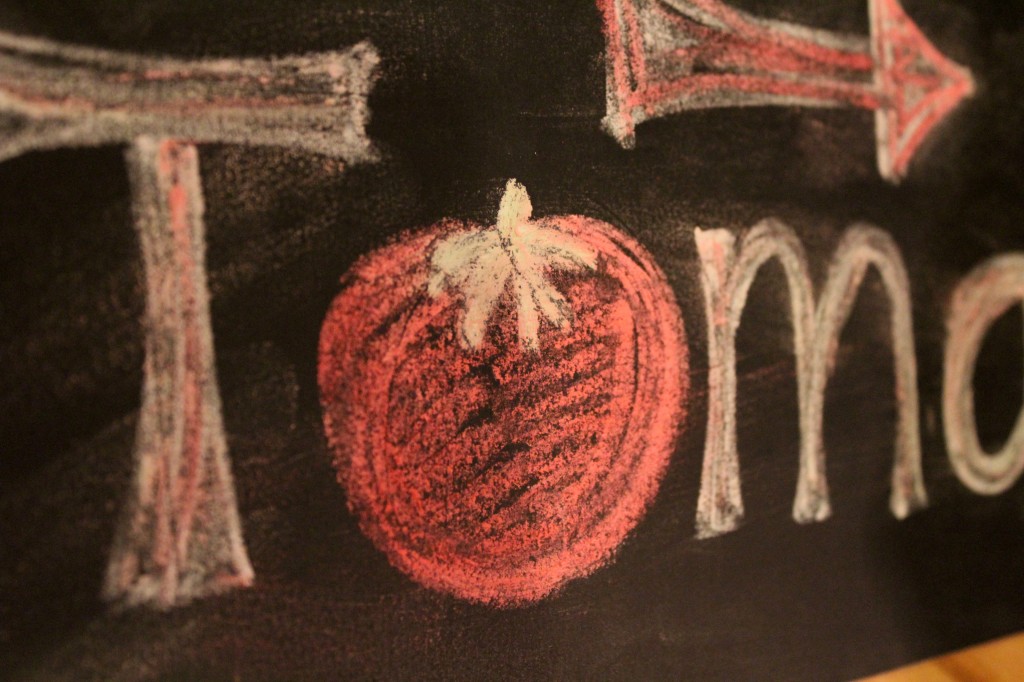
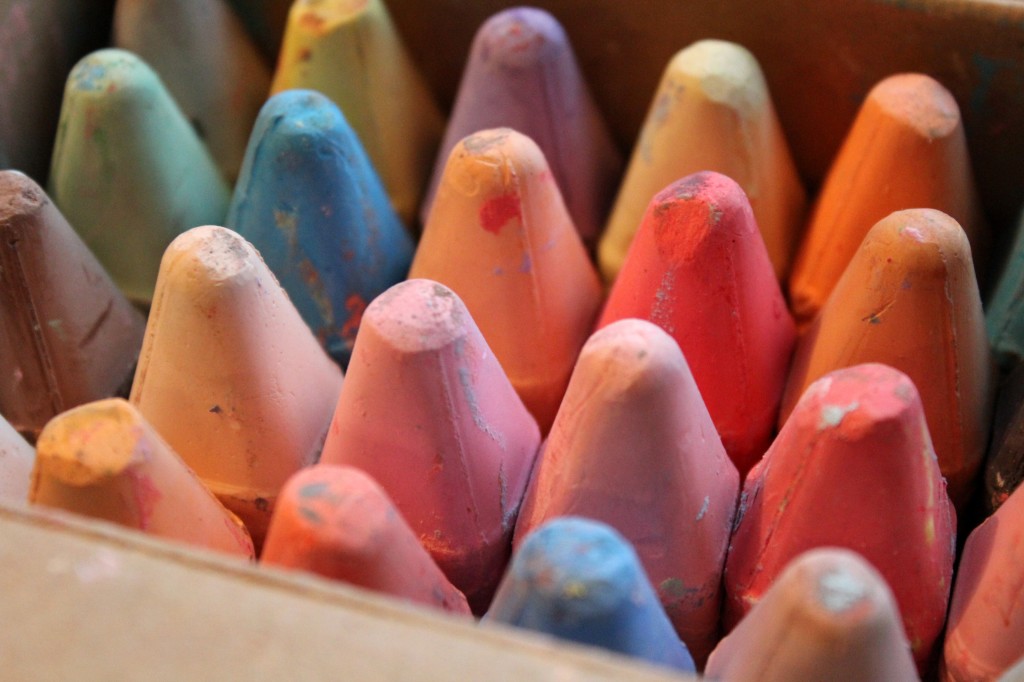 Then grab some chalk and start creating! This is the fun part. I did want to go for a smeared-worn look but realized after spraying them that a thicker chalk line was better. The smeared chalk disapeared once being sprayed. So the darker the chalk lines the better, they are still going to fade a little bit anyways.
 Now take all of your fabric scraps and start embellishing the edges of the foamcore board. Have fun with it. There are so many ways to hide the edges with your fabric pieces. Some of them I twisted, some of them I tied into bows. I simply used pins to secure the fabric pieces into the foamcore board along the edges. Don’t worry the pins stick in really well and won’t come out unless you are pulling really hard on them.
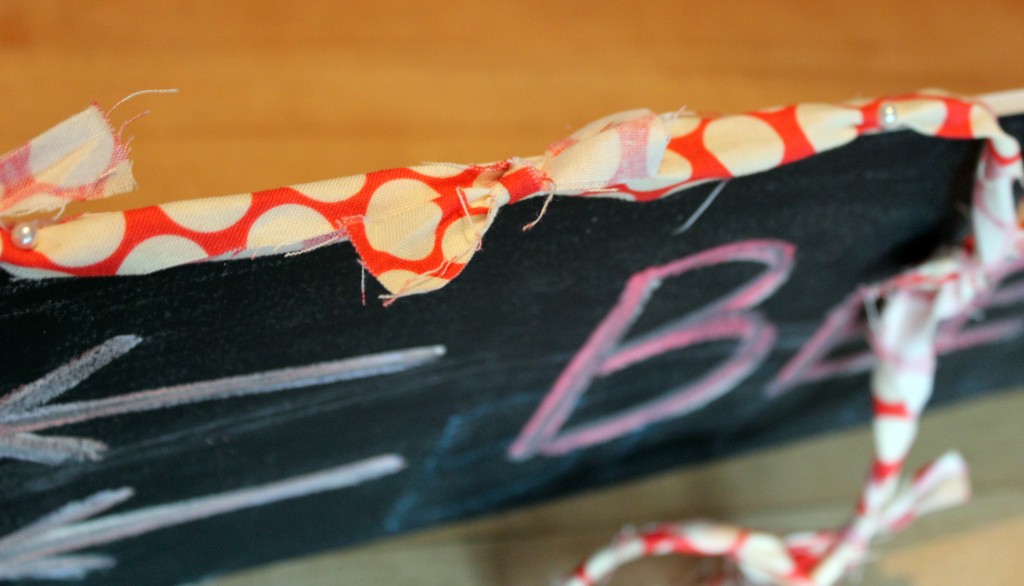 Once you get all of your signs made and embellished take them outside and lightly spray them with the Krylon spray. Spray them lightly with a sweeping back and forth motion. Do not stay in one spot too long or spray it too thick because it will cause your chalk to disappear. If need be, you can touch up your signs with more chalk and spray again.

Allow the signs to dry for a couple of hours before handling. The spray will help with the smearing, but you will still want to keep little hands away from them too much.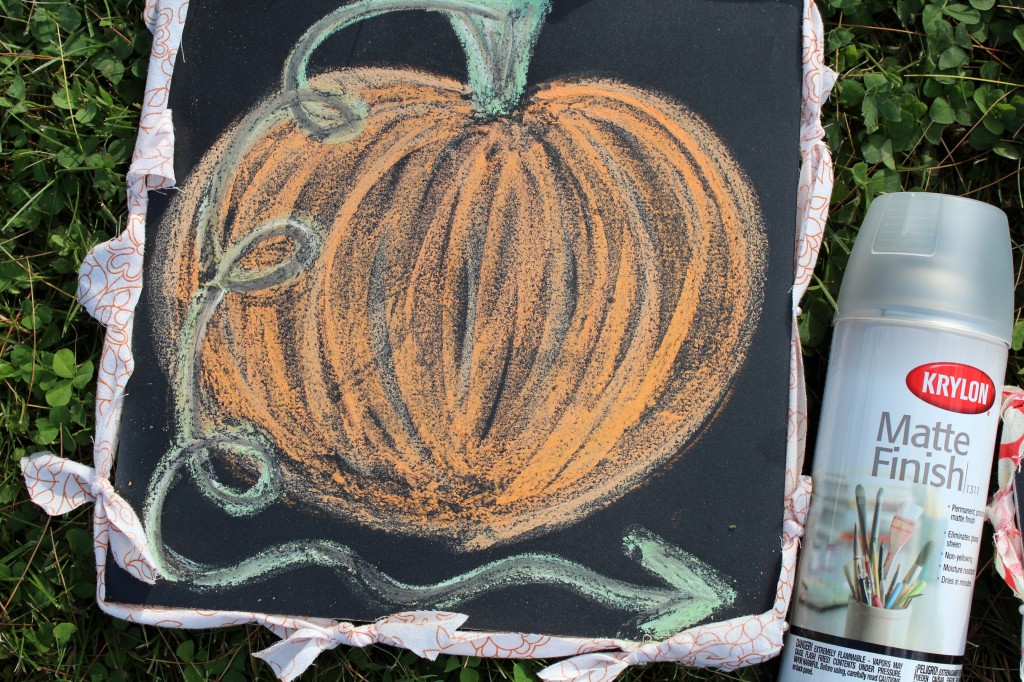 Now take your chalk signs and screw, hammer or glue them to the wooden stick.
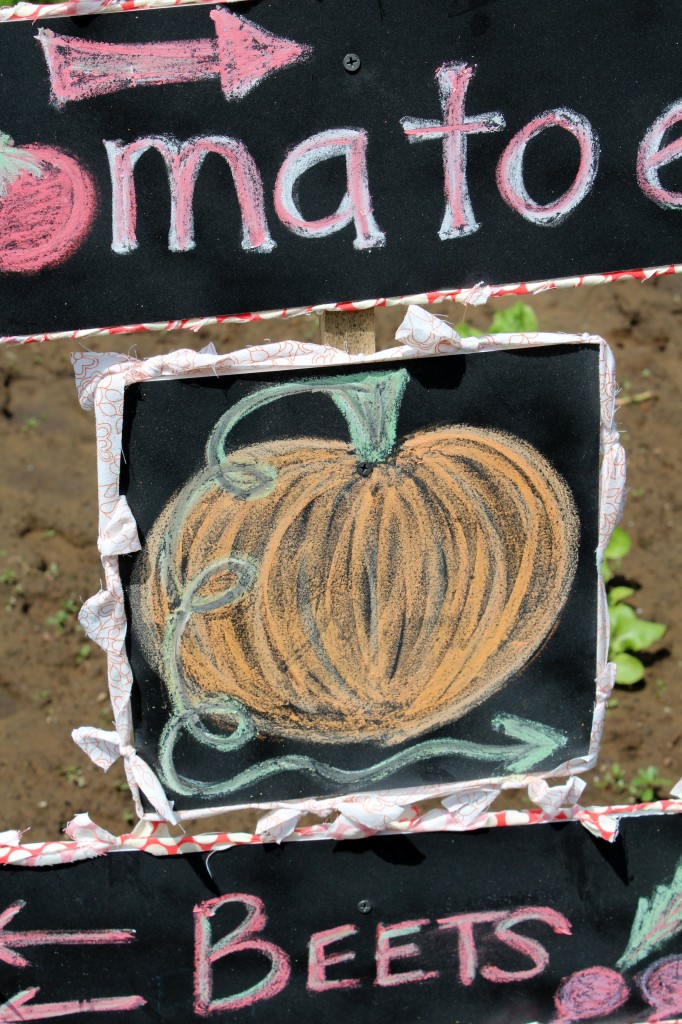
Now place them out in the garden and you are ready for a Garden Harvesting or “Pick Your Own” party!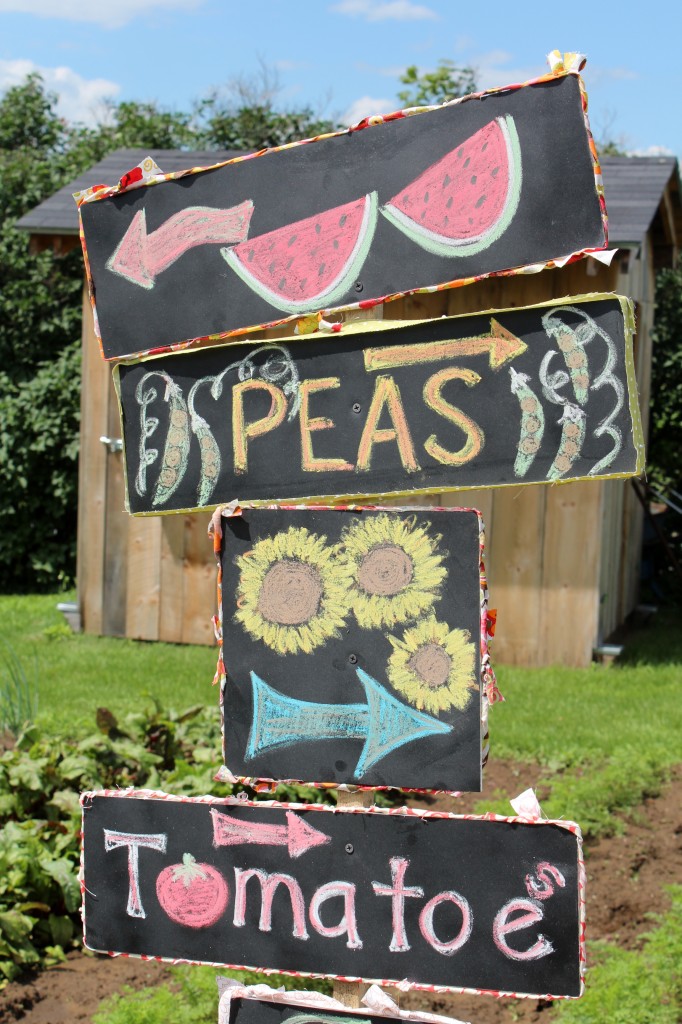 Just make sure you remove the signs if there are any threats of rain. Unfortunately they will get ruined.
 Now head on over Jo-Ann Fabric and Craft Stores and sign up for Jo-Ann Discover Connect. You will not only receive notice of their sales and coupons but you will also receive a 20% coupon today when you sign up! Thanks again to Jo-Ann Fabric and Craft Stores for asking me to be part of their Summer of Jo-Ann, it has been an honor!
Catching fireflies
My kiddos are obsessed with insects, bugs, spiders or anything else that crawls, flies or stings right now. So a few weeks ago we started collecting all those stinging little creatures and began making a specimen chart. It has been a lot of fun for the kiddos and even I am starting to enjoy it too. The more I learn about these little creatures the more I am appreciating them. Of course with it being summer their latest obsession has been with fireflies. So after a quick google search I found a bunch of fun and educational activities for the kiddos to do. I printed off the following from teachwithme.com. This firefly info sheet is amazing and we all learned so much from it. You must read it…seriously! The firefly fan book was also a fun coloring and tracing activity.
We spent the day learning about fireflies while we waited impatiently for dark to arrive.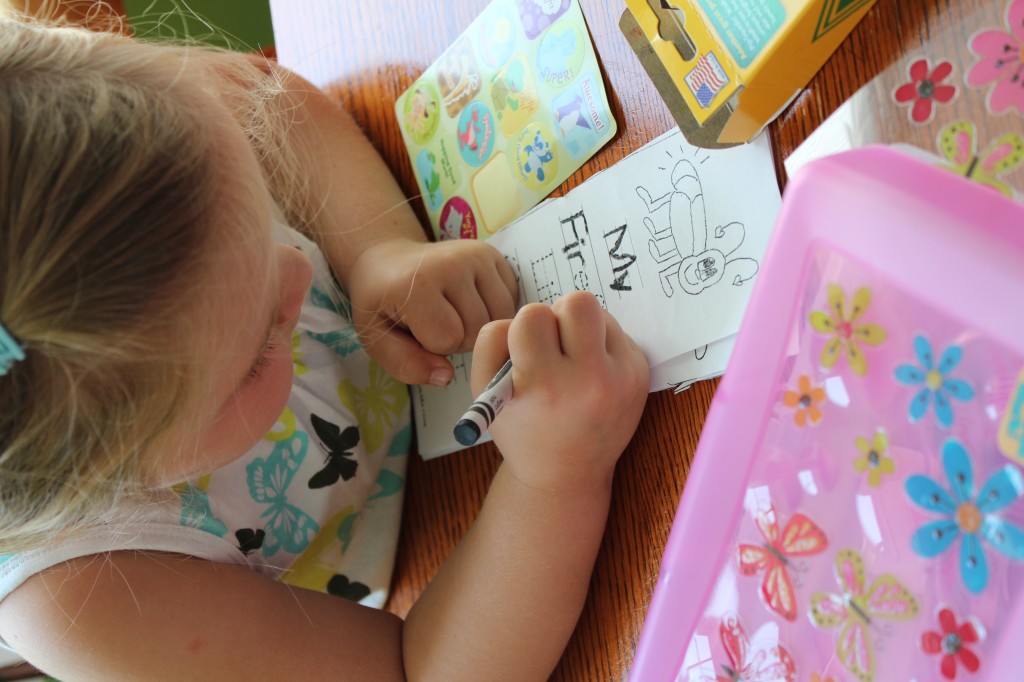 Once it was dark, we grabbed our nets and headed outside. It didn’t take long before we had a jar full and I am pretty sure that we could have spent all night out there if it wasn’t for the thunderstorm that was rolling in. Although the kiddos did love that we were catching lightning bugs when it was lightning outside. They still think that the lightning bugs caused the lightning storm to start.
 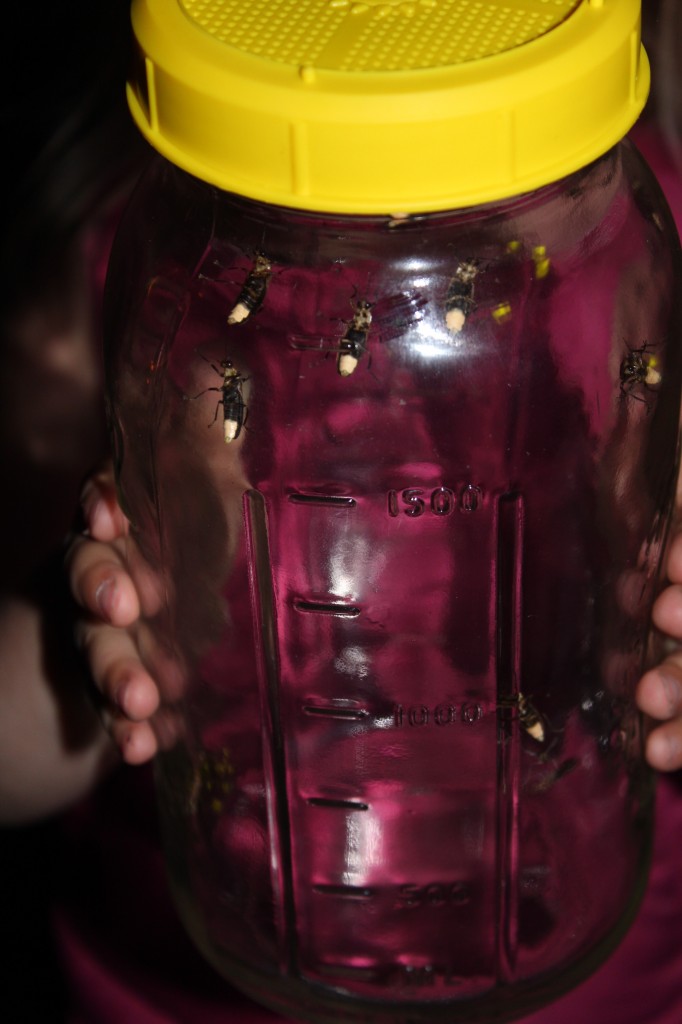 My sweet little girl wanted to sleep with the jar beside her bed that night. Tears and all she convinced me, but only if she agree to let them go early in the morning.
 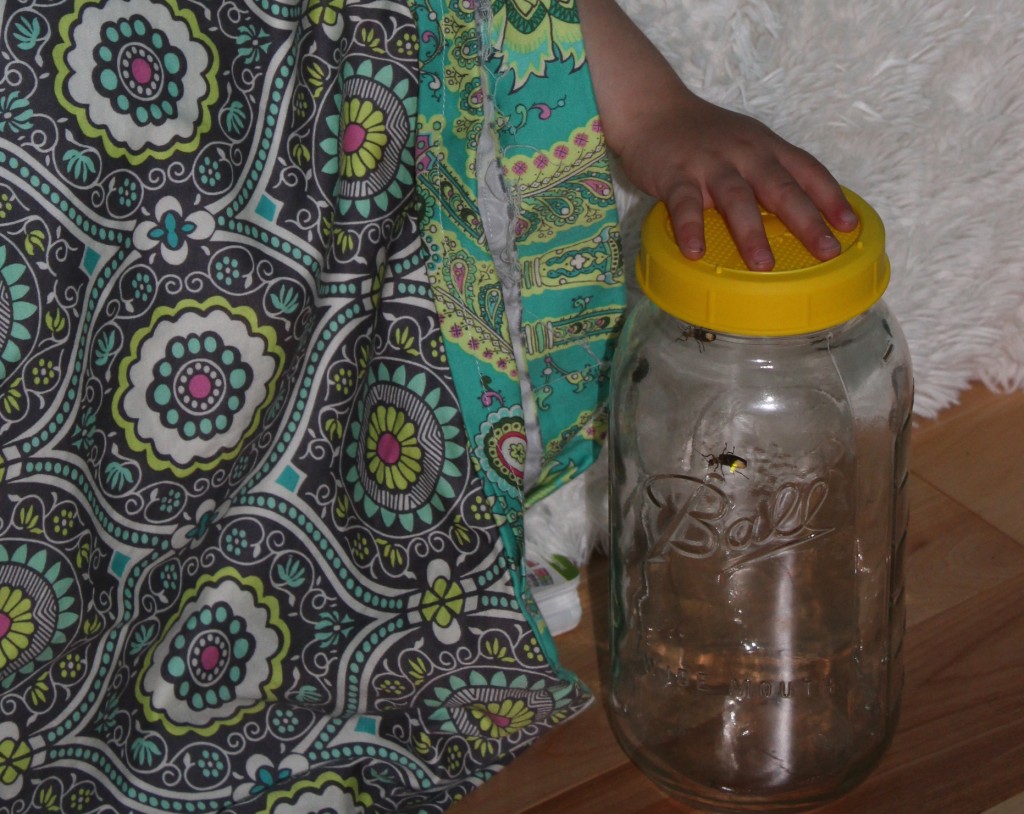 She stuck to her promise and the next morning we all watched as they were set free…tears and all.
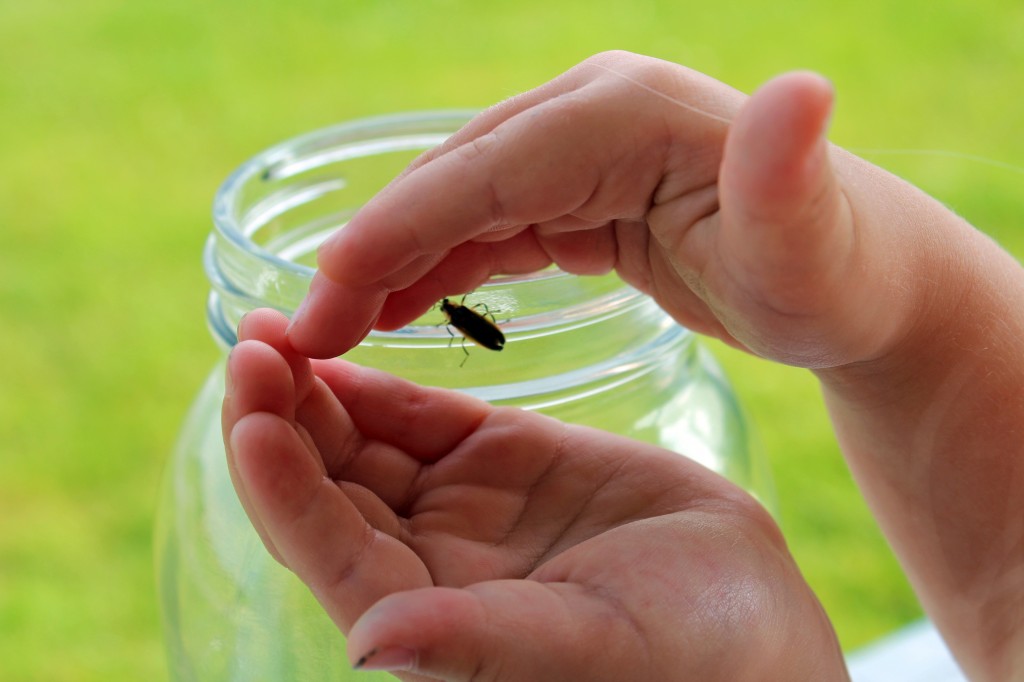 It was just as fun to watch the kiddos let them go as it was to watch them catch them.
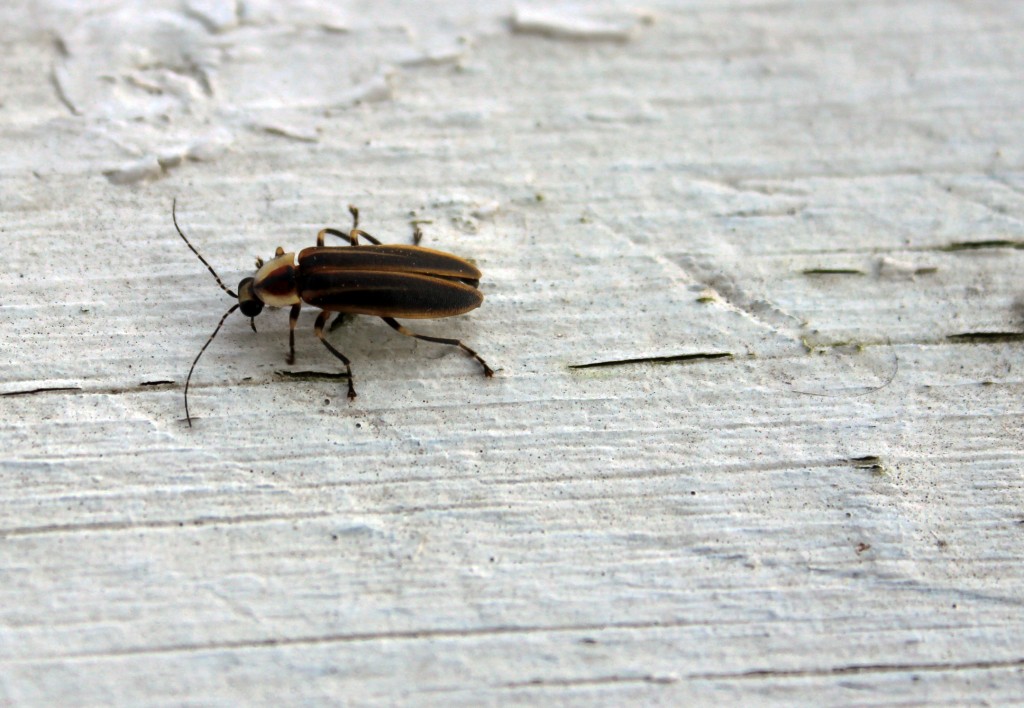 They really are amazing little beetles.
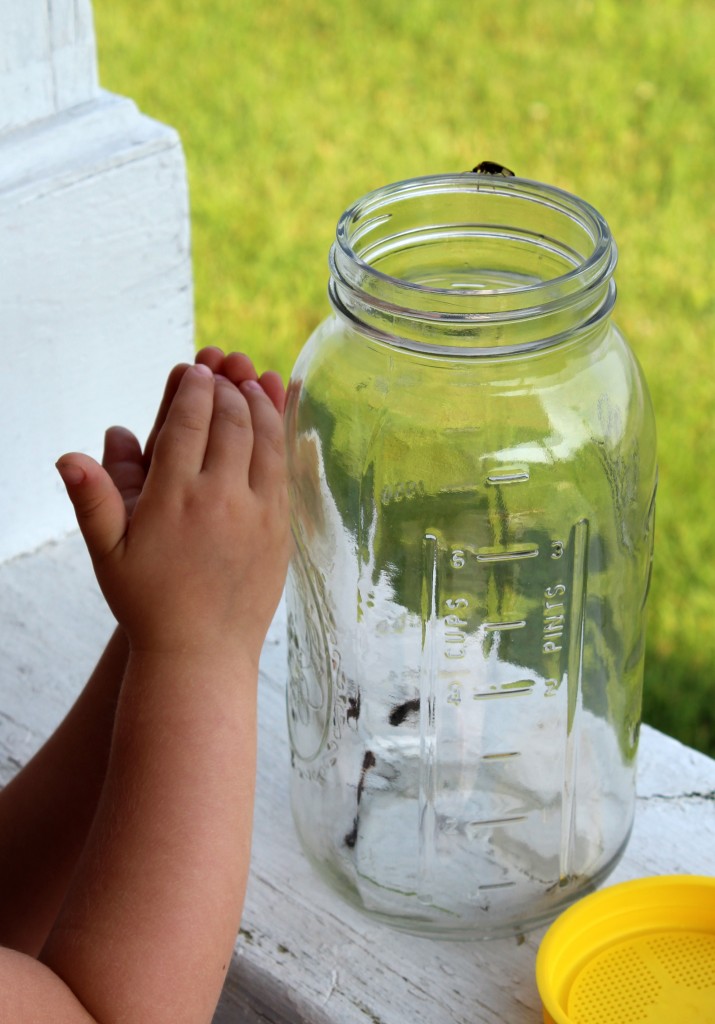 Have you caught fireflies this summer yet? And please tell me we are not the only ones collecting bugs this summer!


