We started harvesting veggies from the garden the other day. It still amazes me how fast those little seeds turn into veggies and fruit!
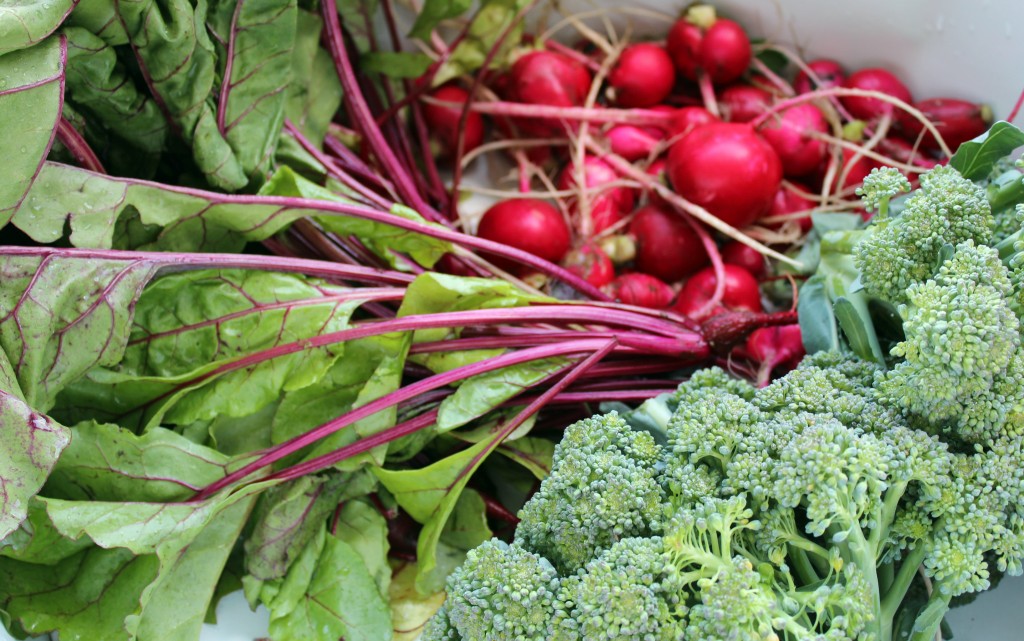 The kiddos are starting to be good little helpers. They harvested the radishes all by themselves. One would pick, one would cut and one would put the radishes in the bucket.
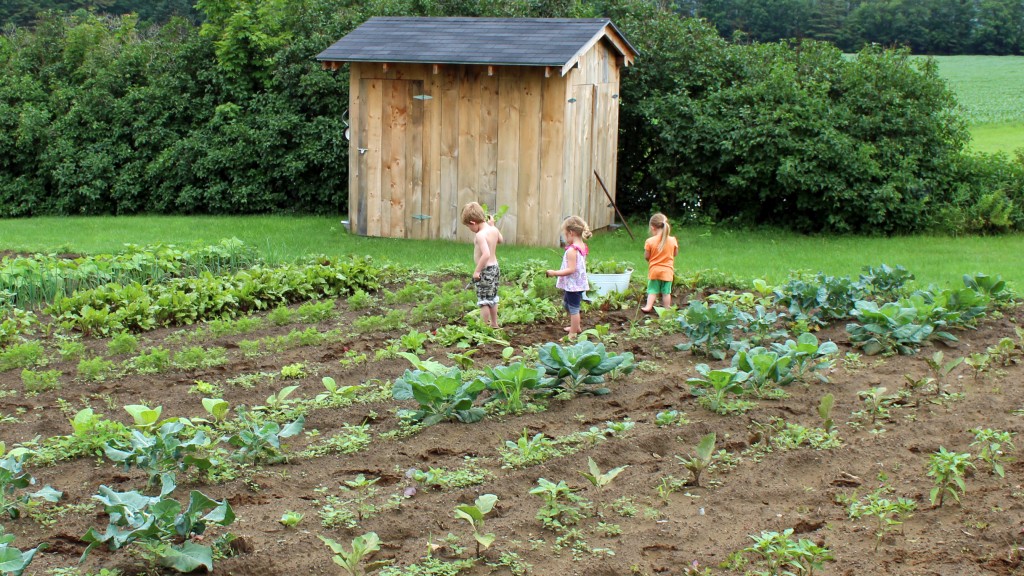
 We have had some hot rainy weeks this year. It will help the veggies grow…along with the weeds! I try to stay ahead of the weeds, but as you can see this year it has been really hard. So how are your gardens growing?
Organizing Sewing Needles
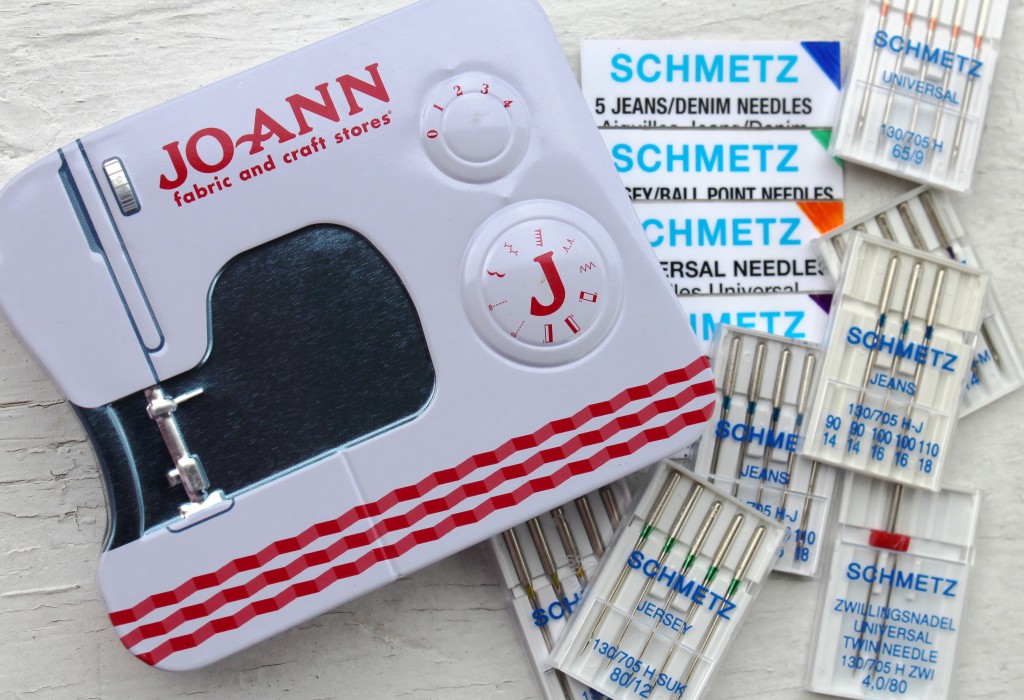 The other day I found myself sewing on knit fabric with a jean/denim needle. I was struggling with the skirt until I realized I had the wrong needle in my machine. I sew on all types of fabrics and switch from one fabric to another on a daily basis. One day I might be working with a stretchy knit fabric and the next I may be hemming some jeans, therefore I switch my needles often. The problem I run into is that I never remember which type of needle is in the machine when I go to use it the next time. I have noticed that some needles are now marked with color…but some are still not.
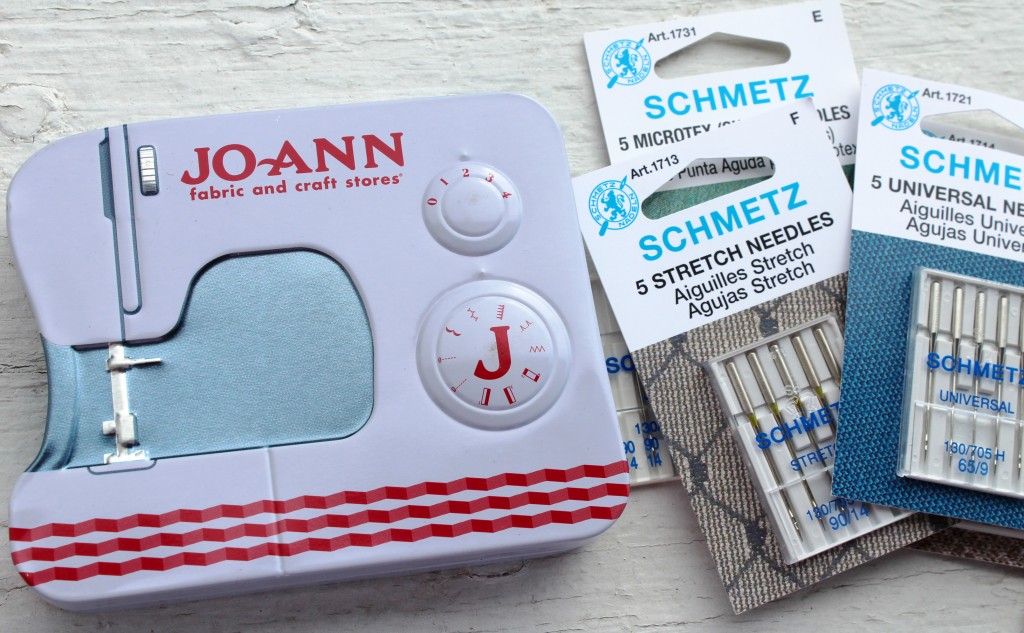 So the other day when I shopping at Jo-Ann Fabric and Craft Stores I decided to get my needles organized. I was in need of some new needles anyways, so it was perfect timing. I bought a package of each type of needle that I use on a regular basis and I also bought some stretch needles and microtex needles…just because. Once I got home I took some colored sharpie markers and marked the needles that weren’t already marked. Now each needle has its own color.
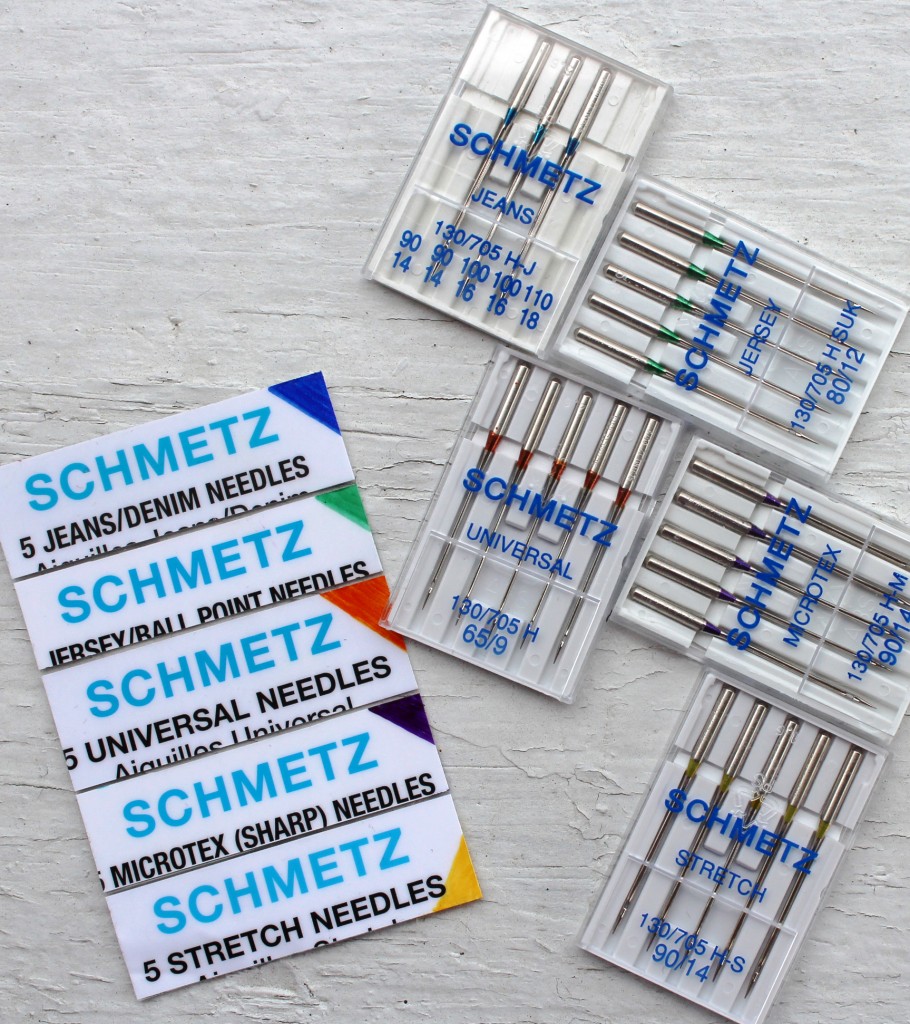 Then I cut off part of the card stock packaging that labeled each needle as well as gave a description of is uses on the backside. Then I just colored a corner of the card stock the same color that I colored each needle.
 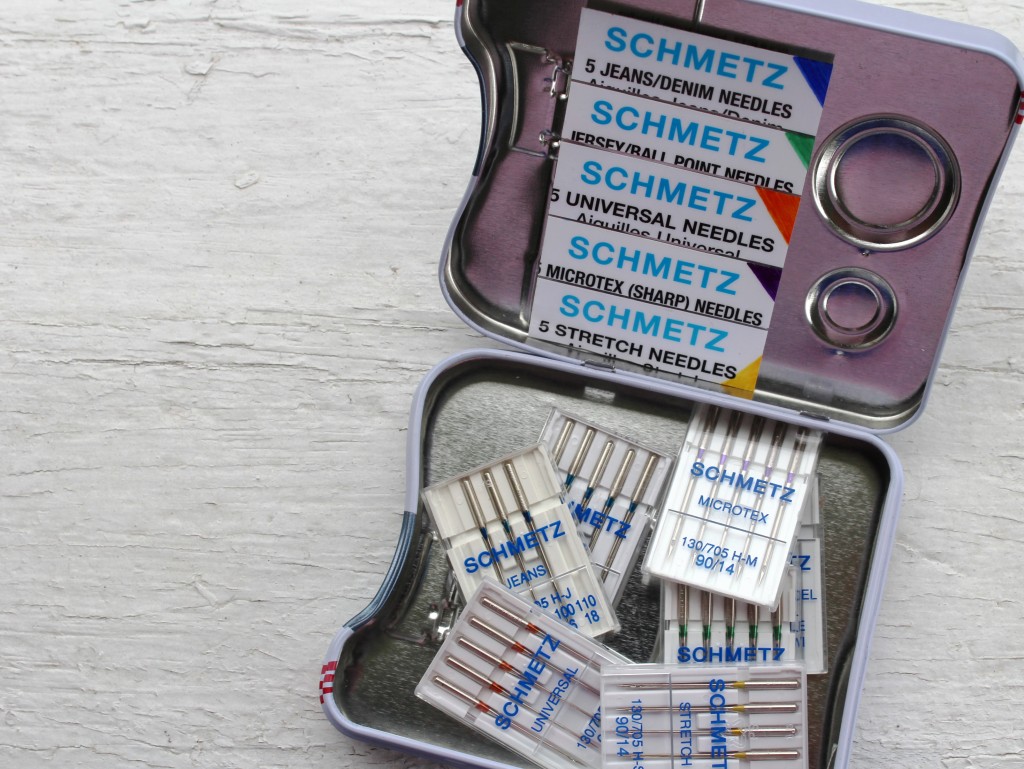 Then to store all of the needles I purchased one of these cute little metal tin sewing machines. They are used to hold gift cards but I thought it would be perfect for holding all of my needles.
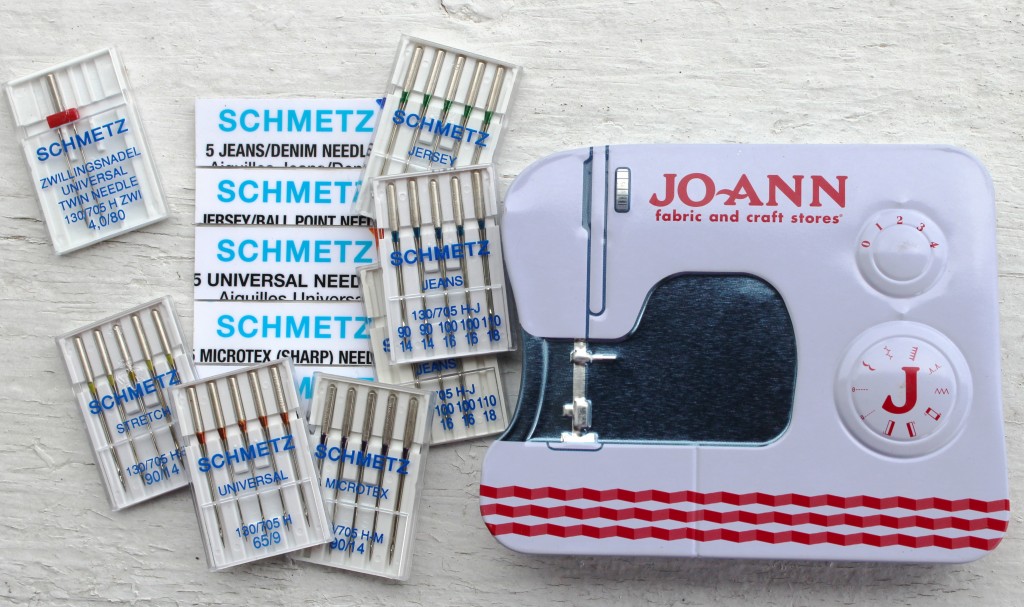 Now I just combined my love for organizing and sewing. And now I will always know which type of needle is in my machine. No more sewing a knit skirt with a jeans needle!
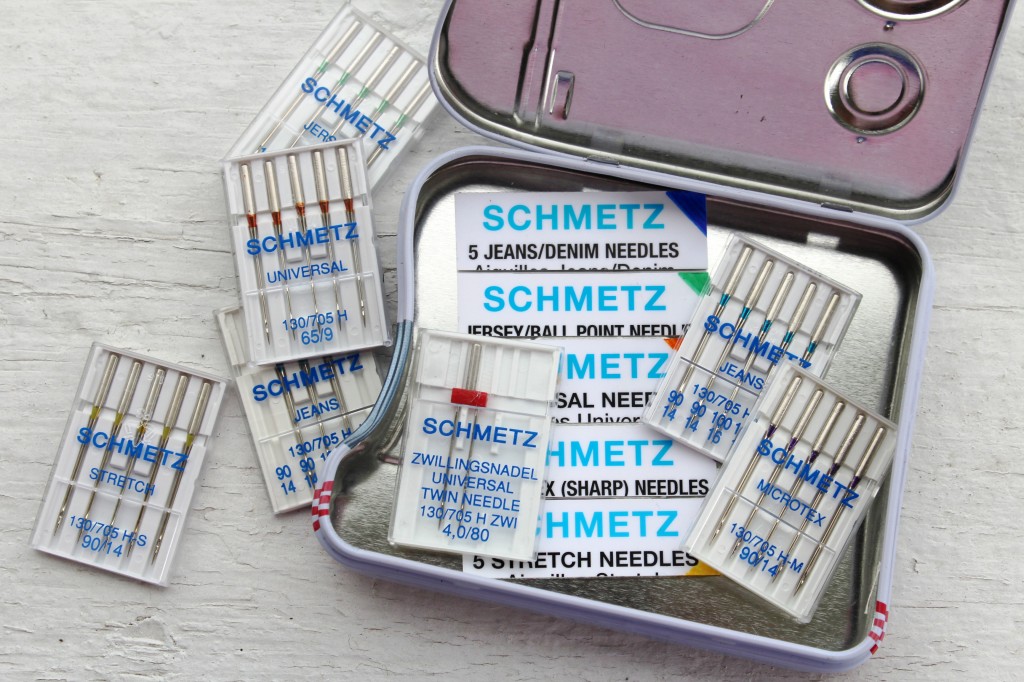 How do you keep your needles organized? Any other tips for keeping your sewing goodies organized?
Fat Quarter Friday {Pattern Weights Tutorial}
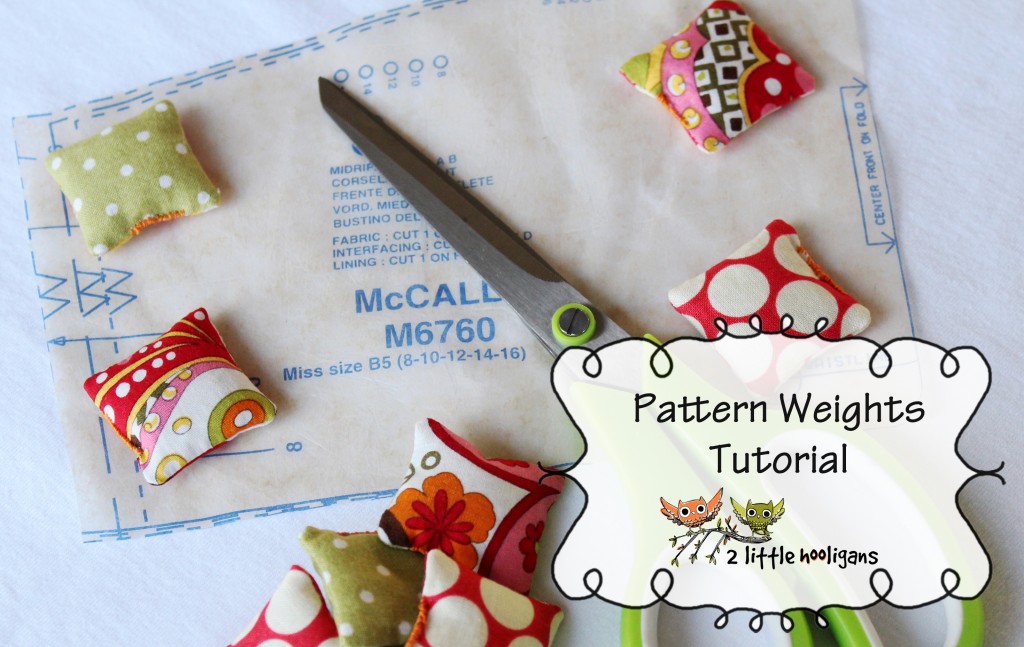
It’s Friday which means it is fat quarter friday over here!  A few months ago I saw some pattern weights at Jo-Ann Fabric & Craft Stores and thought that they were such a great idea. So I added them to my Sewing To Do List. Well after cutting out fabric for some dresses last week I decided it was time to make those pattern weights. They really are super easy to make…and super cute to look at. I’m really hoping that they will make cutting out patterns and fabric more fun. For some reason that is always my least favorite part.
Materials Needed:
* Small fabric scraps cut into 2″ square pieces
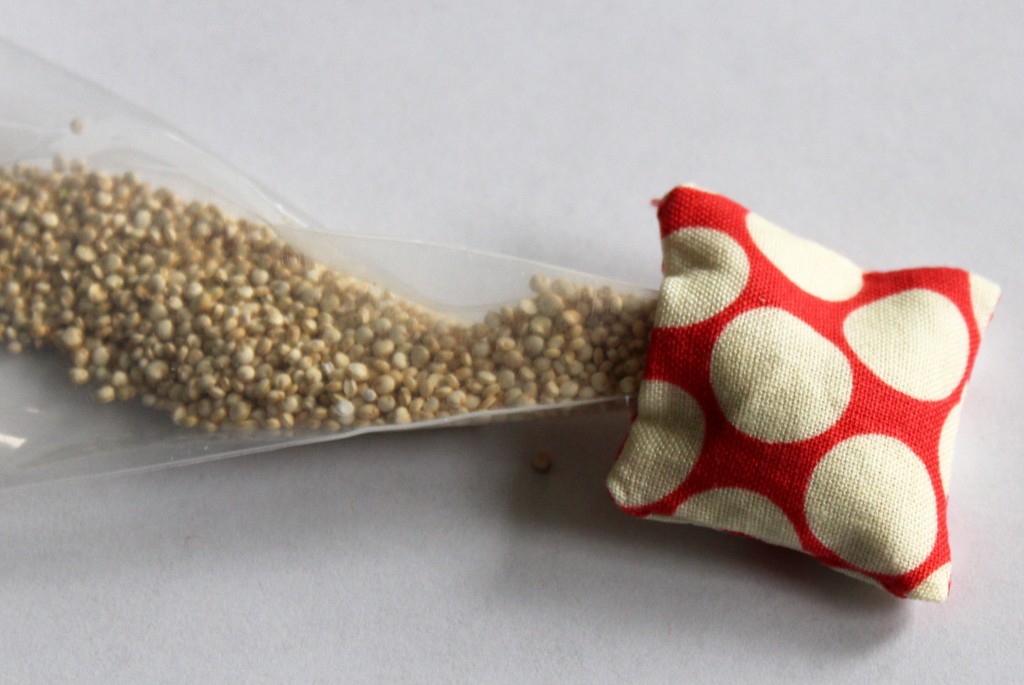
*Quinoa, rice, bolts or anything else that is small and will fit into the hole whiling give it some weight. The hubby suggested using bee-bee’s or fishing line weights and I thought those would be a great option too. **Just keep in mind that these are small and could be a choke hazard for little ones.**
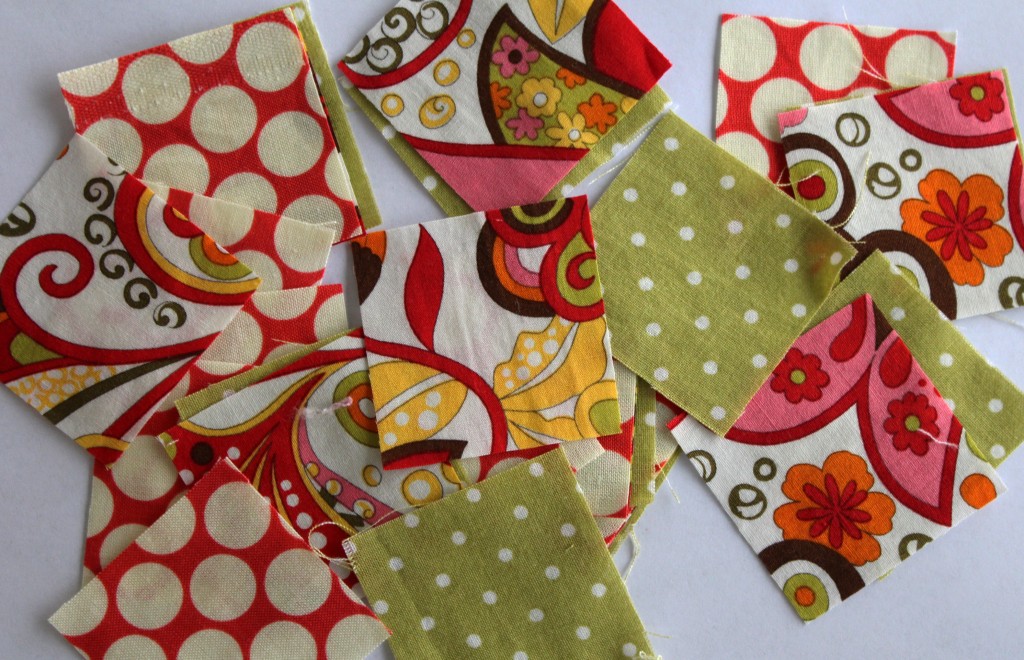
Take two squares and place them right sides together. Stitch all around while leaving a 1/2″ hole to turn right side out. Trim and square off corners. Turn right side out and iron flat. Make sure you push out the corners. Use a small spice funnel, piping bag or a plastic baggie to fill up the fabric pieces or you could just use your hands depending on what you fill it with.
 Stitch the opening closed.
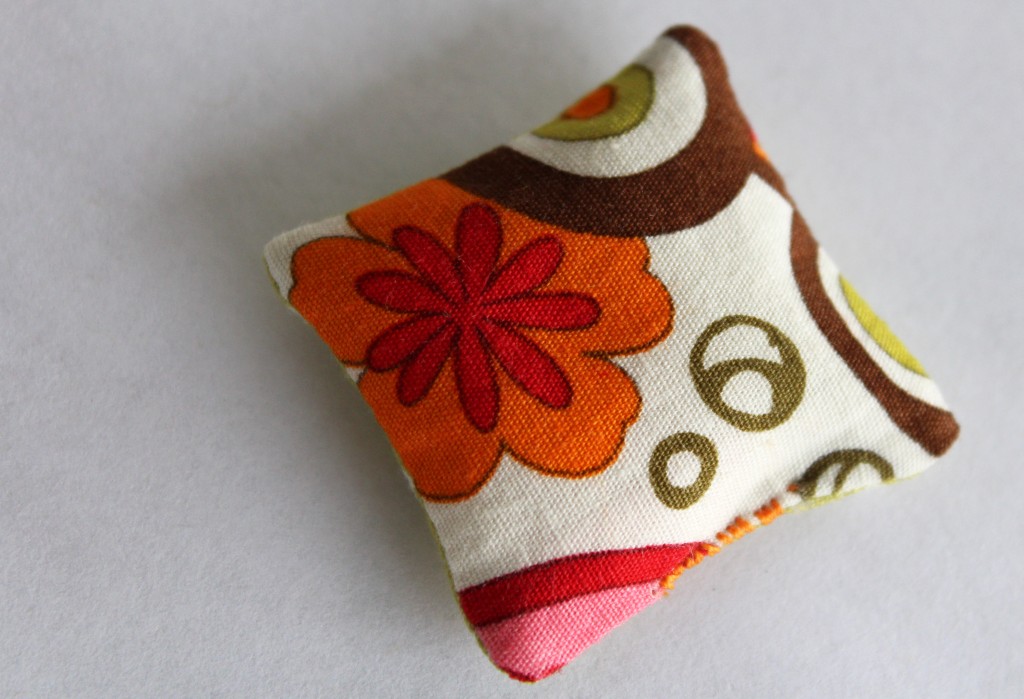
And that is it! Super easy right?!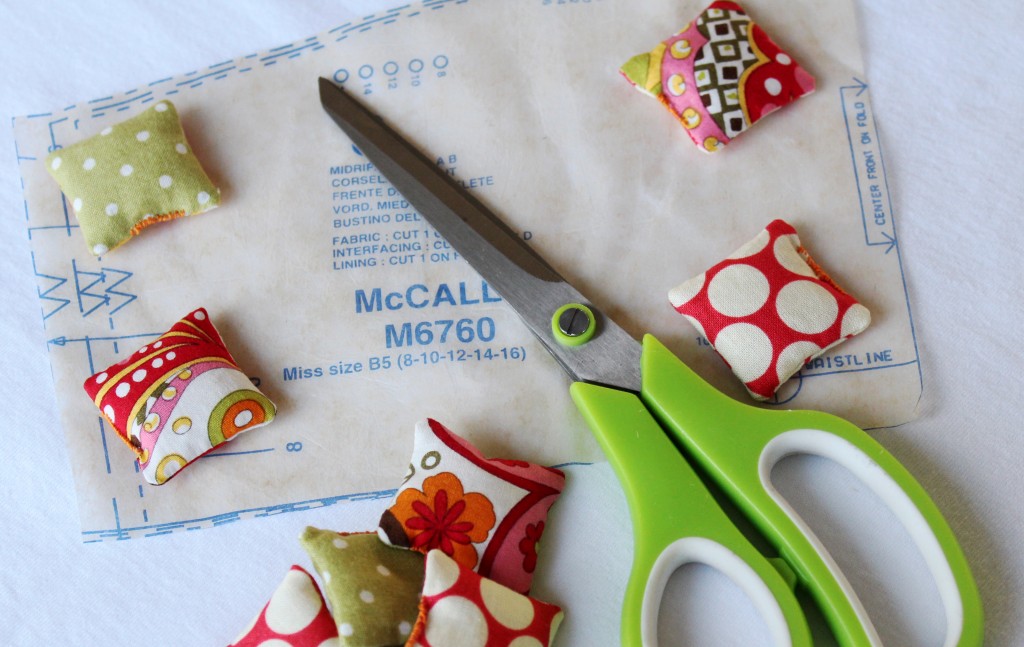 Now make a bunch of them.
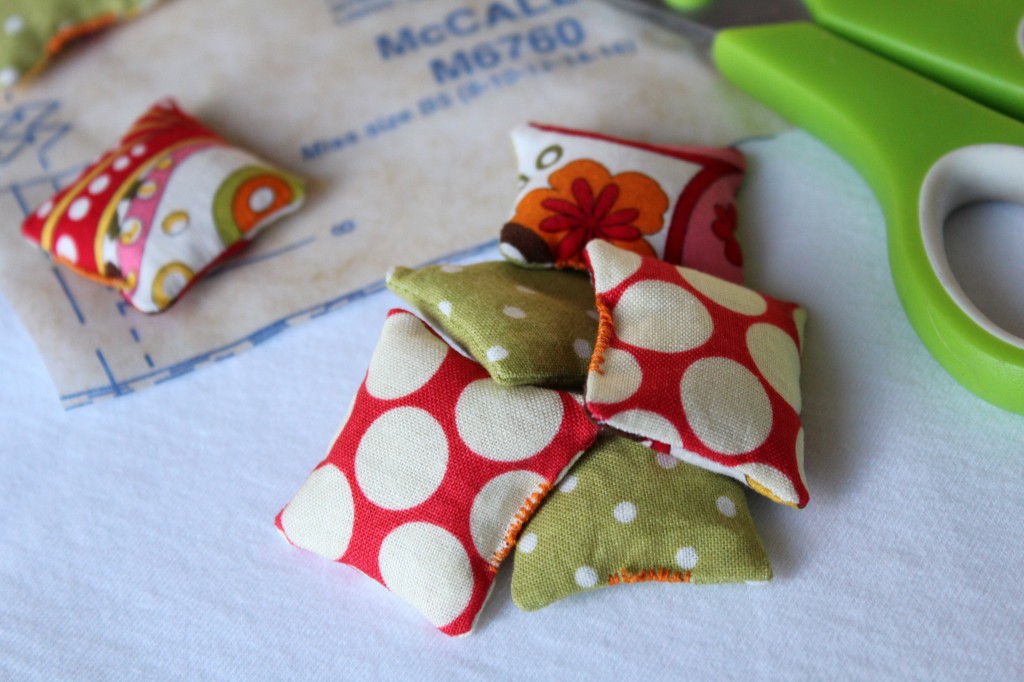
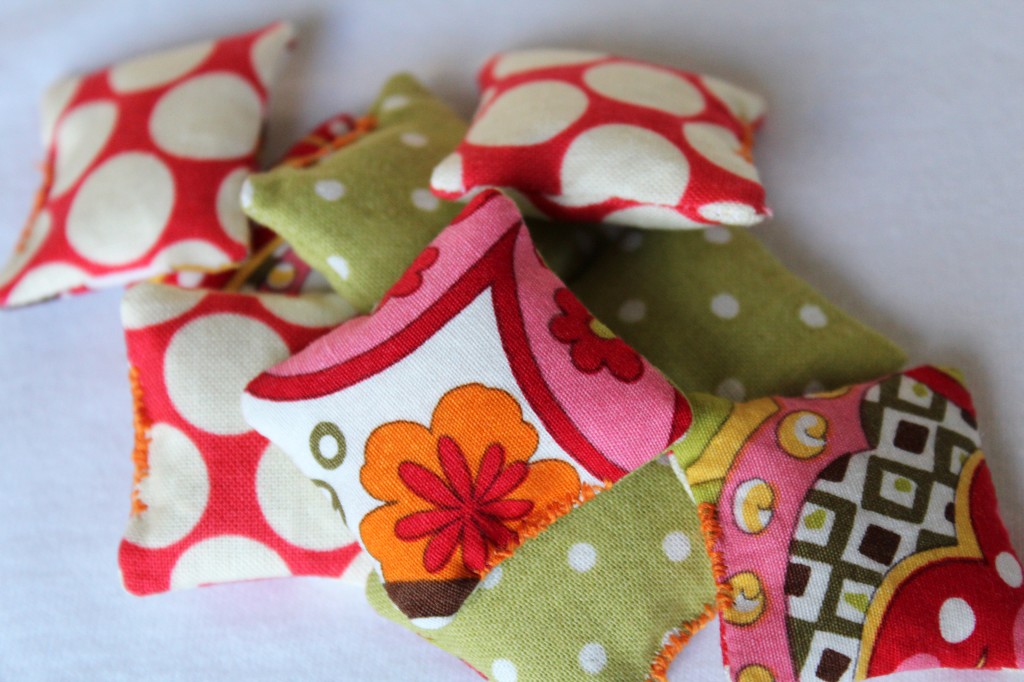 They are too cute not too! Even the kiddos can’t keep their hands off them.
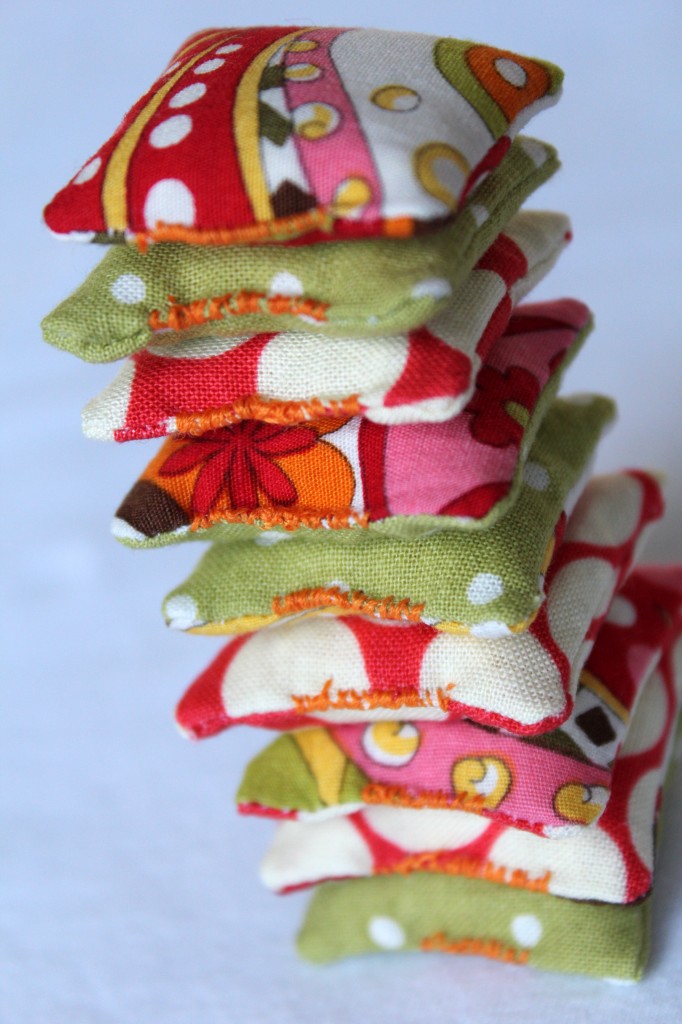 Happy fat quarter friday! What are you making today?
My homegrown popcorn on Australian television
A few years ago I wrote this post about homegrown popcorn. I had actually forgotten all about the post until the other day when I was contacted by a reporter from Australia. She was writing a story about where popcorn comes from for a children’s news program and was asking permission to borrow a few of my pictures. Of course I said “yes” and couldn’t wait to see it.
 The show aired yesterday on Australia TV and it is such a great video about where popcorn comes from. You can see it here. My pictures are only shown for a few seconds in the beginning part of the show. They say Courtesy of Christina Ray in the upper left. Yes, they misspelled my last name, but I don’t care. It was still exciting to see. It is crazy to think that some pictures of popcorn grown in New Hampshire is now being shown on TV over in Australia. The internet is a crazy thing isn’t it?! Make sure you watch it with your kiddo’s. It is a great little clip about popcorn, even I learned a few new things about it.
Boston Children’s Museum
Last week we took a day trip into Boston with my Aunt.  I forgot how beautiful and big the city is.
  Even the kiddos were amazed at the mass of it.

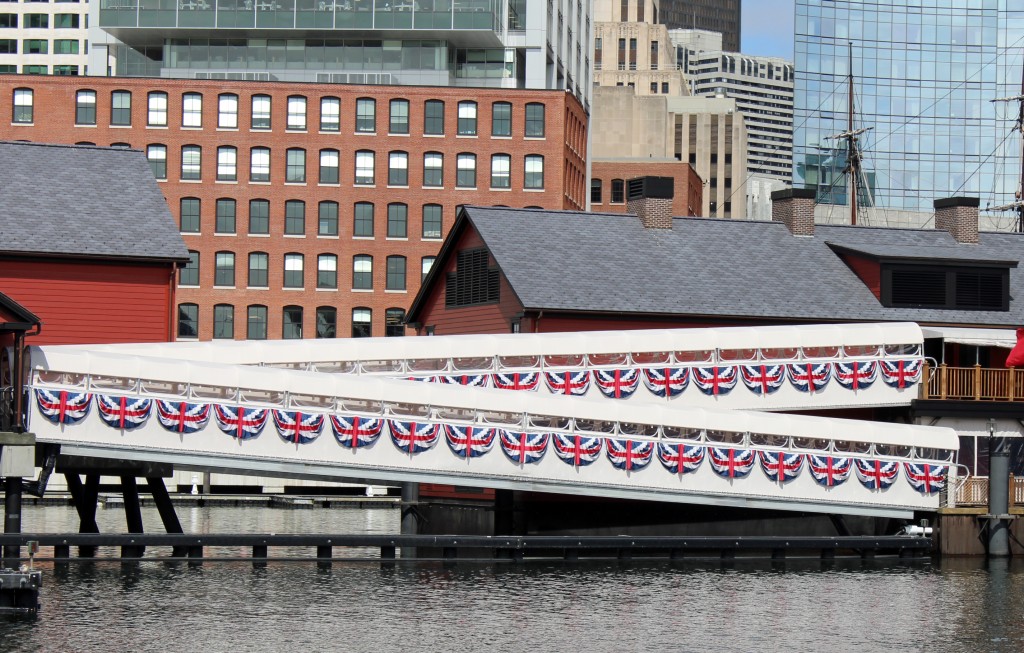 We spent most of the day in The Boston Children’s Museum, but could have been just as easily entertained sitting outside.
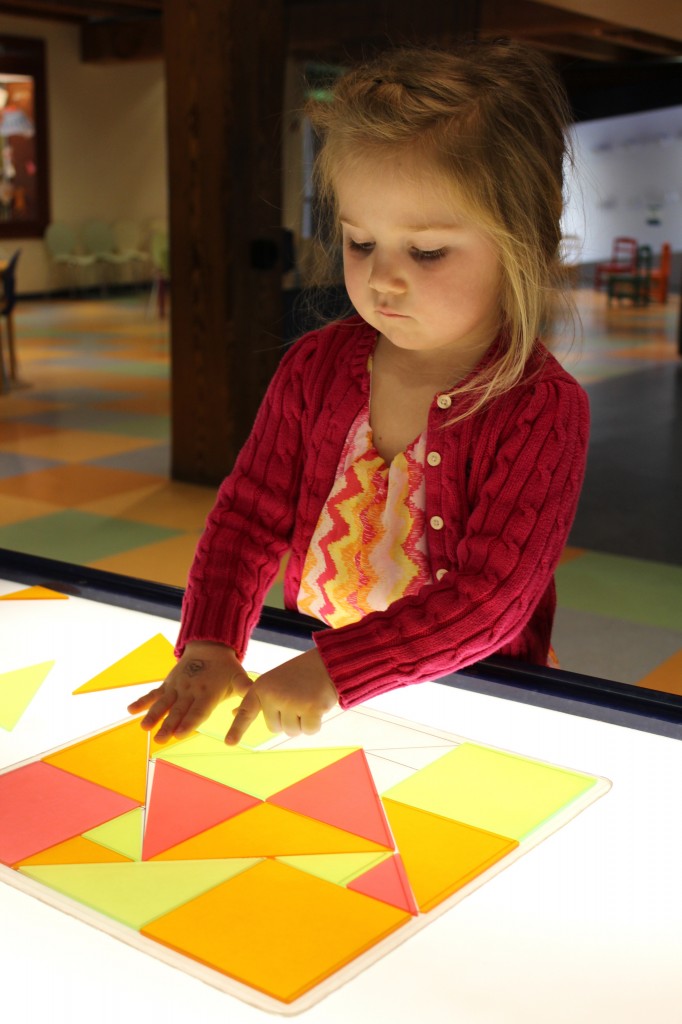 It is such a great museum.
 We were all thankful to get a little taste of the city.
 Thank for a fabulous day Aunt Judi!
2013 Garden Plans
Every year I intend on keeping track of what we plant in our gardens along with its variety, but before I know it I am too busy weeding the garden to care about any of that. Then once we start harvesting all of our veggies I start wishing that I really knew what we had planted. As some of you may know, certain varieties of veggies work better when it comes time to preserve them and unfortunately we never know until it to too late. Well this year since I had a garden apron I actually saved all of my seed packets and now I can finally keep track of what we planted. Of course it will take us a few years before we know which variety works best for us, but eventually we will figure it out.
We have two big gardens. In our Main garden we plant most of our veggies and in the Pumpkin garden we plant all of our peas, pumpkins and squash.
2 Rows: Sunflowers (Velvet Queen Girasol, Giant Gray Striped Girasol, Dwarf Sungold Teddy Bear, Mammoth)
1 Row: Popcorn (Robust) & Ornamental Corn (Earth Tones Dent)
10 Rows: Corn (Robust, Silver Queen: 92 days, Sweet Corn, Incredible: 83 days, Sweet Corn, Butter and Sugar: 75 days, Sweet Corn, Early Choice: 67 days)
1 Row: Onions
2 Rows: Cucumbers (Wisconsin: Pickle, Marketmore 76)
2 Rows: Tomatoes (30 plants)
1 Row: Cabbage (18 plants)
1 Row: Green Peppers & Jalapeno Peppers (18 plants)
1 Row: Eggplant (18 plants)
1 Row: Brussels Sprouts (18 plants)
1 Row: Broccoli (18 plants)
1 Row: Lettuce (Buttercrunch, Salad Bowl), Radishes (Champion), Swish Chard
2 Rows: Beets (Detroit Dark Red: 65 day)
2 Rows: Carrots (Royal Chantenay& Scarlet Nantes)
1 Row: Onions
2 Rows: Garden Beans (Long Tendergreen: 52 day)
Hills: Zucchini and Squash (Enterprise)
Hills: Watermelon (Sugar Baby)
1 Long Row: Peas
Hills:
Squash (Royal Acorn/ Mammoth Table Queen, Spaghetti, Buttercup
Snake Gourds, Birdhouse Gourd
Pumpkins: (Fairytale, Baby Boo, Jack O’Lantern, Silver Moon, Pumpkin & Squash Blend, Jaradale)
Total spent this year to plant the garden: $143 in seeds and $114 in plants.
Sun Scholars Summer Program
A few months ago I purchased the Sun Scholars Summer Program. I was in search of something fun and educational to do with the kiddo’s this summer. I wanted to keep my son from loosing everything he had learned this past year, while continuing to teach my girls the basics. I have been following Rachel’s blog Sun Scholars for some time now and have always been impressed with all of the fun and educational activities she does with her kids. So I knew that her Summer Program had to be good. Good is actually an understatement, it is amazing…seriously! And just in case you are wondering, I paid full price for the program and in no way were asked to write this post. I am doing this post just because I wanted to spread the word about it. I know many of you are also stay at home moms and will have your kiddos home for the summer. A program like this will give you a ton of fun and educational things to do with the kiddo’s. We all know that keeping them busy is the key to keeping everyone happy!
After I purchased the Sun Scholars Summer Program I immediately printed off all the pages and placed them into a binder. Then I added some folders for storing extra papers and ideas in. I also added an area for storing tourist books and brochures for things to do locally. Then I followed Rachel’s suggestions by gathering all of the needed supplies for the program and are storing them in one box. The kiddo’s call it their school box and look forward to digging into it everyday.
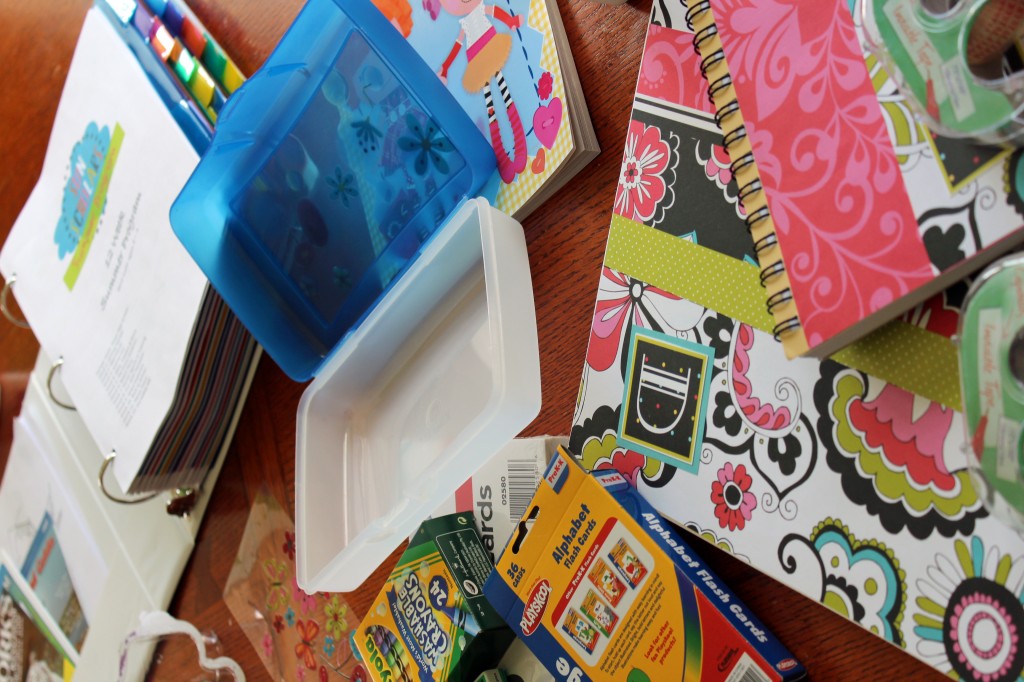 I bought each of them their own pencil case in which they were able to fill it with their own supplies. They LOVED this part! It was Christmas in June I tell ya. This little box of supplies is key. It makes it more special for them and easier for me…that is a huge win in my book! We have done journal time everyday this week along with a few of the activities from the program each day.
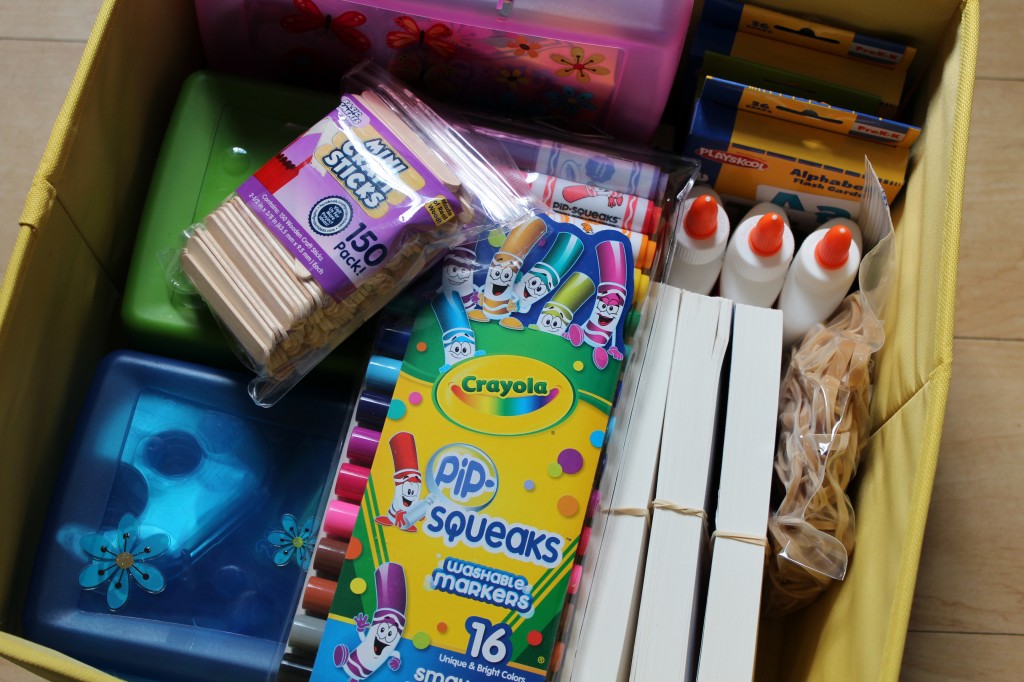
So if you are looking for something fun and educational to do with the kids this summer I highly recommend you checking out the Sun Scholars Summer Program. It is not to late to start.
Here is more about the program:
The Sun Scholars Summer Program was created for the sole purpose of keeping young minds active over the summer months… and in a way that is easy for even the busiest parents and caregivers! It can be used with one to many children, at various levels of ability. The entire family can have fun while learning this summer. No need to spend hours planning, because I’ve done all the work for you!
This is the COMPLETE 12 Week Summer Program. This kit is simply laid out, one kit per week, each week with 20 well-organized activities in subjects from reading and writing, to math, art, music, science, health and social studies. These are activities that are easy to set up, easy to lead (if needed at all), and easy to clean up after. Most importantly, they are fun! You will find that many of the Sun Scholars Activity Kits can easily be used with children ranging in ages and capabilities from 4-9 years.
Fat Quarter Friday {Dish Towel Tutorial}
This week I decided to share a tutorial for another one of my favorite items to make…dish towels. A nice set of dish towels is something that everyone loves, but will rarely splurge on for themselves. This is also a great beginner sewing project. So if you have been wanting to start sewing for the first time or needed a refresher project this is the perfect one to start with! 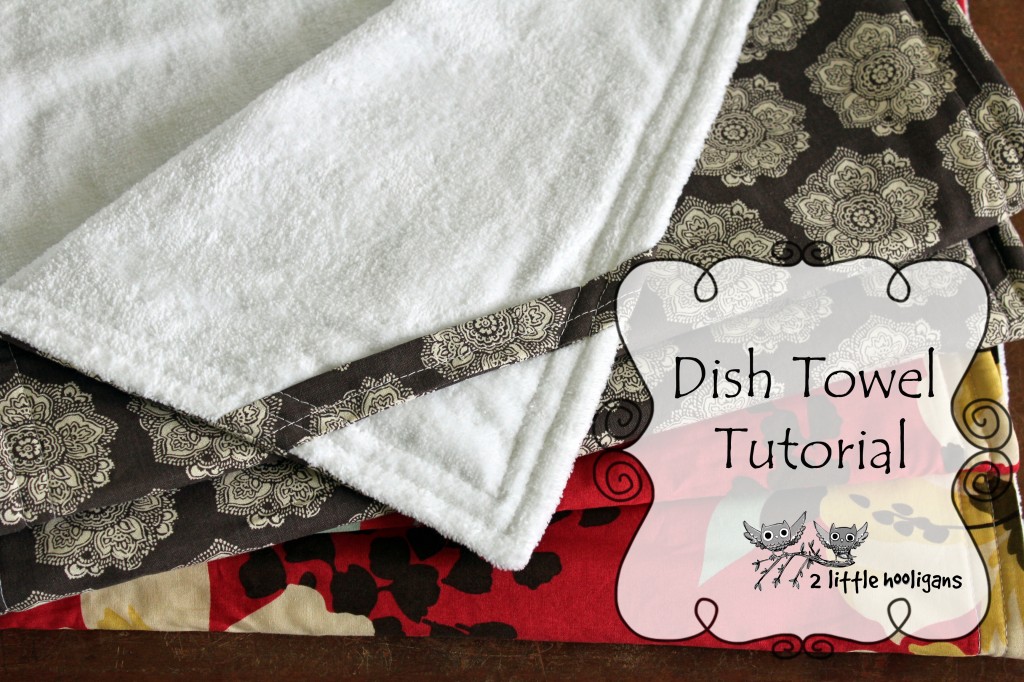
Materials Needed:
*1 fat quarter of cotton fabric cut to preferred size. I leave mine pretty close to the size of a fat quarter.
*1 fat quarter of velour terry cloth or terry cloth. Cut the terry cloth slightly larger then you cut the cotton fabric above.
*small scrap piece of fabric that measures 8″ x 3″
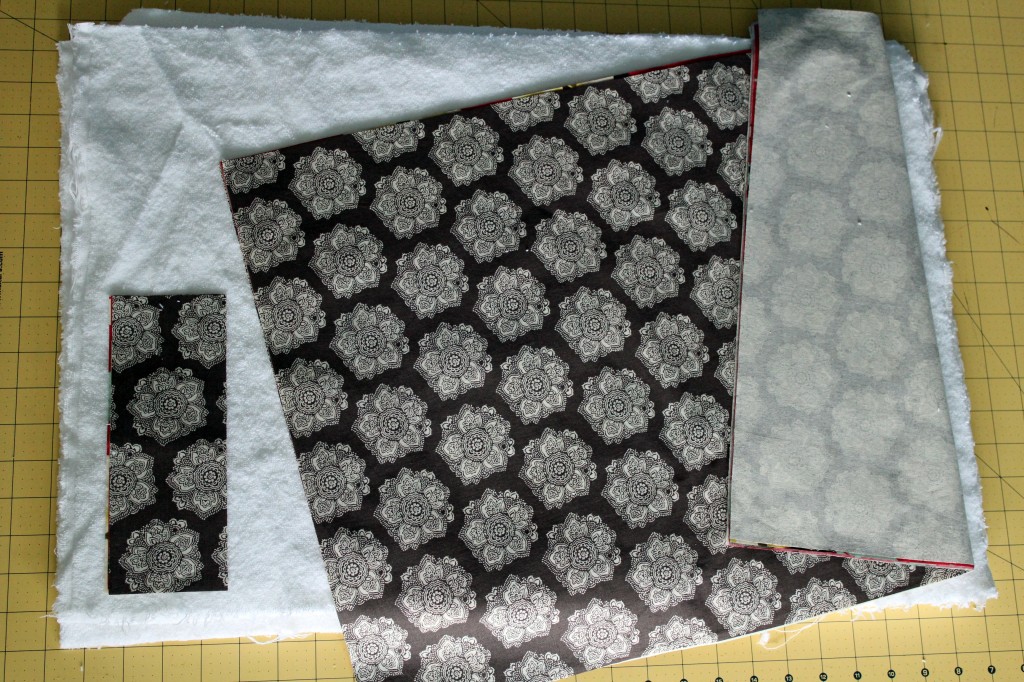 Take your 8″ x 3″ piece of fabric and make it into a bias strip.
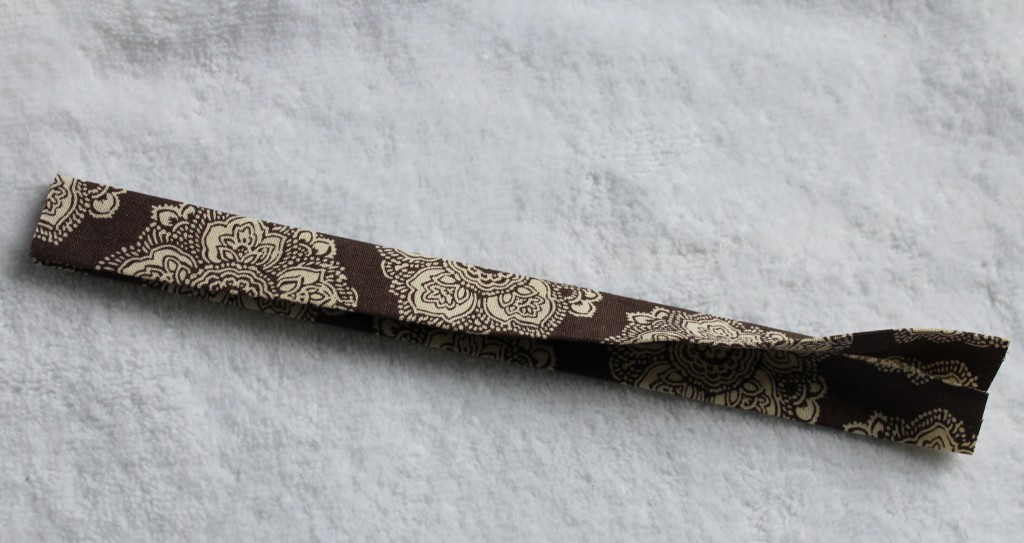 Top stitch down the middle of the bias strip. Set aside.
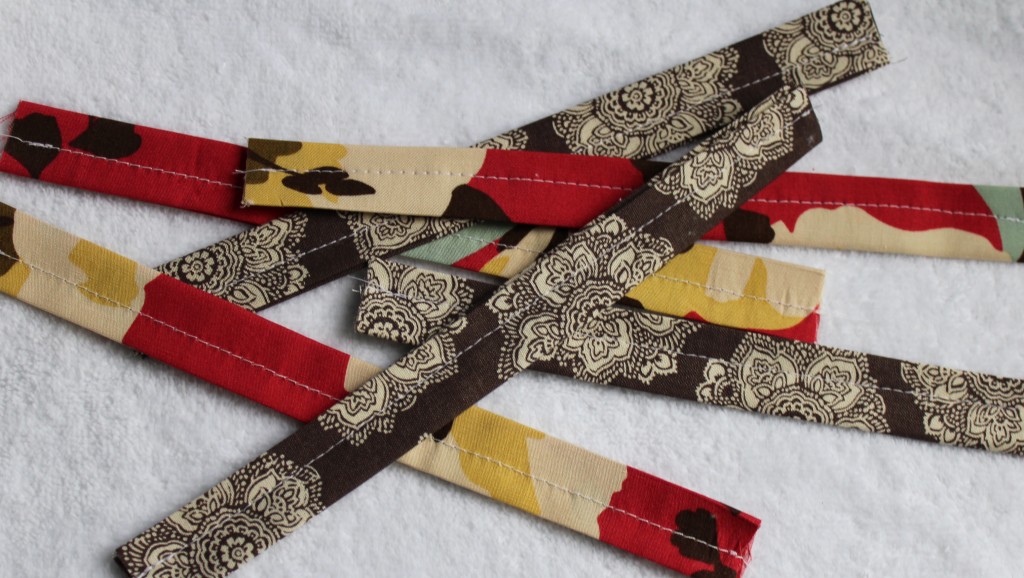 Now gather your cotton fabric and terry cloth. Layer the fabrics like so: terry cloth on bottom-right side up, then cotton fabric right side down. Pin in place.
 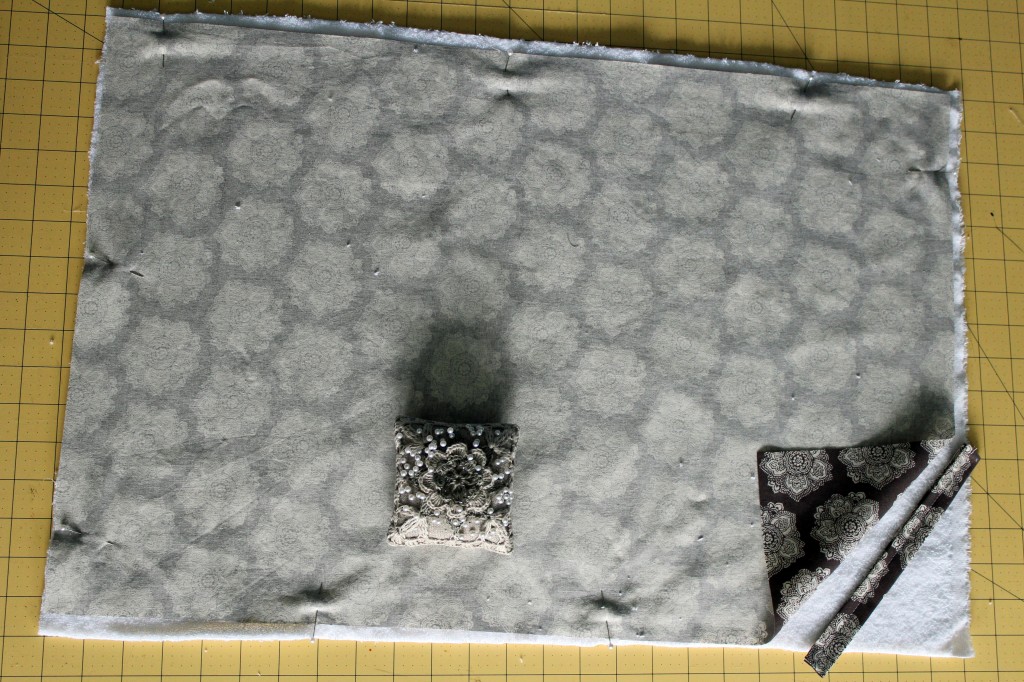 On one of the corners place your bias strip like pictured below. Pin in place
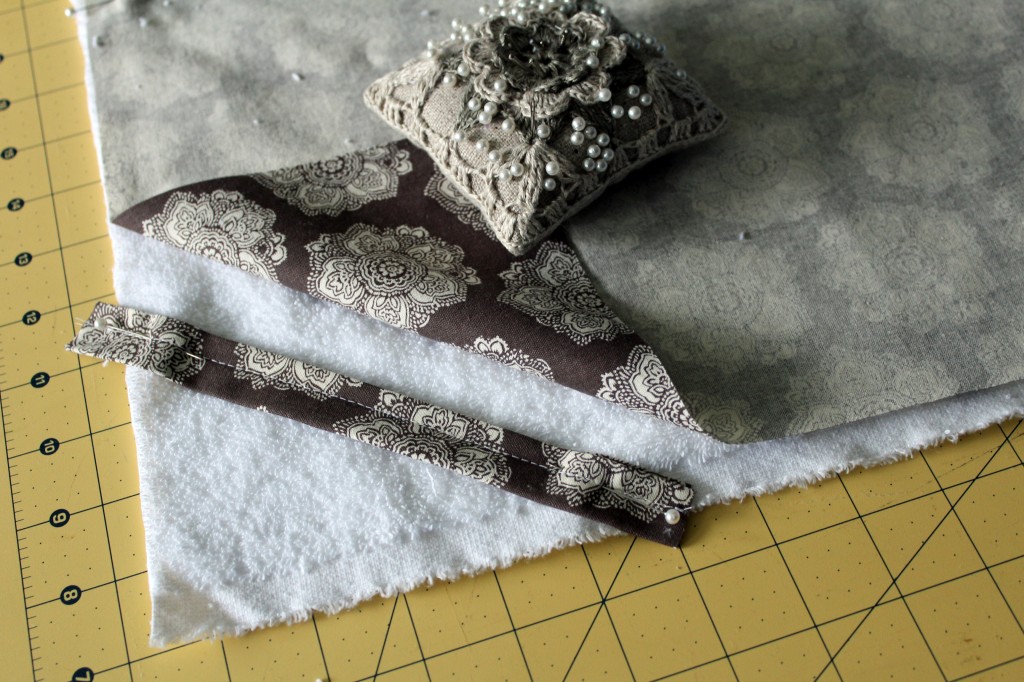 Sew all around edges, but make sure to leave a 2-3″ opening for turning right side out. Trim off excess fabric and square off edges.
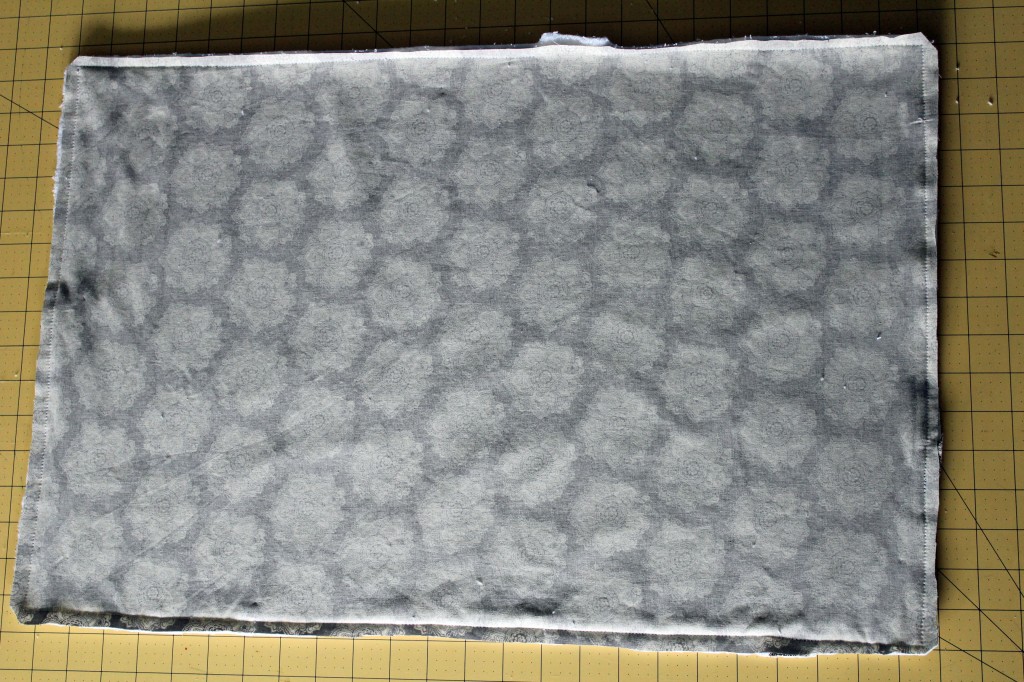 Turn right side out. Iron flat and top stitch around edges. I top stitch around the edges twice with my dish towels, but you can do it only once if you prefer.
 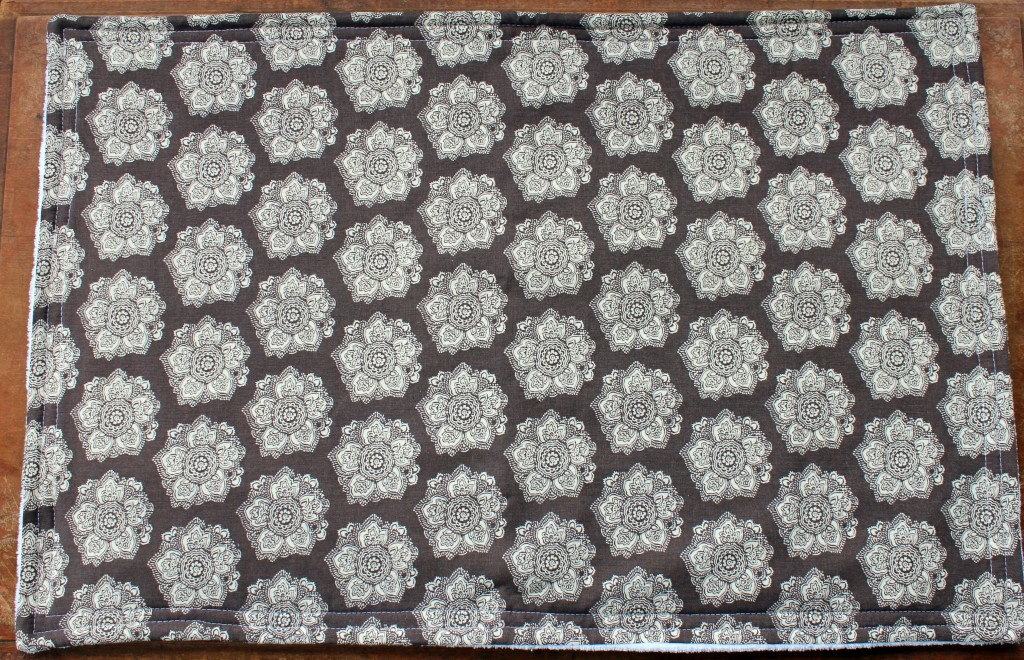 And that is it, super easy right?!
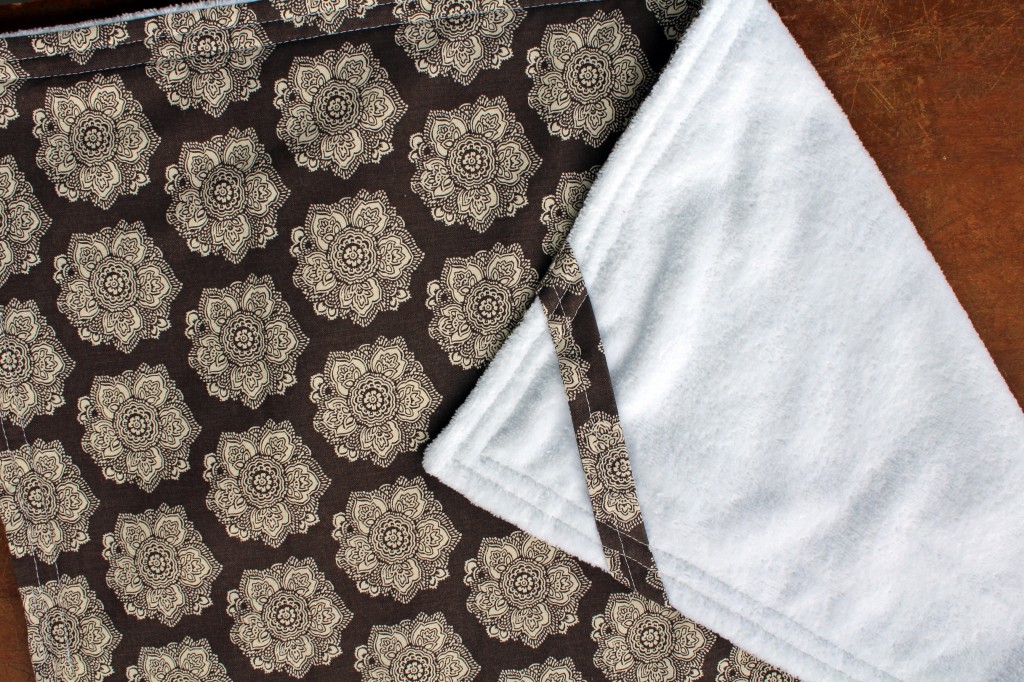 Make a bunch to give away as gifts or make a bunch for yourself.
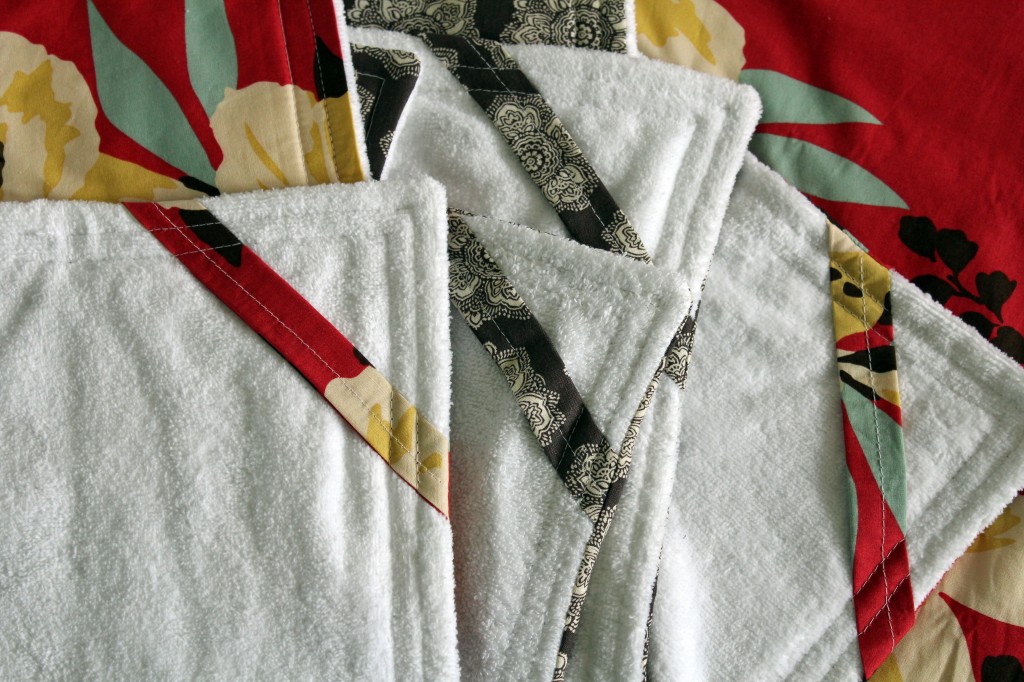
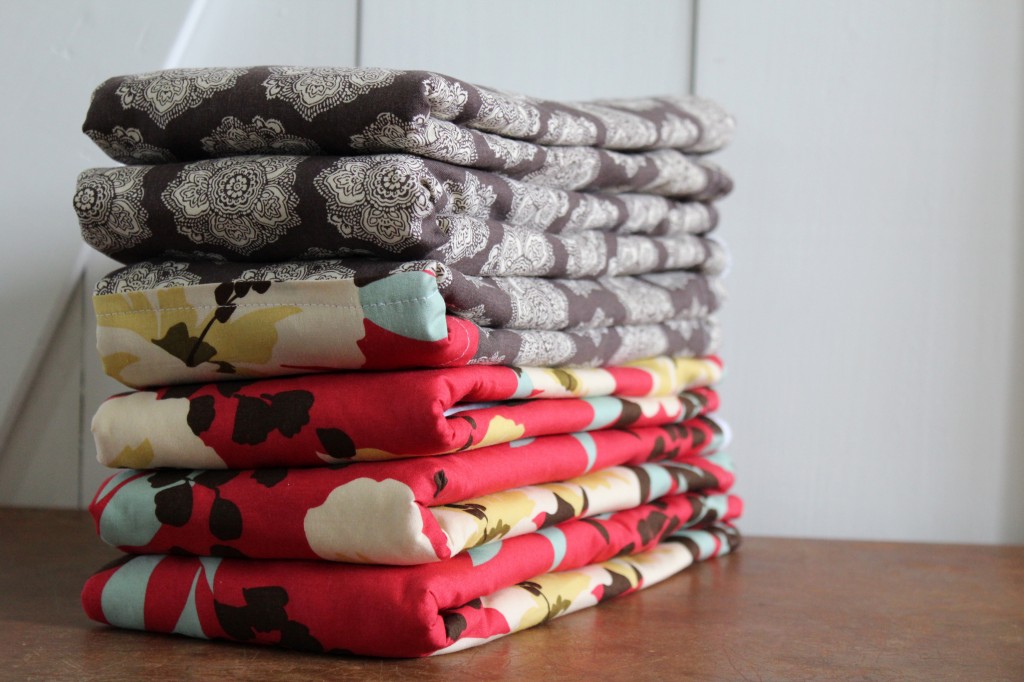 Cute little tabs keep those dish towels hung nearby and dry.
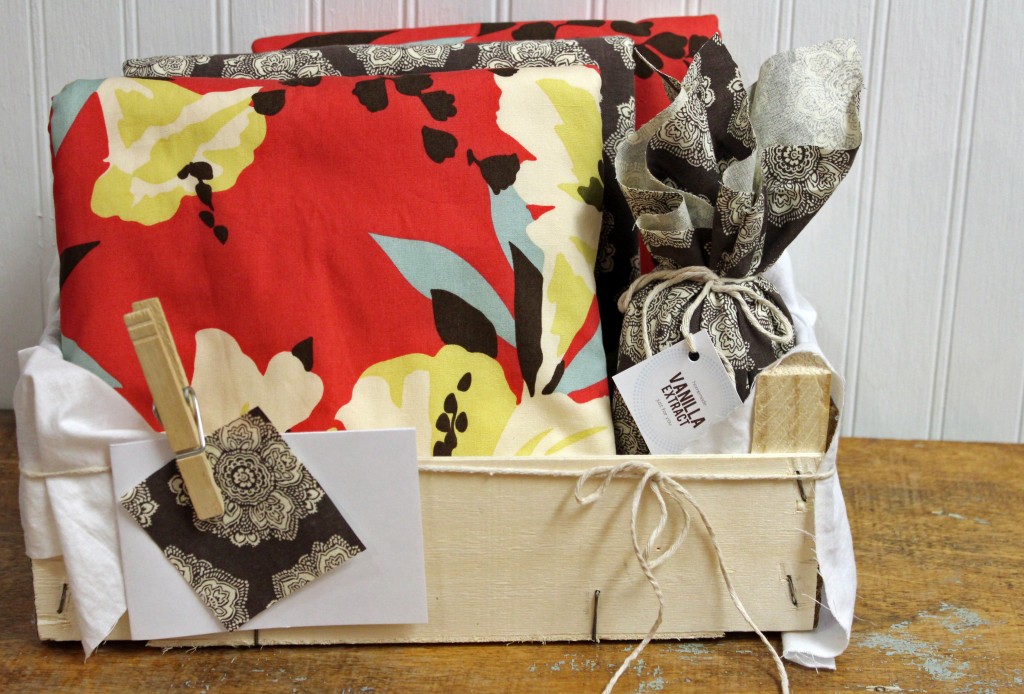
 Pair it with some homemade vanilla extract and you have yourself the perfect little gift.
 Happy Friday!
How to Make a Scarecrow.
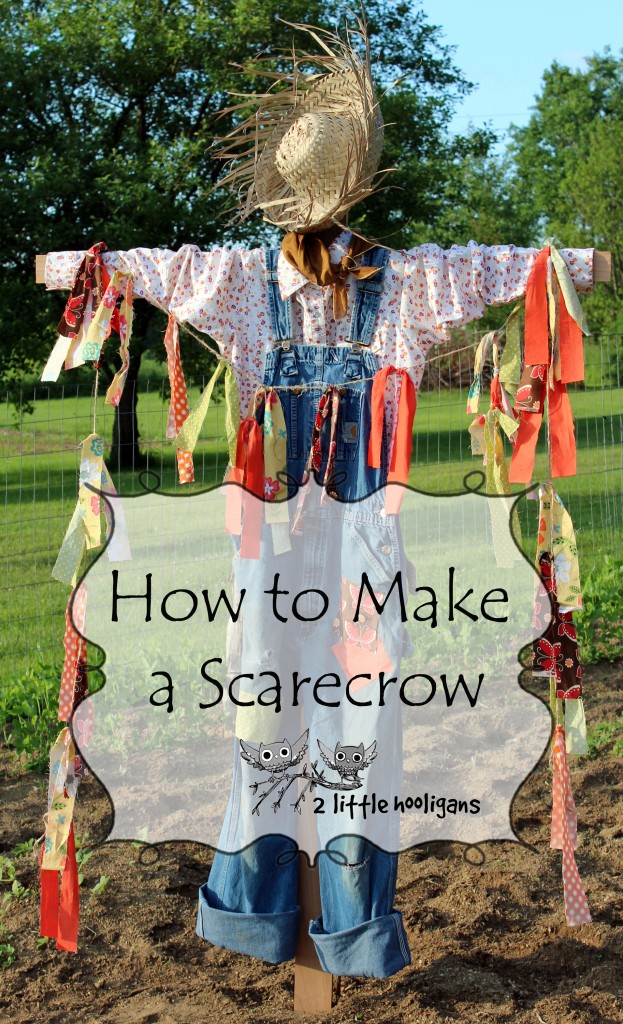 The kiddos and I made a scarecrow yesterday. It is one of those things we have wanted to make but just never seem to get around to it. Well this year I have already replanting my pumpkin patch twice. So before I replant it again I needed something to take care of the crow problem we seem to have. So I am really hoping this not so scary scarecrow will do its job and keep the crows out of the pumpkin patch. Making a scarecrow is super easy and a fun activity to do with the kiddos.
How to make a scarecrow
What you will need:
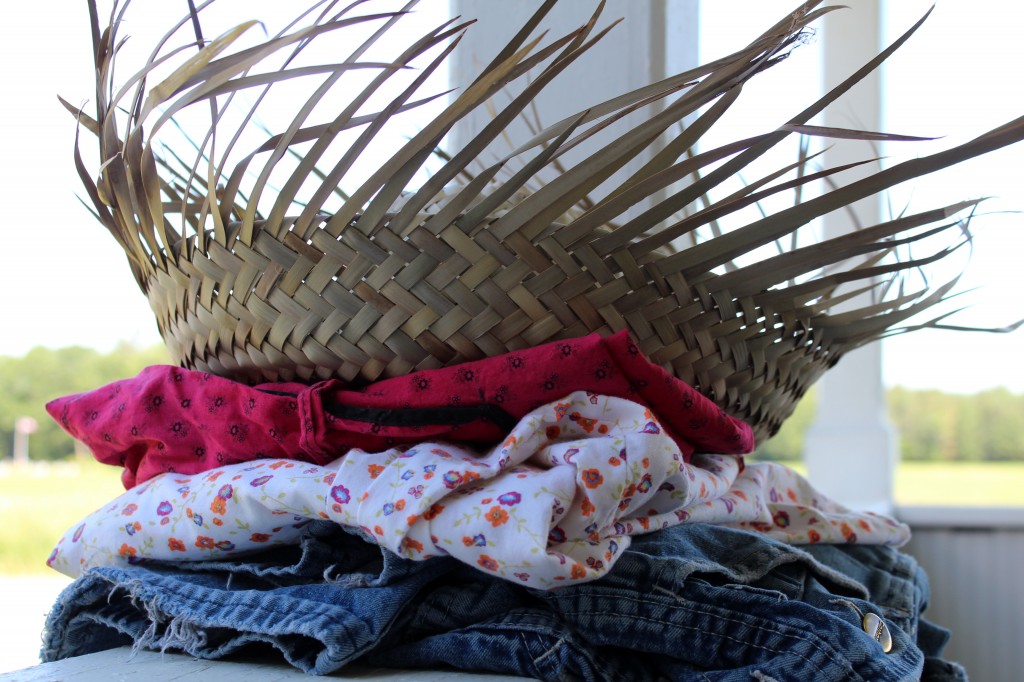
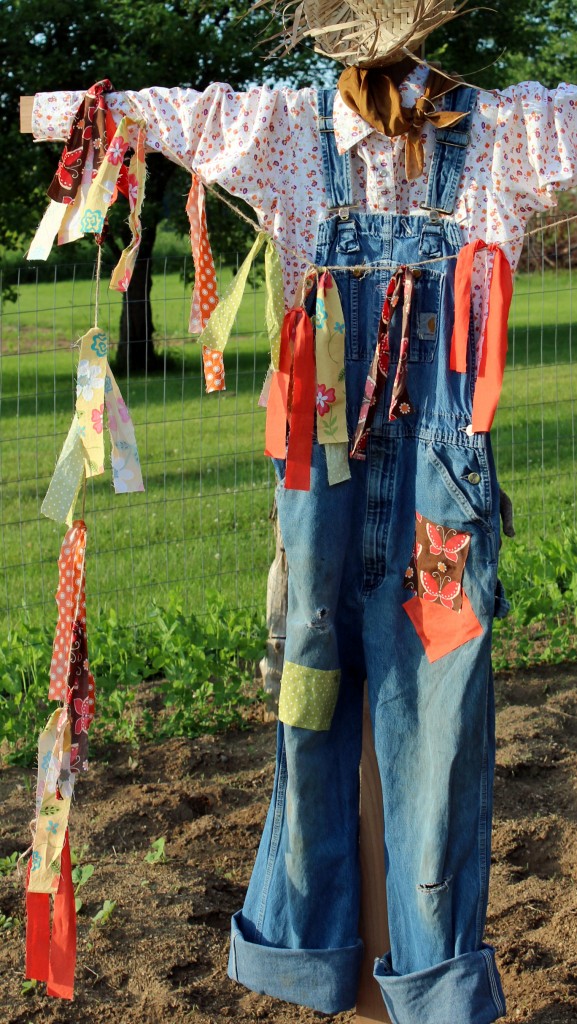
* Some clothes. We used a button up shirt from the thrift store and an old pair of Daddy’s overalls. Of course you could use a dress or even add a cute little apron. The ideas are endless, so get creative!
* A hat. We purchased ours at the thrift store for $2.
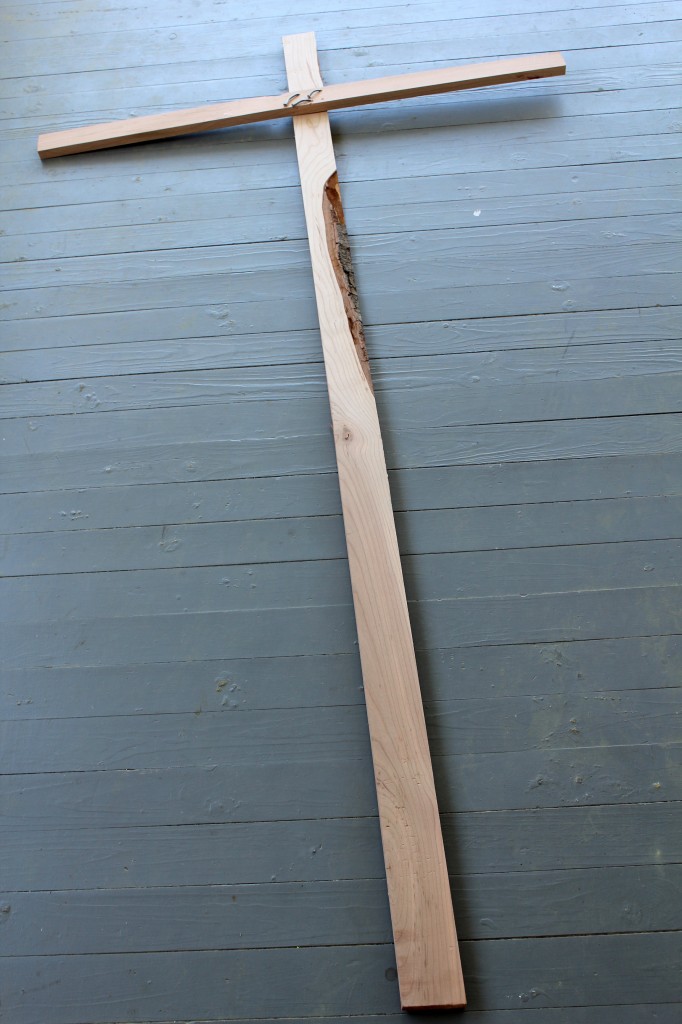
* Some lumber. I used two pieces of scrap wood we had hanging around, but some 2 x 4’s would work perfectly too.
 Cut your wood or 2 x 4’s to the desired size. My longest piece of wood was about 6-7 feet long and my shortest (cross-piece) was about 4 feet long. Remember to leave your longest piece of wood long enough so that you can bury it in the ground a foot or so. You don’t want your scarecrow falling over in the garden. Now nail the pieces of wood together like shown below. Leave about 10″ inches or so at the top so that you can attach the hat there. Ignore the bent over nails. They were the only ones tough enough to go through the wood. I was using cherry wood and it was so hard to hammer through. I’m no carpenter…but I try.
 Now start dressing up your scarecrow. Depending on the size of your shirt you may need to cut the “arms” down a little bit to make the shirt fit on. I had to trim mine a little.
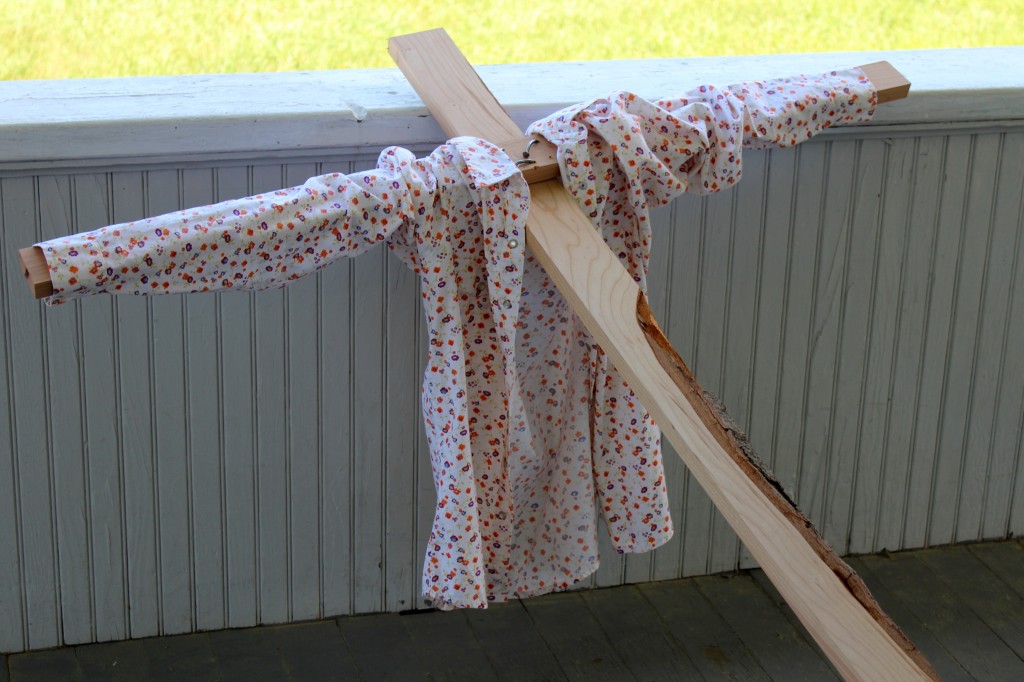 This is the fun part for the kiddos. They get to button the buttons and put on the pants. When putting the pants on you are going to want to cut a little hole in the crotch so that you can slide the piece of wood through the pants. You want the pants to hang free and hopefully move in the breeze. Now put your scarecrow out in the garden. You may need to hammer it in so that is stays upright. Lastly nail your hat to the wood at the top and add any other accessories you may want to add.
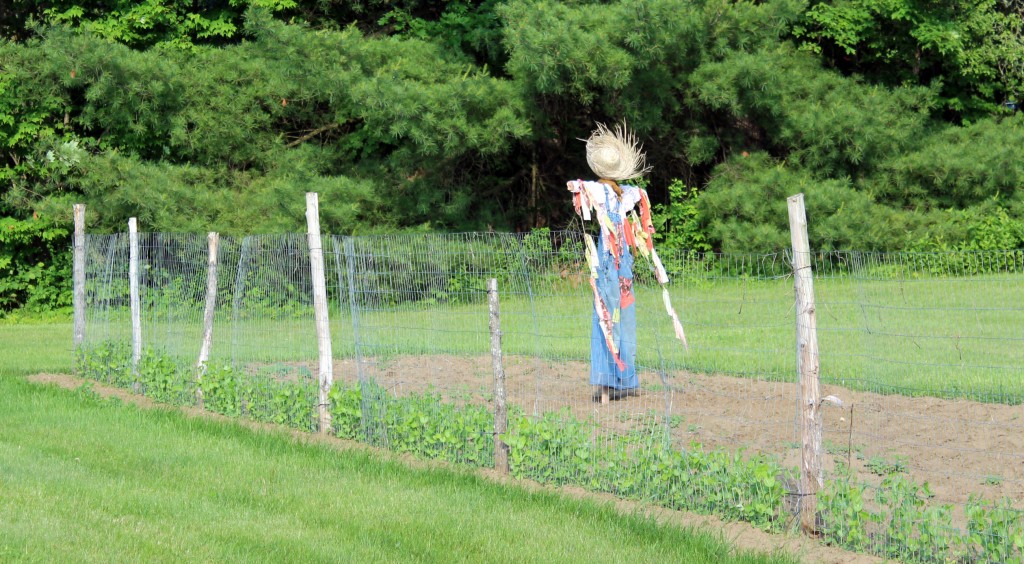 I made some scrappy bunting so that it would have more movement to the scarecrow. The more movement the better. You may even need to move the scarecrow around the garden every few days to keep the crows out.
 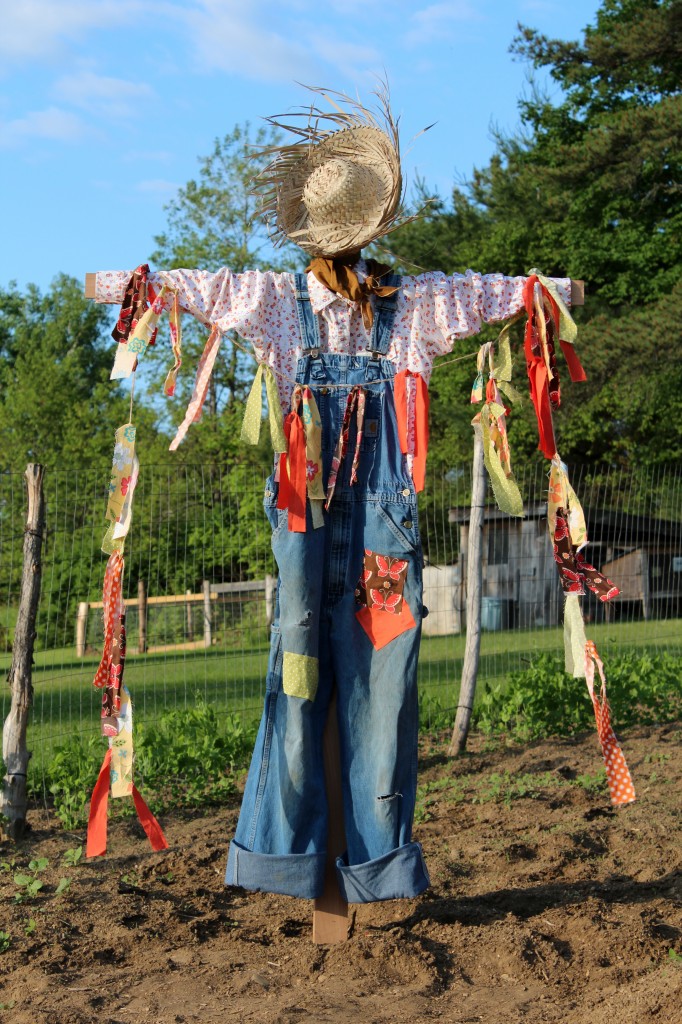 The kiddos think it is so funny because the scarecrow kinda looks like me. I guess I would have to agree.
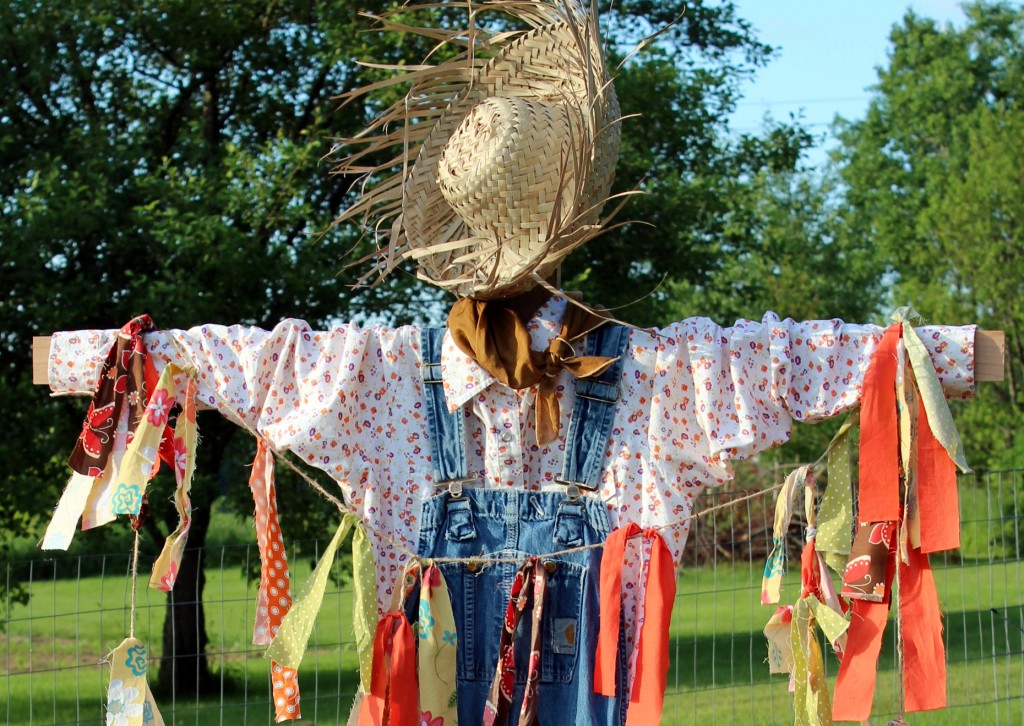
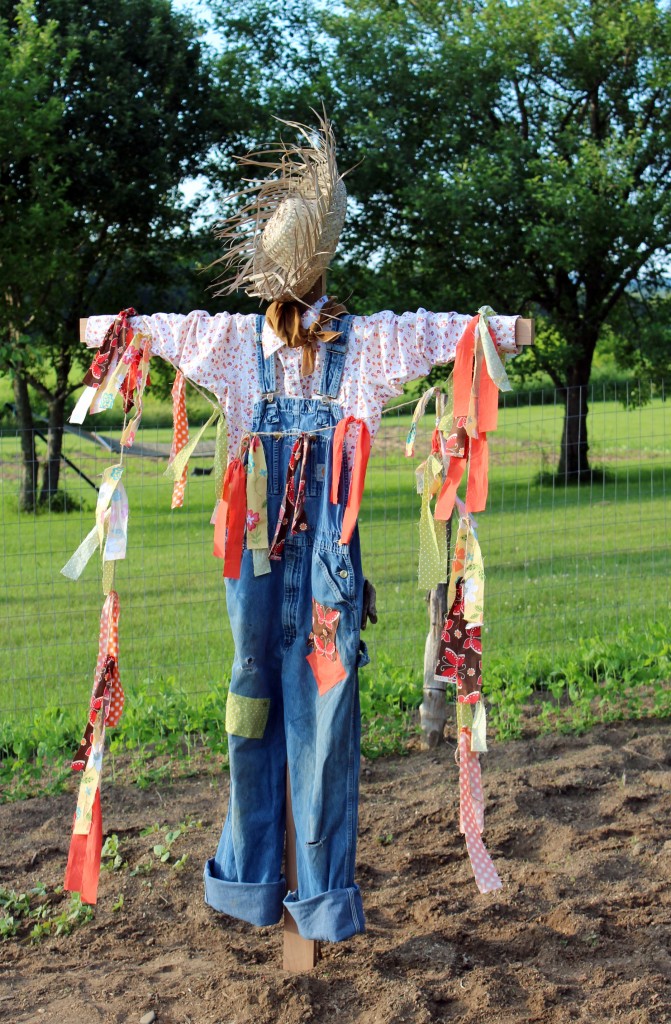 Here’s to hoping we keep the crows out of the garden…and our pumpkins can grow.
 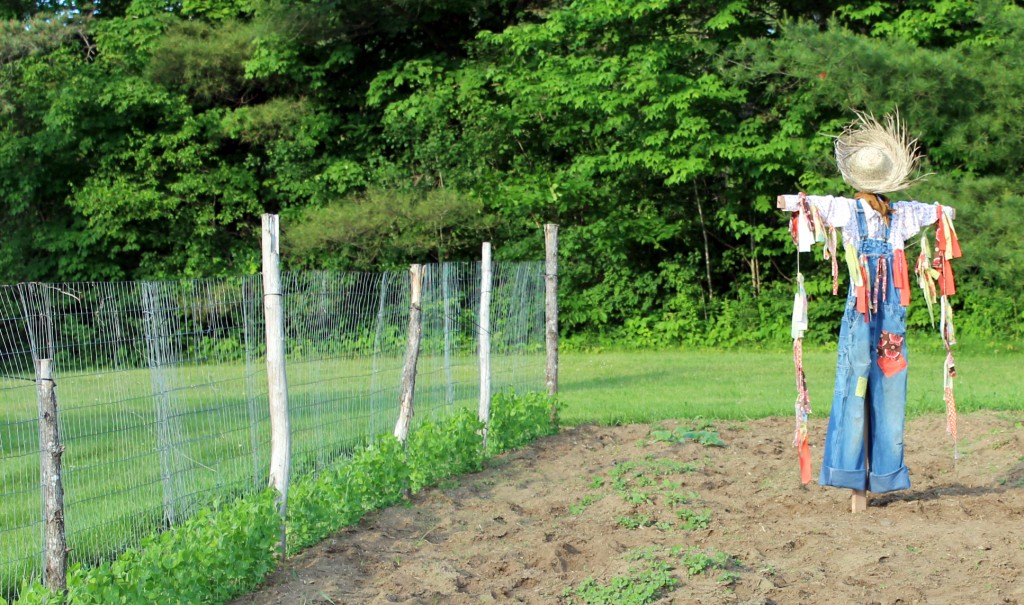 Do you have a scarecrow in your garden?
Lupine
Visiting the Lupine Festival in the Spring has become an annual event for us. Even the kiddos are starting to enjoy it just as much as I do.
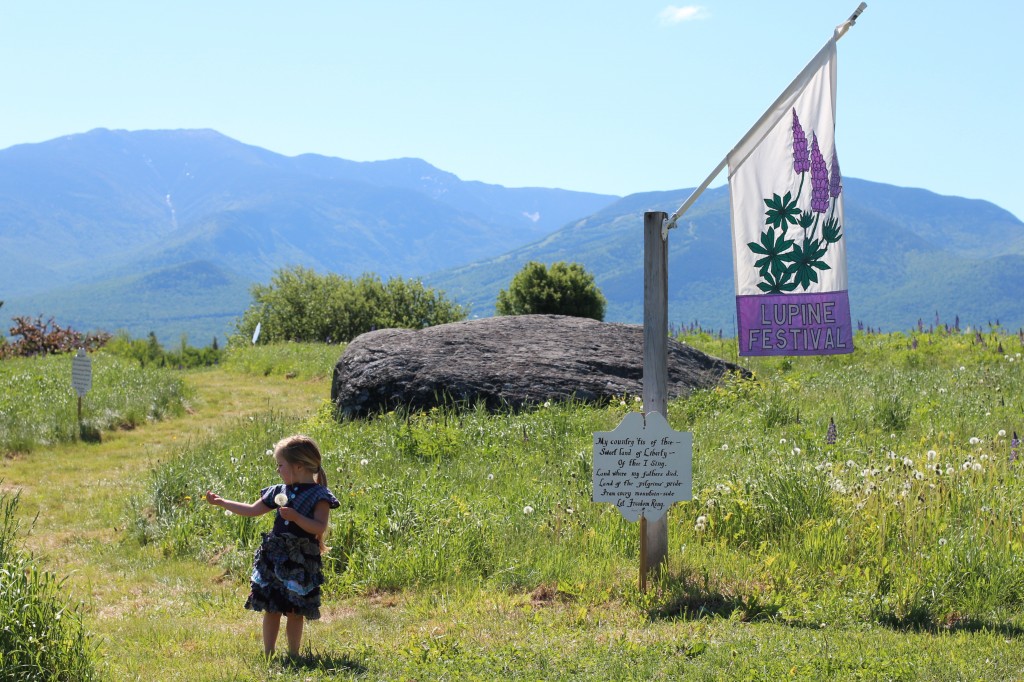 They even started asking me about it once they saw the lupine blooming in our garden.
 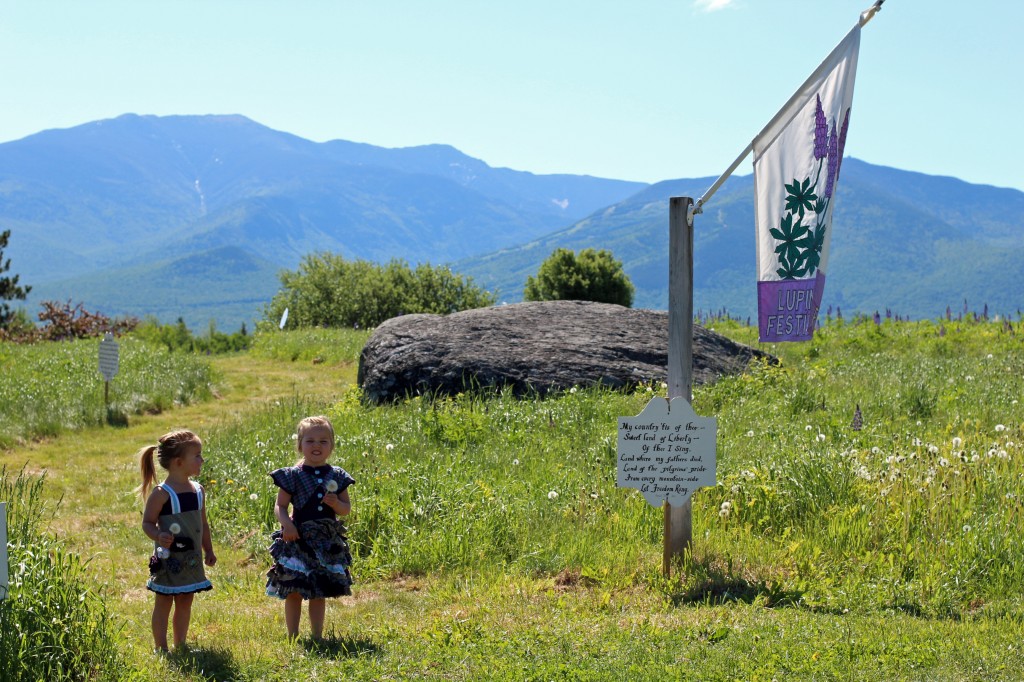 The girls dressed themselves that morning in their matching dresses that I made them here. Of course one of them wore their dress backwards, but that’s all right with me. I just love that they will wear what I make them, even if it is on backwards.
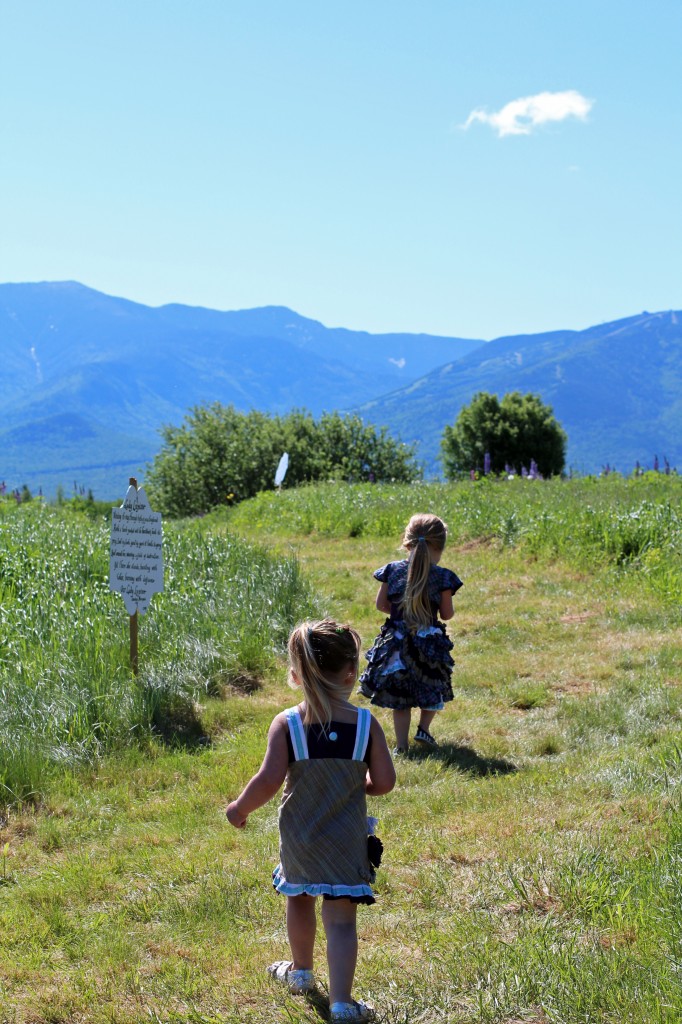 They get to run through the “maze” of flowers, while I stand back and watch…while taking a bazillion photo’s of the lupine.
 It is just too beautiful not too.
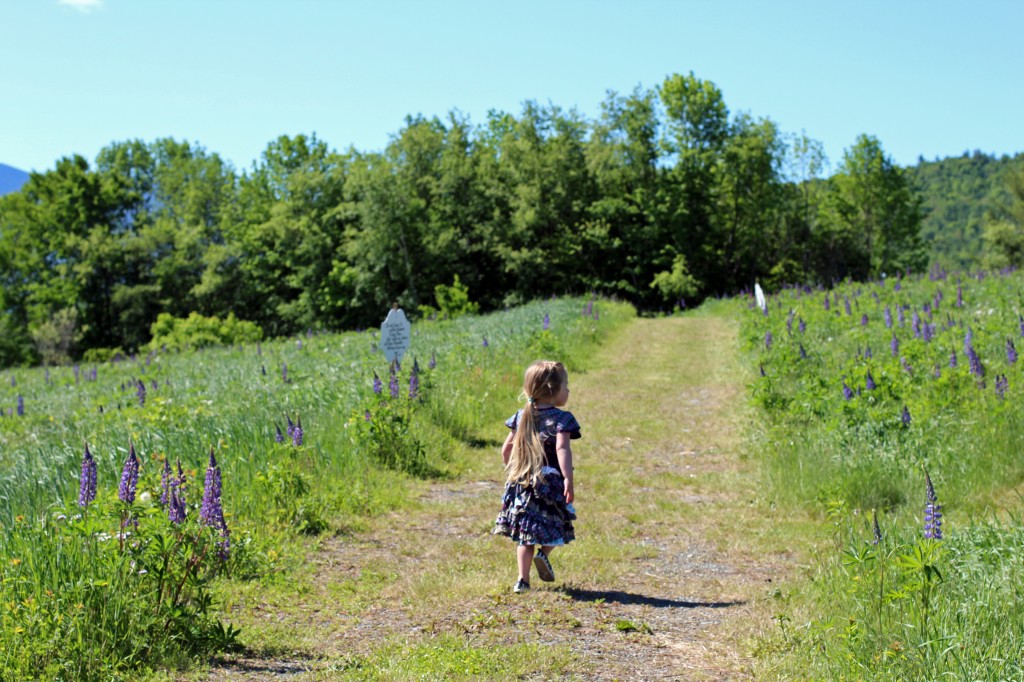
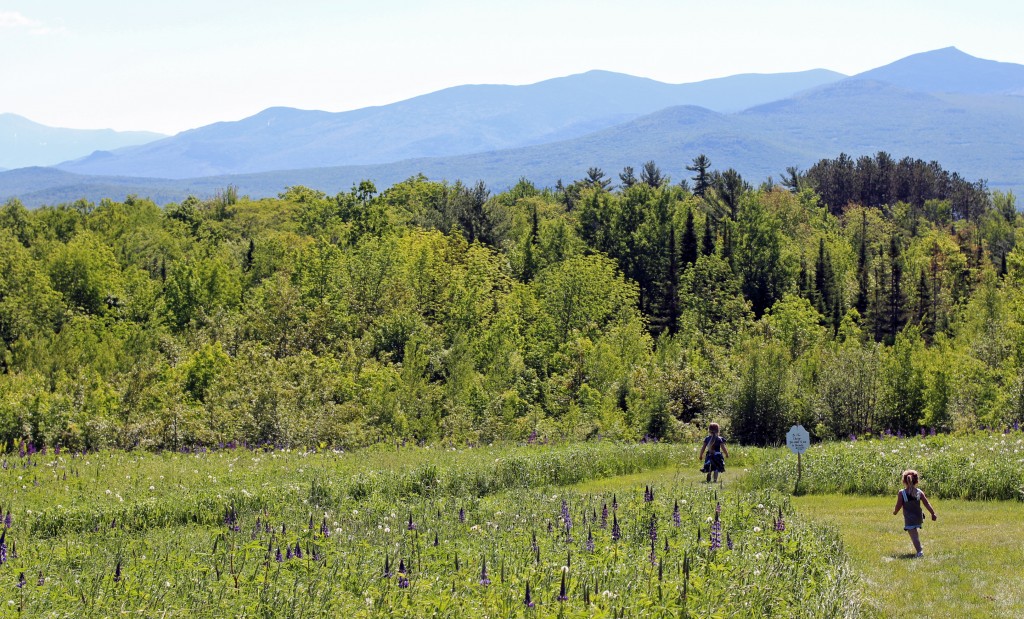 There are fields full of lupine with The White Mountains in the background.
 Everywhere you look it is a beautiful scene.

 The pink and white lupine are rare to find, which makes them more beautiful. The girls were really good at spotting them.
 Afterwards we always make sure to stop and have some pancakes.
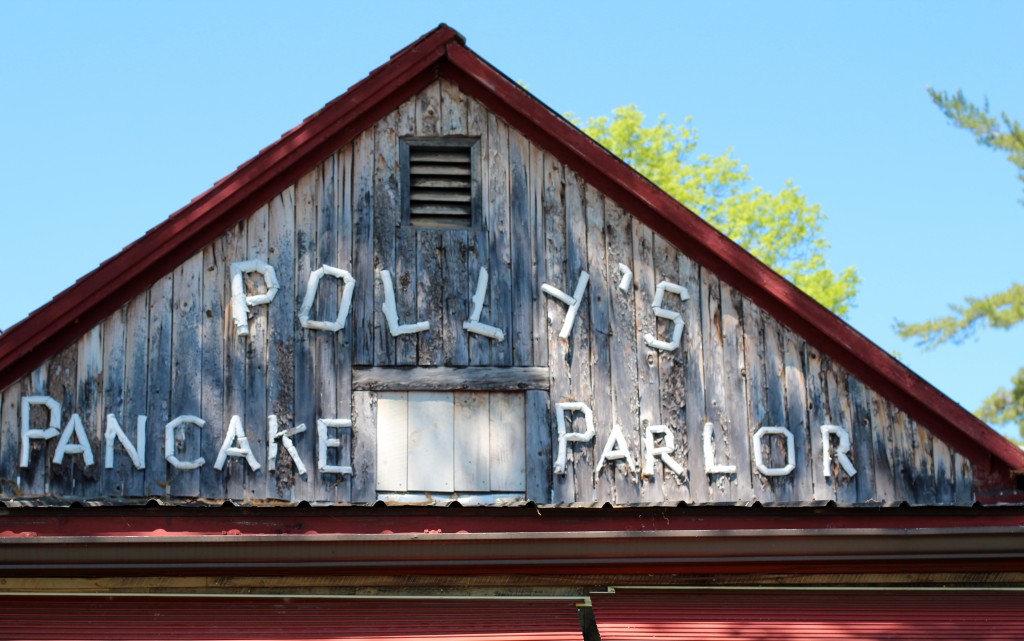
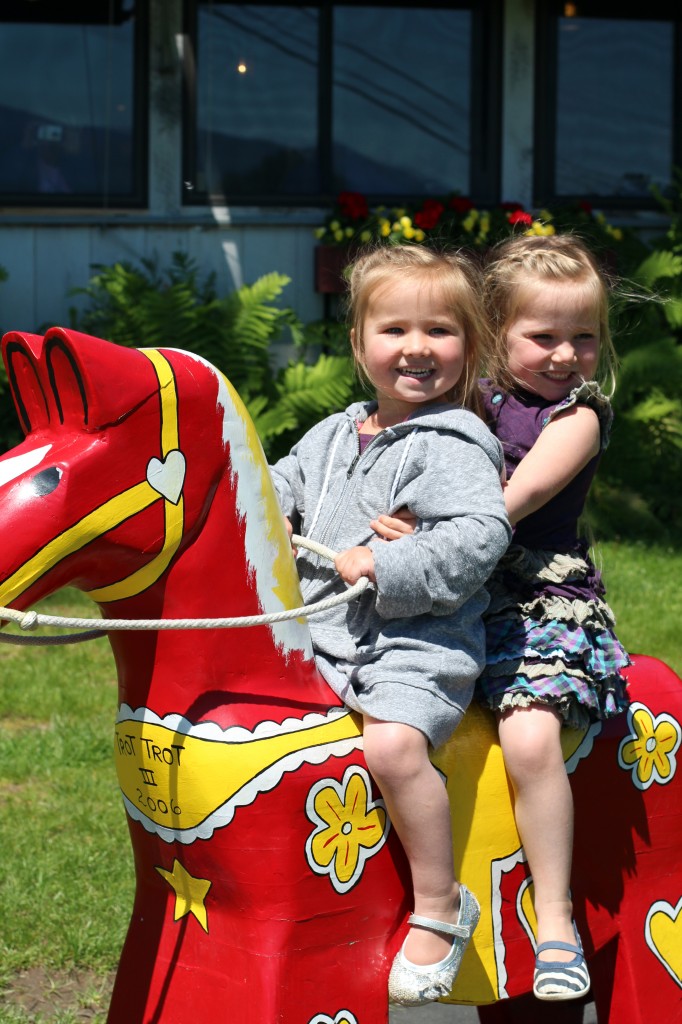
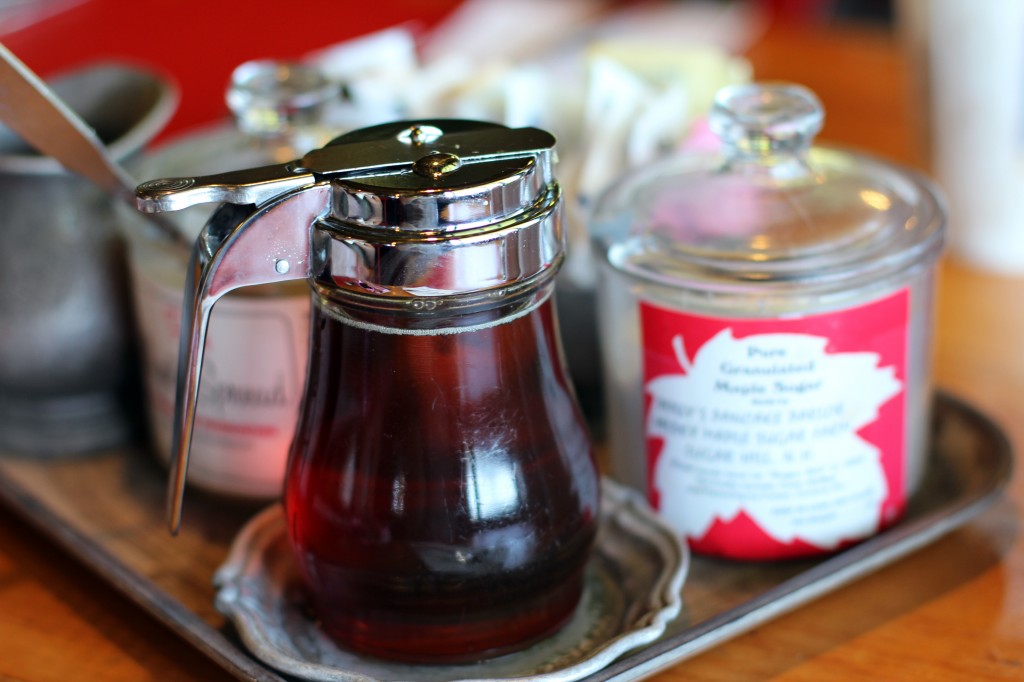 Even though the pancakes are super yummy, the old wooden horse outside is the real reason the kiddos want to keep coming back.
