To celebrate May Day we made some fun little May Day “baskets”.
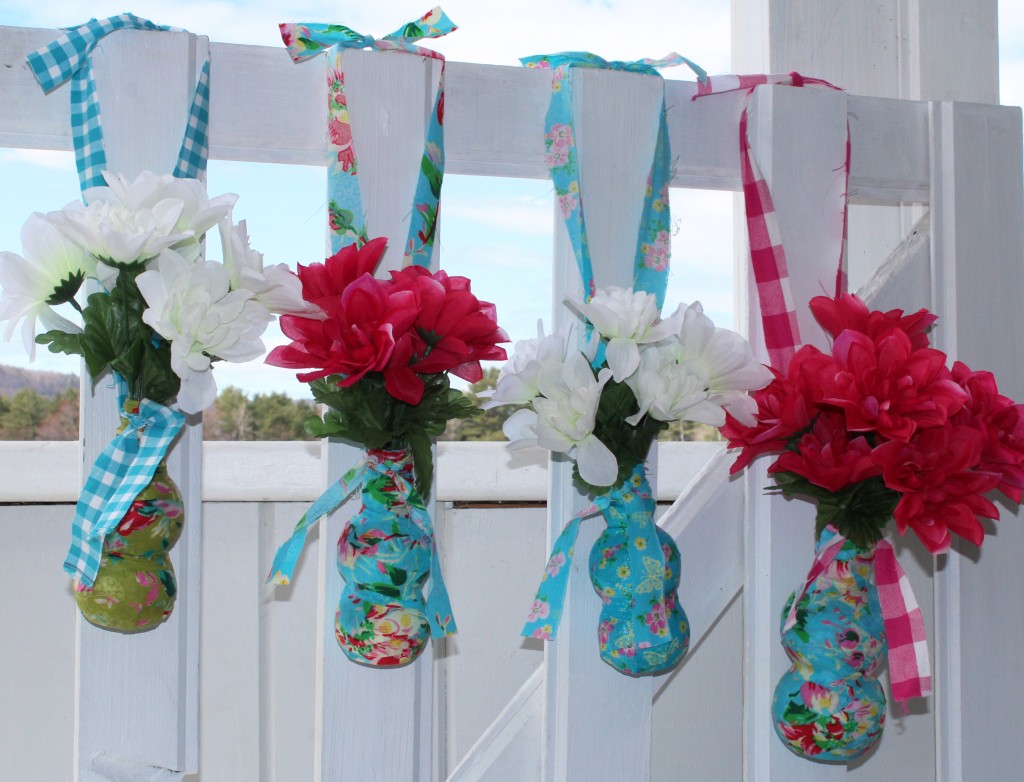 We simply Mod Podged some empty bottles with fabric scraps and then filled them with Dollar Store flowers.
 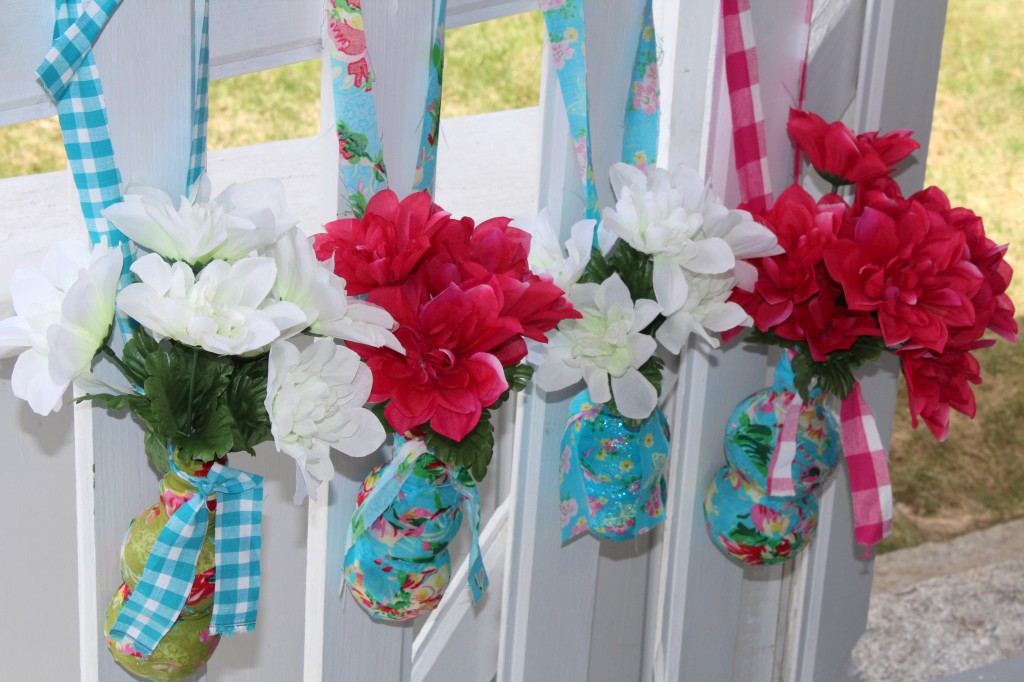 They were simple and fun to make with the girls.
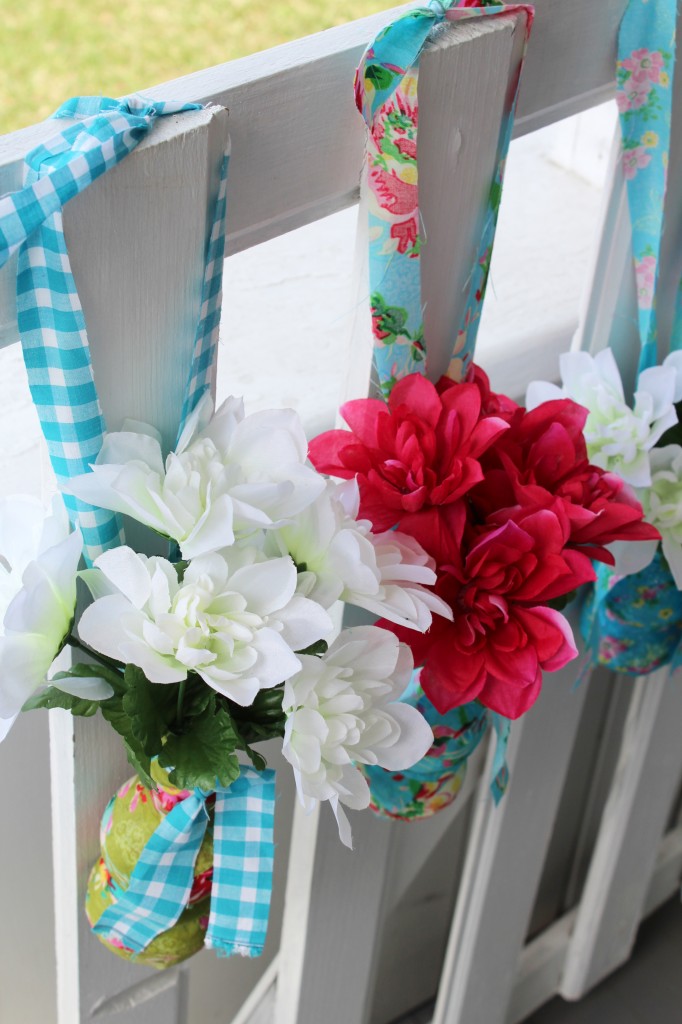 We cannot wait to deliver them today. Delivering goodies to family and friends is always the kiddos favorite part!
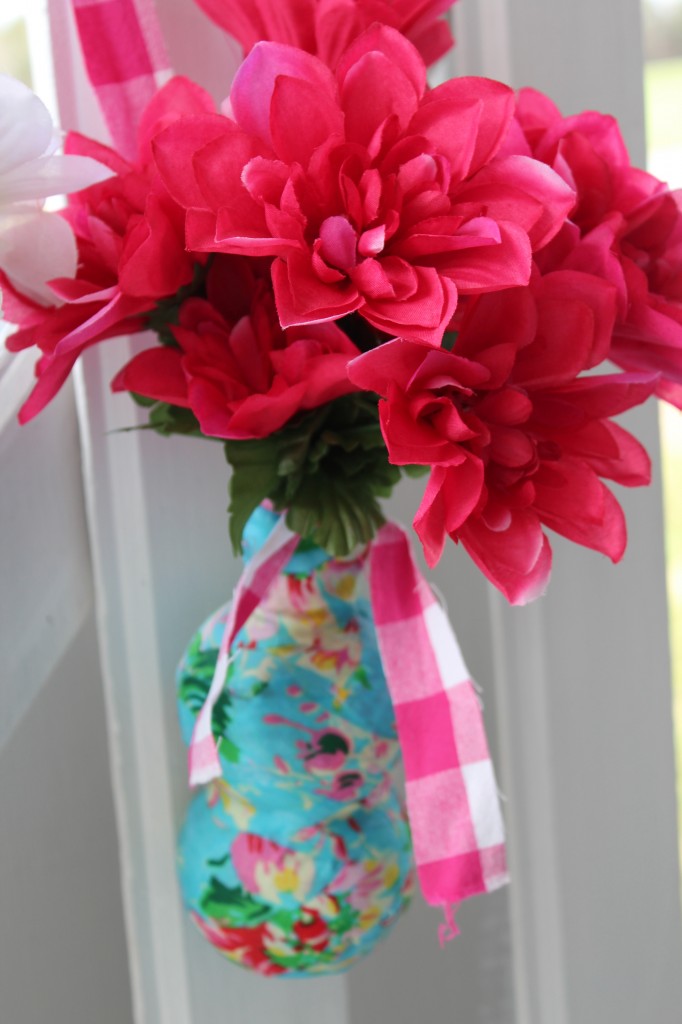 Happy May Day!
Willow’s Wrap Jacket
Right before Easter I made my little girls the Willow’s Wrap Jacket. I purchased the pattern from Create Kids Couture on etsy. 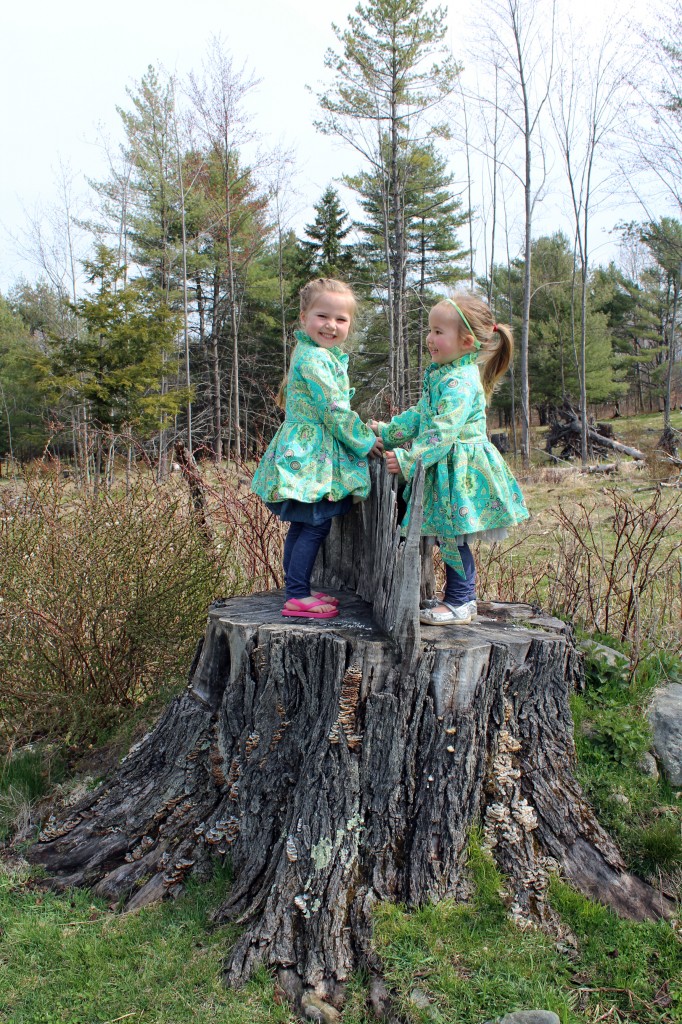 The pattern was very detailed and easy to follow. It is a great pattern for those who want to make a jacket without the hassle of using buttons or zippers.
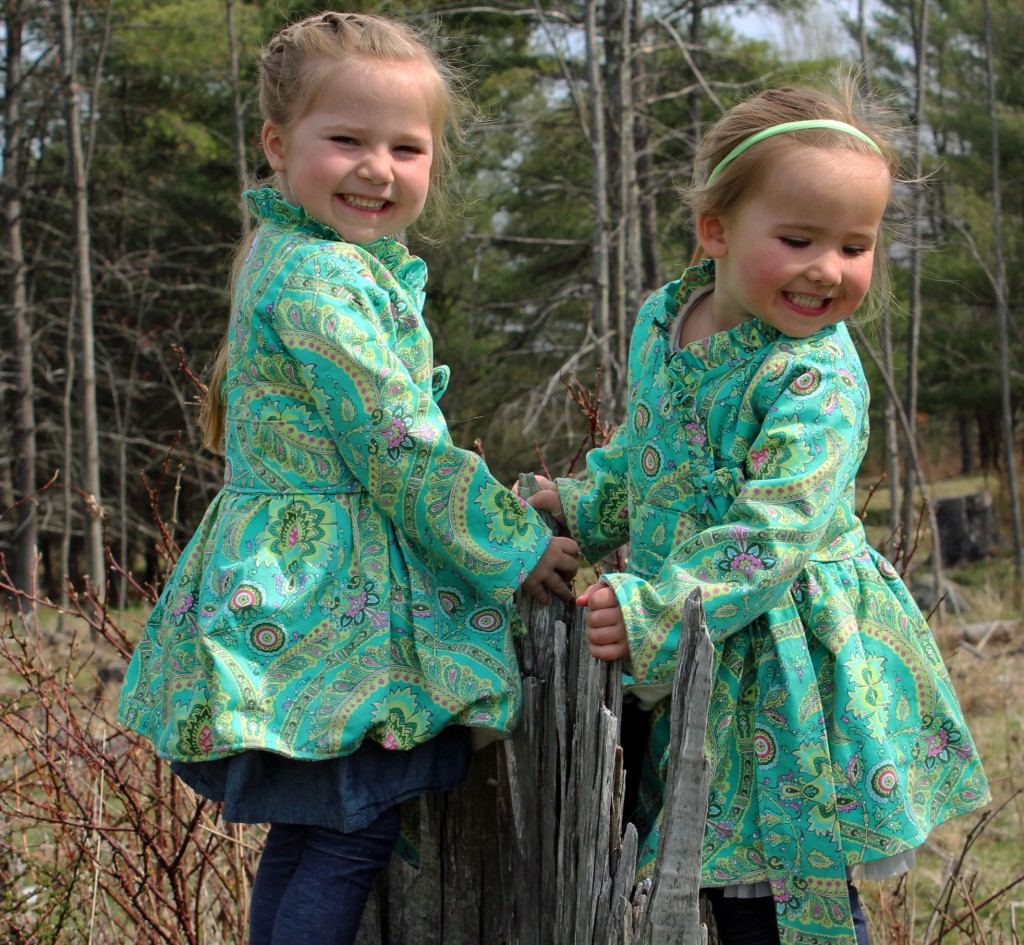 Both jackets took me about 5-6 hours to make. Once the fabric was cut out they were really easy to construct.
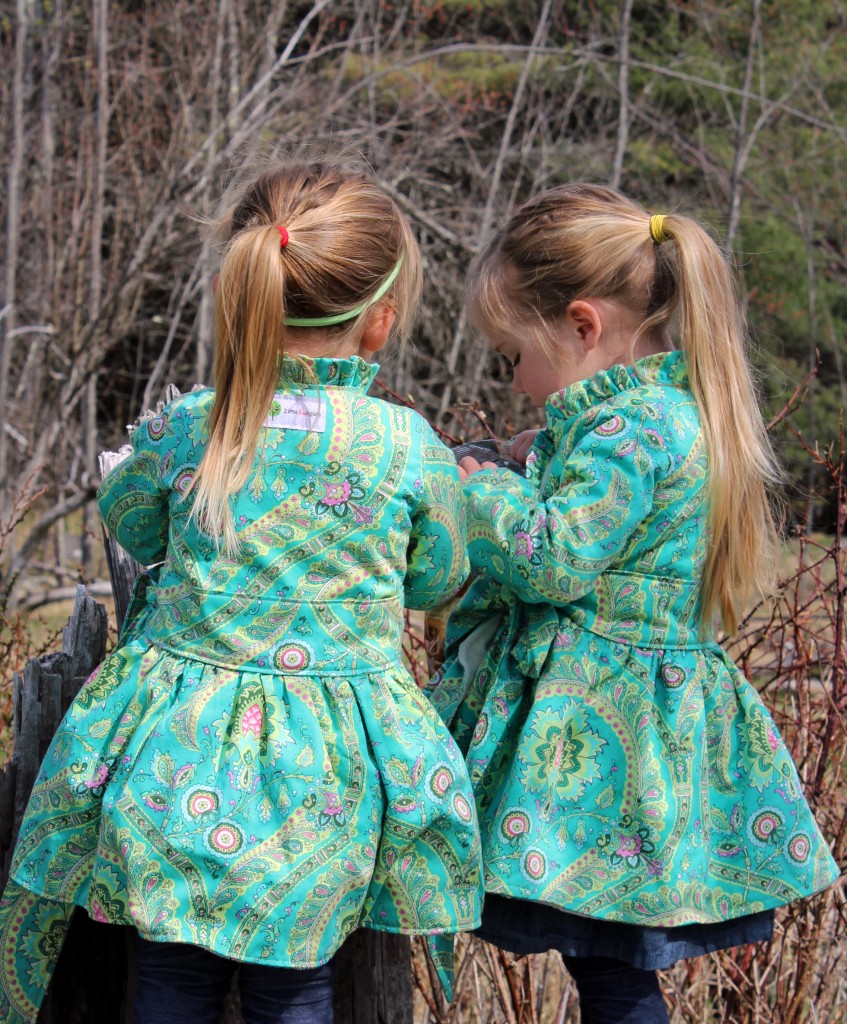
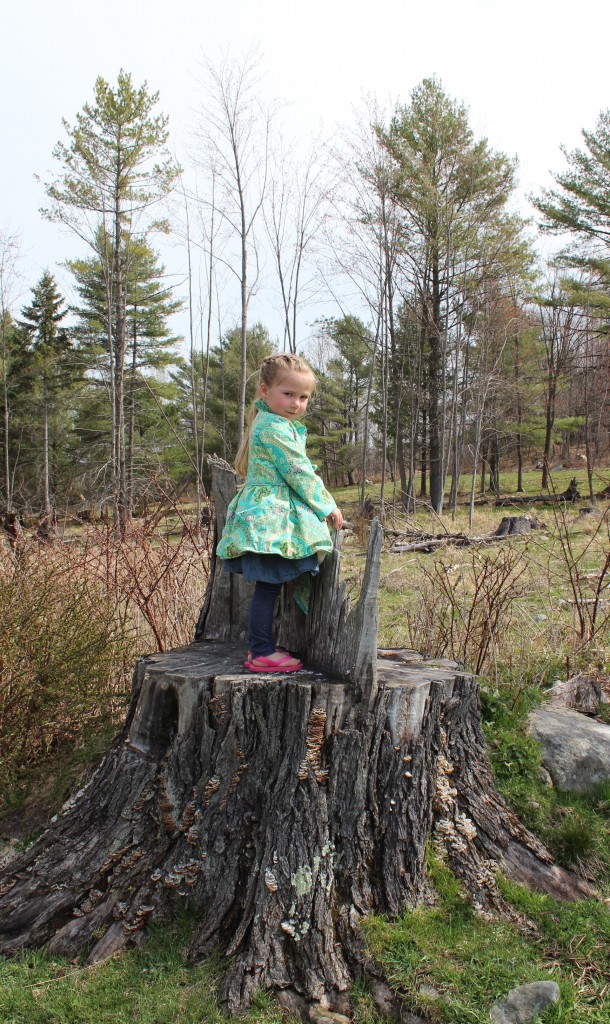 I used a decor weight fabric (Amy Butler: Lark Feather Paisley Jade) for the outside of the jackets and an off white minky fabric for the linings. The girls just love how soft and cozy they are. They make the best spring jackets.
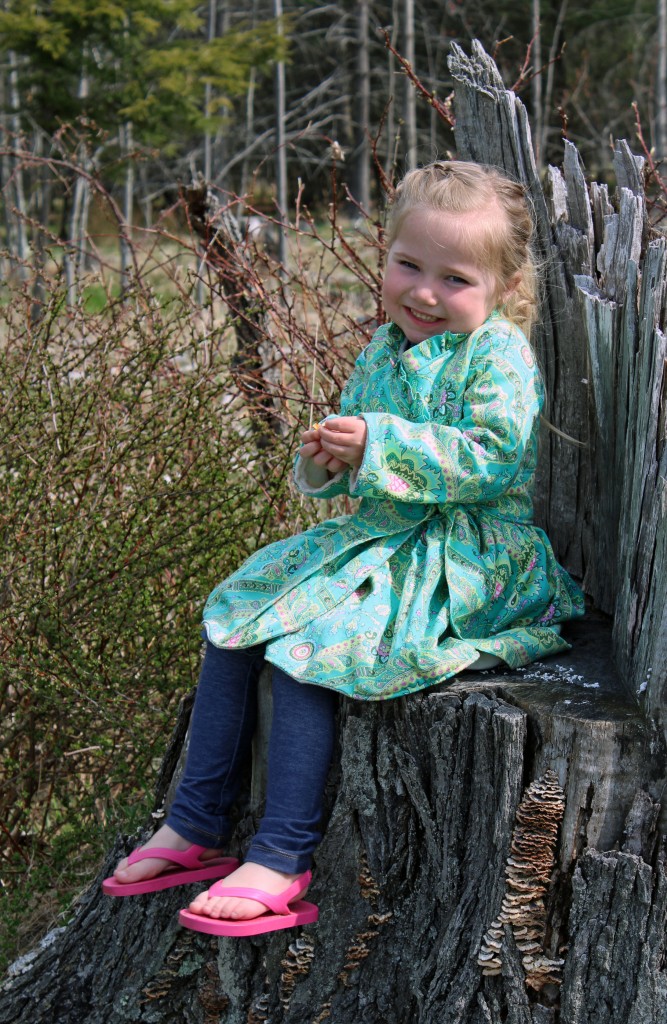
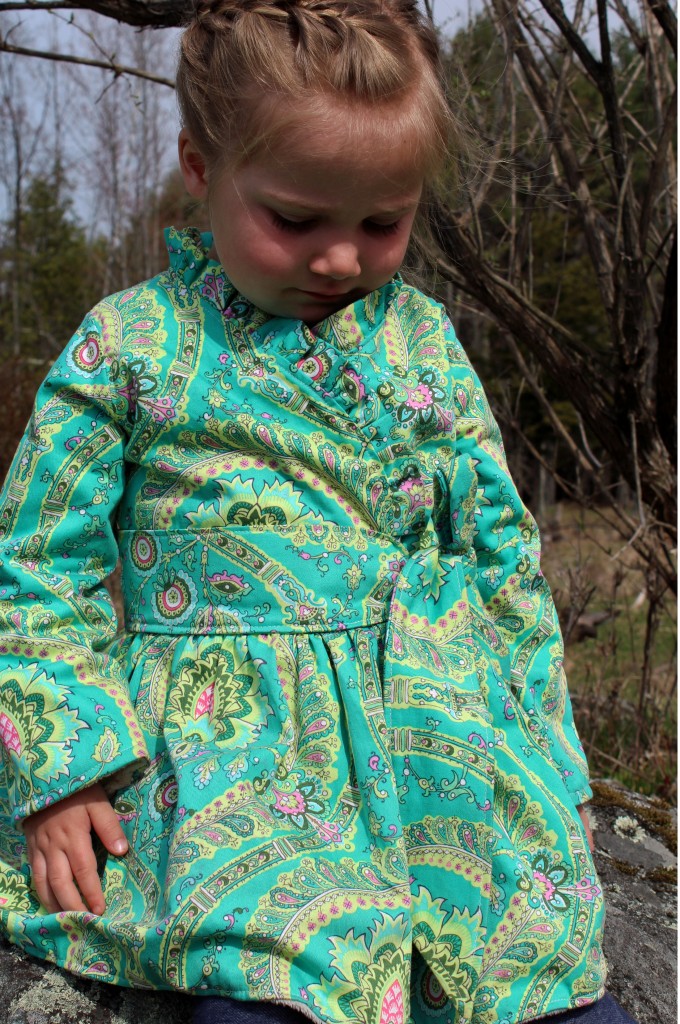 Did I mention that these jackets are great for twirling? You know how much my little girls love to twirl! And how sweet is that little row of ruffles on the collar?
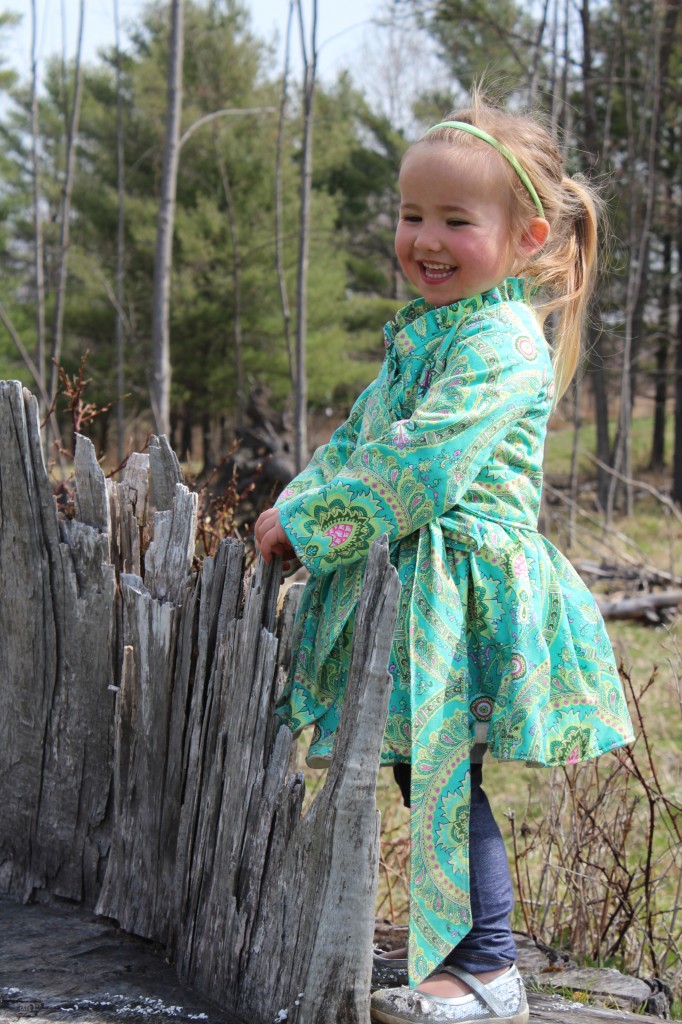 I really do just love these jackets…and these two little girls!
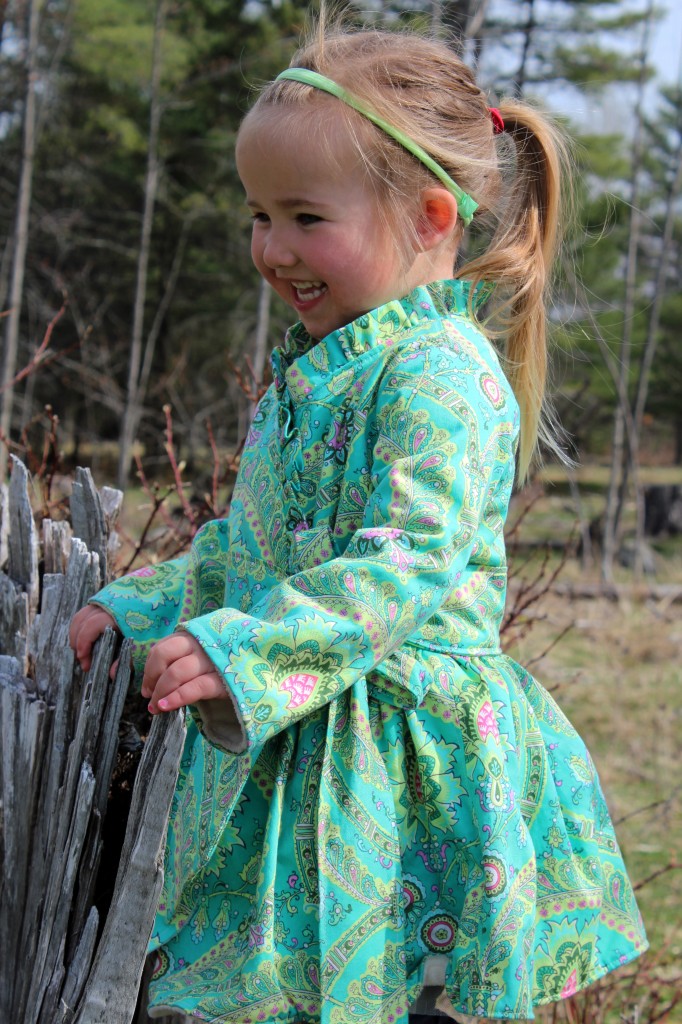
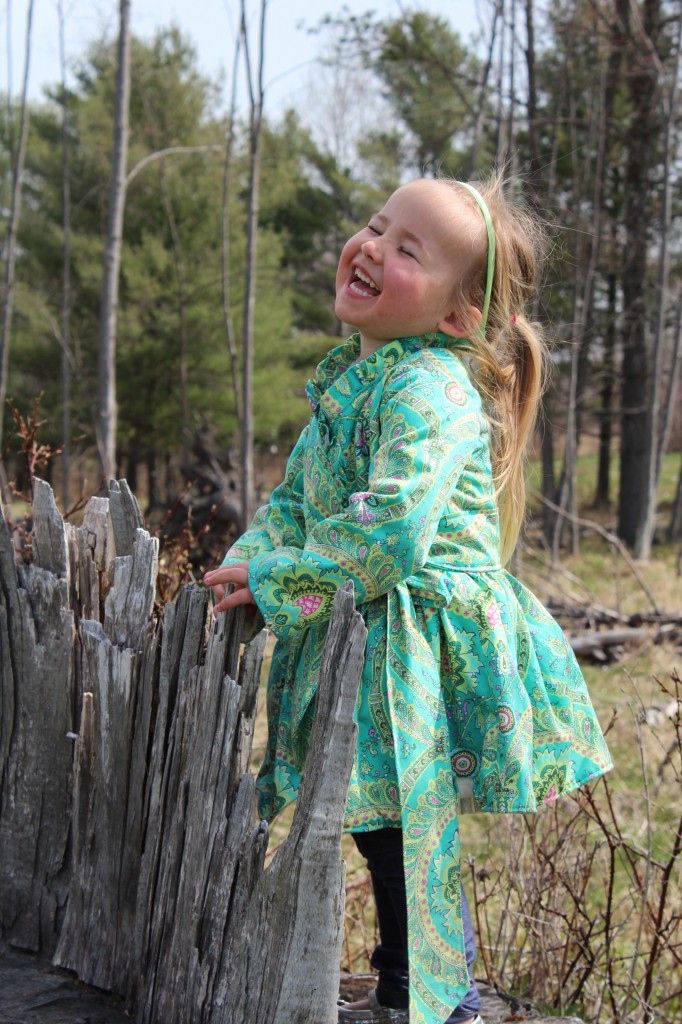 How cool is that tree stump by the way?!
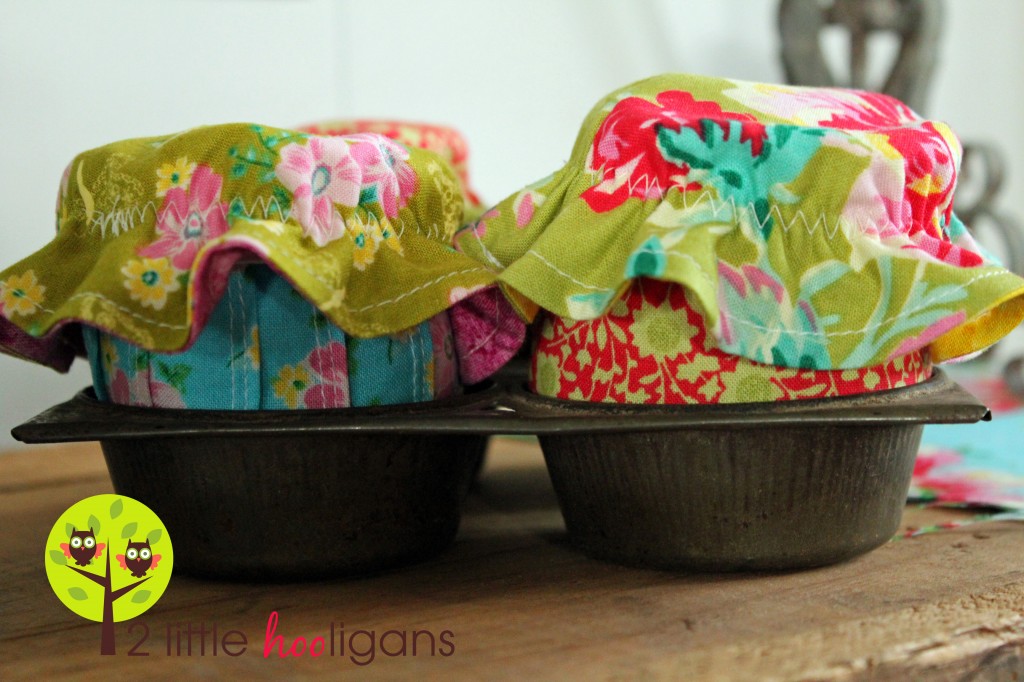
I’m over at Inspired by Fabric today sharing a tutorial for these cute little cupcakes!
Measuring Your Body {and a giveaway winner}
First things first, the giveaway winner for all these goodies is Rebecca who said, Oh, I’ve been wanting a white ruffled tank for myself – that fabric would be perfect! And what a great selection of patterns, thanks for the chance! Congrats Rebecca and cute blog! I will be in contact with you shortly!
Ok, so after my last post about sewing for myself I received a ton of emails about how all of you want to sew more for yourselves. So why aren’t we? Almost all of you have the same reason as me.
It is because we are not measuring ourselves!
Seriously? It is one little thing that takes only about an hour but makes a huge difference when sewing for yourself. I won’t lie I am there with you. I still have not measured myself either. I pretend to, but never do it the proper way. Of the few dresses that I have made for myself I have had to alter them a lot. And even then some of them are wonky looking because I should have known my proper measurements to begin with. I have one dress that I love but really messed up on the straps. If I would have taken the time to measure myself ahead of time that would not have happened. Now the straps are all crazy looking and well, I never wear the dress. It was such a silly little mistake that could have been prevented. We measure our kiddos all the time, yet we never measure ourselves!
A few weeks ago I purchased the magazine Threads. The whole issue is on fitting, but one article in particular How to Measure UP is all about measuring yourself. There are detailed pictures and descriptions to show you exactly how and where to measure yourself. They same article is on their website which can be found here. Threads even shares a free printable for keeping track of your measurements. Yes, once you take your measurements you will need to write them down!
So now we have no excuses ladies! Ok, so maybe we still have one. We all know that someone else has to measure us in order to get the correct measurements and well all l I can say for that one is…WINE. Just grab a glass (or a bottle) along your man and get measuring! A well fitting garment will not only make you look better but also feel better. And in my case, I will actually wear the garment that I have made. I know that sewing for myself can be just as rewarding and as fun as sewing for my kiddos. So it is time to start doing it more. I am giving myself one week to get that Measuring Chart is filled out. No excuses!
So are you with me? If you are, head on over and read the How To Measure Up article. Then gather the few items that are required. Don’t worry they are items you already have around the house and if you don’t…improvise. Don’t forget to print off the Measurement Chart. I suggest printing off two. One to keep in your sewing bag and one to keep with your patterns. Then get measuring!
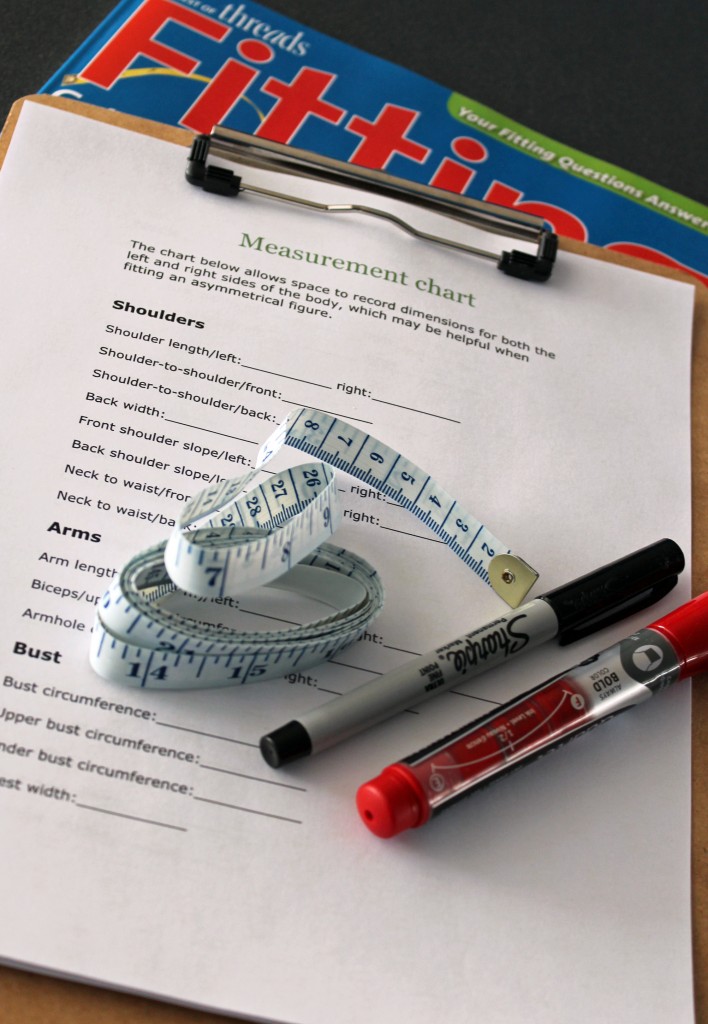 Hopefully we can encourage one another to do this one little thing that has been so hard to do. Once it is done then we can start sewing for ourselves!
KCW {Day 1}
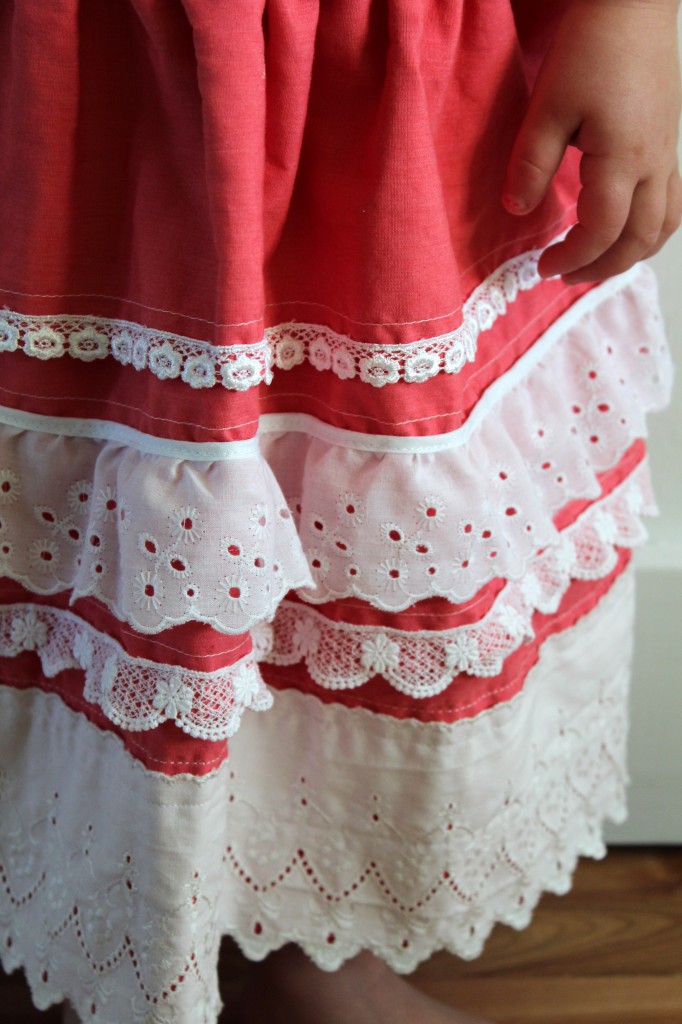
I managed to spend a whole hour last night adding snaps to three dresses and cutting out some patterns. I made the dress below months ago while I was participating in Project Run and Play. I never really liked the dress once it was finished. I guess that is why it has taken me so long to finally add some snaps to it. 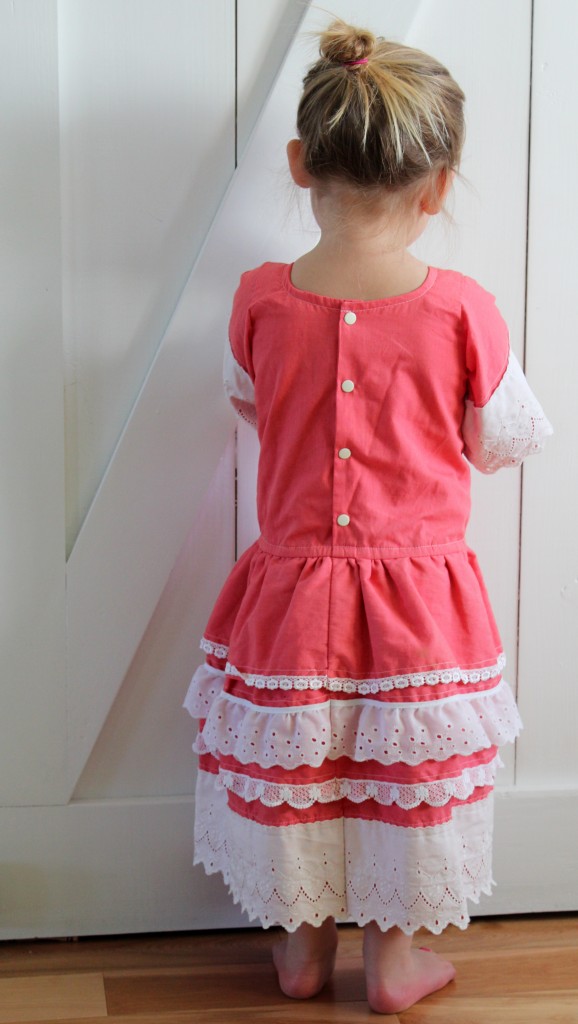 It’s kinda sweet, just not my style.
 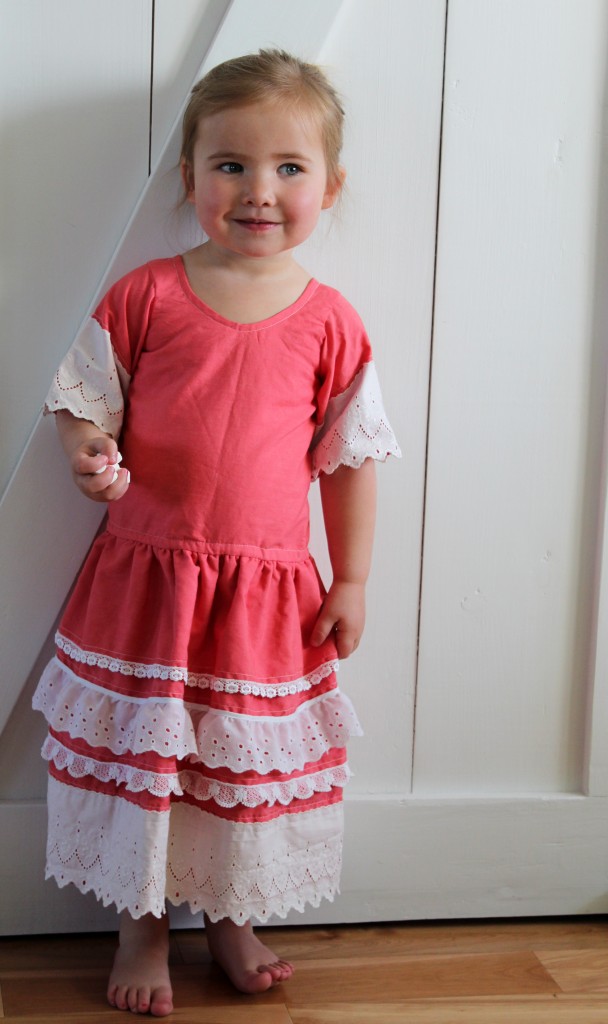 It is just missing something…any suggestions?
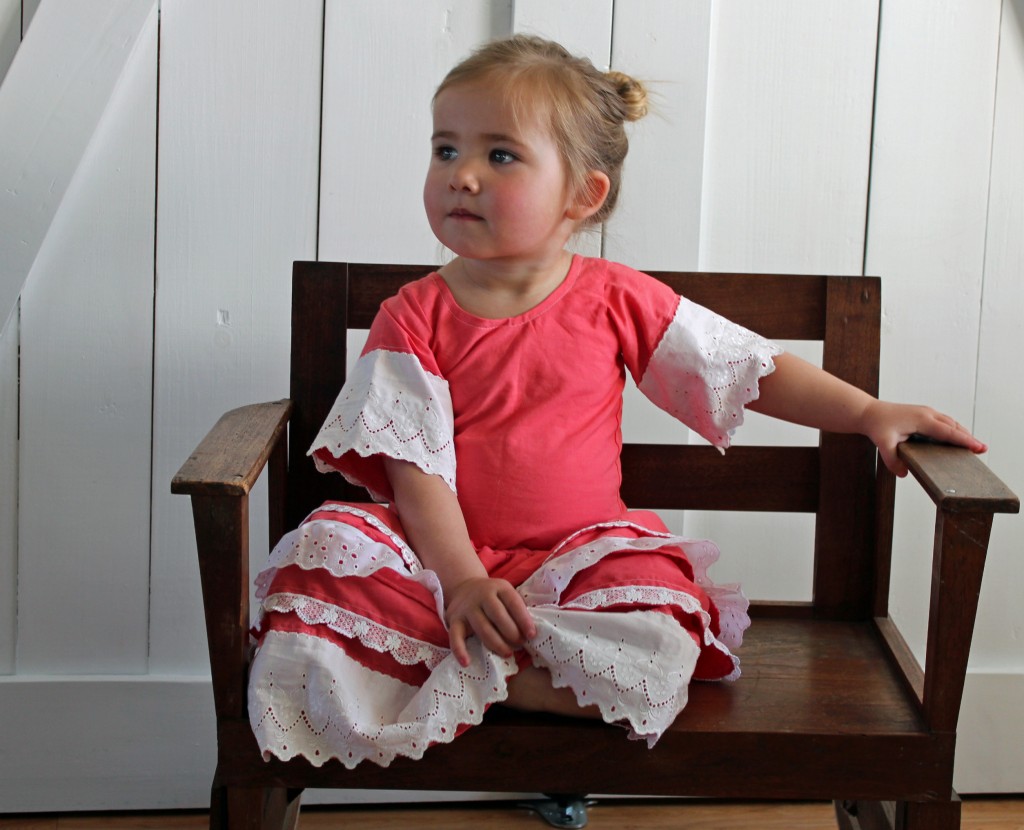 Thankfully the girls like it much more then I do. I already foresee it will get lots of wear. There were tears shed when it was time to take it off.
 Then I finally finished up these two pinafore dresses that were supposed to be worn for Easter.
 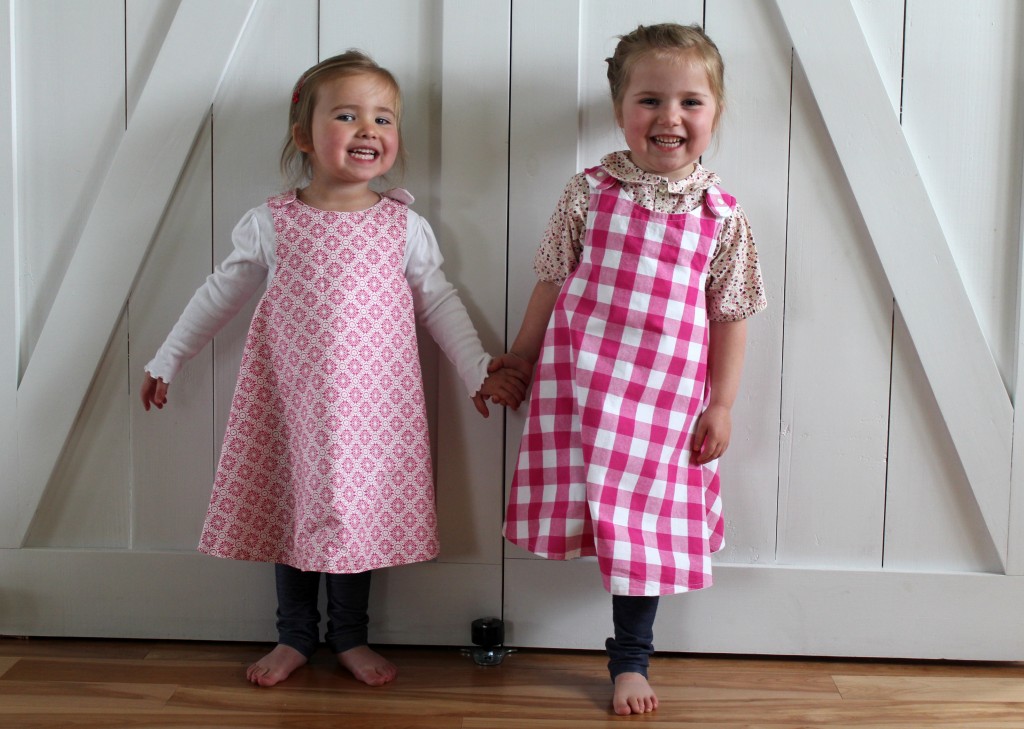 I used the same pattern last year to make this dress and have wanted to make another one ever since. The pattern is from Sew Baby.
 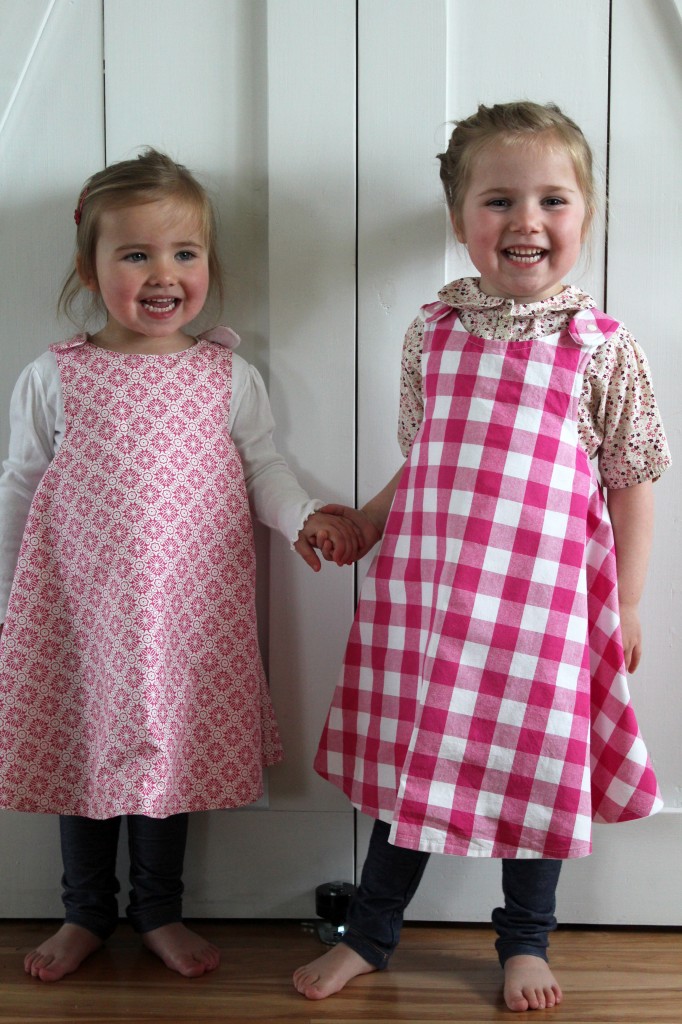 The dresses are a really quick and easy sewing project. A great beginner project.
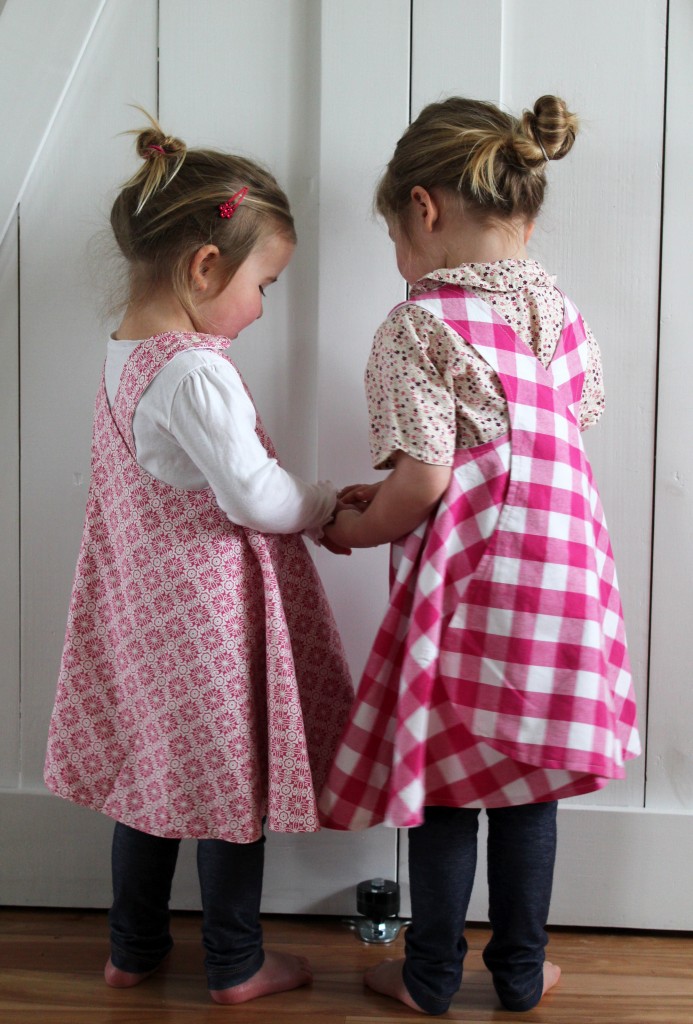 As you can see the dresses are a little big. I made a size 4 to allow for growth.
 I guess you could say that these two little girls are pretty happy with their new dresses! I will admit, it sure does feel good to finally finish them up! Why did it take me so long to add some snaps?!
Sewing for myself {and a giveaway}
Last summer I set out to make myself the perfect dress. It started with a huge pattern sale from Jo Ann’s and some fabric shopping at Fabric-Fix. After making a few dresses that looked completely horrible on me I quickly realized that I have gone totally wrong in my pattern purchases. I was purchasing patterns for clothes that I liked, not patterns for clothes that would look good on me. I did a little researching on the internet as to what clothes would look best for my body type. Here and here were great sites for figuring out exactly what body type I am as well as what clothes would look best on me. I am pear shaped. What looks best on me is empire waist dresses. I really should have realized that sooner because that is all I have in my closet. That is all that I wear. Unfortunately I only purchased 2 patterns that were empire waist styles, but luckily for you I have whole pile of patterns that need a new home. 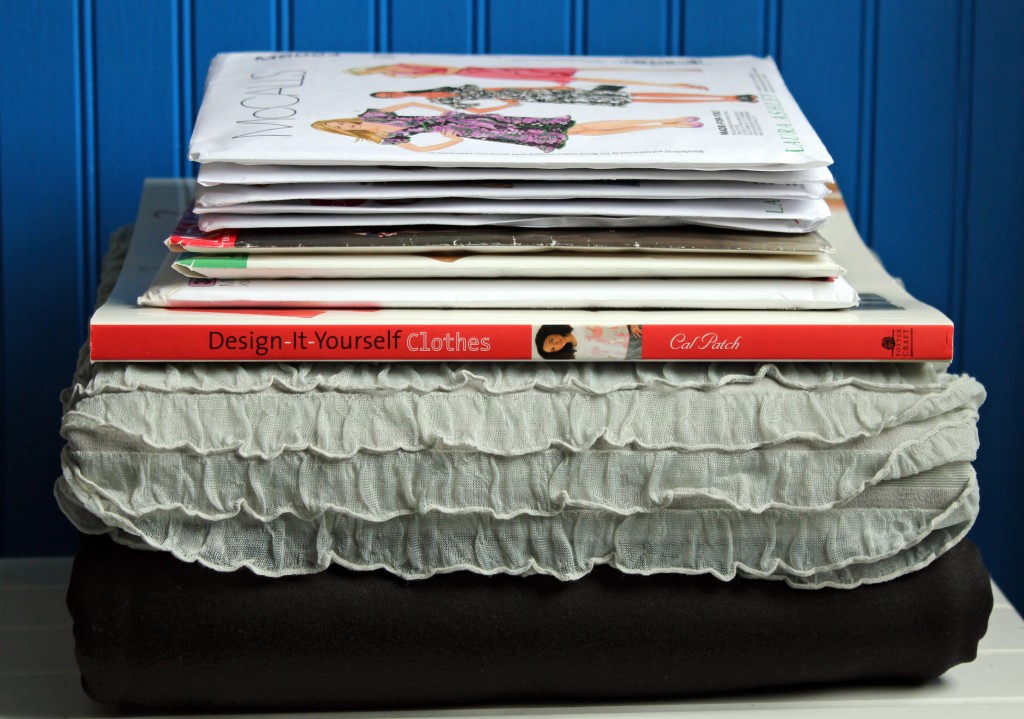 And I have some fabric too. I still have an insane amount of ruffled fabric that I really need to share. I think the ruffled fabric measures about 1 1/2 to 2 yards and the black knit fabric measures 3 yards. There is more then enough fabric to make a dress, skirt or some shirts.
 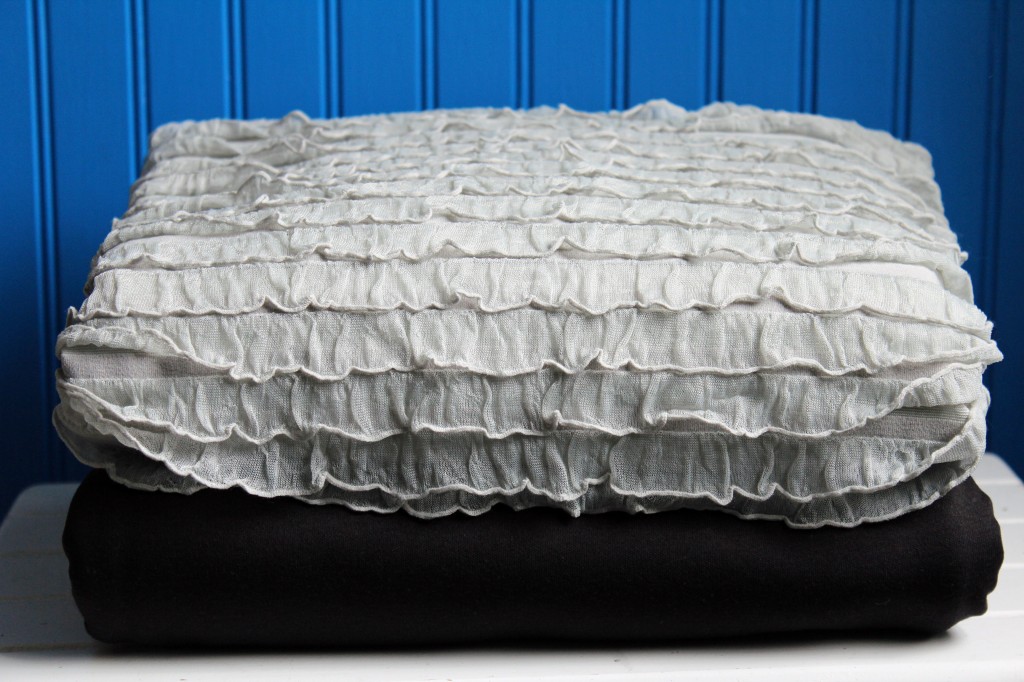 Here is a closer look at the book and patterns.
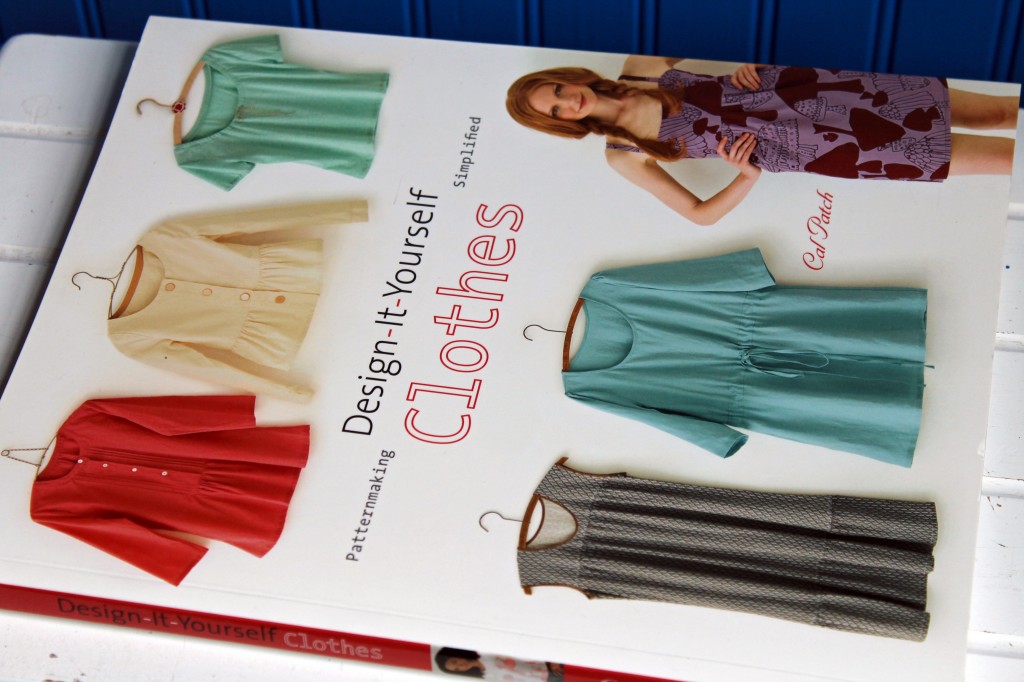
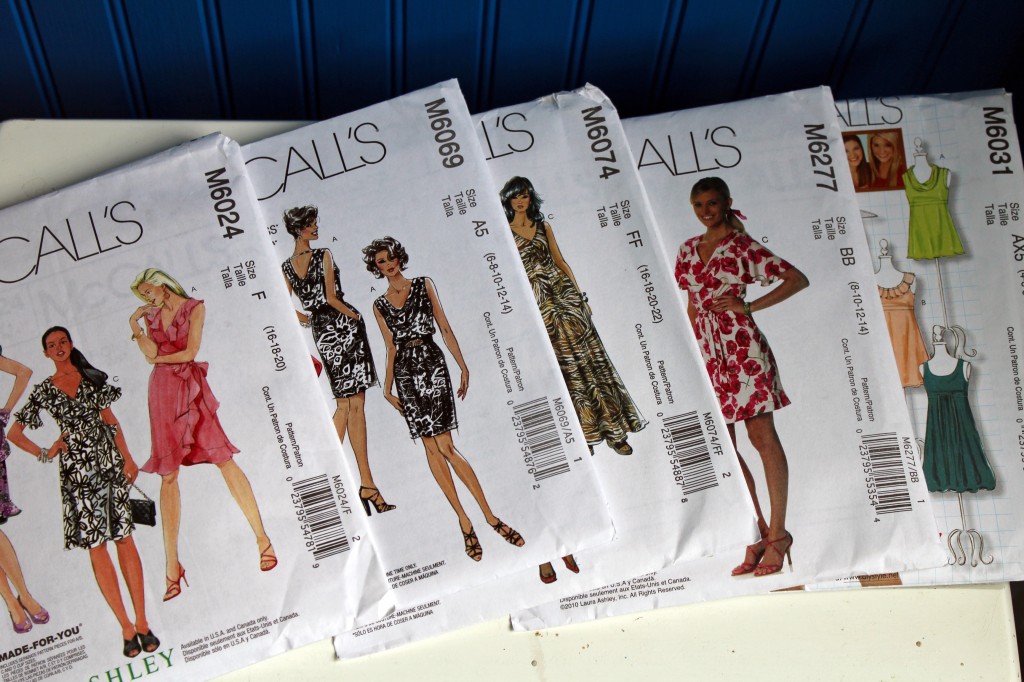
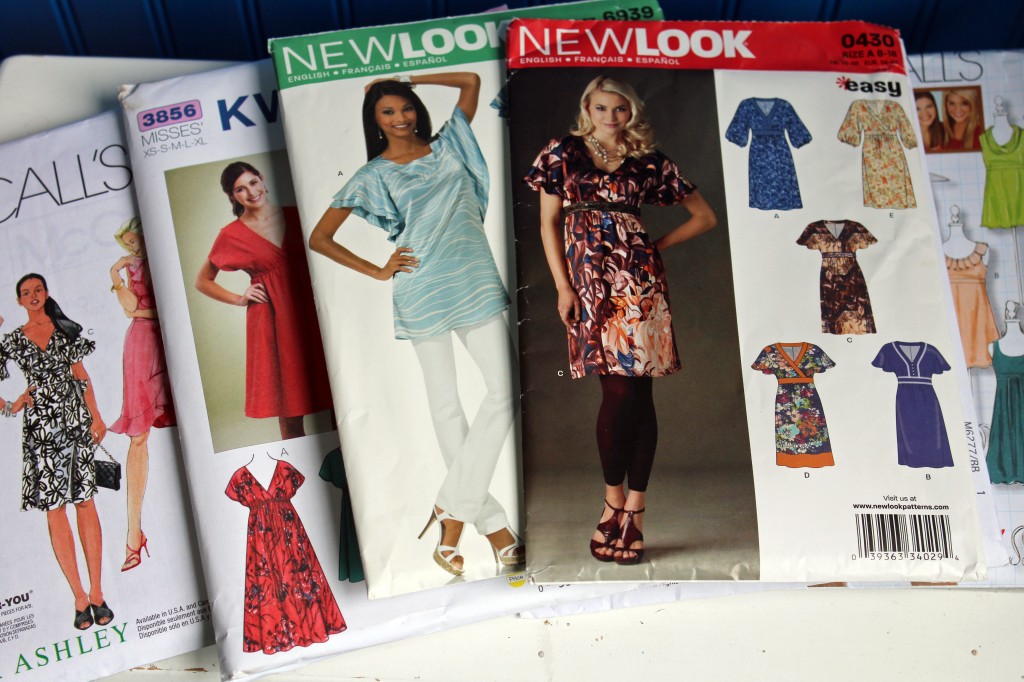 So if any of you are interested in this pile of patterns and fabric just leave me a comment. We will do a little giveaway for them! Good luck and I really hope that I can find a good home! Giveaway will end Friday April 26, 2013.
Seacoast Science Center
Last weekend we spent the day at the Seacoast Science Center with some family. It has become one of our favorite stops when we are at the ocean. It is small but always fun to visit! My kiddos are completely obsessed with animals right now, so this was the perfect place to visit.
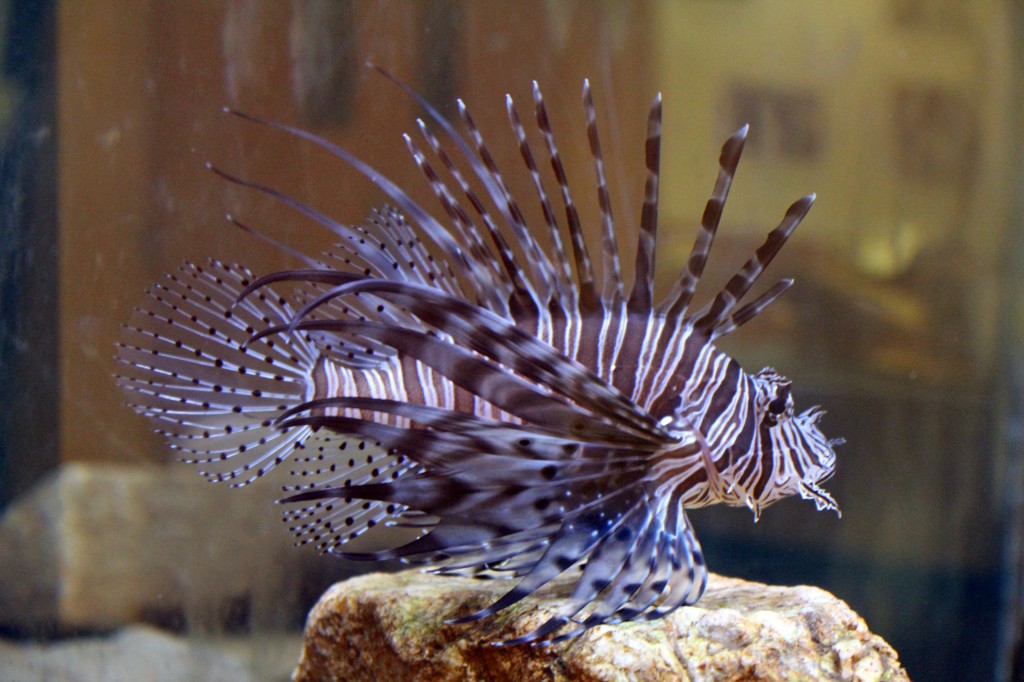
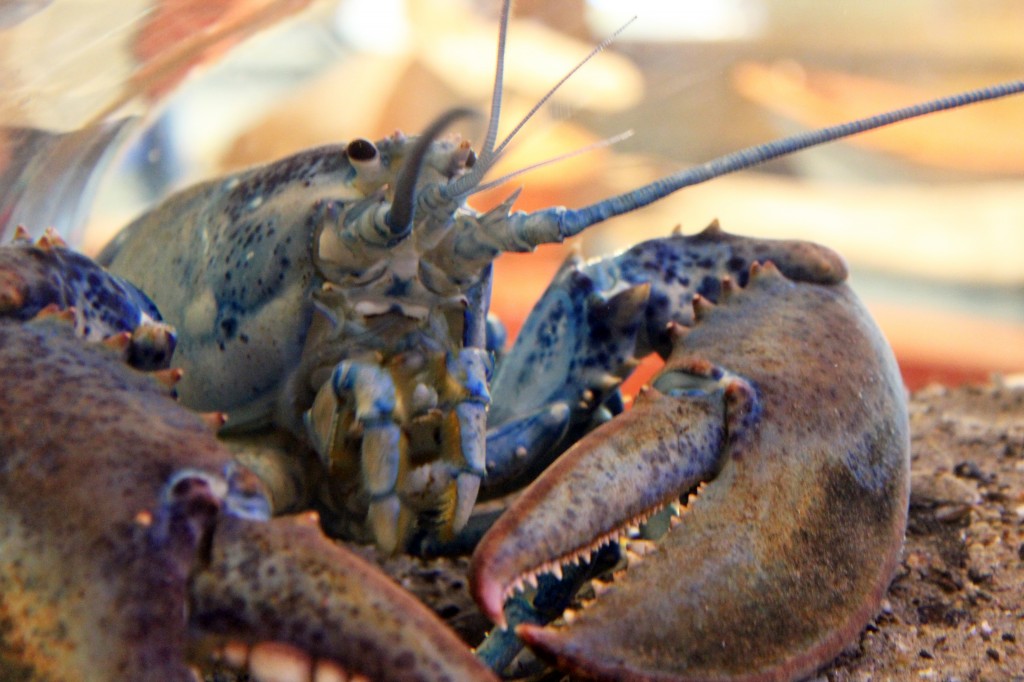
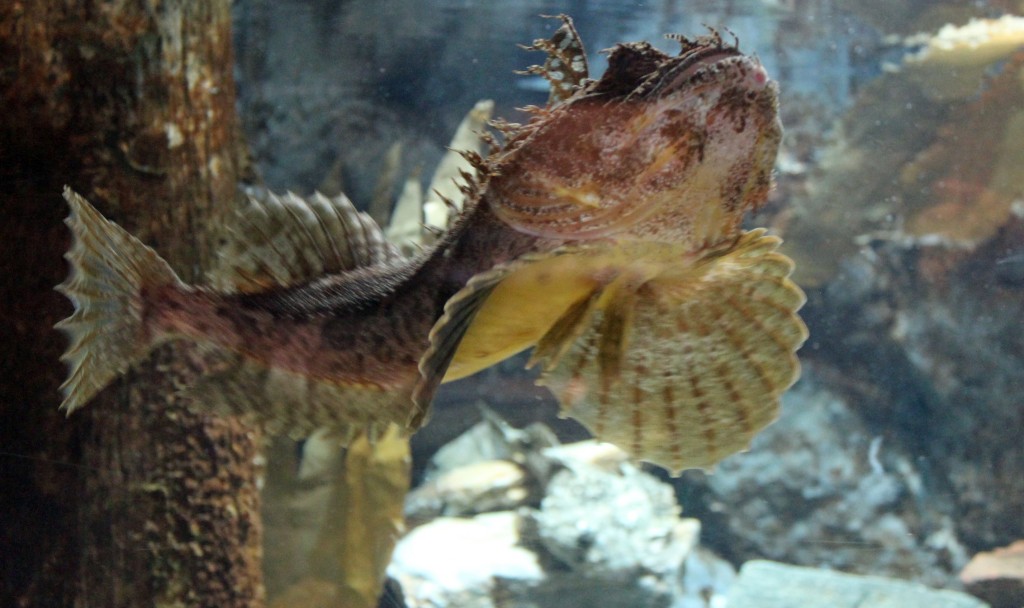 This blue lobster is always one of their favorites.
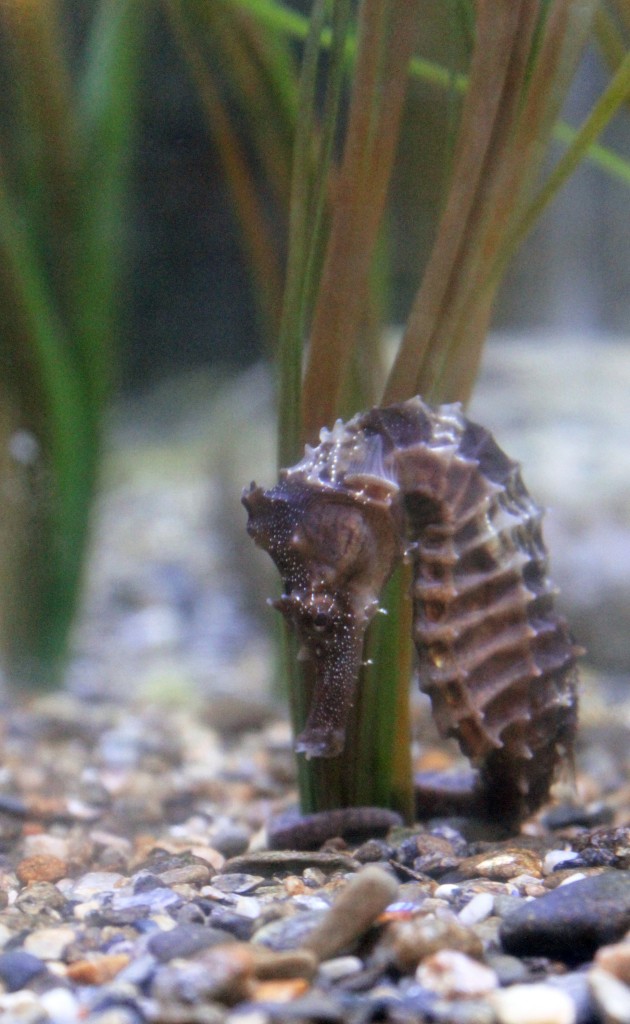
 While I can’t help but love the cute little sea horses.
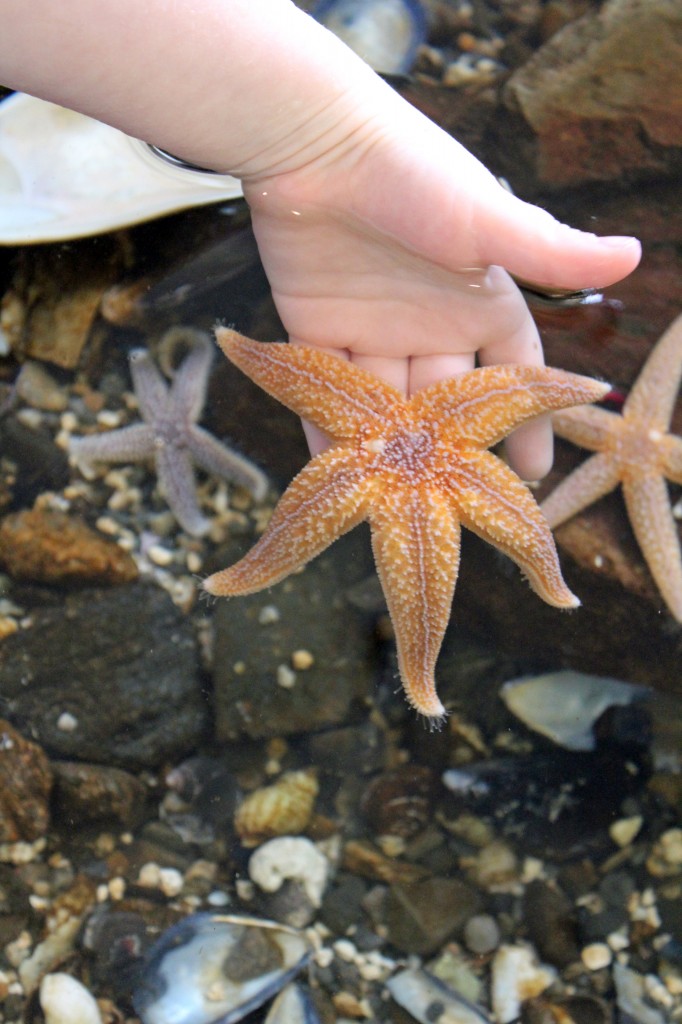
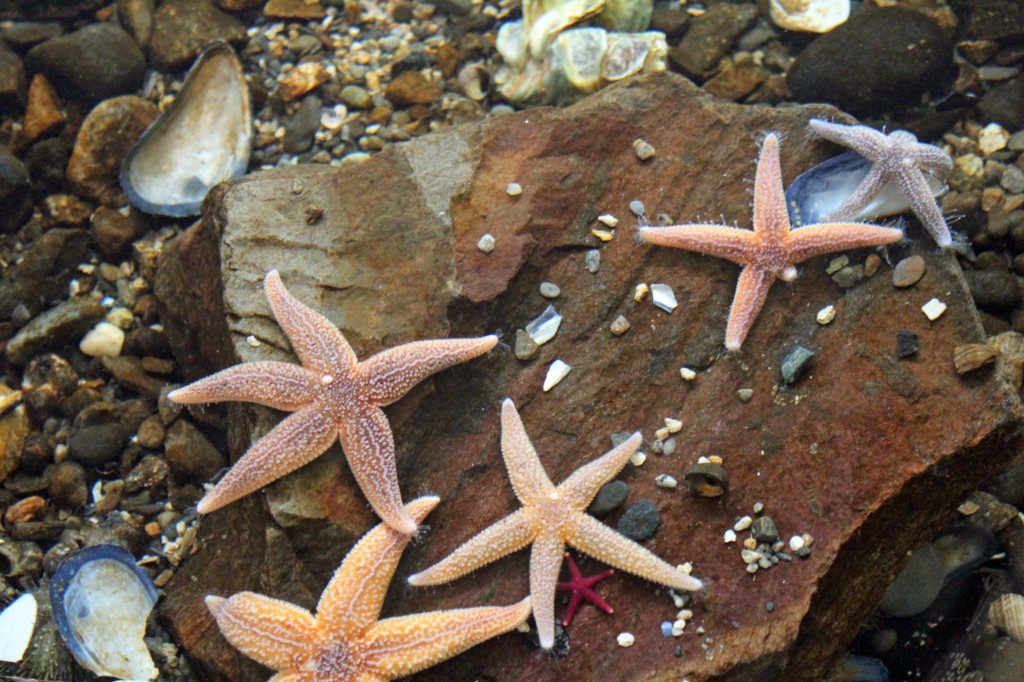 The touch tank is always good for a few hours of entertainment.
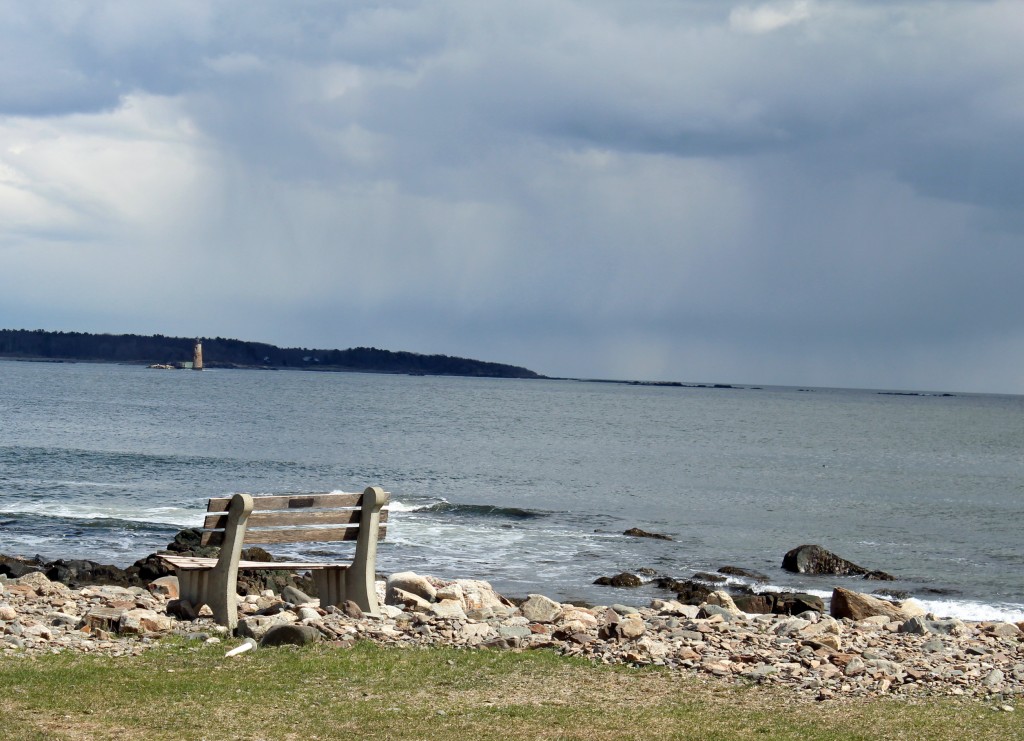
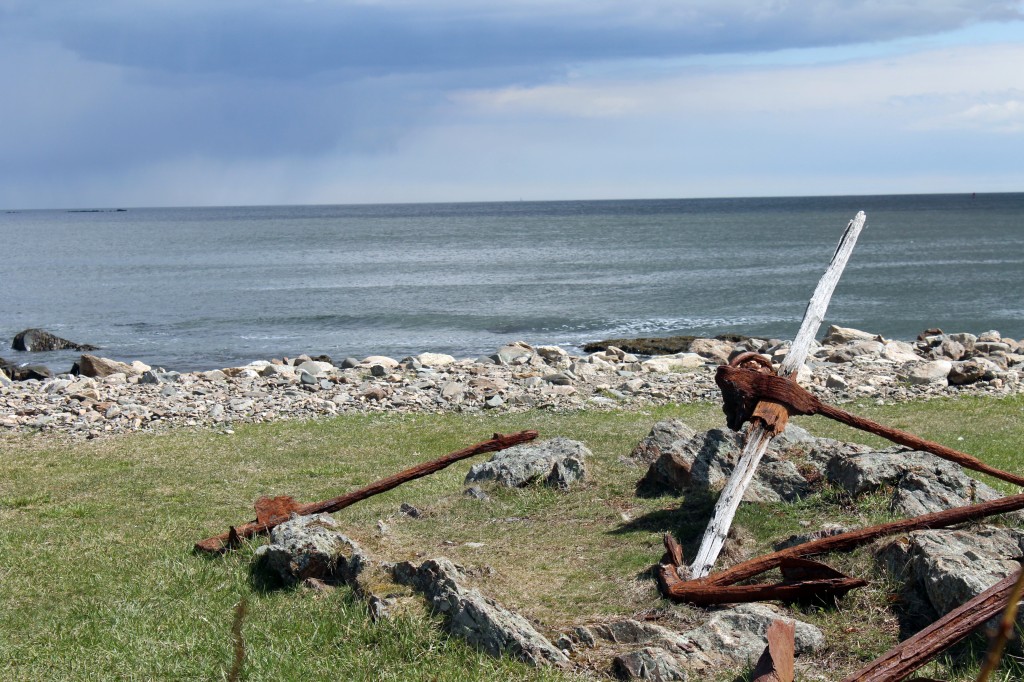 Thankfully the weather was a bit warm and we were able to spend some time on the beach.
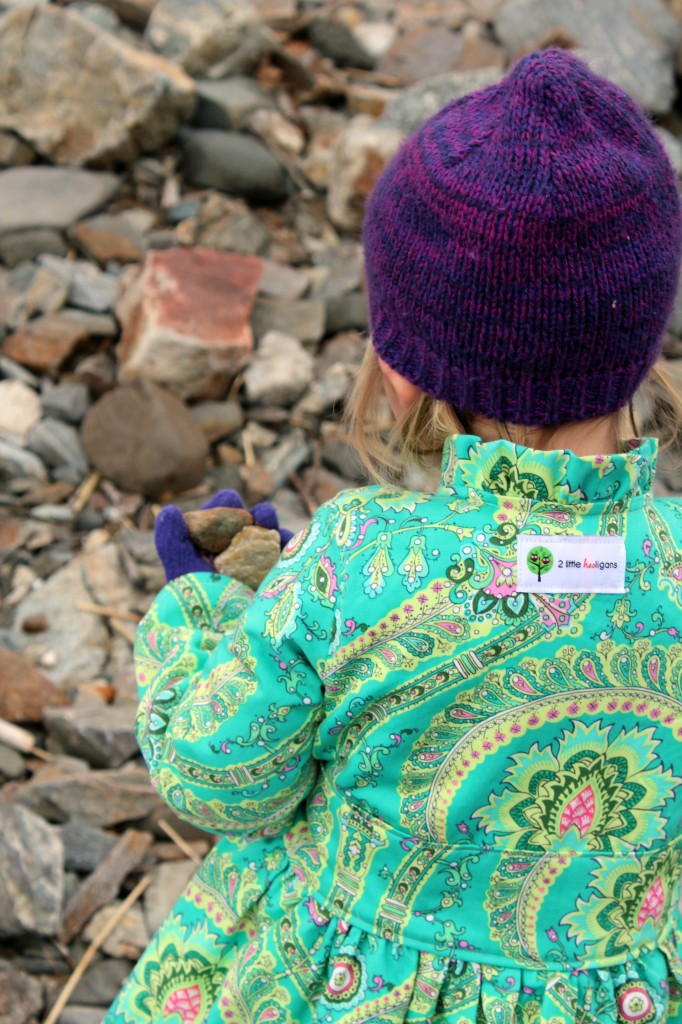 No trip to the beach is ever complete until we have pockets full of rocks and seashells.
Kids Clothes Week {Spring 2013}
Kids Clothes Week is finally here! How excited is everyone?! I know for sure that my little girls are in major need of some new summer clothes. Unfortunately my sewing machine is at the shop right now, but I am still going to try and participate. I have a pile of clothes that are ready to be worn but just need some snaps added to them. I know, shame on me. I just haven’t taken the time to finish them up, but now is the perfect time! And while I may not be able to sew a whole hour each day, I can easily spend a whole hour cutting out patterns…which is always the worst part, right?
So are you going to join in on the fun? It’s gonna fun!
Giveaway Winner
The winner of the Peggy Sue fat quarter bundle is jessica w who said…I am a follower via GFC, thanks for the chance to enter.
Congrats Jessica, I will be in touch with you shortly! And the last tutorial for the handmade bakery is for these cute little cupcakes. I will be sharing the tutorial for them some time this week.
Homemade Vanilla Extract
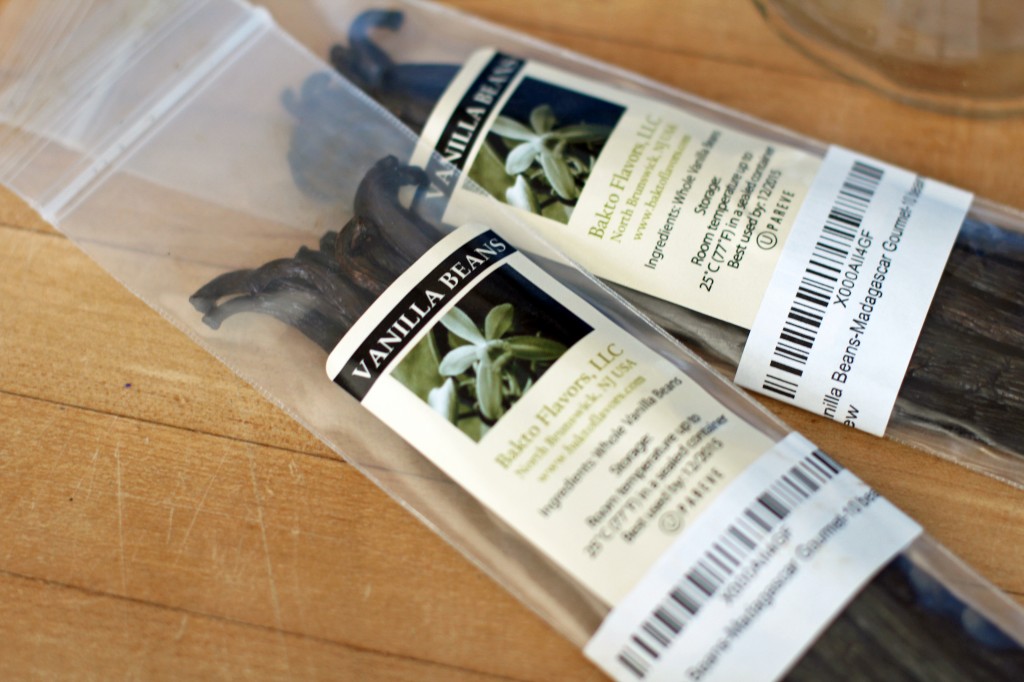
In one weeks worth of time I purchased 2 one-ounce bottles of vanilla extract and spent almost $10 for the both of them. I don’t know about you, but I thought that was crazy expensive! Then I remembered reading about making your own homemade vanilla extract a few times and figured now was the perfect time to give it a try. 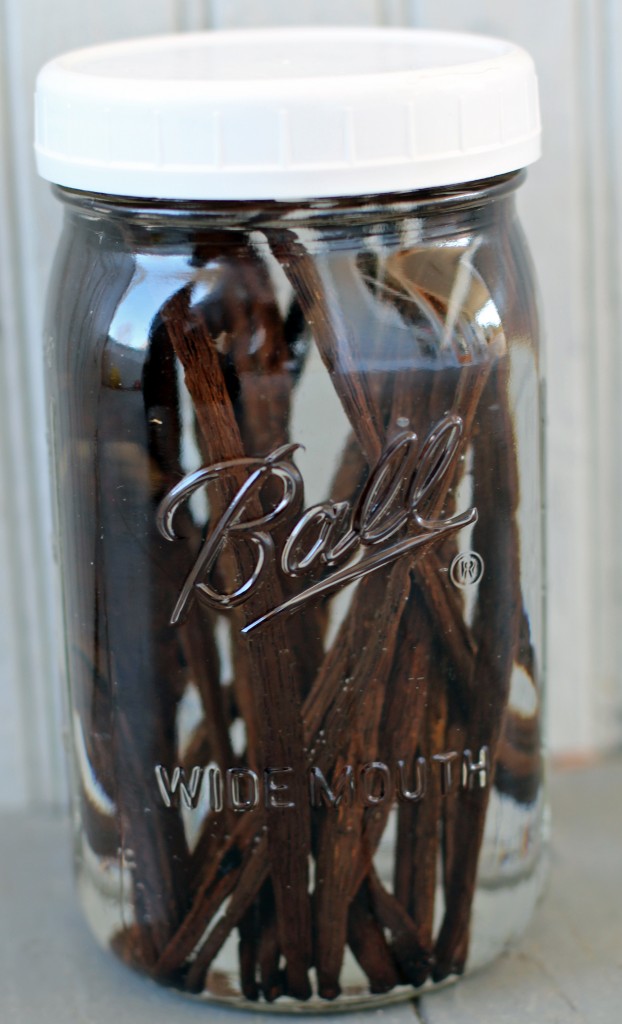 After a quick search I found a ton of recipes for homemade vanilla extract. I ended up using this recipe here. Who knew all you needed was some whole vanilla beans and vodka? Crazy! Why haven’t I been making our own vanilla extract sooner? So I quickly purchased some whole vanilla beans from Amazon and paid about $24 for 20 vanilla beans. Then I purchased a big ole bottle of vodka for about $10. Apparently the ratio you want is 5 whole vanilla beans per 1 cup of vodka. So for 4 cups of homemade vanilla extract I spent $34 and still have enough vodka left to make another batch. It doesn’t take a mathematician to figure out that that is a whole lot of savings. Plus, I’m pretty sure like anything homemade…it is way better. Anything with that much vodka has to be good right?! The hardest part about making your own vanilla extract is waiting the 8 weeks before you can start using it. Every few days I just give the jar a little shake…and a smell. It smells super yummo by the way! One of these days I just might take a swig.
  Any of you make your own vanilla extract?

