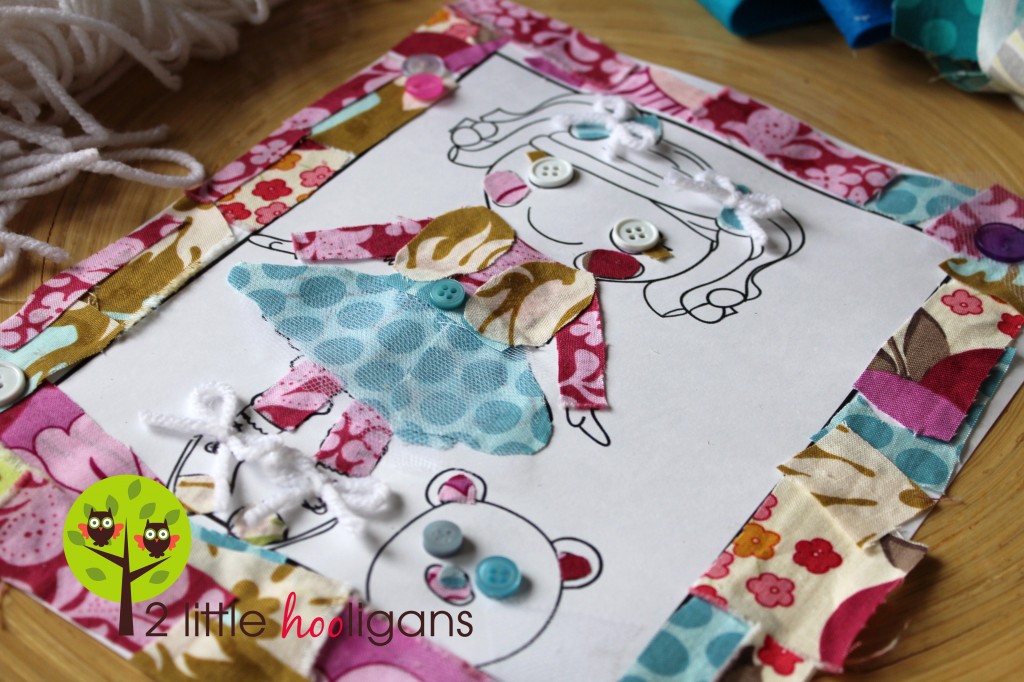
 This was one of the activities I had planned for my little girls Lalaloopsy Birthday Party and we finally got around to doing the other day. We had so much fun doing it that I just had to share it with all of you. I saw a similar idea over at The Tom Kat Studio and thought it would be lots of fun to do with the kiddos. I am always looking for fun crafts to do with the kiddos that I enjoy as well…and this is definitely one of them! I loved doing this doll-ee dress-up activity as they call it, just as much as they did…if not more.
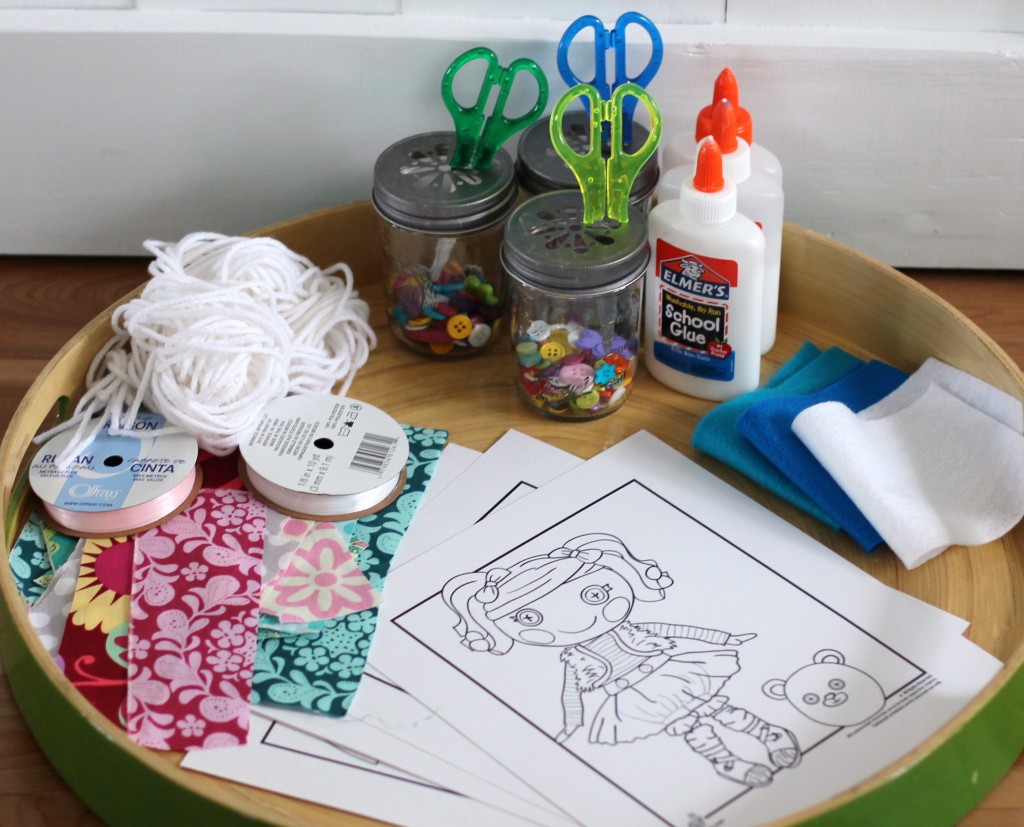
 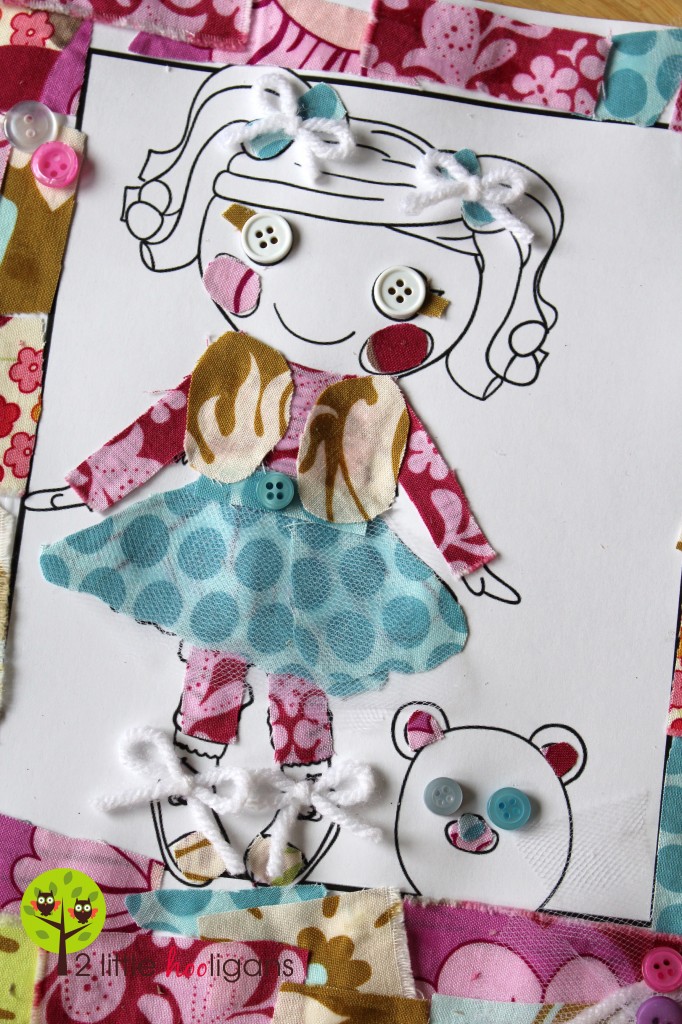 As you can see it is a pretty simple craft to do and a great way to use up a bunch of scraps. All I did was gather fabric scraps, buttons, ribbon, felt, and some tulle that we already had in my sewing closet. Then I gathered a few bottles of glue and some siccors. I printed off these cute little Lalaloopsy printables onto card stock. Make sure you use card stock, regular paper is too thin to work with and embellish. Of course you could find other free printables to work with as well.
  Then start cutting and pasting. It doesn’t get much easier then that.
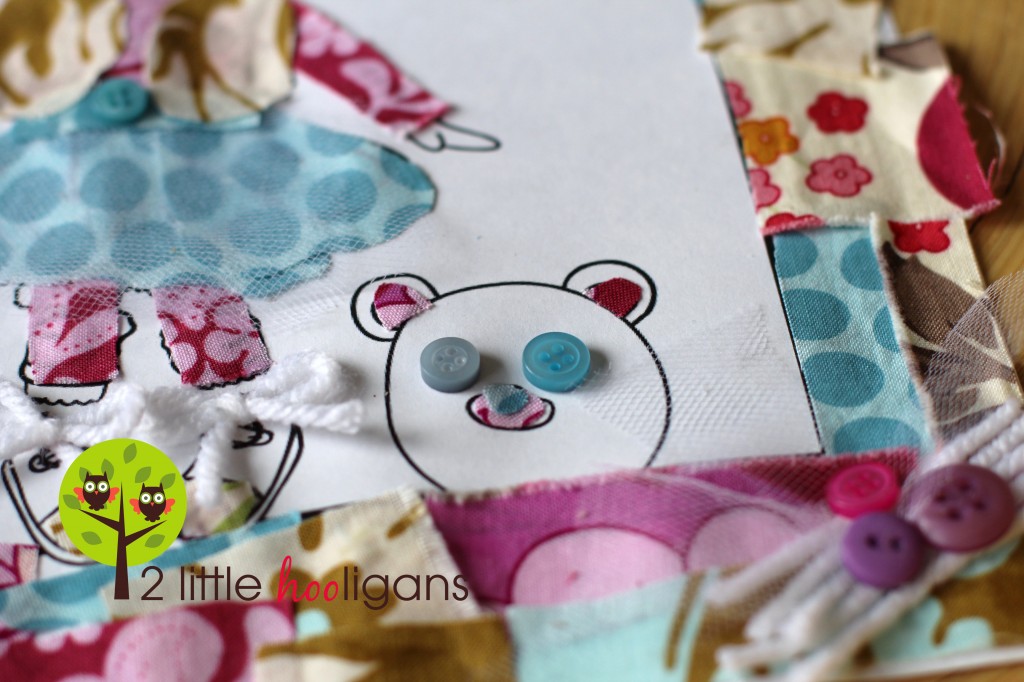 You can get as complicated with your designs as you want or as simple as I did with mine. Either way, it is a fun craft to do with the kiddos and that is all that matters!
A Lalaloopsy Birthday Party
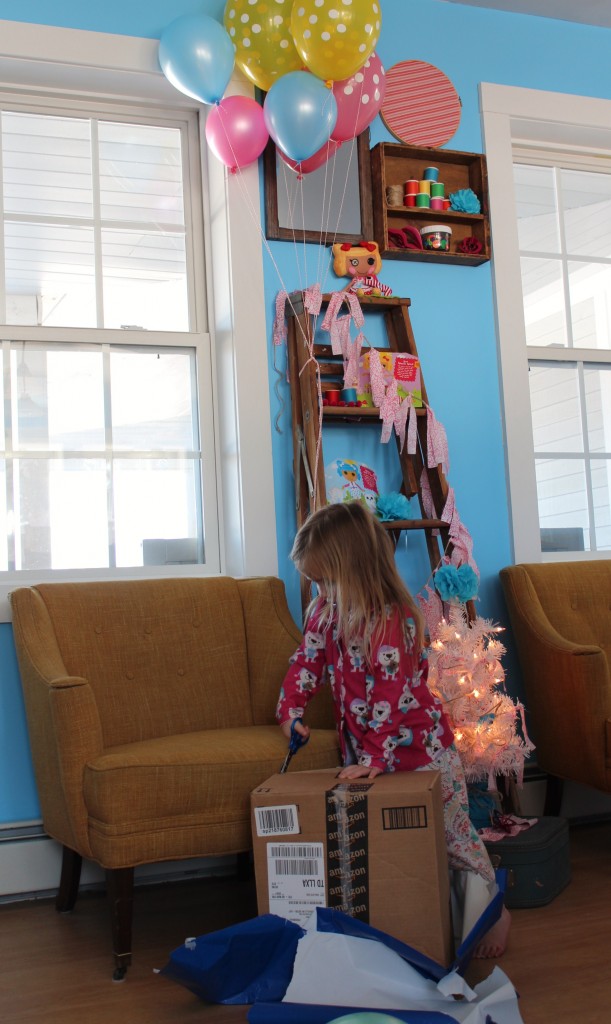
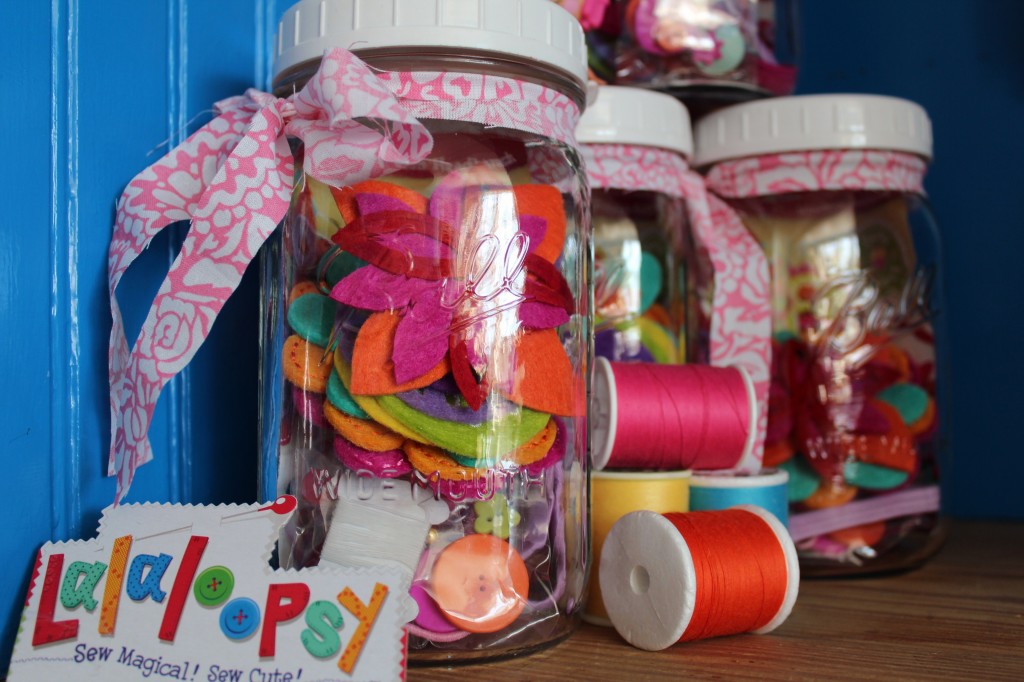
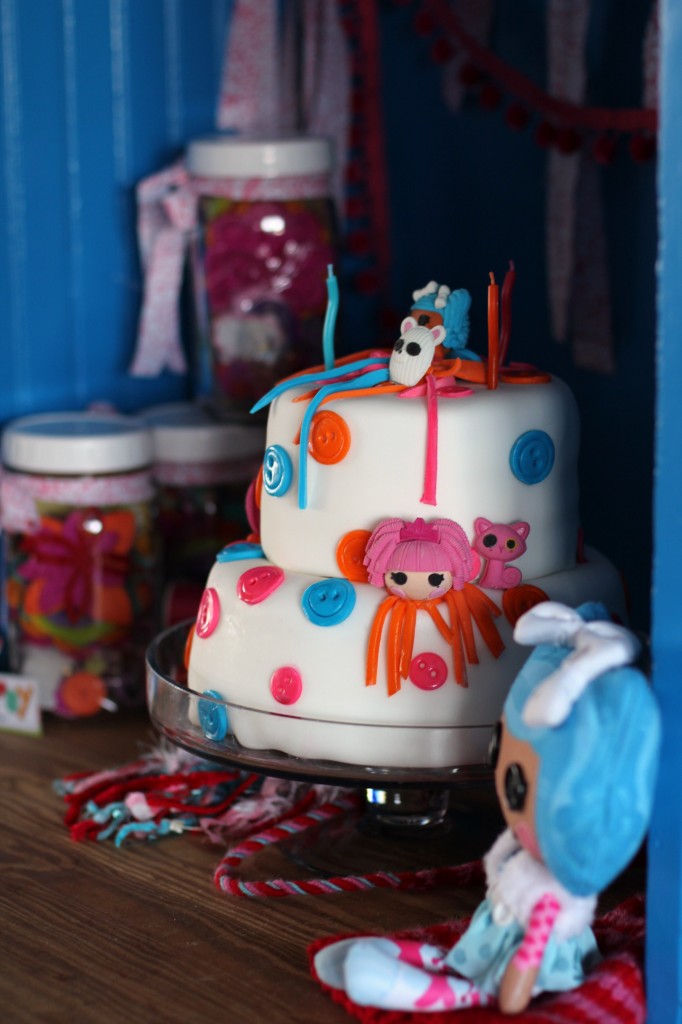
We celebrated my little girls 3rd birthday on Saturday. Like I mentioned before she wanted a blue Lalaloopsy birthday party with a Christmas tree. And like always no matter how small the party is, I need to decorate.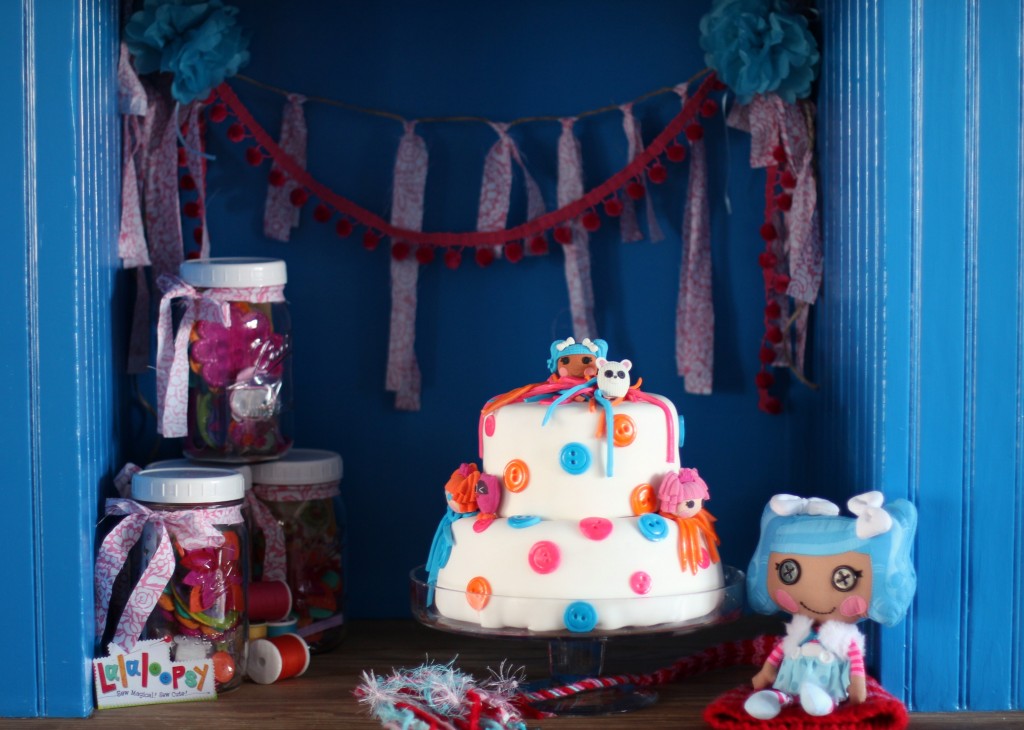 I decorated the ladder and the little cubby that is in the kitchen. Nothing fancy, just a bunch of stuff from the sewing closet and of course some balloons.
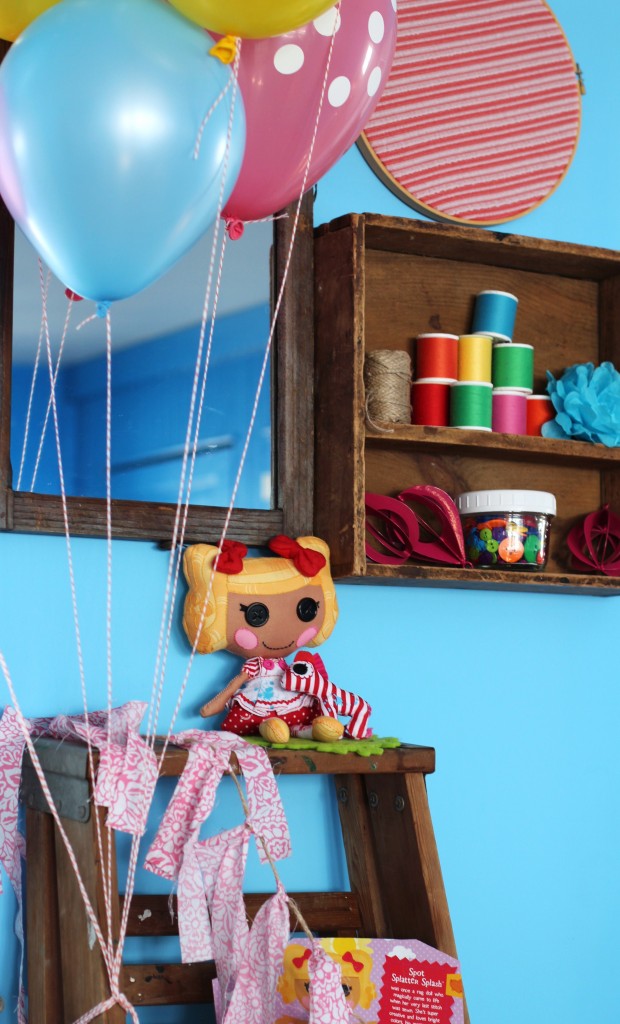 When she saw it all decorated she just loved it and that is all that I had hoped for.
 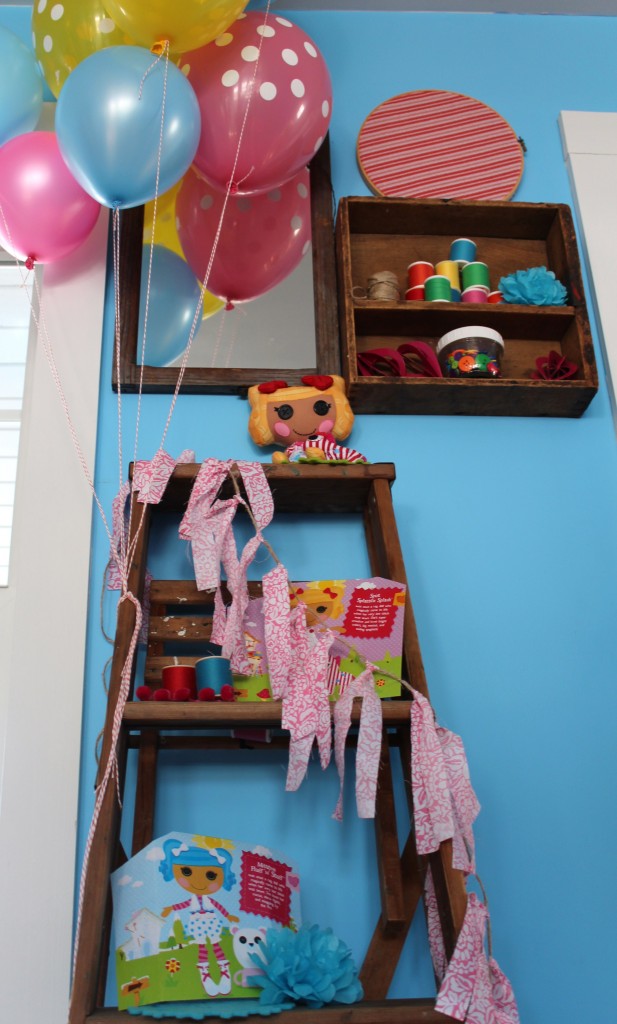 Her brother and sister wrapped up an old stuffed animal of hers as her gift. Then about an hour later I found the birthday girl opening her gift waay ahead of time. Apparently she couldn’t handle the suspense.
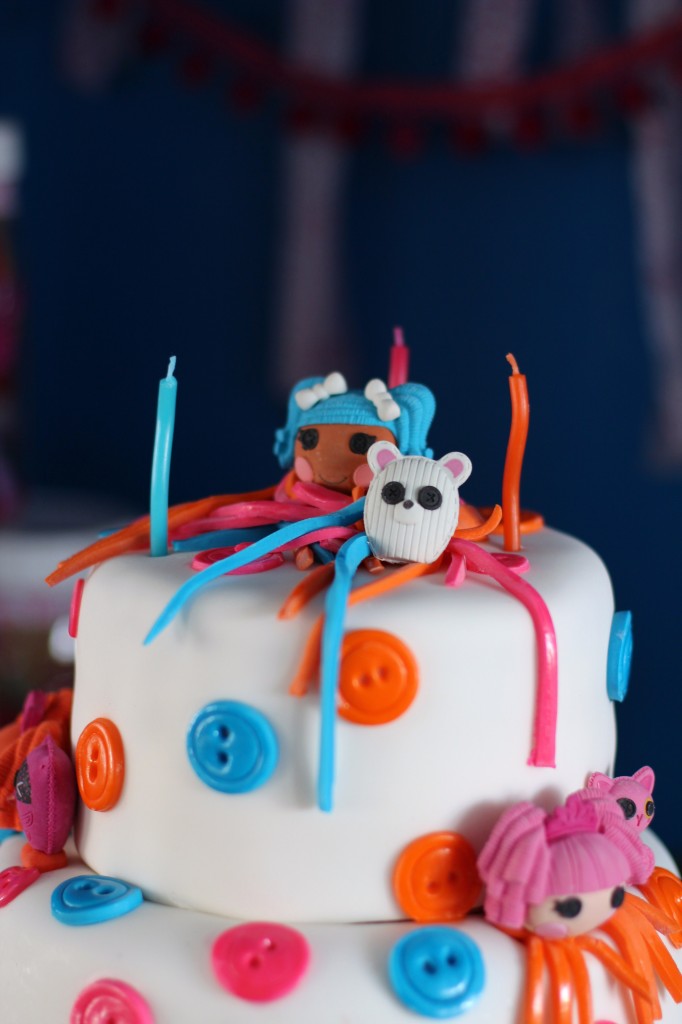
 I made her birthday cake out of fondant. I just love working with this stuff. It is like decorating a cake with play-doh. Plus my cakes always seem to come out better this way. Remember my Mt.Crumpit cake?
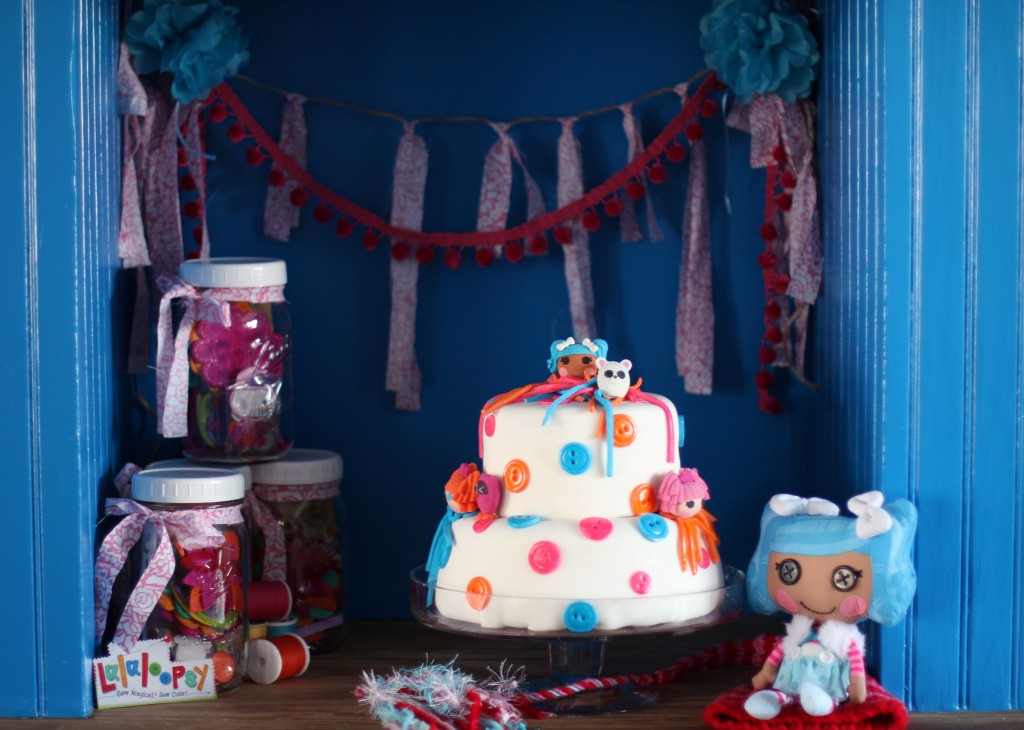
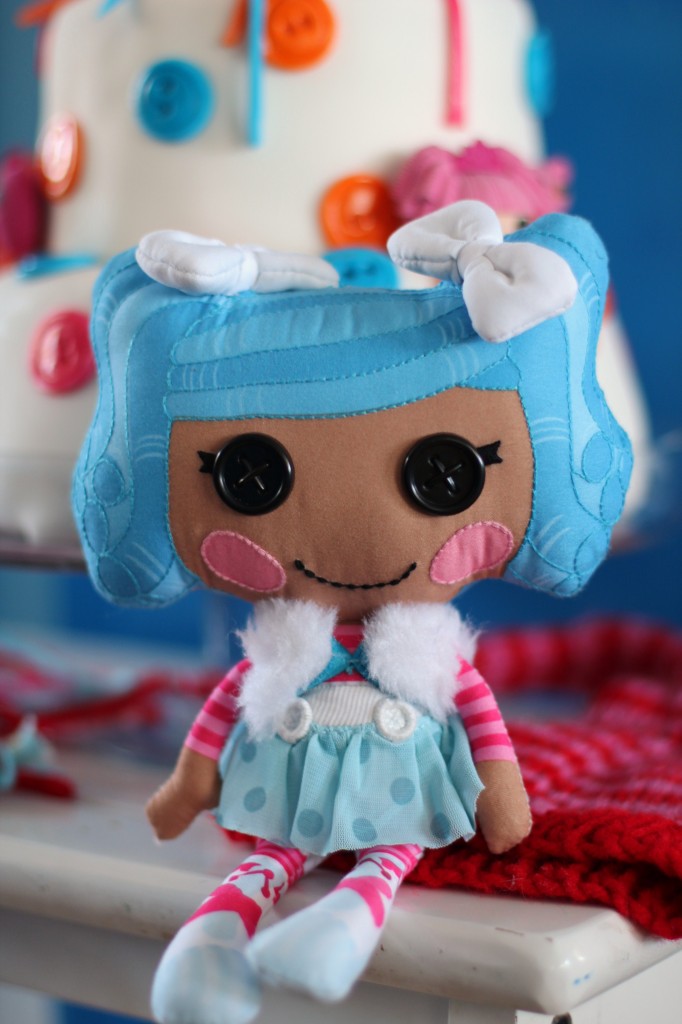 I used the same Lalaloopsy erasers that I used in her Lalaloopsy Birthday Tree. They are just so cute?
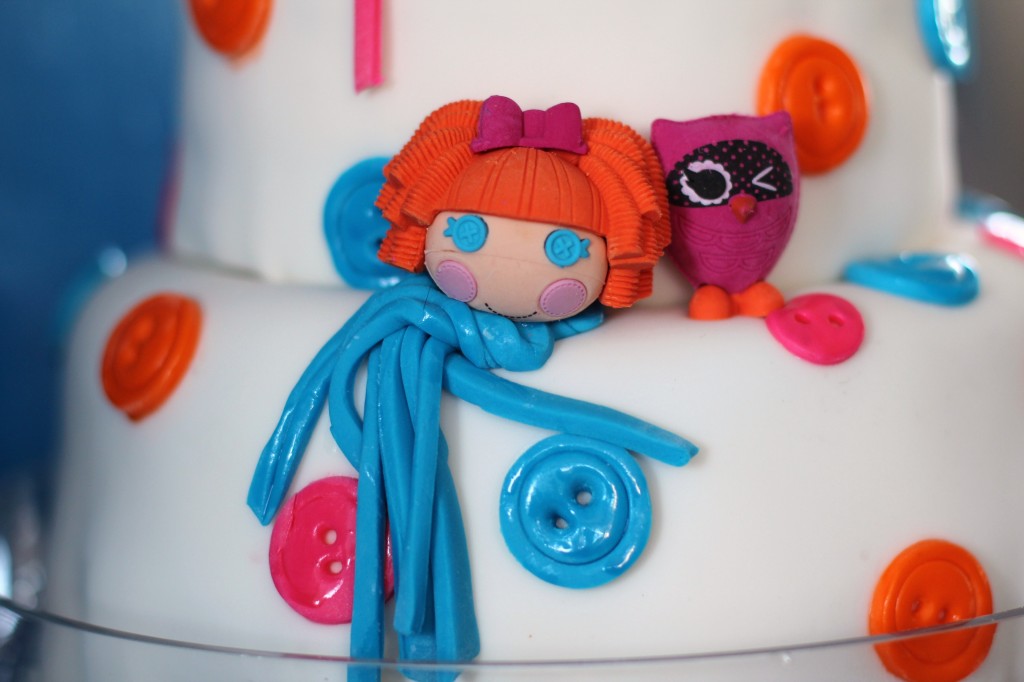 I made the little buttons out of fondant using the backside of my decorating tips. All I did was cut out the larger circle using the backside of the largest cake decorating tip that I had. I think it was a 1M. Then I used a smaller tip to make the indentation inside of the larger circle. Then I cut out the two circles in the middle with the right side of the tip. Don’t they look like buttons for real? I tried to make threads from the leftover fondant that I had. I’m not sure that they look like threads, but they do hid my mistakes.
  I had a few crafts planned but since the kiddos were a little under the weather I decided to save them for another day. Instead we decided to get outside and enjoy the warm spring air.
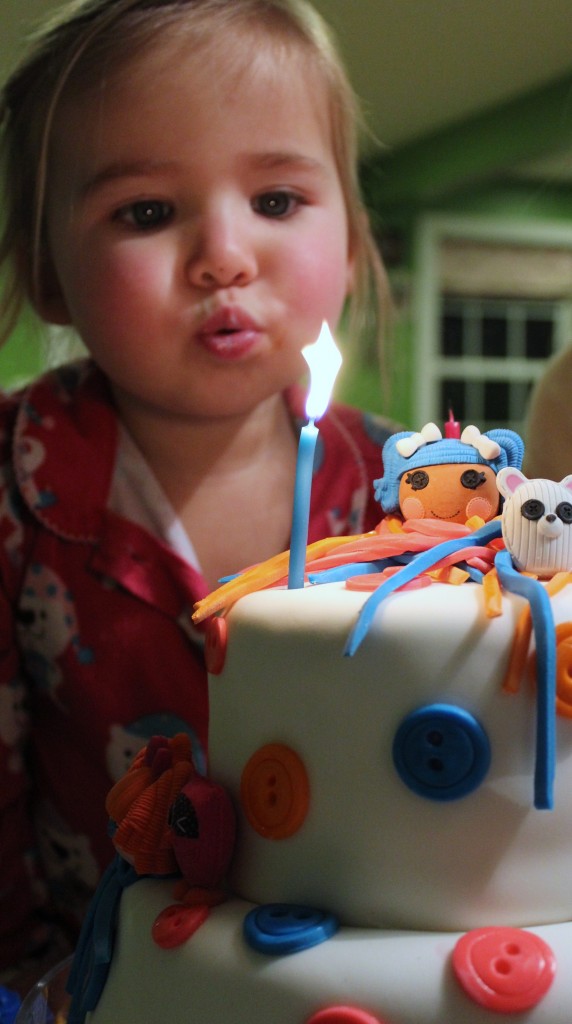
 The birthday girl was even sweet enough to let her brother and sister help her blow out the candles.

A Lalaloopsy Birthday Tree
It’s hard to believe that my little baby girl turns 3 in two days! She requested a blue Lalaloopsy Birthday party with a Christmas tree. Not sure why a Christmas tree, but whatever. I already had this cute little white tree that I bought after Christmas from Walmart. It was $5 on clearance and I just couldn’t pass it up. I’m so glad I didn’t because now I don’t have to go and cut down a Christmas tree for her party.
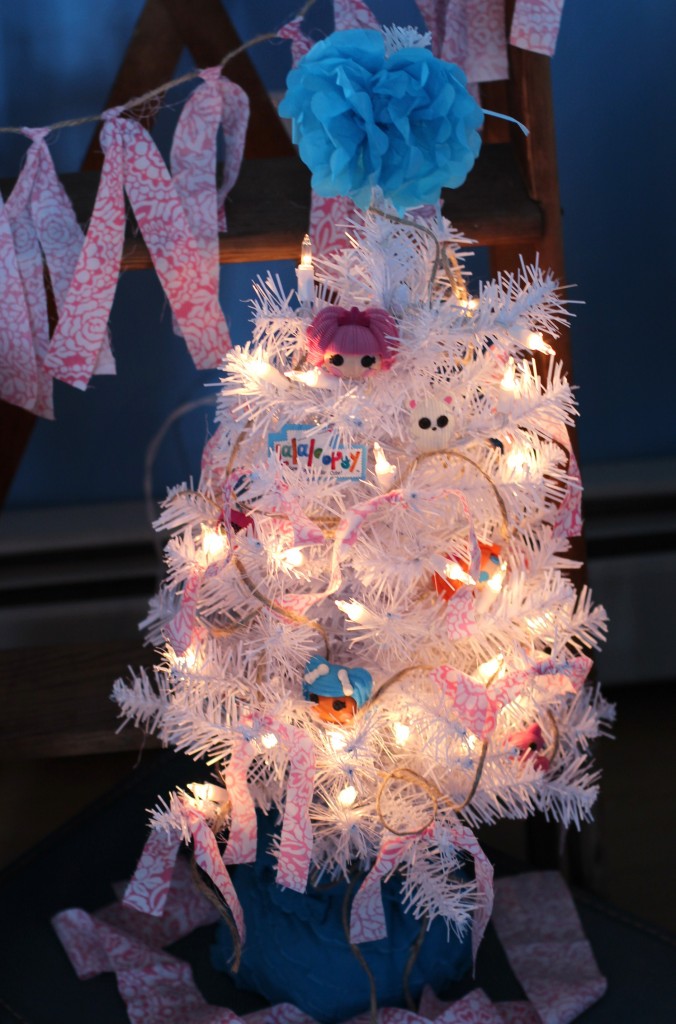 Walmart had these cute little Lalaloopsy erasers for under $2 a pair so I bought three packs of them to decorate the tree with.
 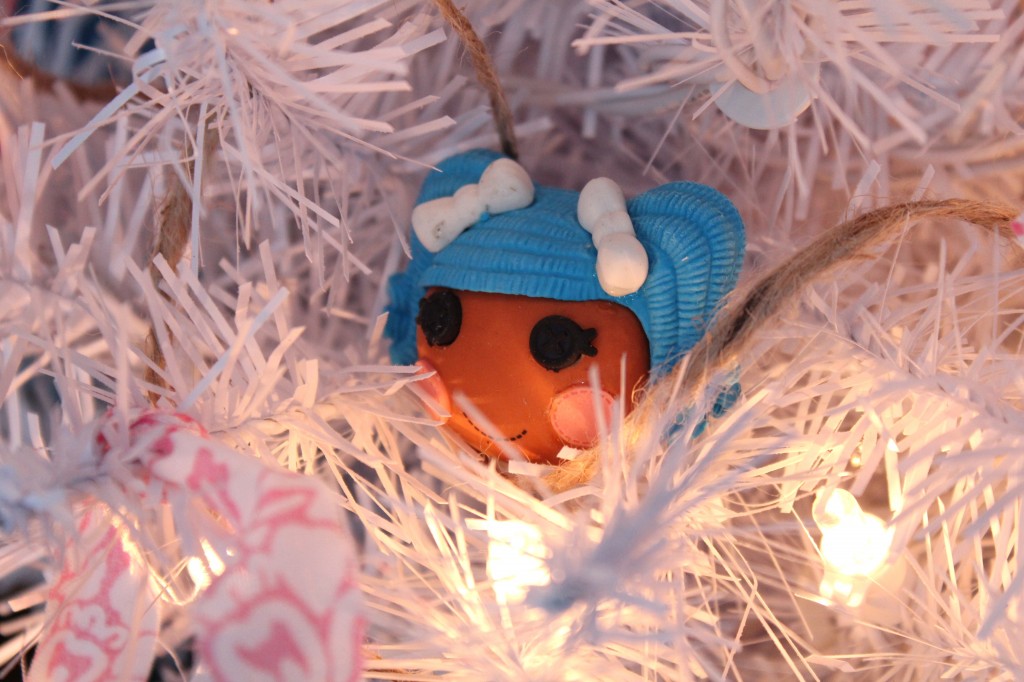 Aren’t they too cute?! I really can’t help but love Lalaloopsy! Little rag dolls that come to life after their last stitch…what is not to love about them?!
 The rest of the decorations for the party are coming straight from my sewing closet. Hopefully her fever will break and we will be able to do a little crafting. I have two fun little activities planned. Gotta love a sewing centered birthday party!
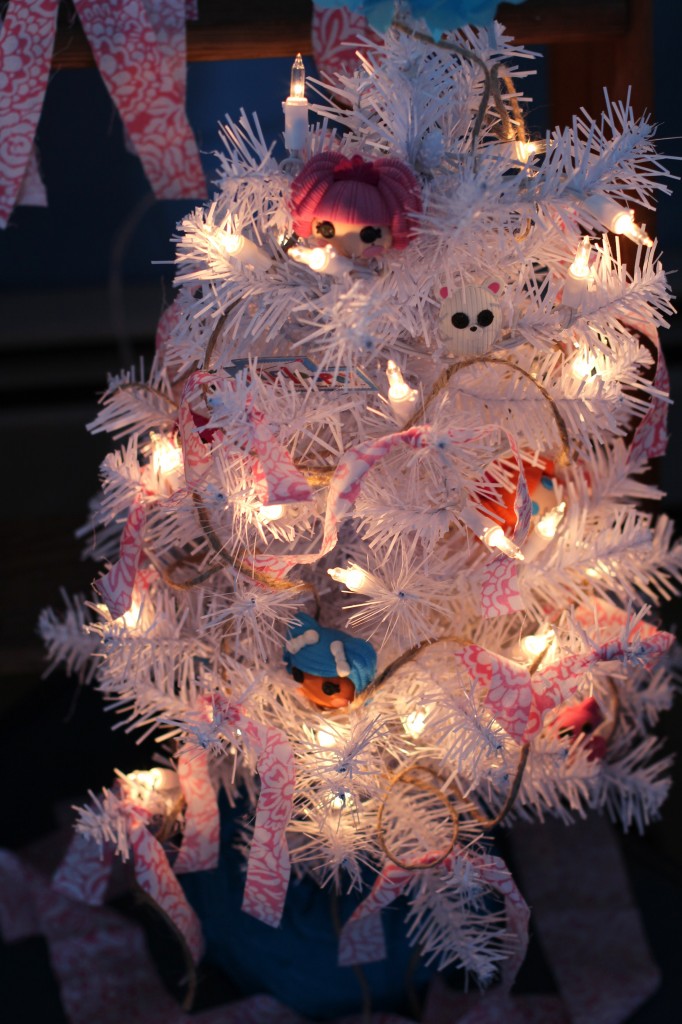 Have you seen this Lalaloopsy party? Amazing, that is all I can say!
Cleaning/Broom Closets
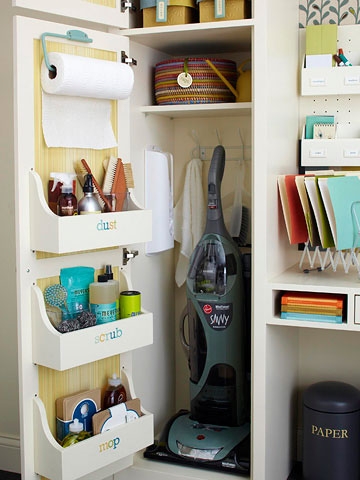
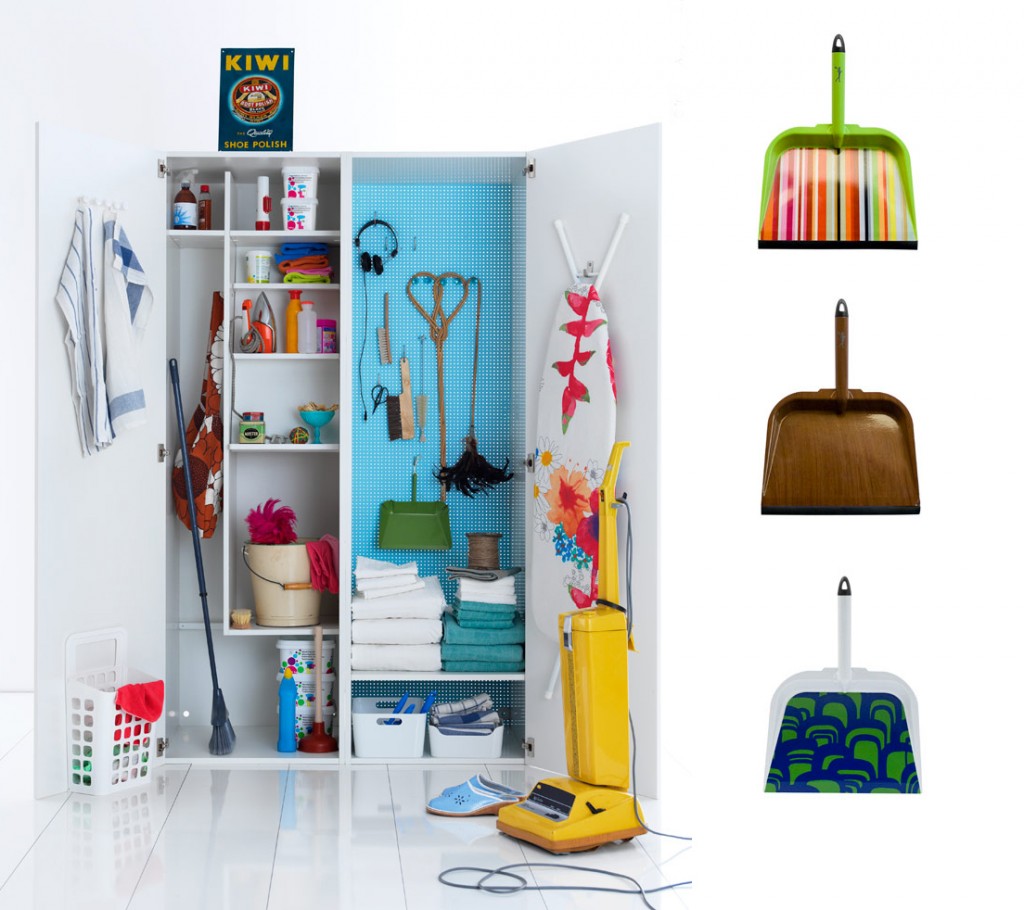
My poor husband! That is all I can say. You see, late Sunday afternoon I decided that I needed to start one last project on the house. Seriously one more and that is it…well at least until we build my craft room, but that is another story. Unfortunately we only have one little closet downstairs and it holds all of our cleaning supplies and extra toiletries. And it is a mess! Like, a yucky mess! Once we finished our bathroom renovation and I was organizing all of the cabinets in there I found myself bringing more and more items into the closet to be stored. I was organizing my bathroom while I was making this little closet more cluttered and unorganized…so I had to redo the closet. I decided that I would tackle this little closet all by myself or with little help from the hubby. Of course all of that changed the moment I took out the wooden shelf that was in the closet and saw the big hole in the wall that exposed the chimney. “Oh dang, I had forgotten about that!” Thus, the hubby needed to help out…in a big way. Thankfully for me, he did some framing, sheet-rocking and even mudded and tapped the closet within a few hours. Yes, he is amazing and you don’t have to tell me how lucky I am because I already know it! Yesterday I quickly browsed the web for ideas on cleaning/broom closets and came up with a few. Here are the ones that I fell in love with immediately. Who knew cleaning/broom closets could be so pretty!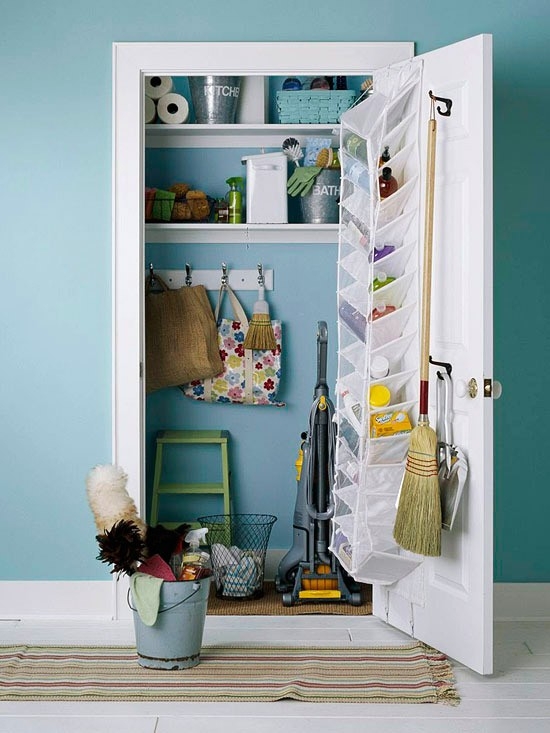 Better Homes and Gardens
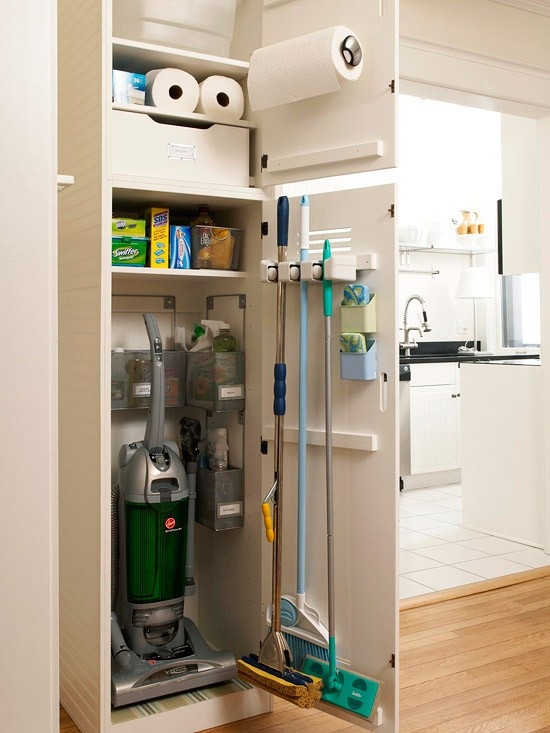 Indulgy.com
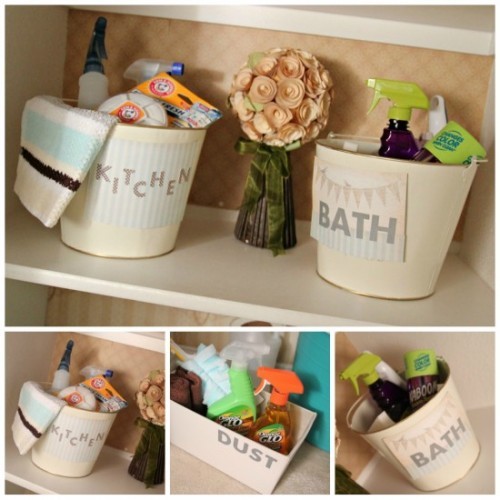 Tip Junkie
After looking at all the inspiration I quickly drew up a sketch of what I wanted our cleaning/broom closet to look like. As you can see I’m no artist nor do I know how to draw to proper scale, but what I did figure out is what I want in our closet and how to set it up. Tonight I tiled the floor and hopefully by the end of the week it will be complete. Of course that all depends on how much time the hubby can spend working on it, since he still needs to build all of the shelves. So much for me doing the work myself right? Truth is, my hubby couldn’t just sit back and let me do it myself anyways. For some strange reason working together on this house is our favorite thing to do with one another! Kinda weird, but true. 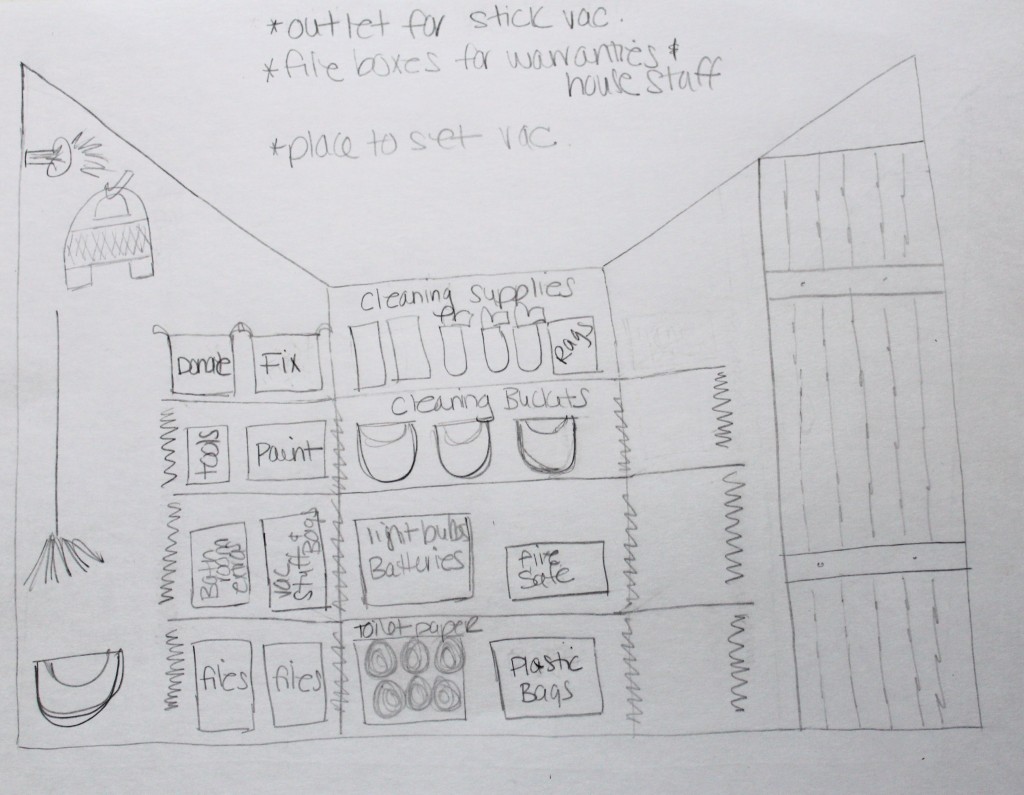
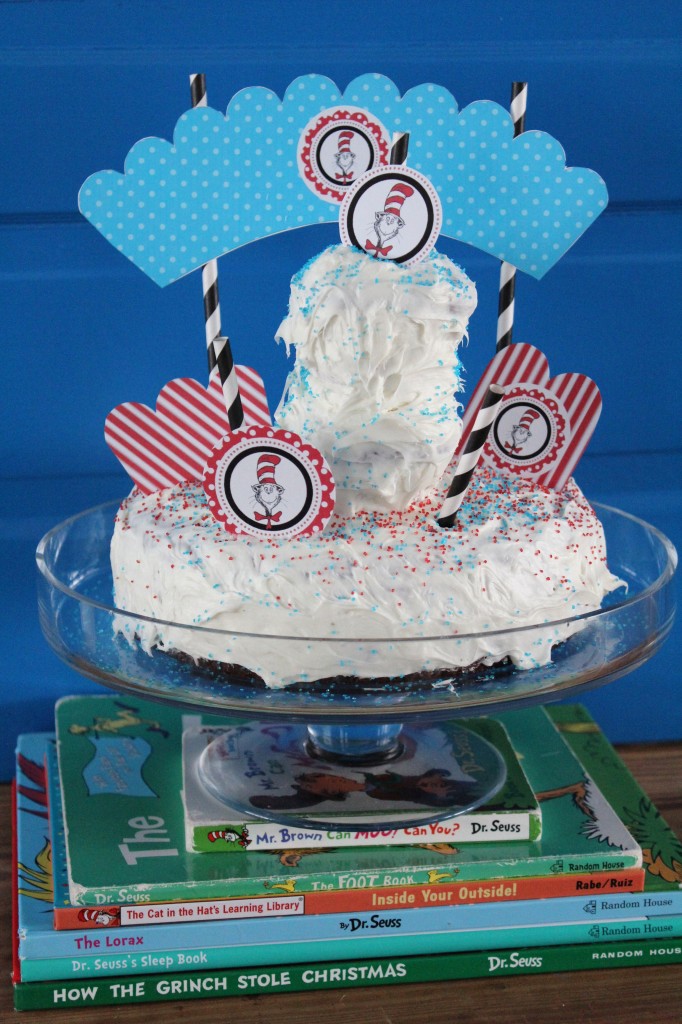
It’s Mt. Crumpit
I think we all will agree that my cake making skills are lacking. Even my kiddos were puzzled by them.
“Mommy WHAT is that?”
“Oh that thing on top?…Why, it’s Mt. Crumpit!”
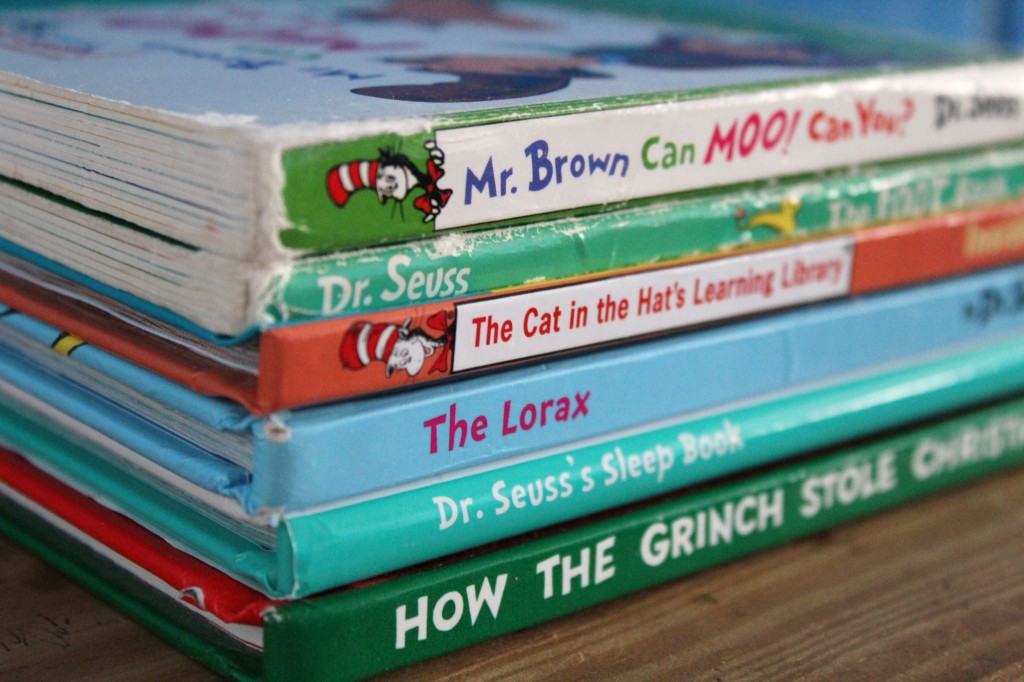
“Oh wow!” Yes, they went from being puzzled to loving it in 2.2 seconds. We all know that it was Dr.Seuss’s birthday this weekend and I thought it would be fun to celebrate his birthday. After all he is our favorite author and I could not imagine raising our kiddos without Dr. Seuss books as part of it. We don’t have a large library of them but the ones we do have become our favorites immediately and we read them night after…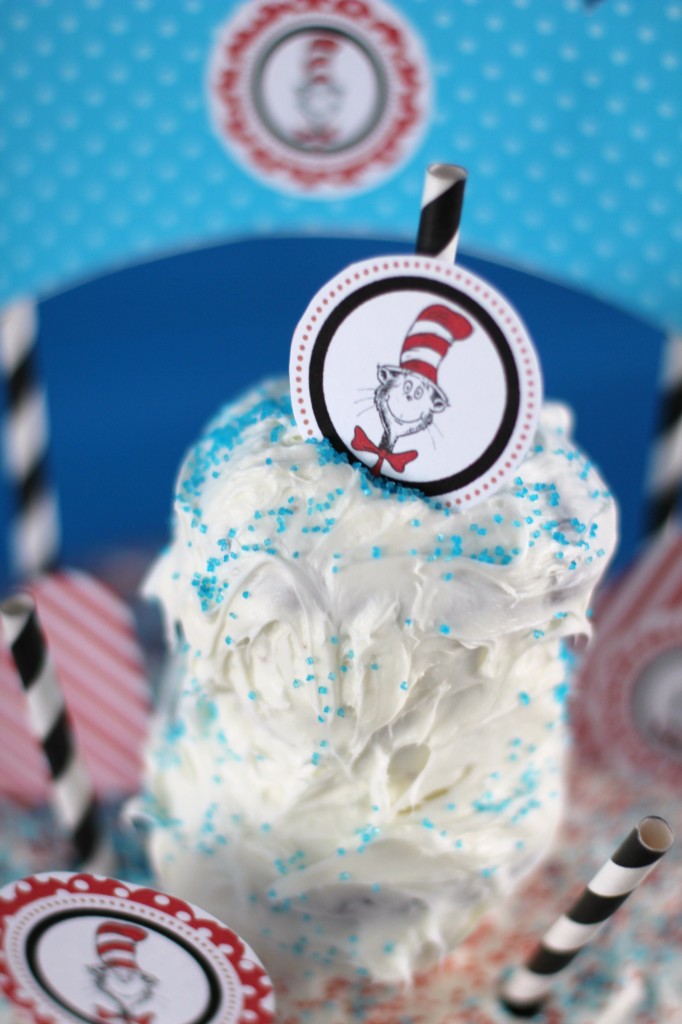 and day after day. So many memories have been created around his books. Remember our Halloween costumes and our obsession with The Lorax? I’m sure you all do. Of course our most favorite memories centered around Dr. Seuss books are the ones that were spent snuggling on the couch while reading them
 There is just something about those tongue twisting books that we all just love! We love reading them just as much as the kiddos love hearing them. Right now we are OBSESSED with Dr. Seuss’s Sleep Book and Inside Your Outside. By the way, is Dr. Seuss’s Sleep Book the longest children’s book you have ever read?! I will admit, some nights I start reading that one while I am giving them their tubb-ees.
  What are your families favorite Dr. Seuss books? Oh and have you seen this blog. It is full of educational and crafting ideas based around Dr. Seuss books.
The downstairs bathroom
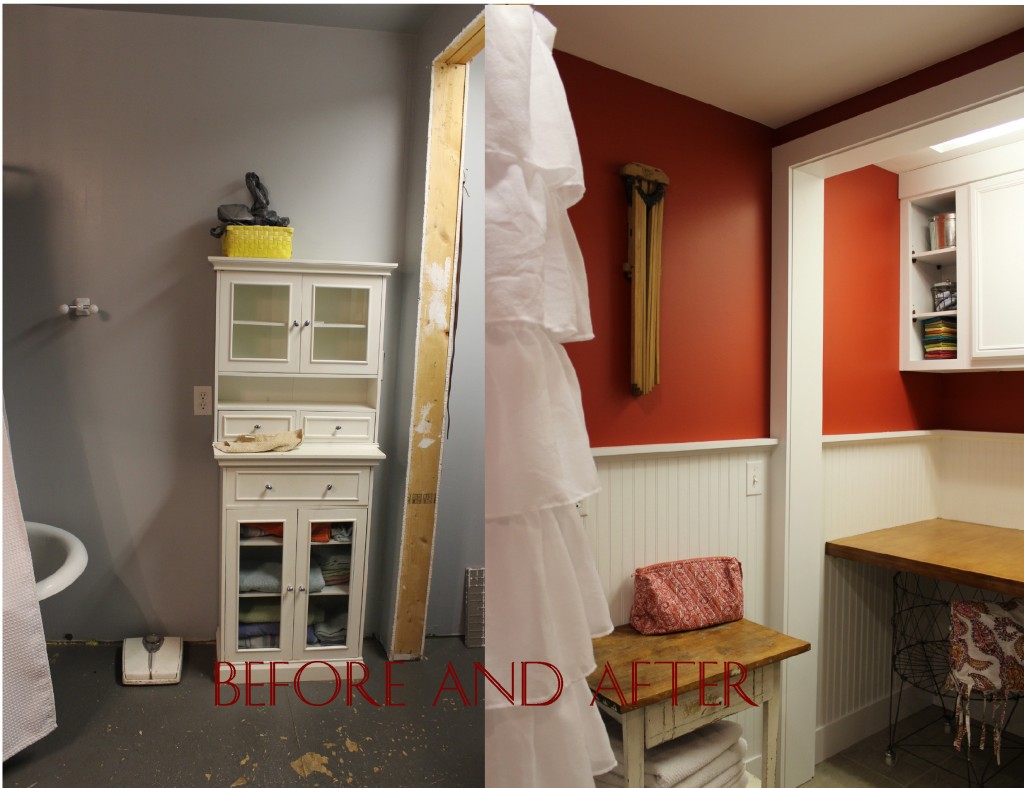
We finally finished our bathroom this past weekend. It sure has been a long two and a half weeks…but so worth it! 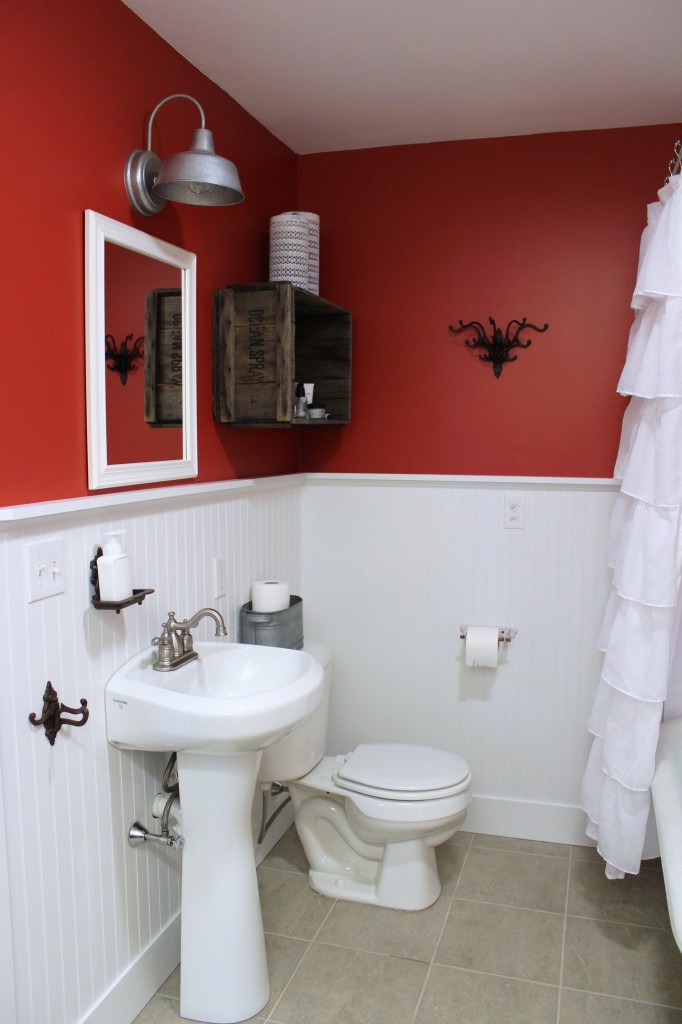 The bathroom needed a little more work then just cosmetic changes. We ended up changing around some of the lighting, plumbing and even removed the baseboard heat. The walls needed a lot of patching. Like I said before, it was the first room we ever built when we bought our house eight years ago. At the time we really had no clue how to mudd or tape drywall…or even how to hang drywall for that matter. Thankfully our skills have improved a lot over the years.
 To keep costs down we decided to keep the same sink and toilet. Although there was much debate over making our own sink out of a galvanized bucket, but in the end I couldn’t find the perfect stand to mount it on to and I was not willing to wait any longer. I’m not very patient when it comes to such things. The light fixture above the mirror came from the outdoor lighting section at Home Depot and the Ocean Spray crate was a find from upstairs in the barn. I knew it would have a purpose one day.
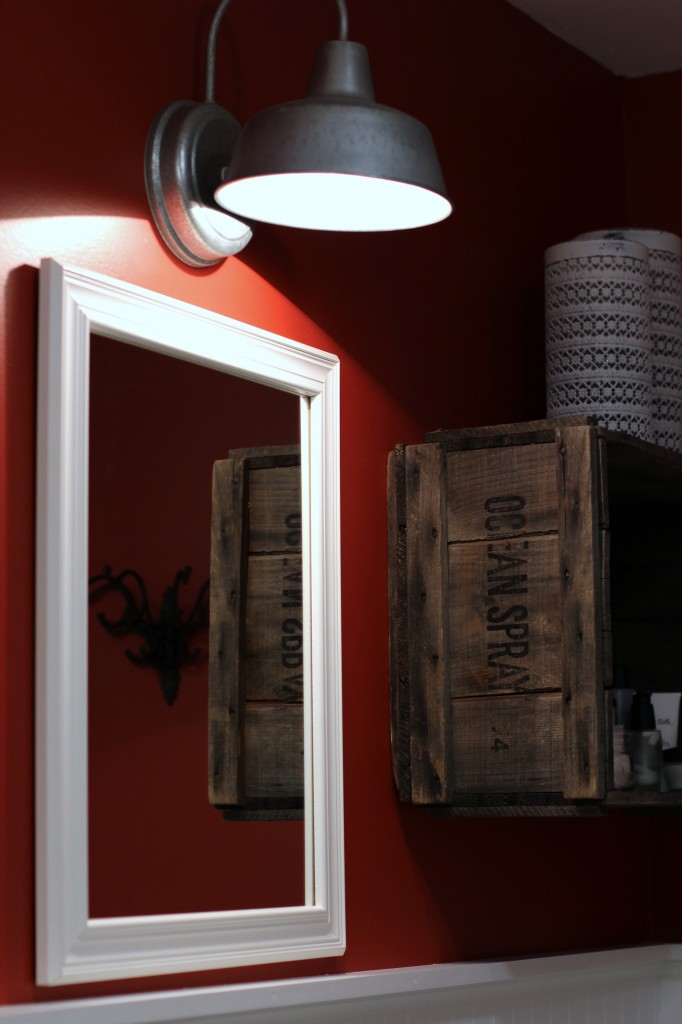 Our walls are painted Moroccan Red from Benjamin Moore and the Ply-Bead sheets are painted Brilliant White. We use the Ply-Bead sheets because they are cheaper and quicker to install then regular bead board.
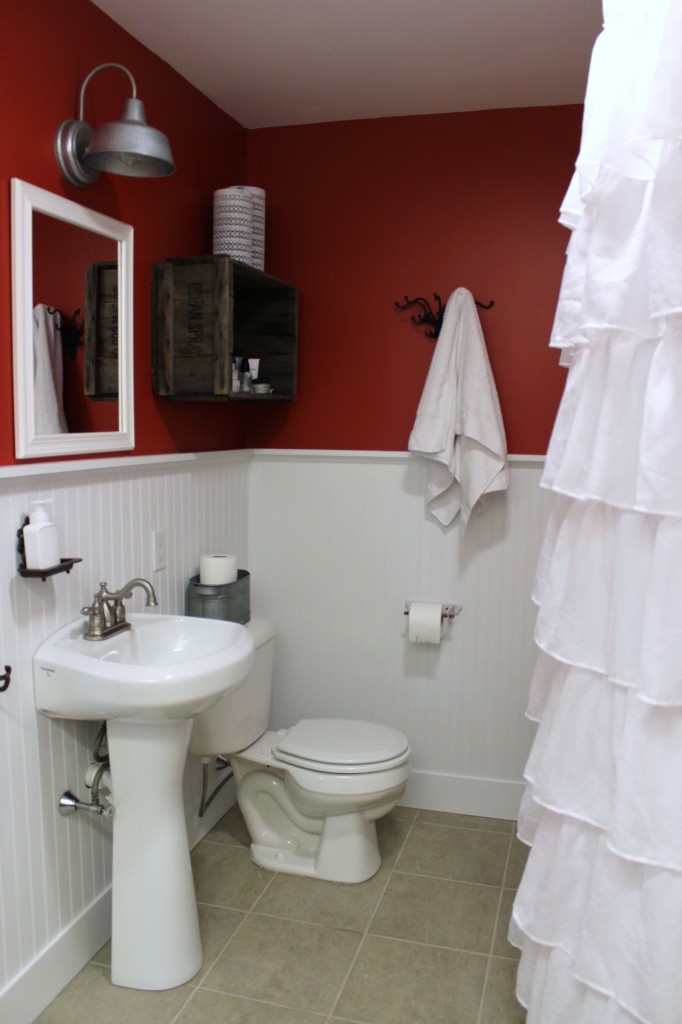 The cast iron tub came with the house. We did have to purchase new fixtures for the tub and shower because we went cheap the first time around and we had to fix leaks all too often. This time around we chose to spend the money on some good fixtures. We are learning that some things are just not worth going cheap on.
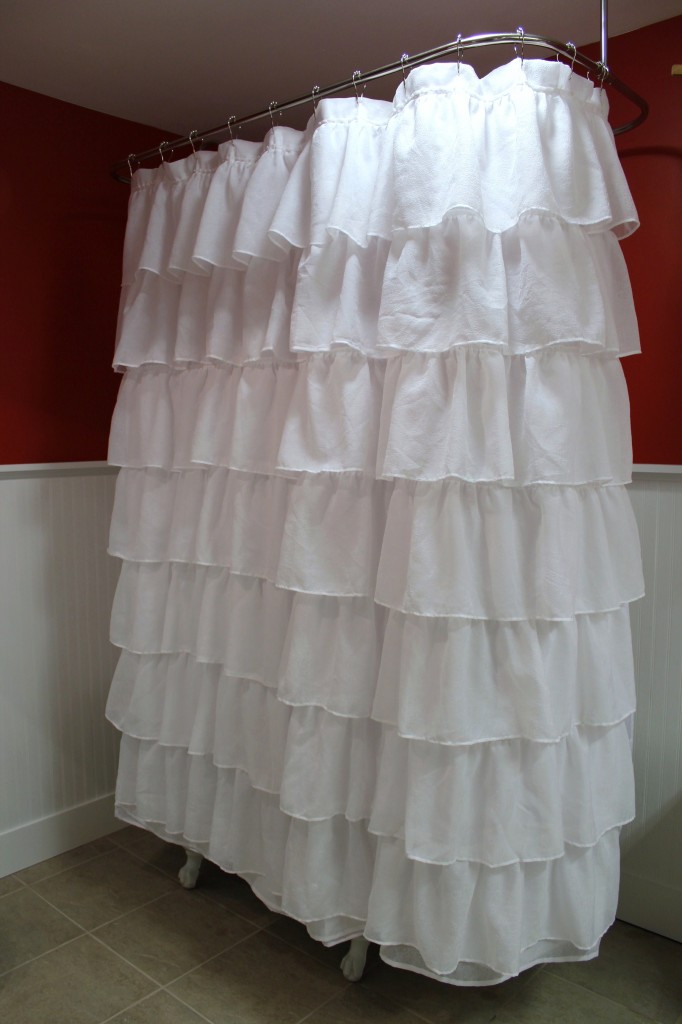
 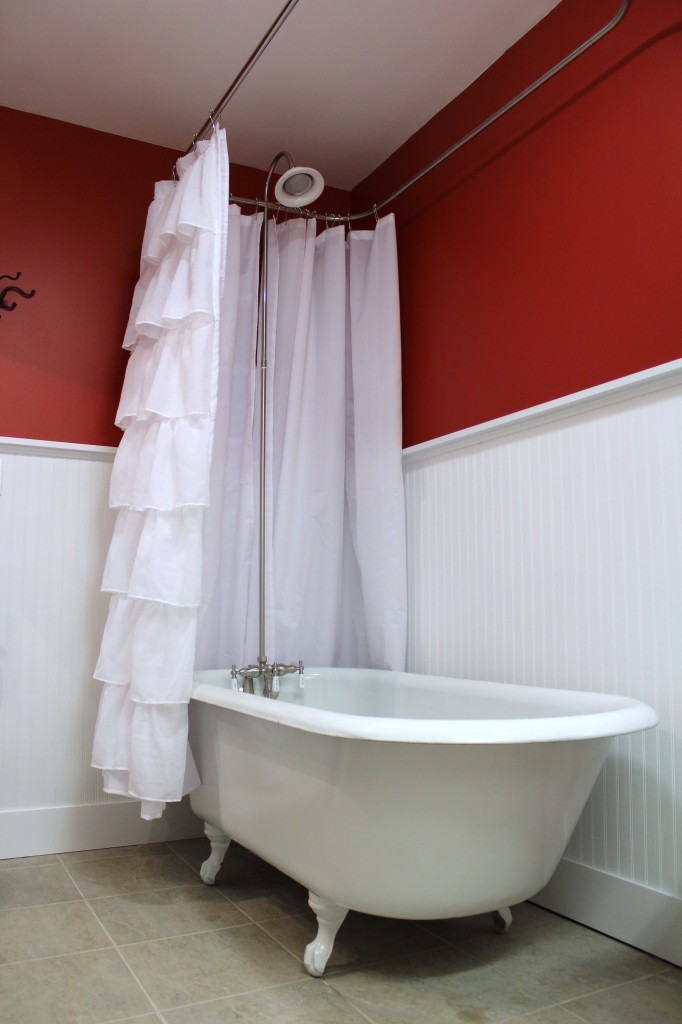 I purchased our shower curtain from Amazon. It is a little girlie for the hubby but I love it…and so do the girls! My little girl wants me to make her a dress out of it. It does look a lot like my ruffle maxi skirt doesn’t it?
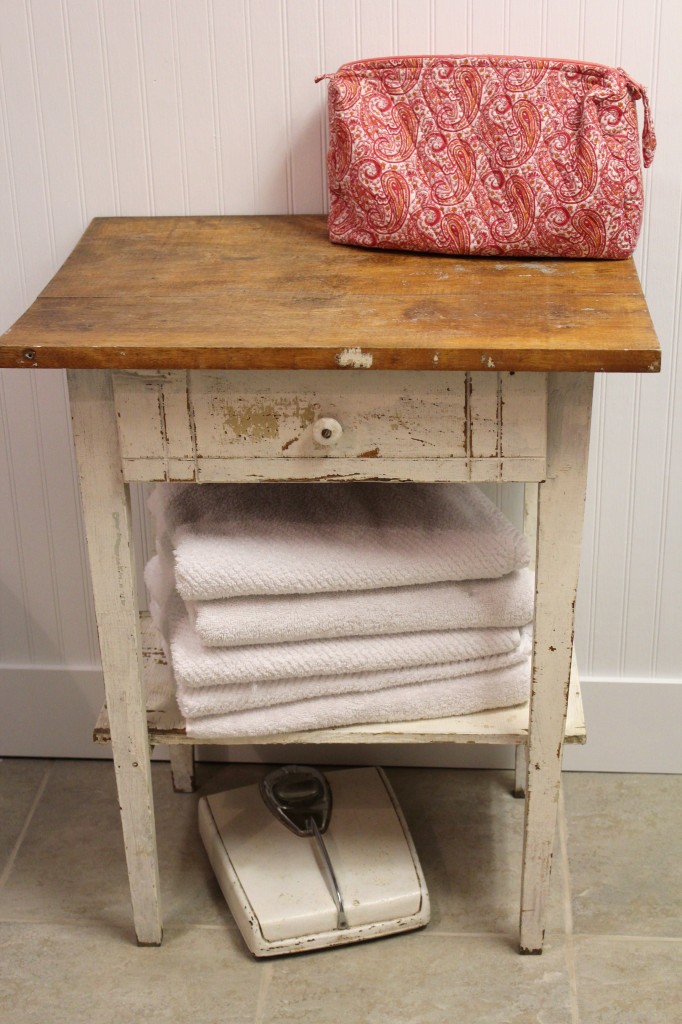
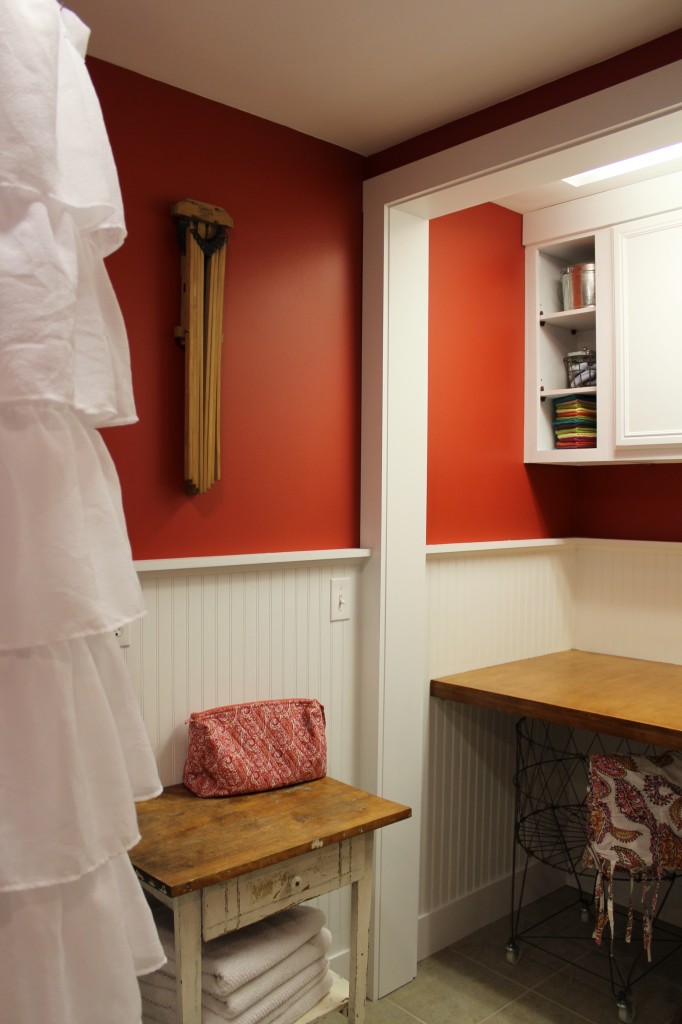 I found this little table at the local antique store.
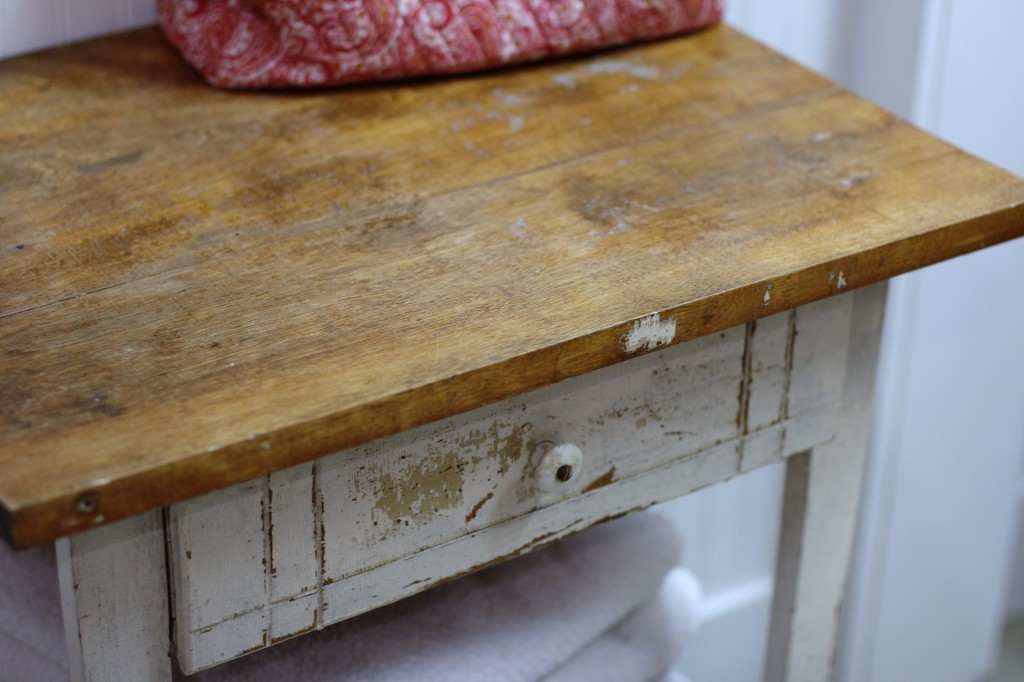 It fits the space perfectly and I love the look of it.
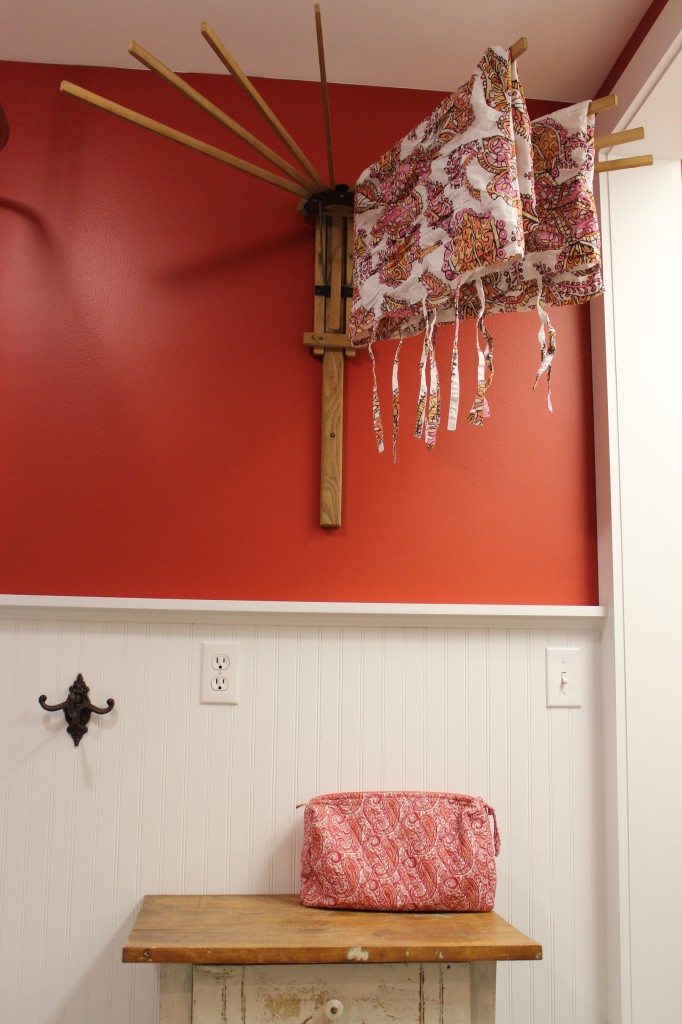
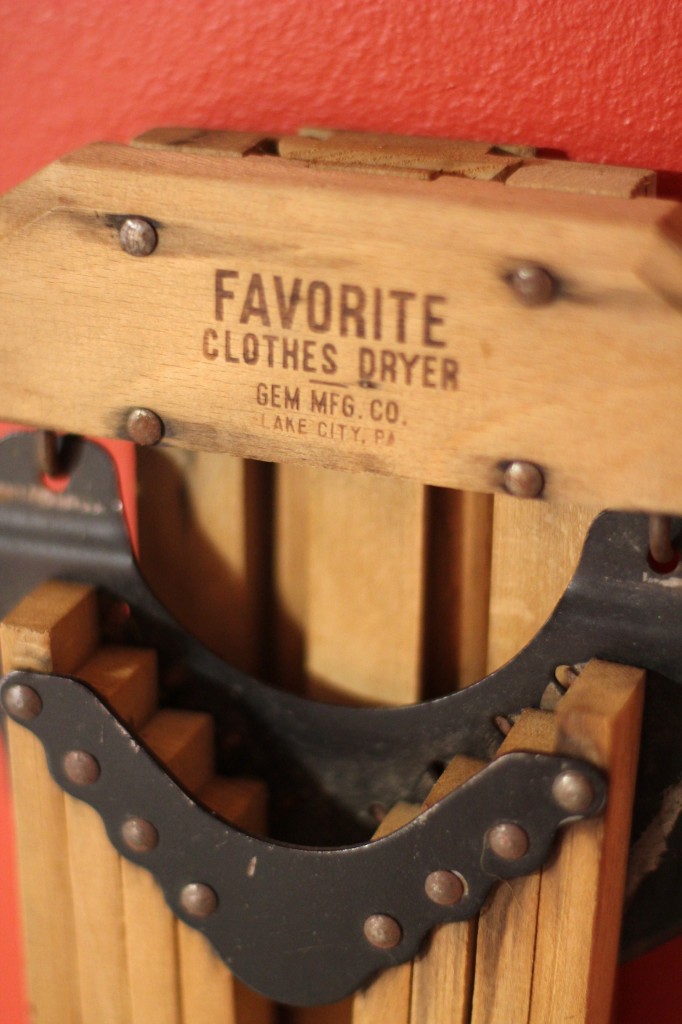
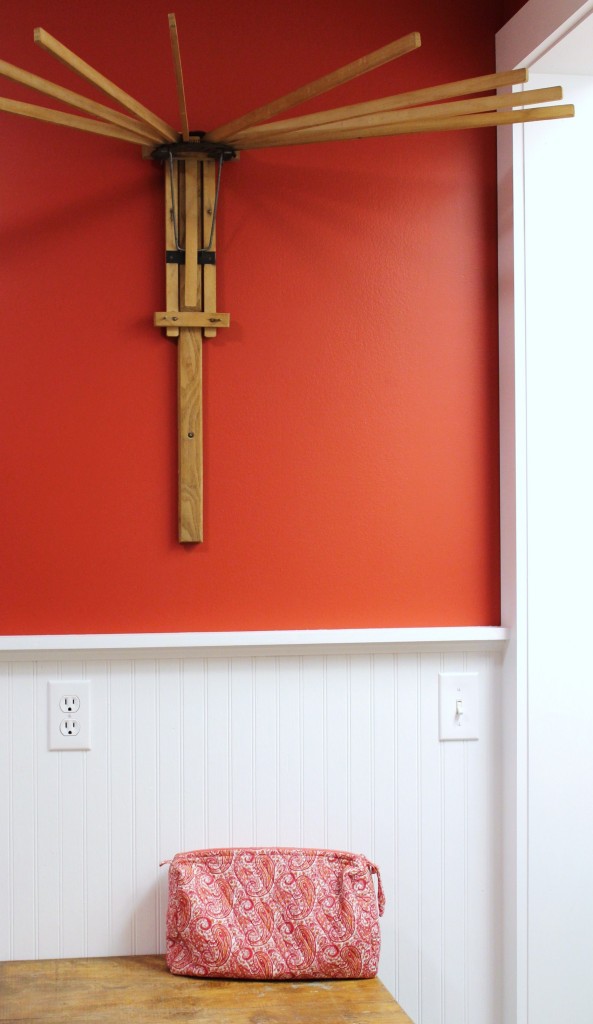
  The wall mounted drying rack was another find from a local antique store. The moment I saw it I was like a giddy little school girl. It was exactly what I had wanted and it was in perfect condition. It doesn’t look like it was ever used. I think it fits the space perfectly and at least now I don’t have to hang my clothes over the shower rod to dry. Plus it is super cute.
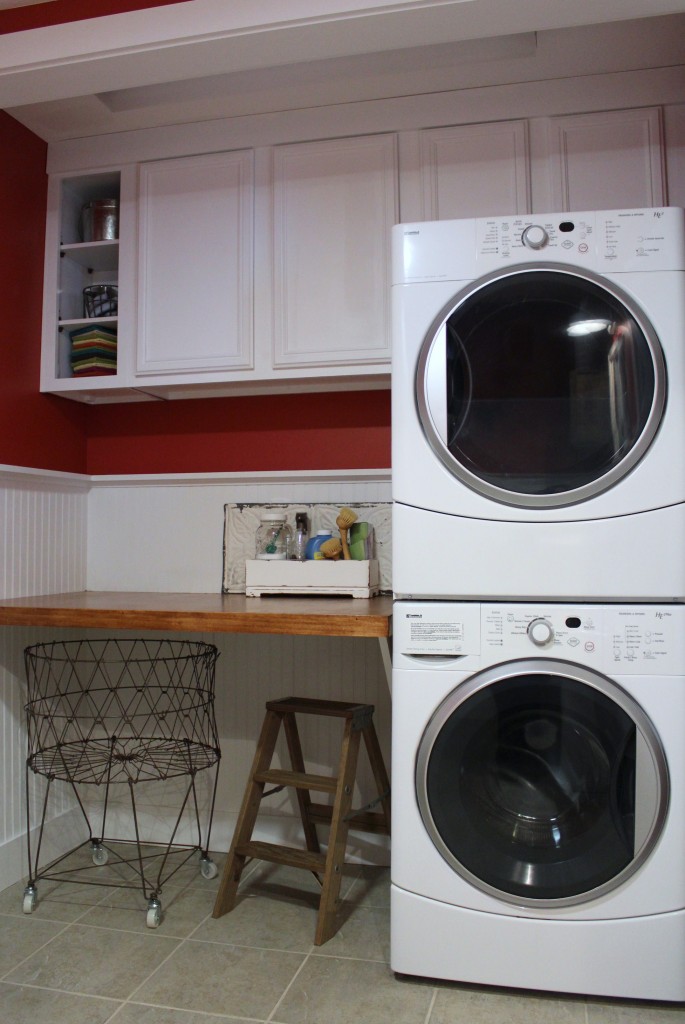
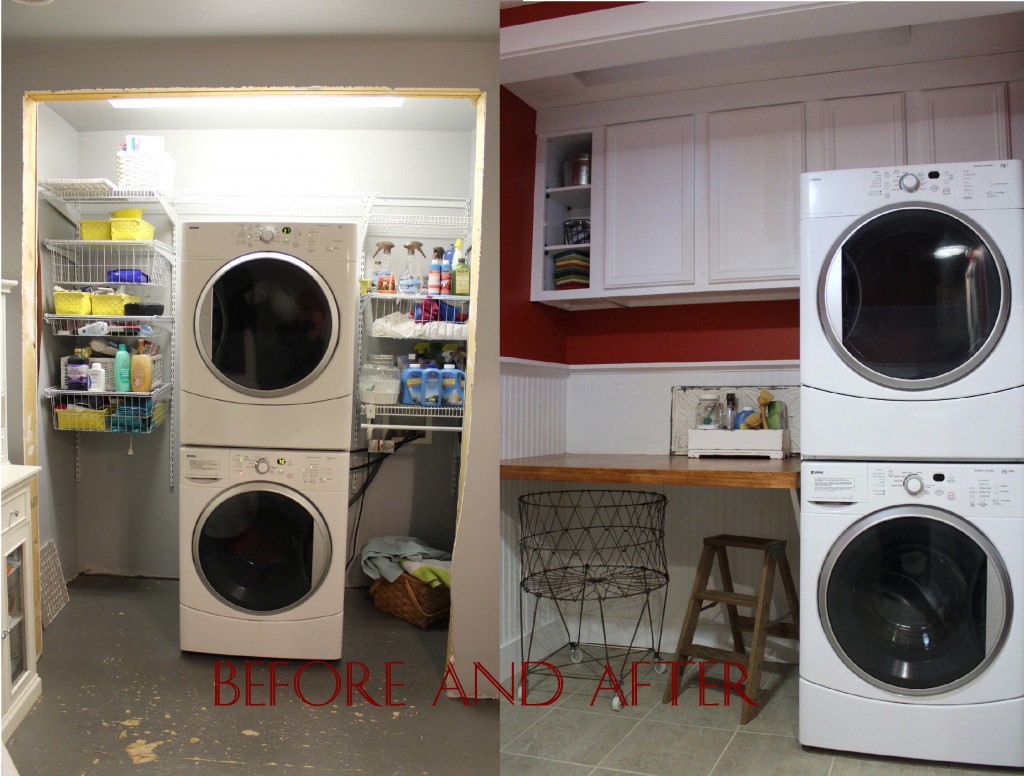
 The laundry area got changed around a bit. We moved our washer and dryer over to one end and installed some cabinets above. Then we added a work table to fold clothes on. The cabinets came from a Habitat for Humanity Store and were really cheap and thankfully in great condition. I think we got all 3 for $60. All they needed was a little washing and some paint. One of the cabinet doors didn’t match so we left it off. Eventually the hubby is going to make me some square bins out of sheet metal to fit the spaces perfectly but for now baskets and buckets that I already had around the house will do. I’m trying to give the hubby some time off from working on the house. Nice of me, right?
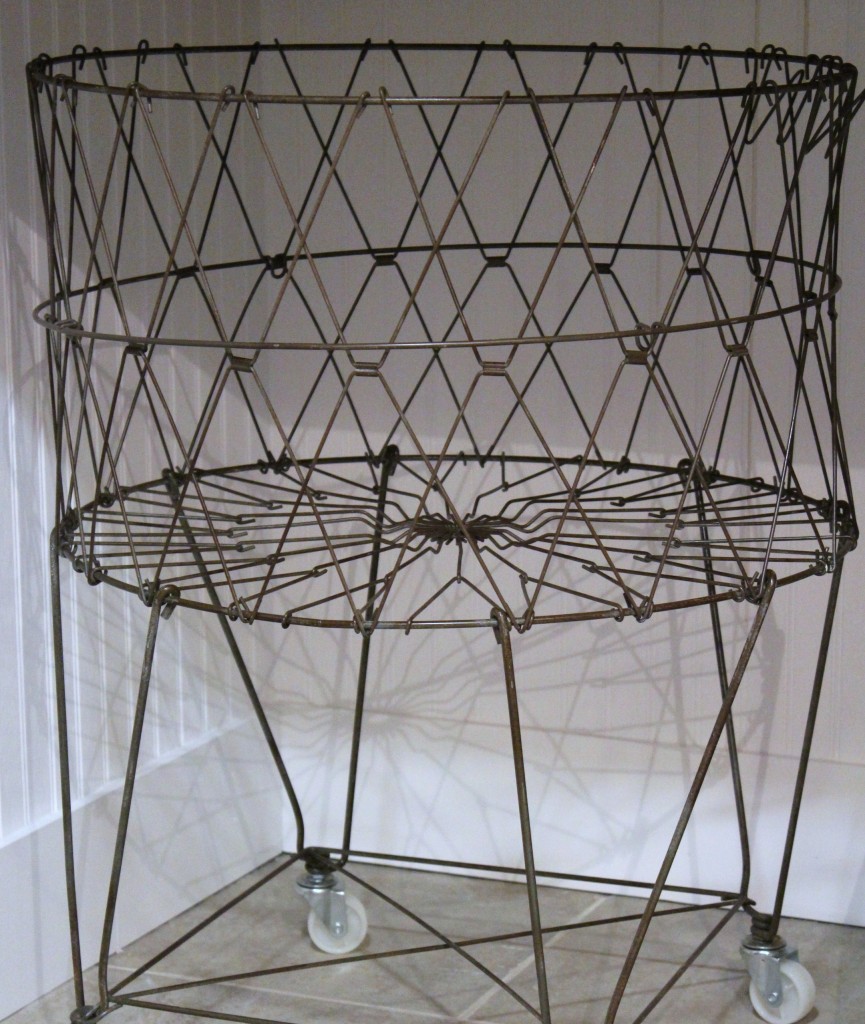
 Another one of my favorite finds was this laundry cart. It is made by Moda and I purchased it from Amazon. Yes, it was pricey but it is completely adorable! I have convinced the hubby that it will help me keep the laundry caught up and that it will work perfectly at my craft booth if I ever do a craft fair again. Oh and did I mention that it is from Moda…and it is super cute?!
 The hubby built the counter top and put it at the perfect work height for me. A comfortable workspace will get use an uncomfortable will not.
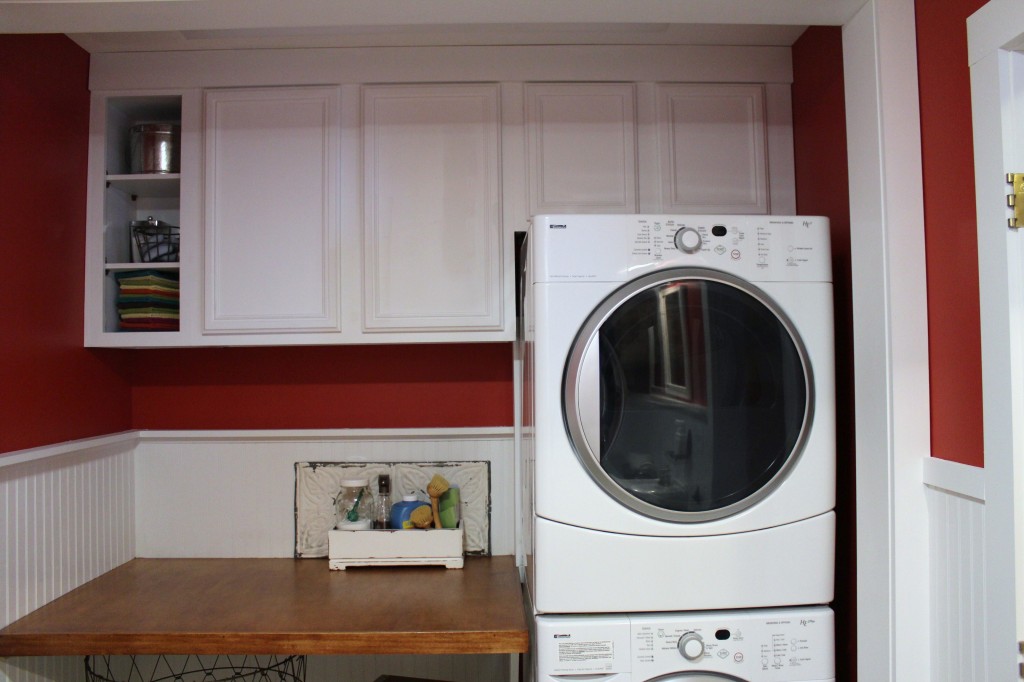 Now I have no excuse for the laundry to get piled up!
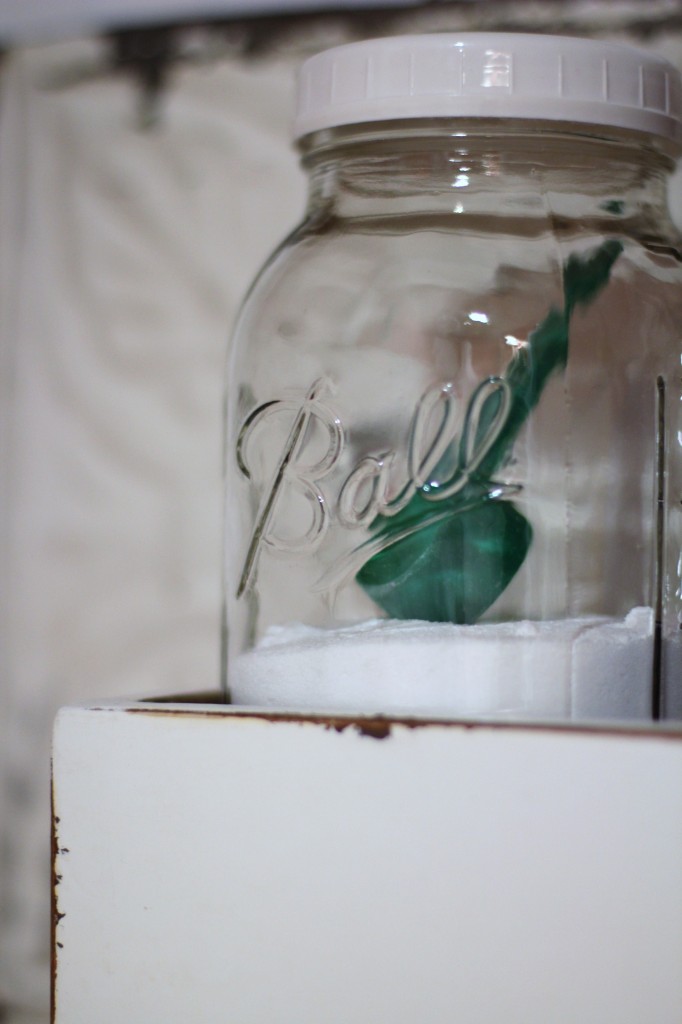
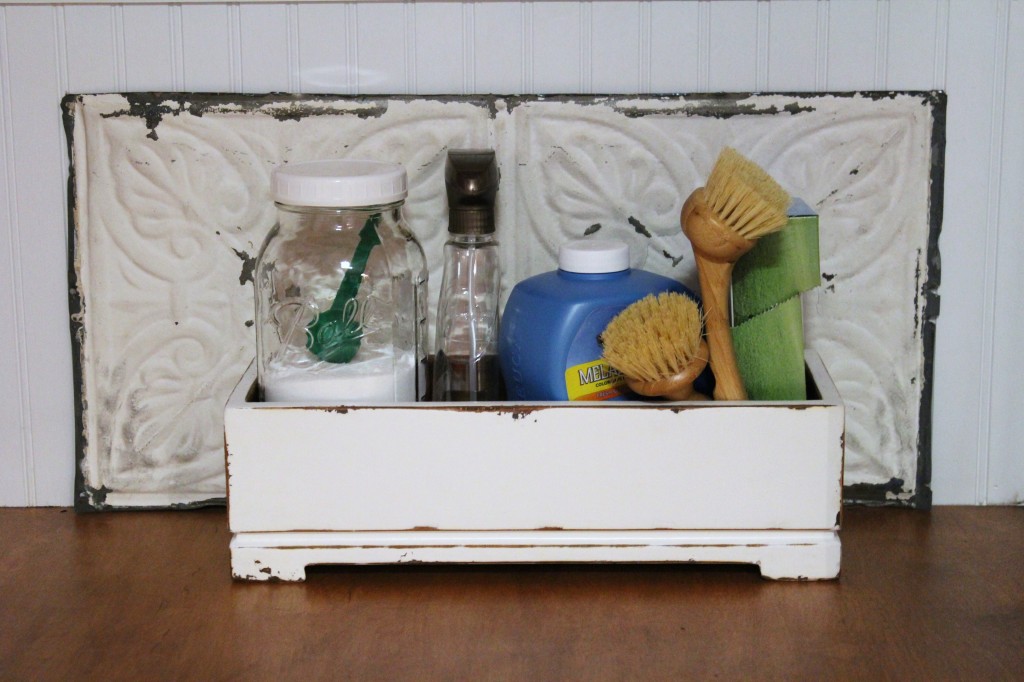 And of course no room is ever complete without a canning jar somewhere in it.
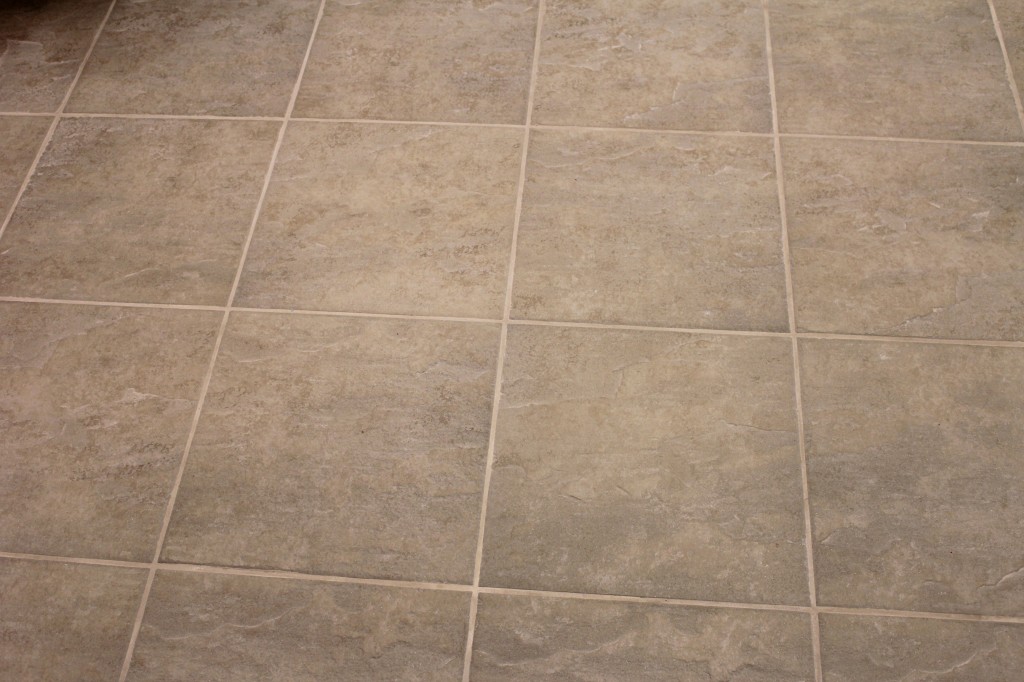
  We finally covered up our painted plywood floors with some 12×12 squares of tile. The type of tile that we ended up going with is primarily used in mudrooms and entryways because of its texture, but I just loved the looks of it. Plus a highly textured floor is always better in a bathroom with kids. I was going to go with natural stone like what we have in our upstairs bathroom but I was nervous about stains and wear and tare on it. This was my second choice…a cheap porcelain ceramic tile. The tile came out great except for one little spot, that is totally my fault. One night the hubby cut out all of the tiles and I lay-ed them all down the next day. Unfortunately I started on the wrong side of the room and ended up with one crooked tile. Thankfully you will never know because it is hidden under the sink.
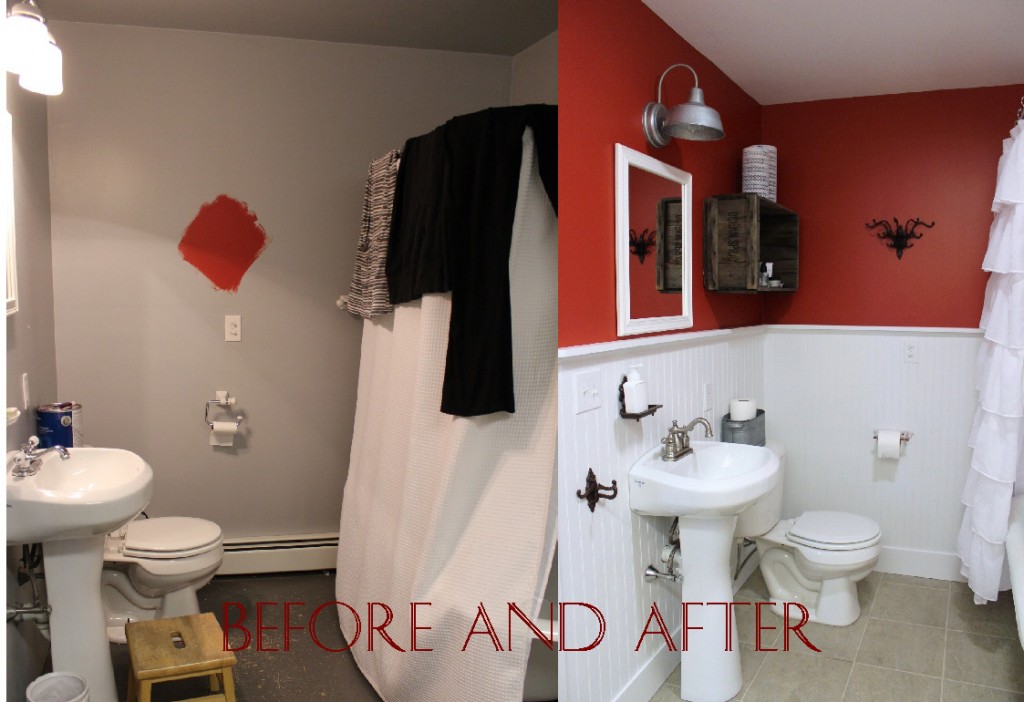
 Some before and afters.
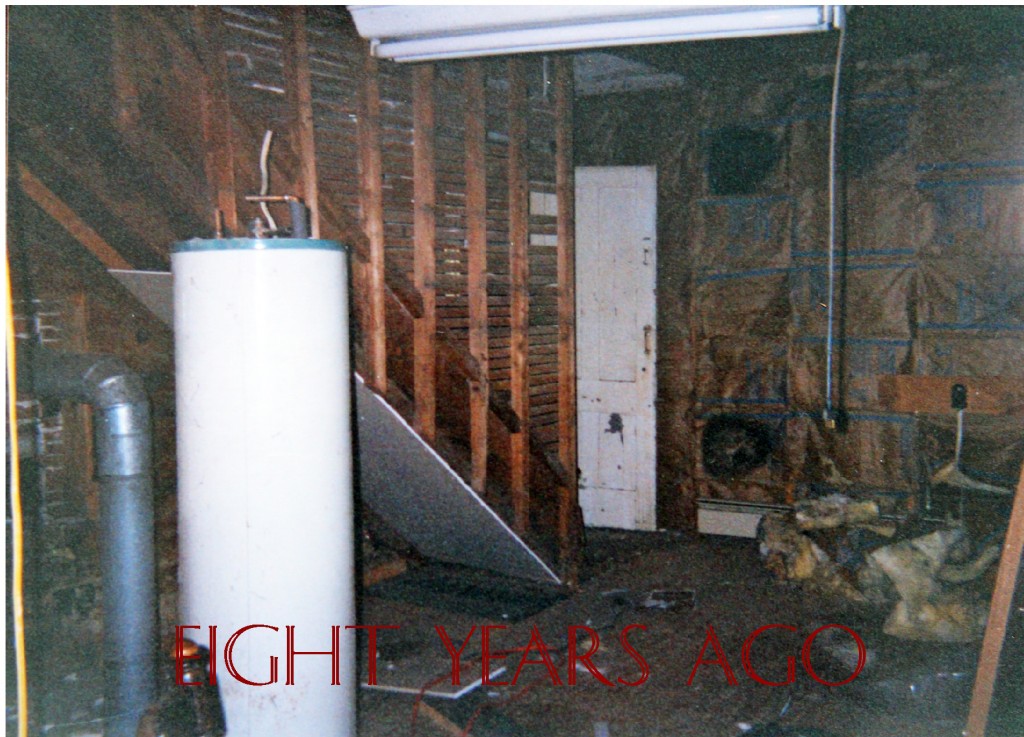
 And because I always love looking at the pictures of when we first purchased the house. This is the room that we decided to build our bathroom in. When we purchased the house they were using this room as a wood shed and the bathroom was located right in the middle of the kitchen. We decided to get the bathroom out of the kitchen fast and this was the perfect spot. Gosh was a crazy 8 years it has been!
 Linking up over Whisper Wood Cottages 1st project of the year party.
Cabochon Paper Clips {& giveaway winners}
First things first! The two winners of the Umbrella Kids giveaway are…
Beth who said: Thanks so much for the chance…It will make my meal time so much easier! AND Mattea who said: I love the Owl meal planners!! I really like the wood textured flower art prints too. Congrats ladies! I will be in contact with you shortly.
I guess you could say I’m still not over my cabochon obsession. I just cant help but love those pretty little flowers.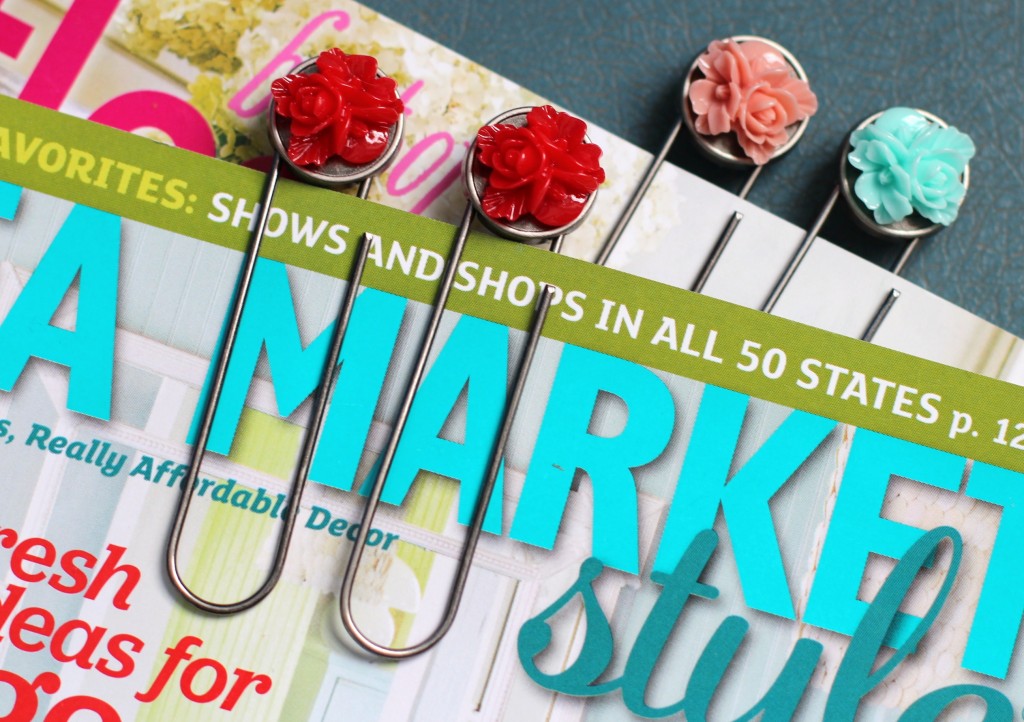 A few months back I purchased a few sets of cabochon flowers and some paper clips from Pick Your Plum. How addicting is that site? Oh those daily deals are always too good to pass up aren’t they?! Anyways back to crafting with flowers. They are always so fun to craft with and are quick and easy gifts to make. Two of the clips are a thank you gift and the other two clips are a birthday gift that I am going to pair with some matching cabochon magnets. Etsy has an endless supply of these pretty little flowers if you are looking for some.
The bias cut skirt that didn’t make the cut
When I was participating in Project Run and Play I made a lot of garments. Some of them were never shown. Some of them were never finished. And some of them were “junked” by me and deeply loved by others. 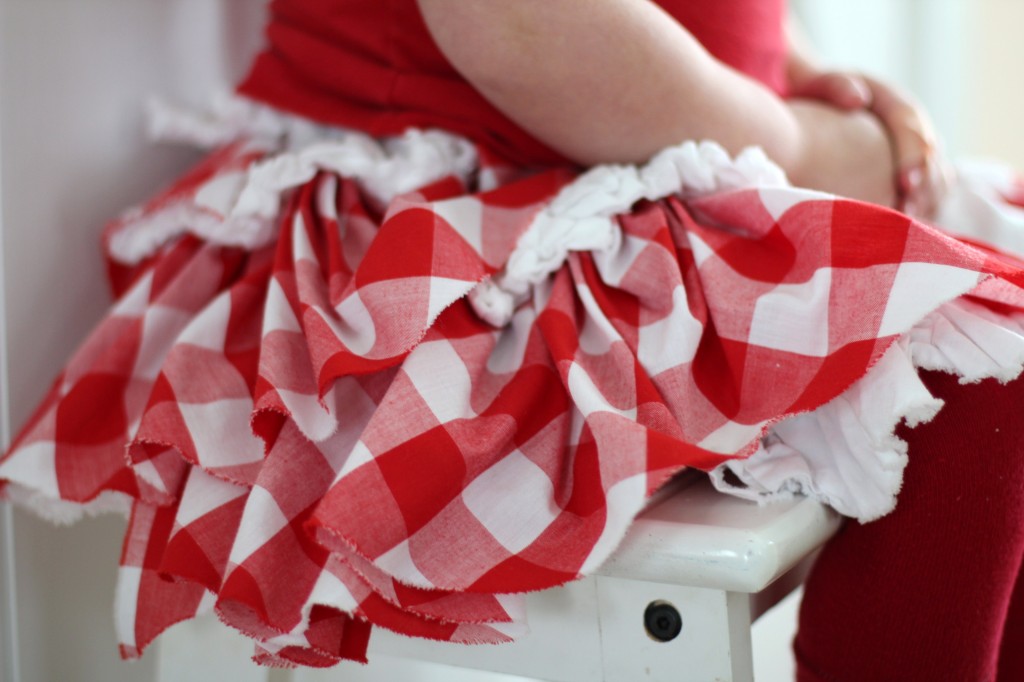 This little out of control bias cut skirt was one of them.
 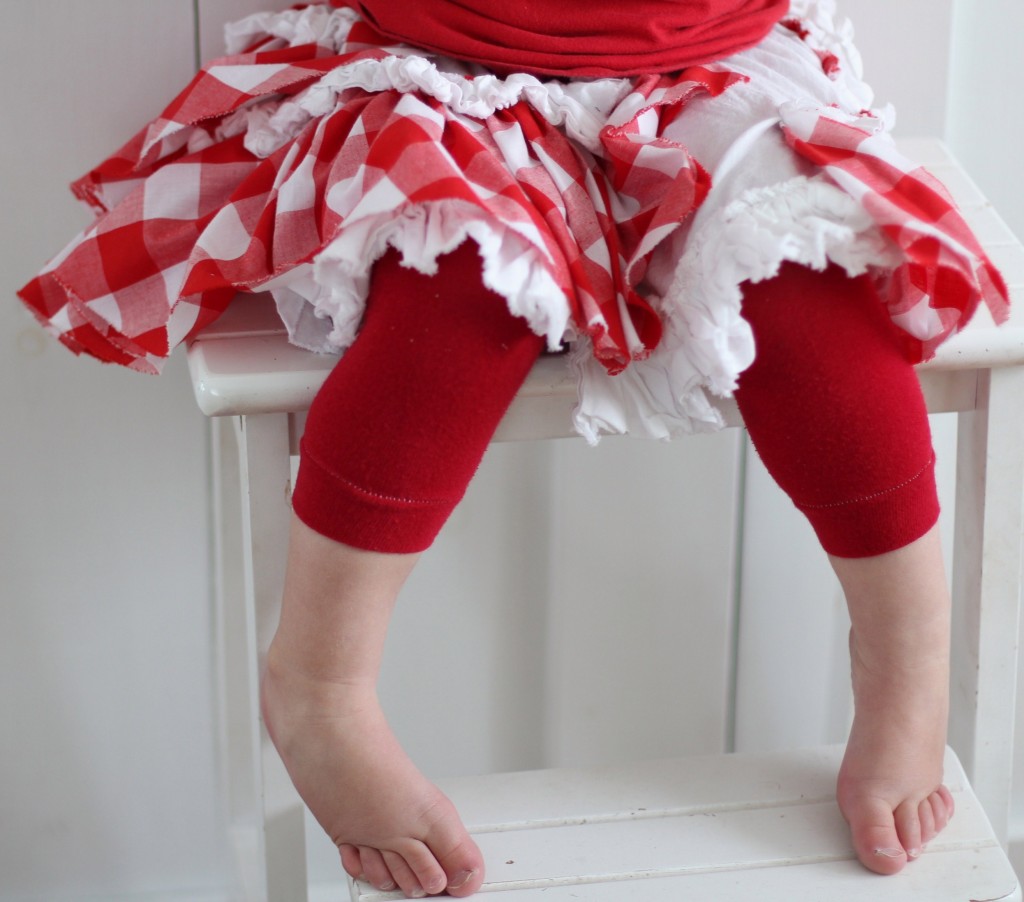 The moment the girls saw it they were in love.
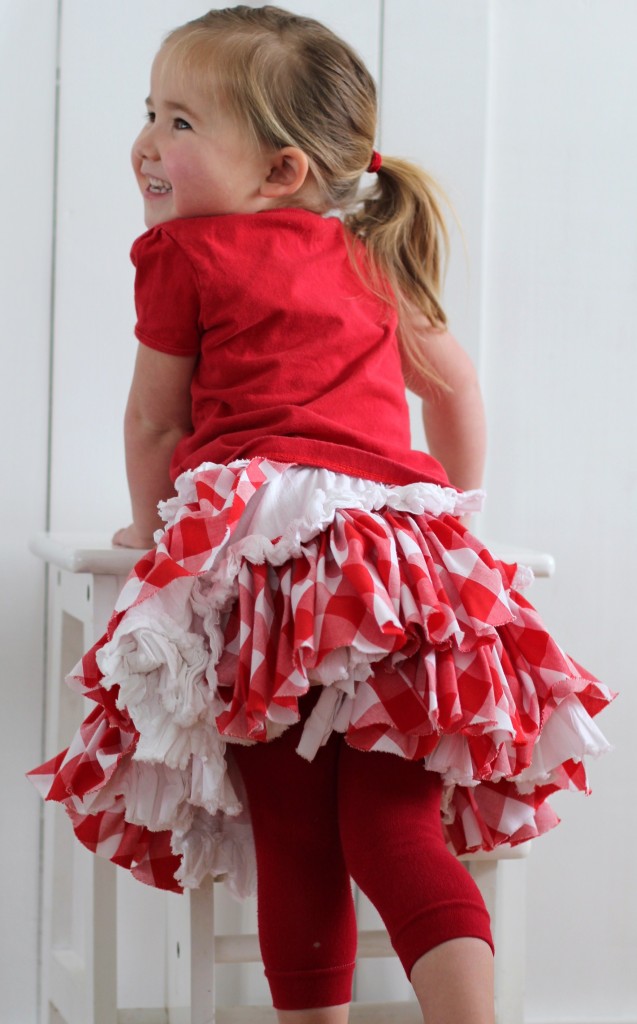
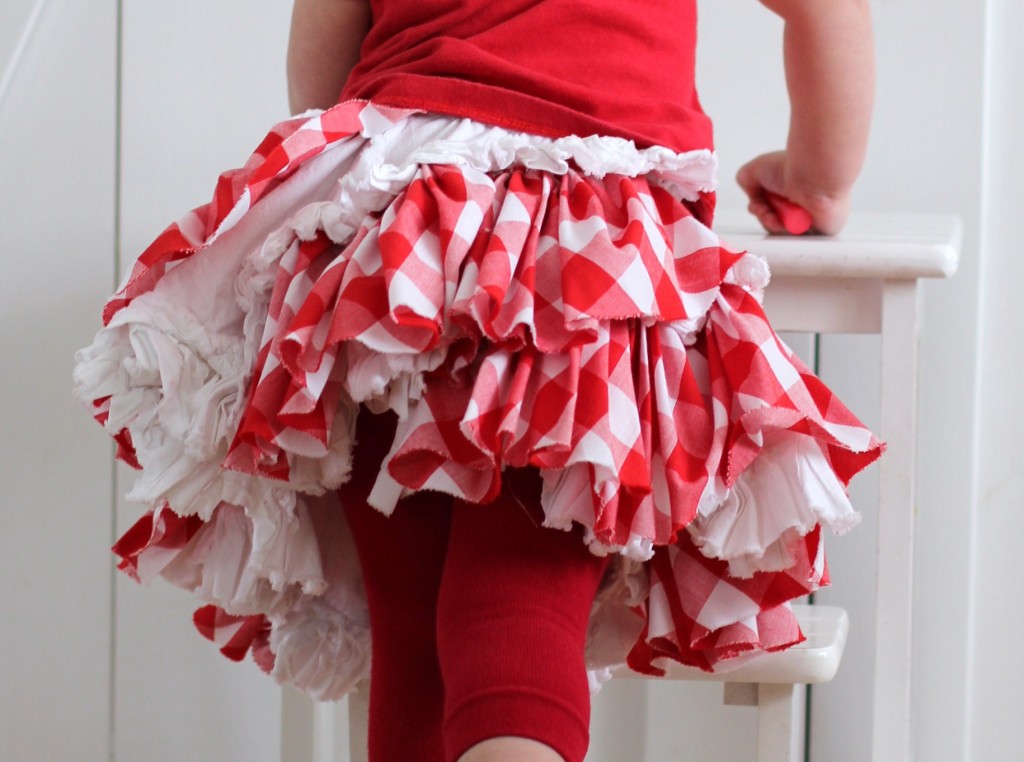 Even though it is still unfinished and there are a dozen things wrong with it… I kinda like it too! It is one of those skirts that I want to re-make and get it right. As you can see, the biggest problem with the skirt is that I forgot to wash the white fabric before I started sewing with it. Oh yes, the moment it came out of the dryer I knew I was in trouble. There is just something about circle skirts that my girls just love. They put them on and they cant stop twirling and dancing.
Giveaway from Umbrella Kids {meal planning printables}
I am so excited over this giveaway I have for all of you today! Remember that great set of meal planning printables that I just shared with all of you from my meal planning system? Well thanks to Jolene from Umbrella Kids, TWO of you will be winning a complete set of meal planning printables! How great is that?! You are seriously going to love these! I have already said how much I love these printables and how much meal planning has made our lives much easier when it comes to meal time and grocery shopping! Now it is your turn to see how much you will love them.
 To enter, head over to Umbrella Kids and have a little peek around. Then come back here and tell me what your favorite item in her shop is. It is just that easy! Giveaway will end Saturday, February 23rd.
Meal Planning {my system}
I have chatted with many of you about meal planning. Some of you have been meal planning for a while and some of you were like me, wanting to meal plan but didn’t know where to start. Thanks to all of you and your advice I finally came up with the perfect meal planning system for myself. I promised to show all of you my system once it was all set up and sorry it took so long but I wanted to make sure it was something that was actually going to work for me before I shared it with all of you. I have been using this system of meal planning for over 3 months now…and I just love it! It is one of those things you are going to have to spend a few hours getting set up but then it is so quick and easy to do each week. I would say that I spend about 15 minutes planning our meals and filling out our grocery list each week. The best part is that I am never wondering at the last minute what we are going to have for supper or walking around the grocery store wondering what I should buy. Seriously, meal planning has made my life run much smoother…at least at meal time.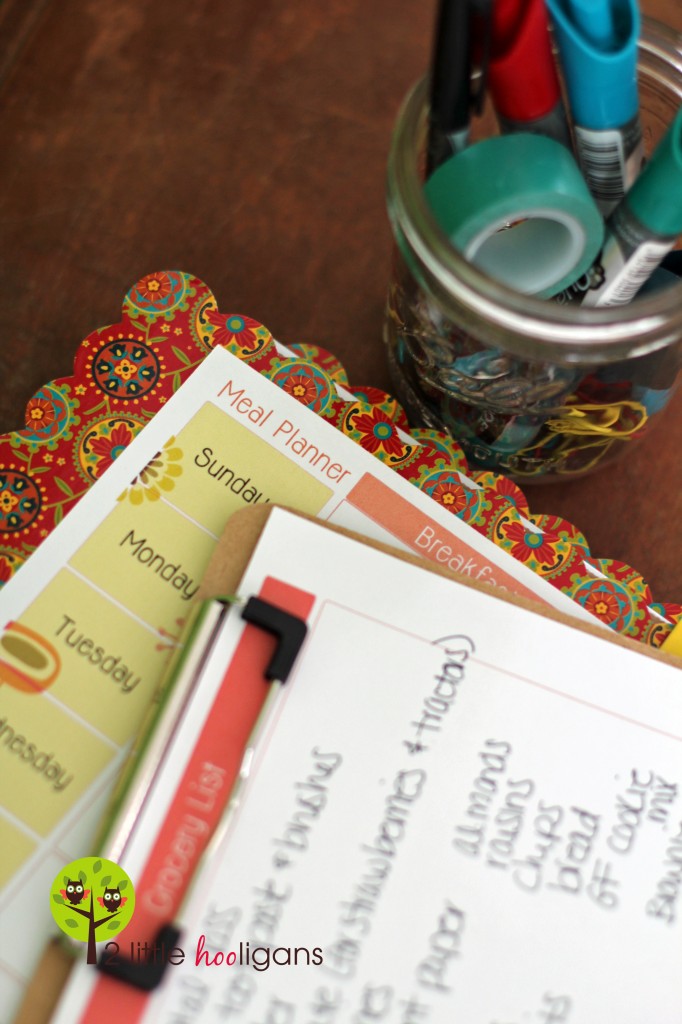 My meal planning system is actually a collaboration of ideas that I gathered from some of you, the web and from etsy. For me, I knew that I was going to use printables and have everything set up and organized. For me, it is just what works best. The meal planning kit that caught my eye was from Umbrella kids on etsy.
 I first purchased this package of printables and then asked for a custom order for some recipe cards, grocery lists and another layout for our weekly meal planning. I was looking for a weekly planner that had every day of the week and included breakfast, lunch and supper. Thankfully Jolene was more then willing to put together a custom order for me and the printables that she came up with were better then I had envisioned. I just love when that happens! I highly recommend these printables if you are looking for a meal planning system. **update** The complete package of printables that I use can be purchased here now. Thanks Jolene for updating the listing! **
Besides the printables I also purchased a 3 ring binder, some plastic sheets, highlighters and some paper clips.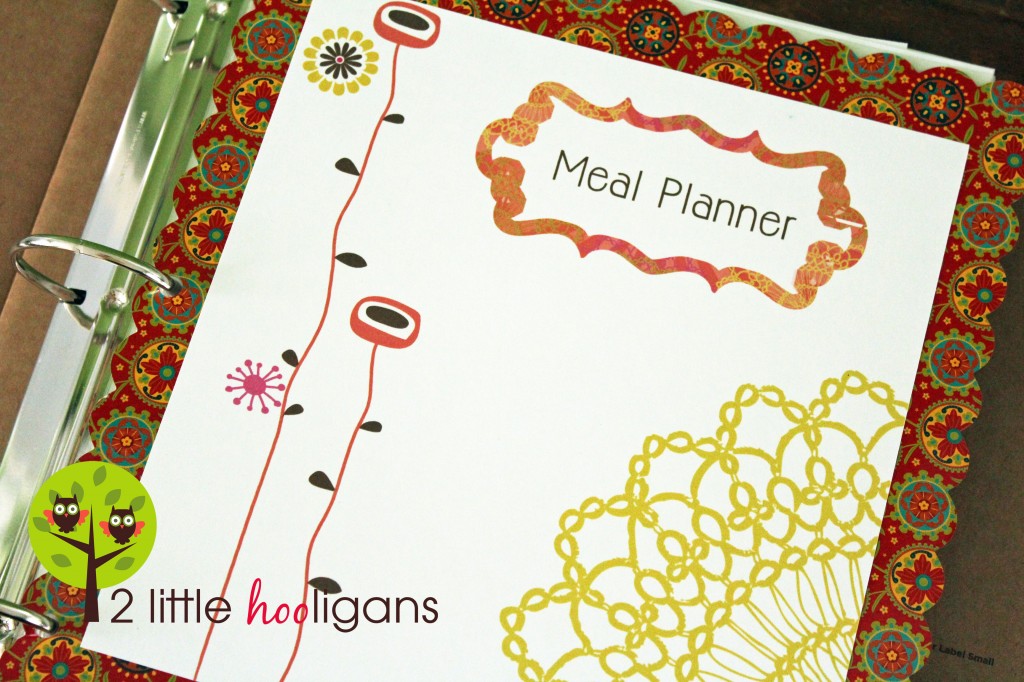 I started off by printing a bunch of copies of each printable. Now I don’t use all of the printables that you see below each time I meal plan but I still wanted them handy just incase I decided to use them. I store all of my printables in little plastic sheets in binder.
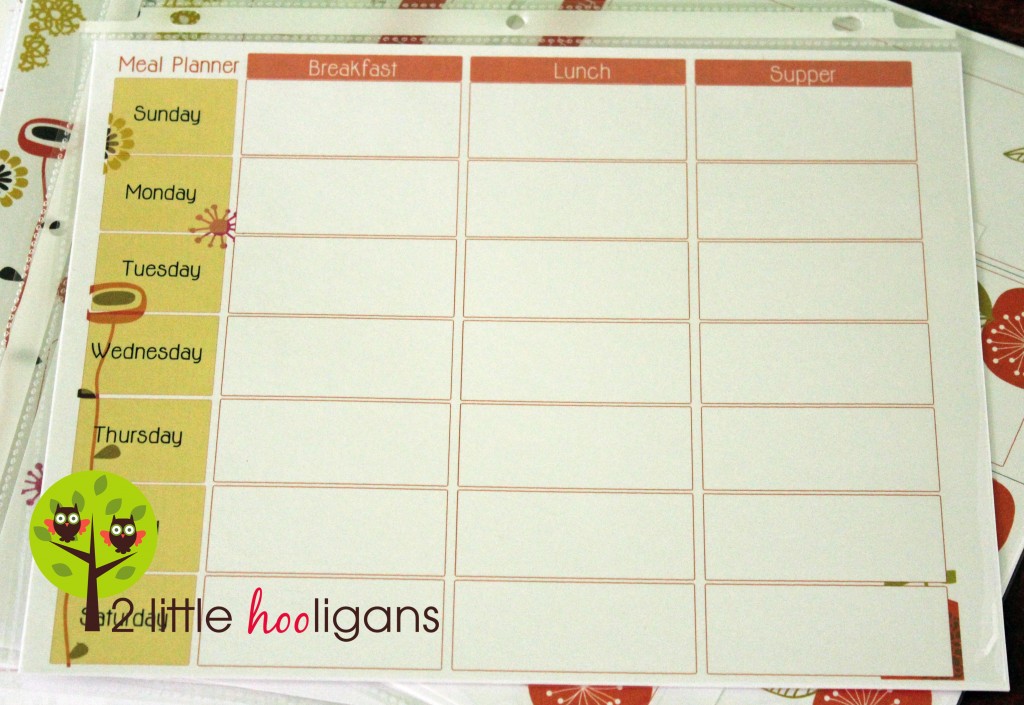
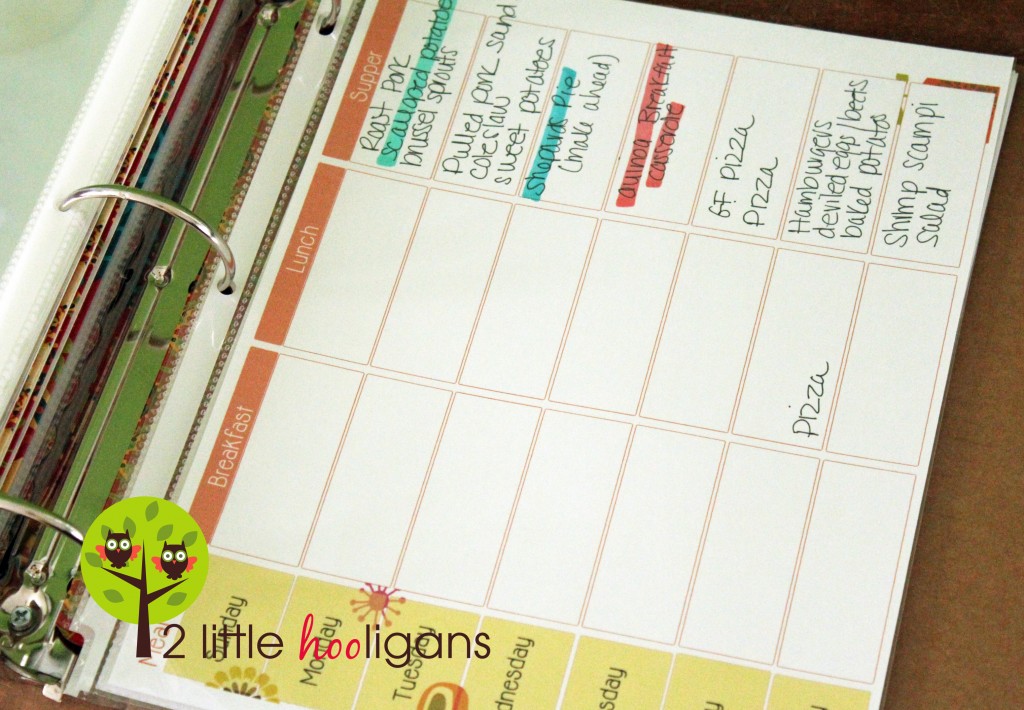
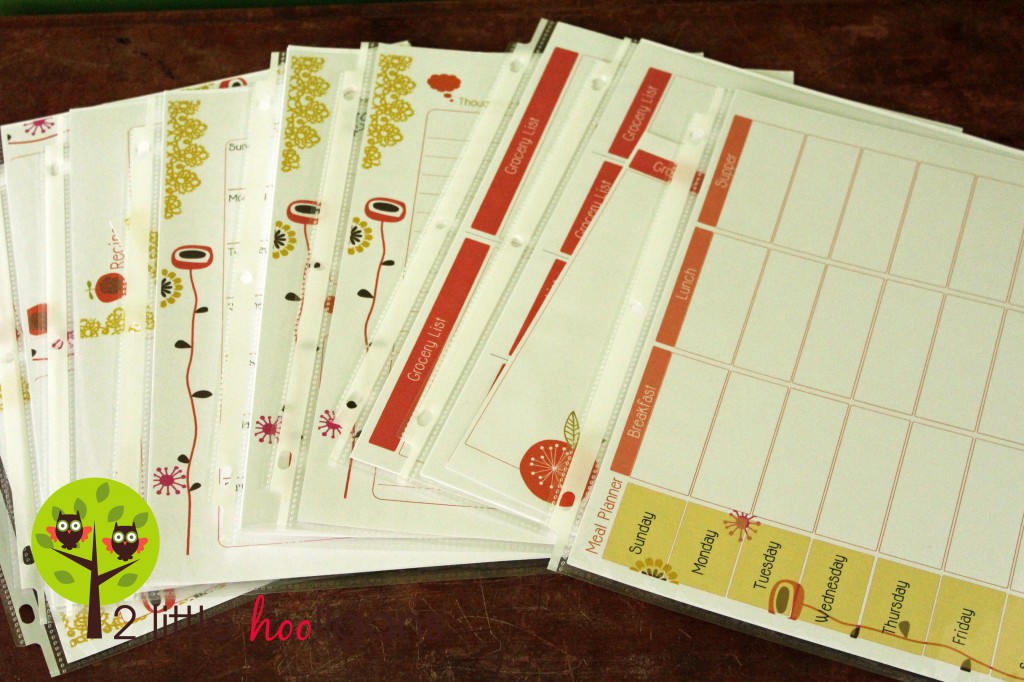 This Meal Planner sheet along with my Grocery List sheets are the two sheets that I use each week.
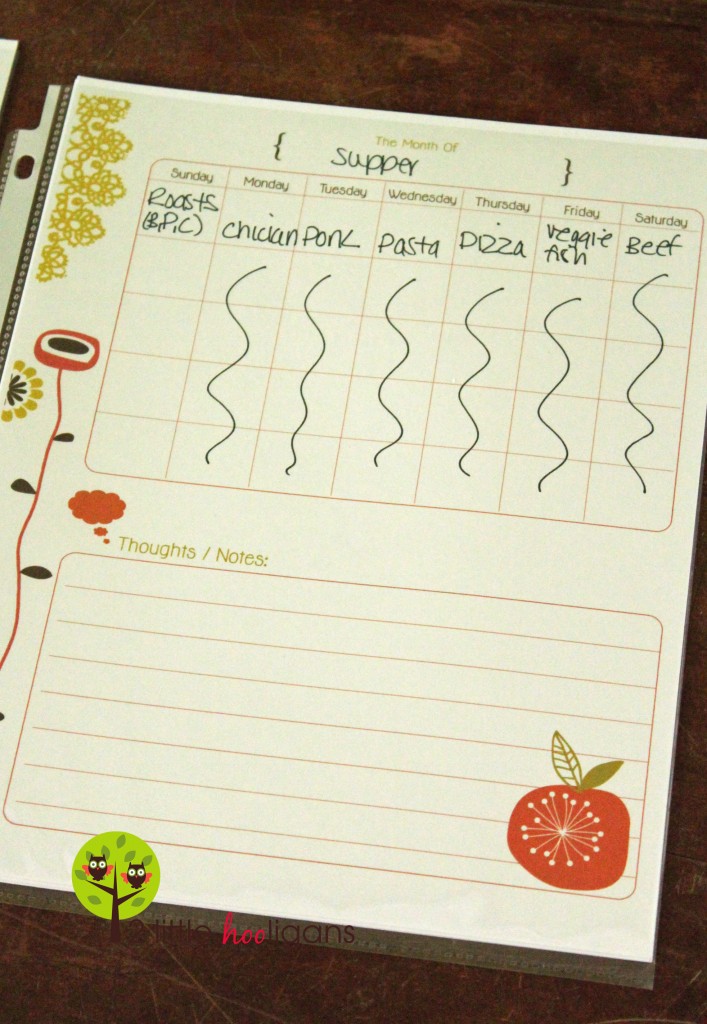
 However I do use my monthly sheet as a way of designating each day of the week with a certain meat or type of food. As you can see I try to make: Roasts on Sunday, Chicken on Monday, Pork on Tuesday, Pasta on Wednesday, Pizza on Thursday, Vegetarian or Fish on Friday and Beef on Saturday. No, I dont always stick to this schedule but for those weeks that I just have no clue where to start this gives me a quick idea of what the main entree could include.
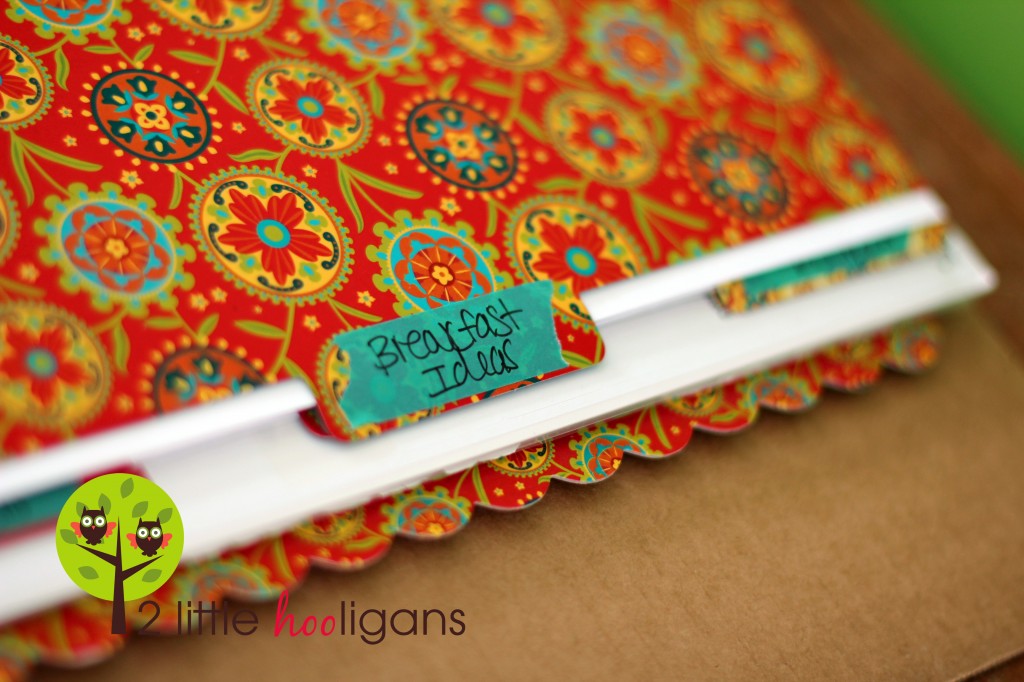
 Then after the section where all of my printables are held I have folders seperating each of our three meals. Then each of our three meals are seperated into 3 different sections. Each meal gets an idea, recipe and labels section.
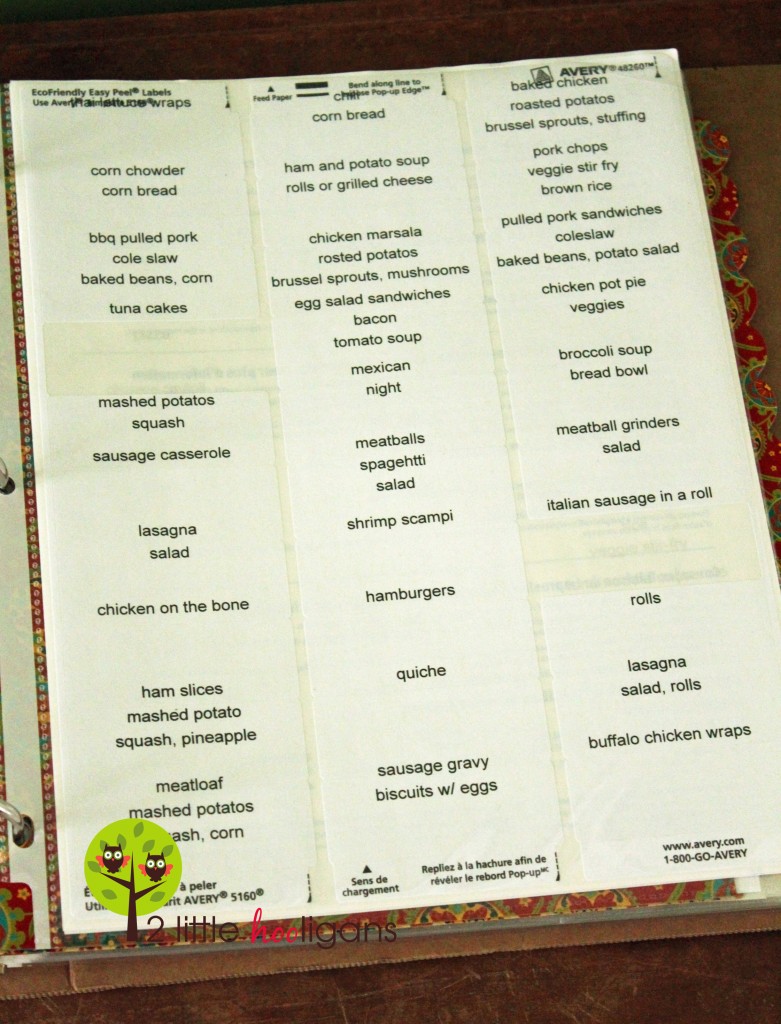
  What has helped me the most with setting up my meal planning was to sit down and spend a few hours writing down what our most favorite meals were and some other meals that we have been wanting to try. I even went through most of our cook books for ideas. Yes, it was time consuming but trust me it will be a real time saver in the long run. Then in my idea section for each meal I wrote them down. Then I typed out all of those meals onto my computer and printed them off onto little address labels. For the meals that we eat often I made multiple labels for them. For example we eat pizza every Thursday night. Then I store all of the address labels in my labels section. I use these often, especially when I am in a rush that week. Just peel off and stick…it’s a real time saver!
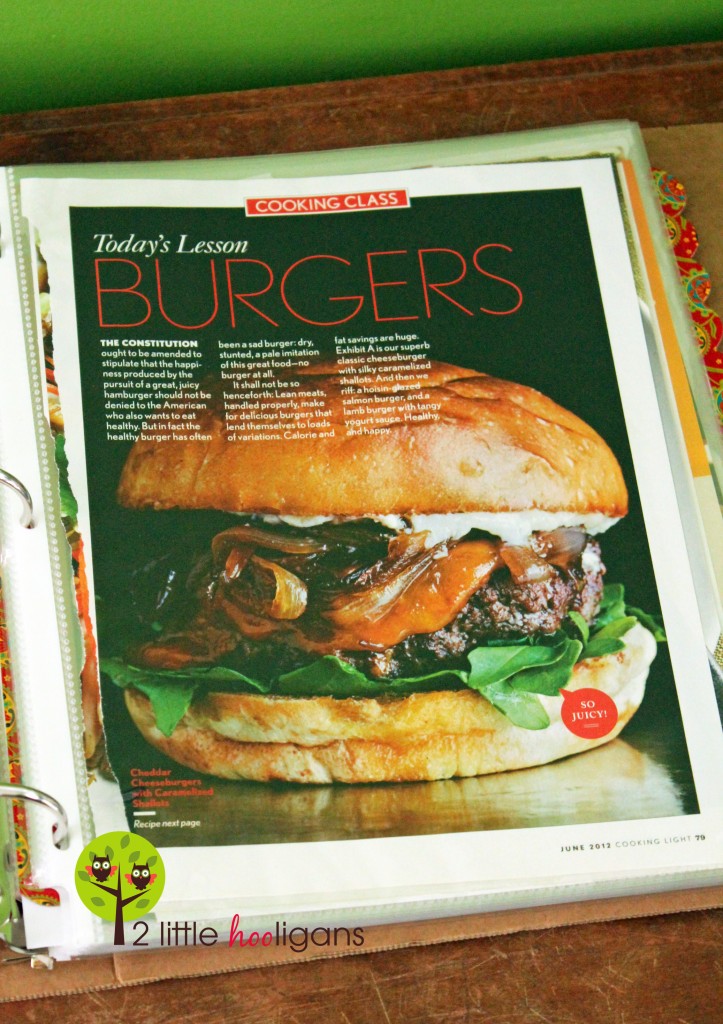
 The next section in my binder is the recipe section and it is a must! I am always finding new recipes that I want to try and instead of ripping out the recipe and shoving it into the drawer. Now I actually have a place to store them and have actually cooked most of them.
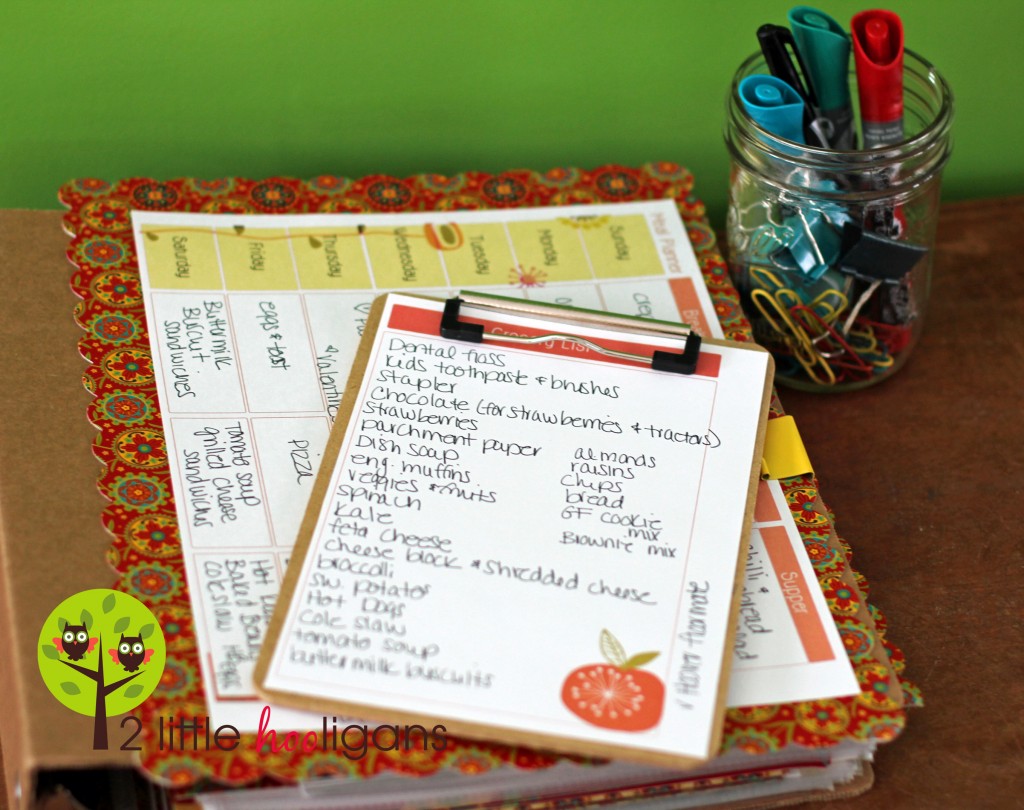
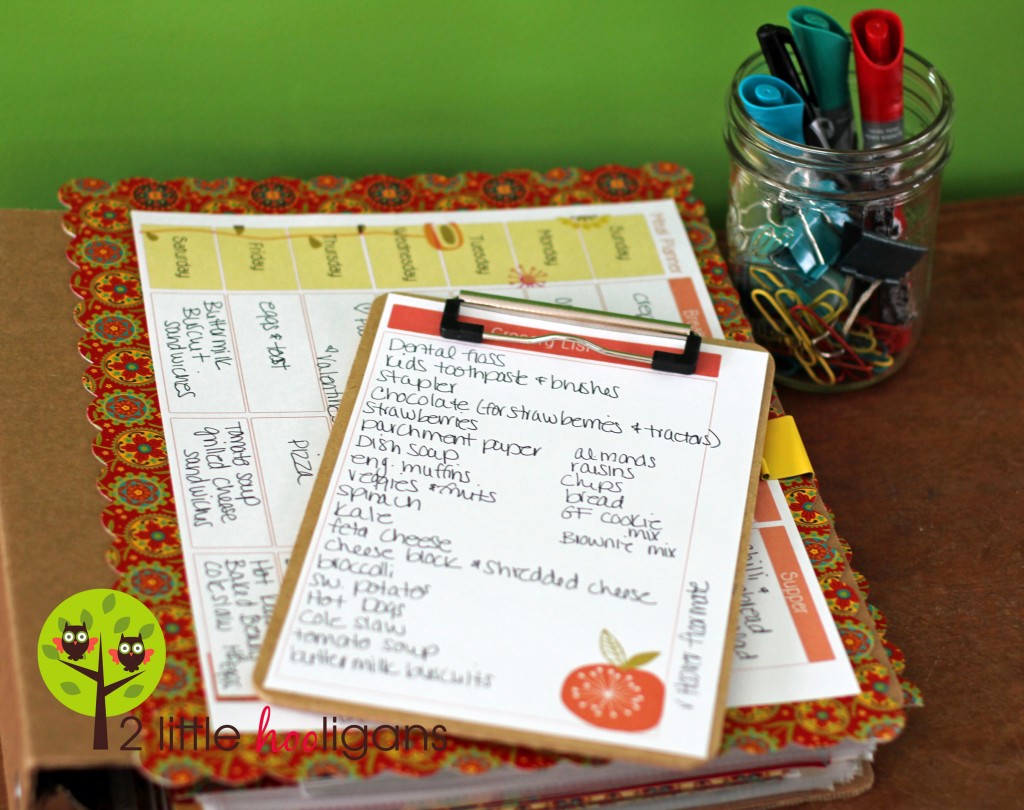
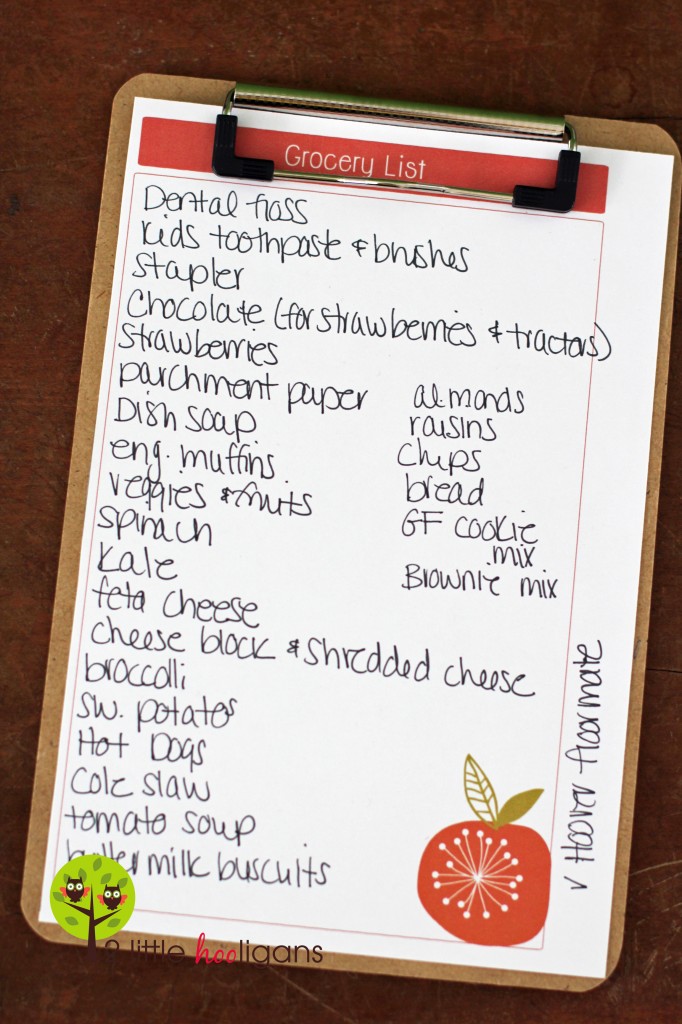
  So basically this is how I plan our meals each week. I sit down with my binder, weekly Meal Planner sheet and a Grocery List sheet. I start off by filling in all of our meals. Some weeks I know what I feel like cooking and write them in, but some weeks I need ideas and that is when I refer to the list section or use my labels. Then I write down whatever I will need to purchase at the store to prepare these meals. I also keep the Grocery List within sight all week for jotting down other items that we run out of mid-week. This has helped me from forgetting so many things!
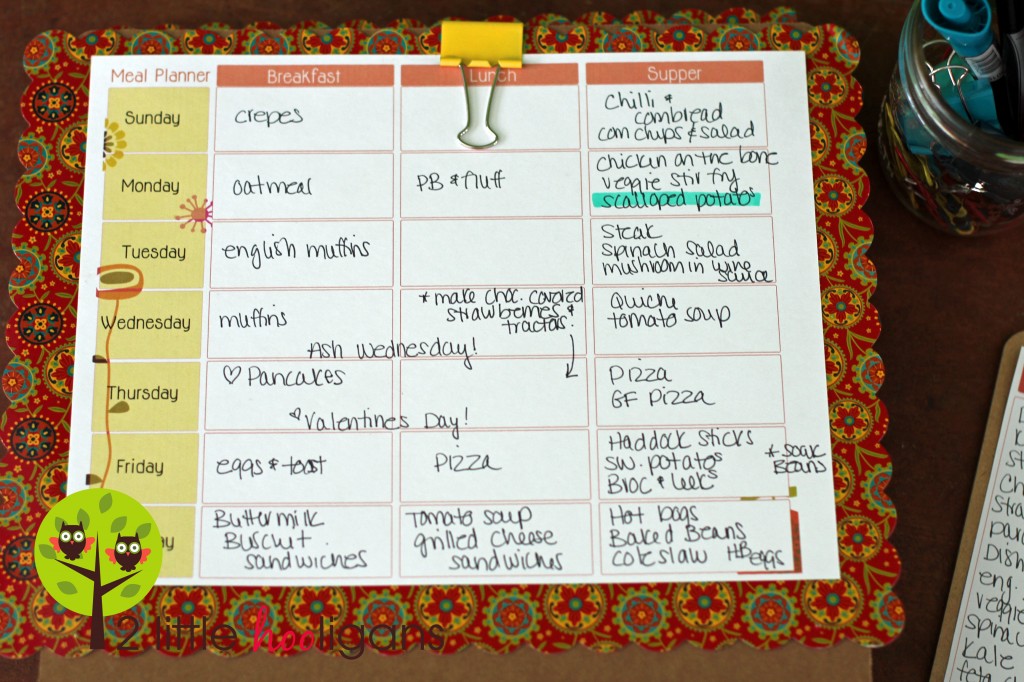
 As you can see below I don’t always fill in the breakfast or lunch sections. Those meals don’t require much thought. Now if you look below you will see I have one item highlighted. I do that when I have an item that requires me to use a recipe.
 This is where the highlighters and paper clips are used.
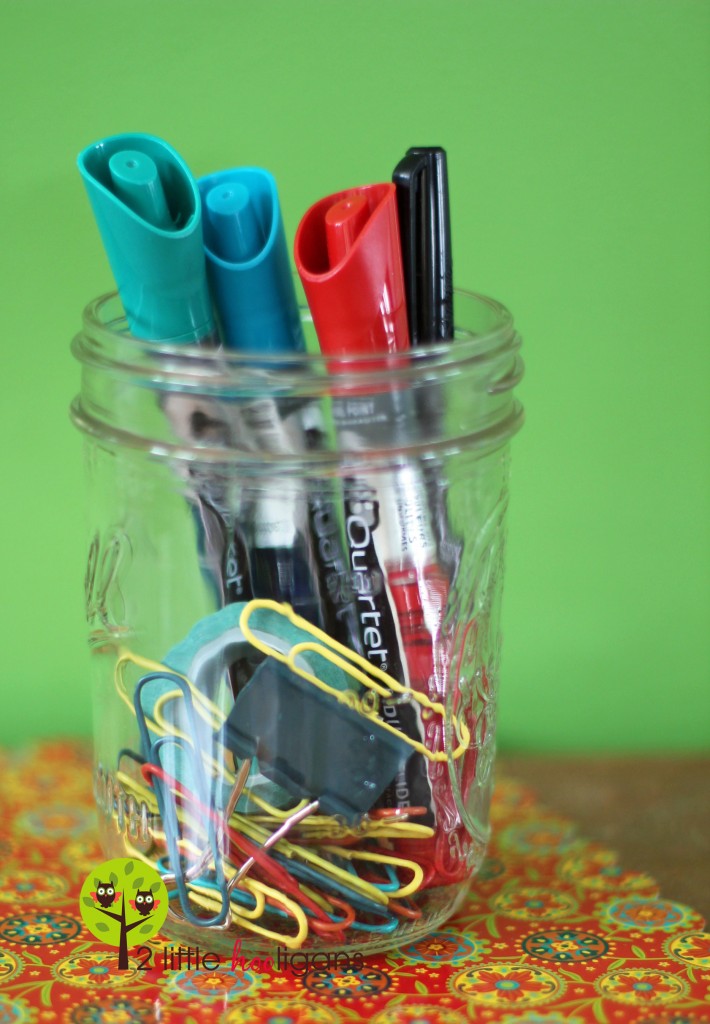 I purchased the highlighters and paper clips so that matched in color. I think I purchased the highlighters from Staples and the paper clips came from Walmart. Both were very cheap.
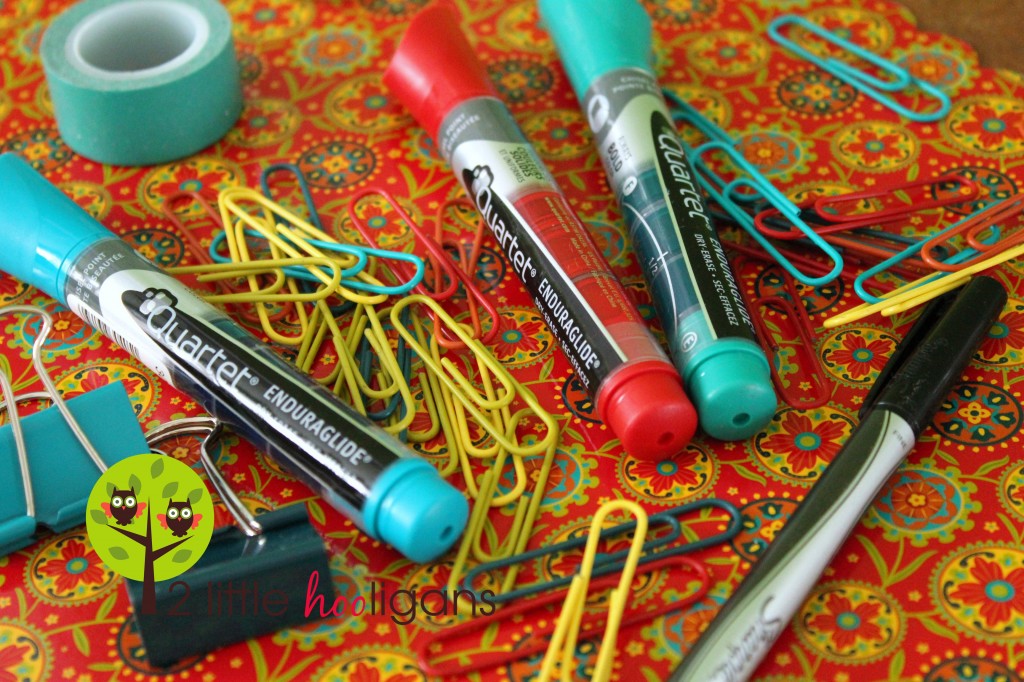 Like I said before, I highlight the item that requires a recipe. Then I pick out the matching paper clip and clip it onto the recipe that either came from my binder or a cook book. That way when it comes time to make the item I don’t have to spend too much time searching for the recipe. See how they all match? It just makes it easier. Some weeks I have multiple recipes that I want to try and this has saved me a ton of time re-searching for all those recipes or cook books.
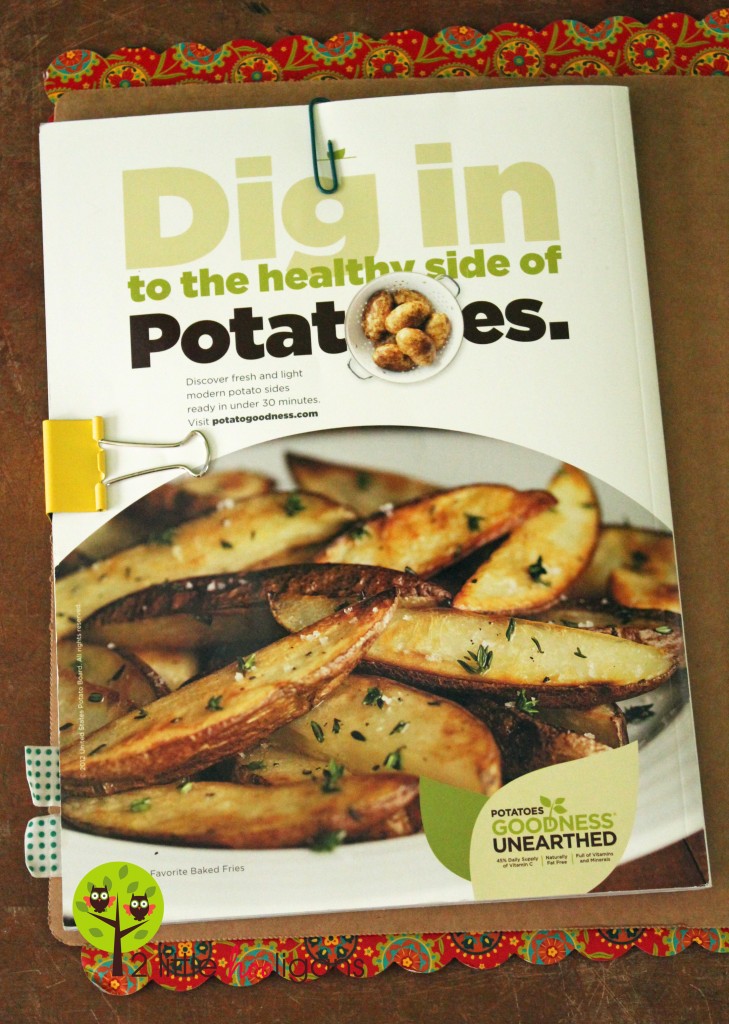 If the recipe came from a magazine I usually just clip the magazine onto the front of my binder.
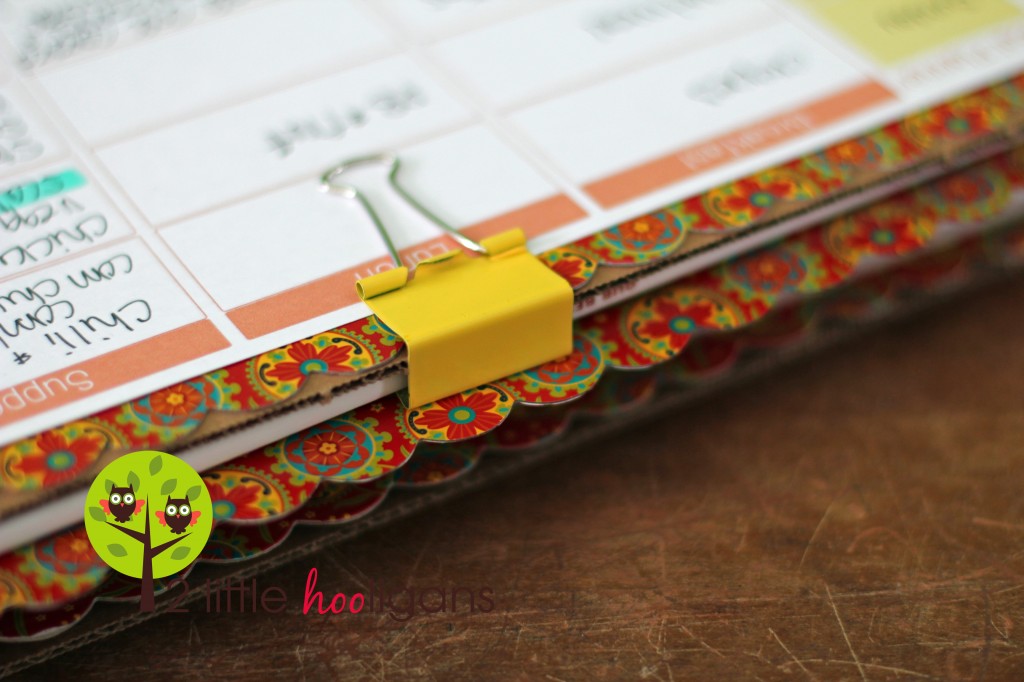 Now the best part about writing out all of your meals on paper is that you can save them. Yes, make sure you put all of your used weekly menus in the back of your binder. This way you can re-use them…pretty stinky smart huh?! Then all you have to do is fill out a Grocery List and your good to go.
 I hope you learned a few new tricks and if anything else inspired you to get meal planning! Seriously it is the best thing I have started doing. Not only does it get rid of the “What am I going to make for supper?” but also helps me from wandering around while grocery shopping.
 If you have any other tips or tricks when it comes to meal planning, please share!

 Opaldesigngroup
 STEPHMODO