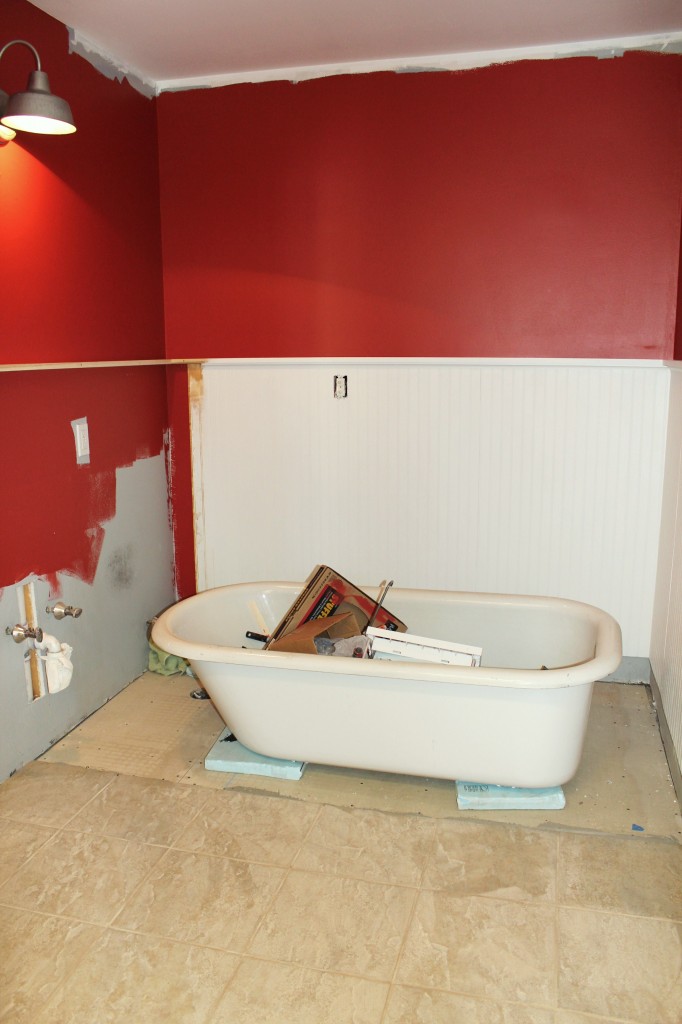
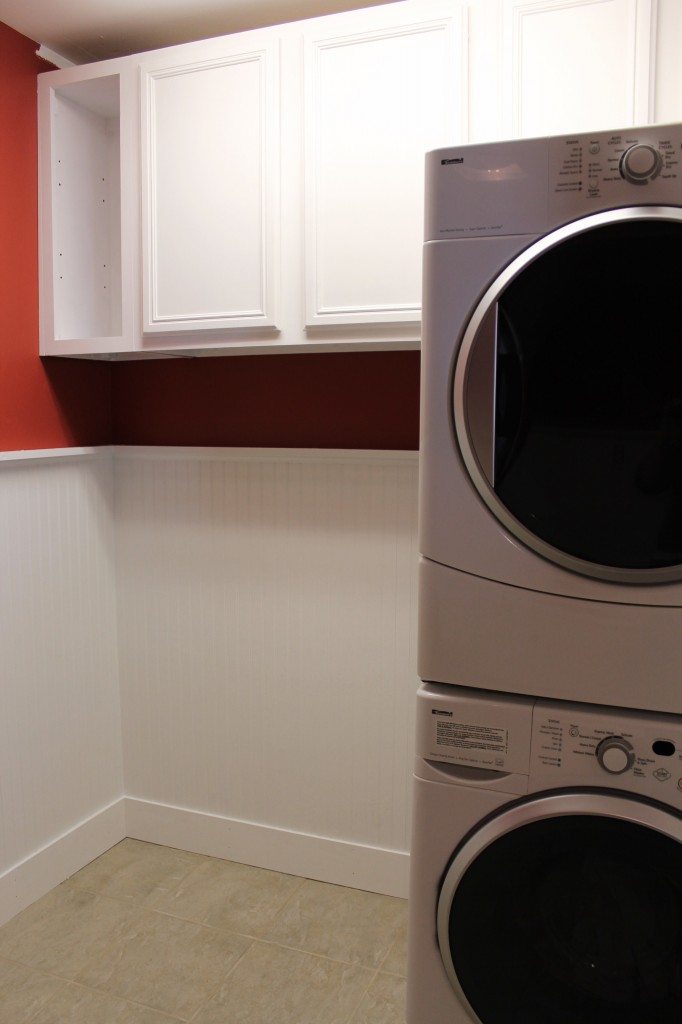
We are really making progress on our bathroom renovation. It is hard to believe it has only been one week and it is almost complete. All we have left to do in the laundry area is add a counter top and do a little bit of trim work on top of the cabinets. Thankfully all of the painting is done on this side of the room.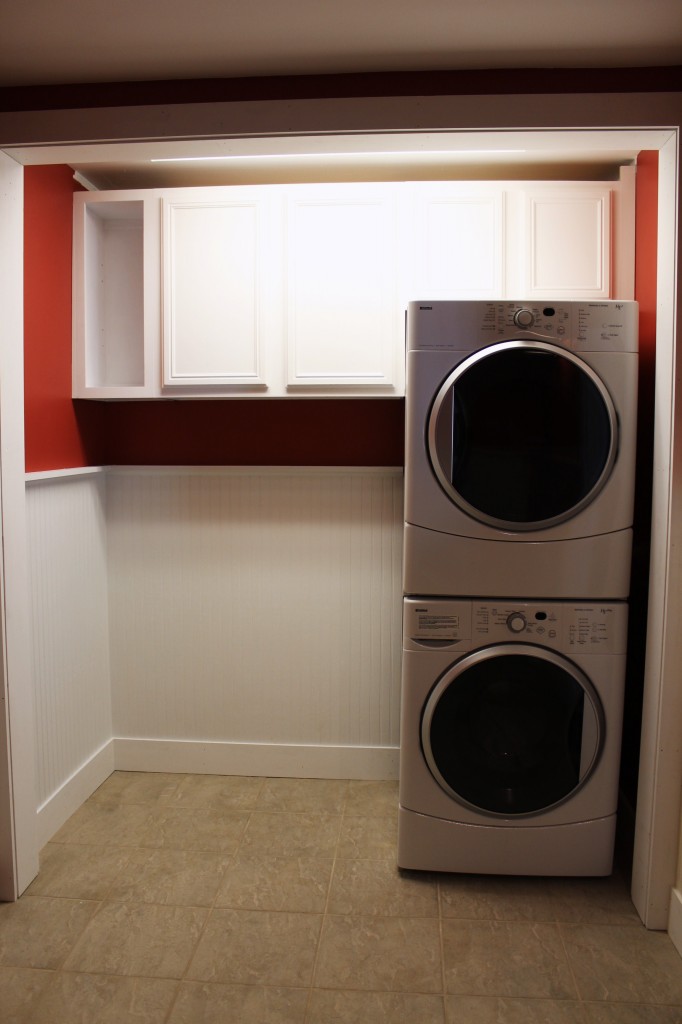 Unfortunately this side of the room still needs a lot of work. Tonight we will finish up all of the tile work and then I will finish painting the upper edge of the walls. As you can see, we still need to put up more bead-board on one of the walls and of course put in a toilet, sink and a tub. But at least it is finally starting to come together! (The walls are actually red but for some reason they are looking more orange.)
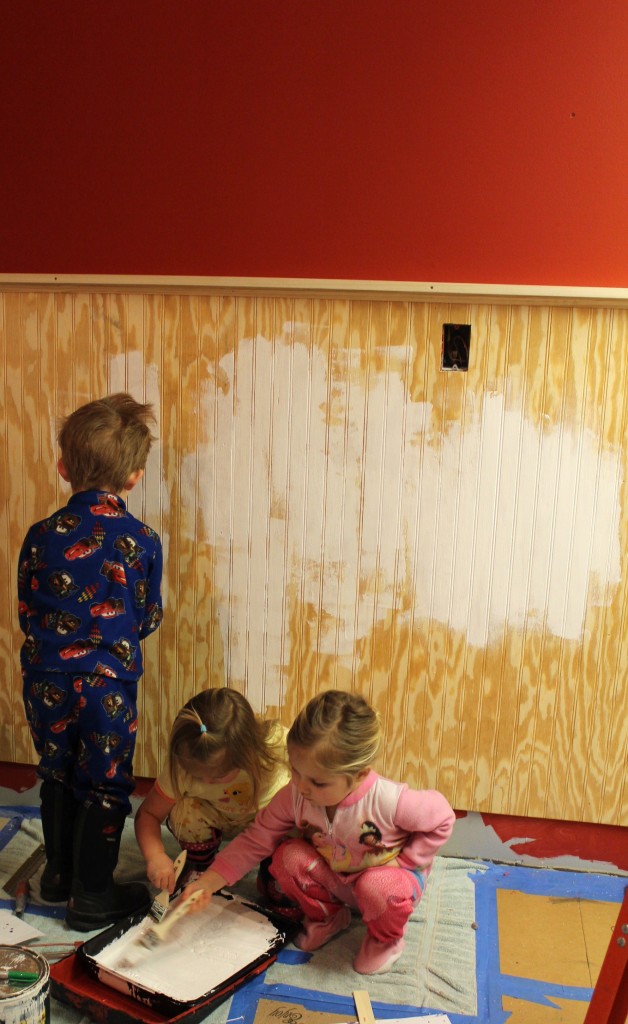
 We have definitely had some good helpers!
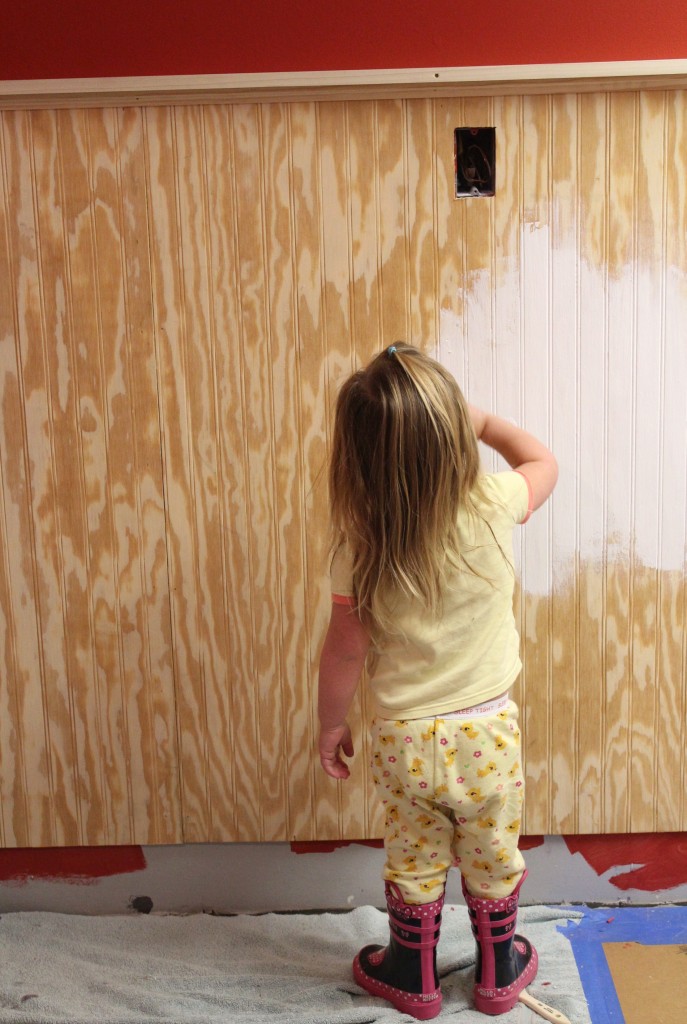 The best part is that they cannot reach where they shouldn’t be painting. So it really has been the perfect project for them to be involved in.
 So now I am off to do about 5,000 loads of laundry. It’s amazing how much laundry can add up in one week!
Valentine’s Day 2012
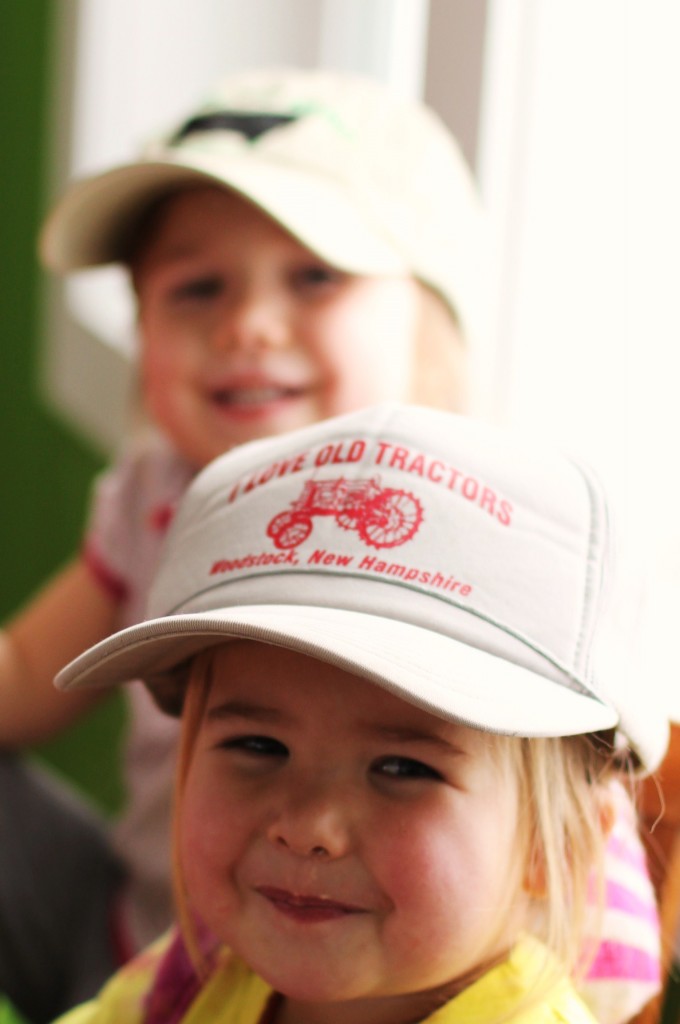
Valentine’s Day is one of those holidays that becomes more and more fun each year. I love how a simple peanut butter and fluff becomes so special once it is cut into a heart. Or how yogurt with pink sprinkles on top is the yummiest thing they have ever eaten.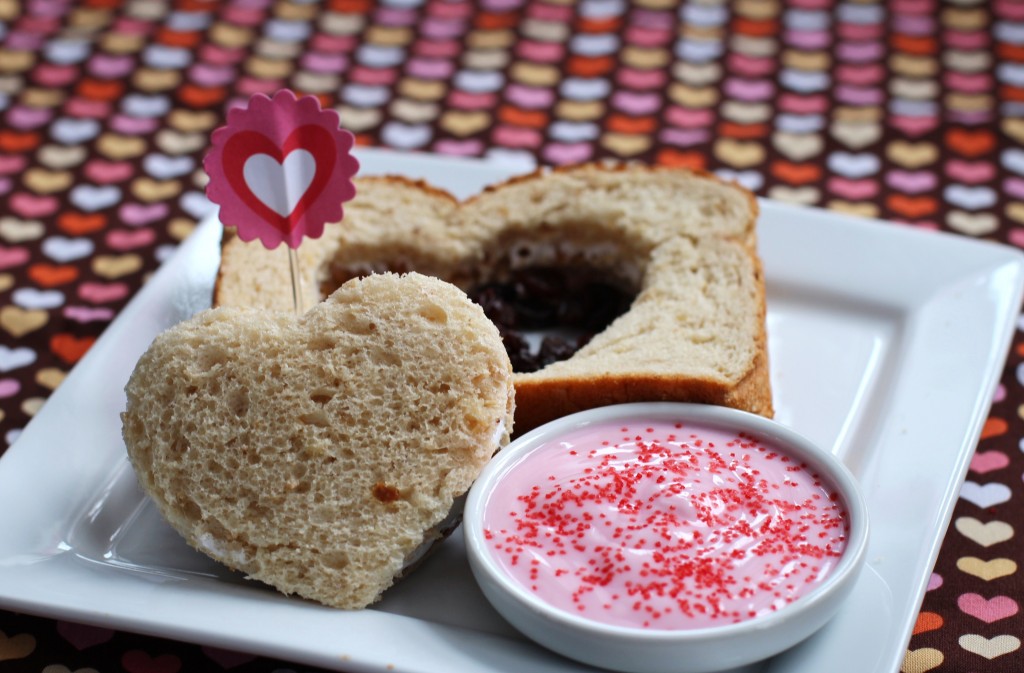 I had big hopes of these two little girls wearing their Sweatheart Dresses but instead they opted for some dirty clothes from the hamper complete with a cow and tractor hat.
 We spent the day doing Valentine’s craft and making yummy treats. Ok, so I made all the treats while the girls just sat there licking the bowls and spoons.
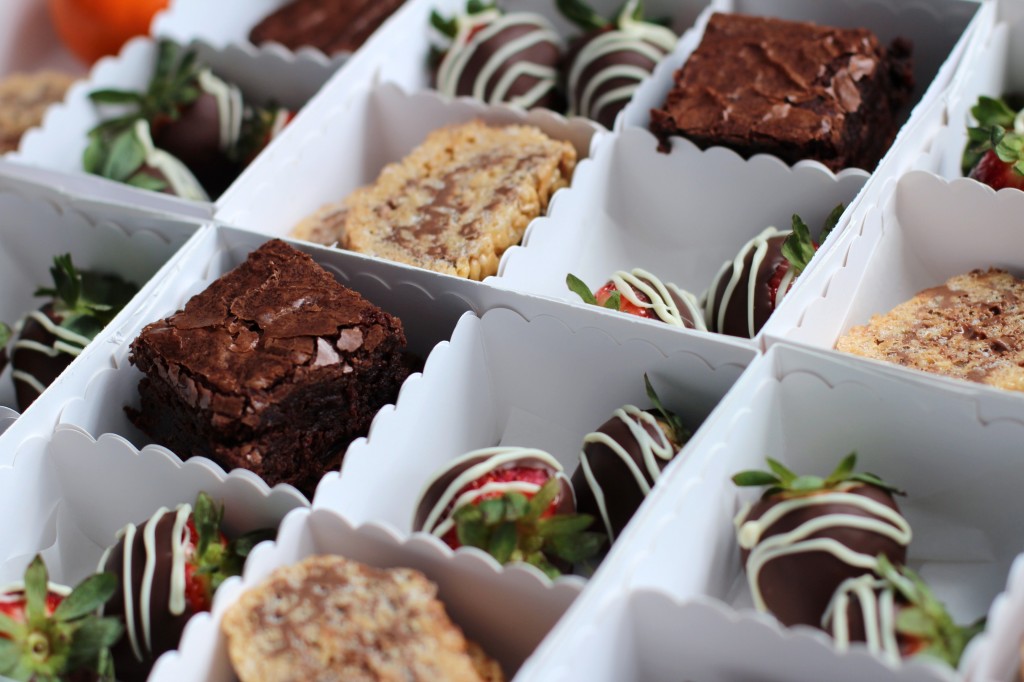 Later that day we did our usual delivery of treats to family and friends. This is always the best part of the day.
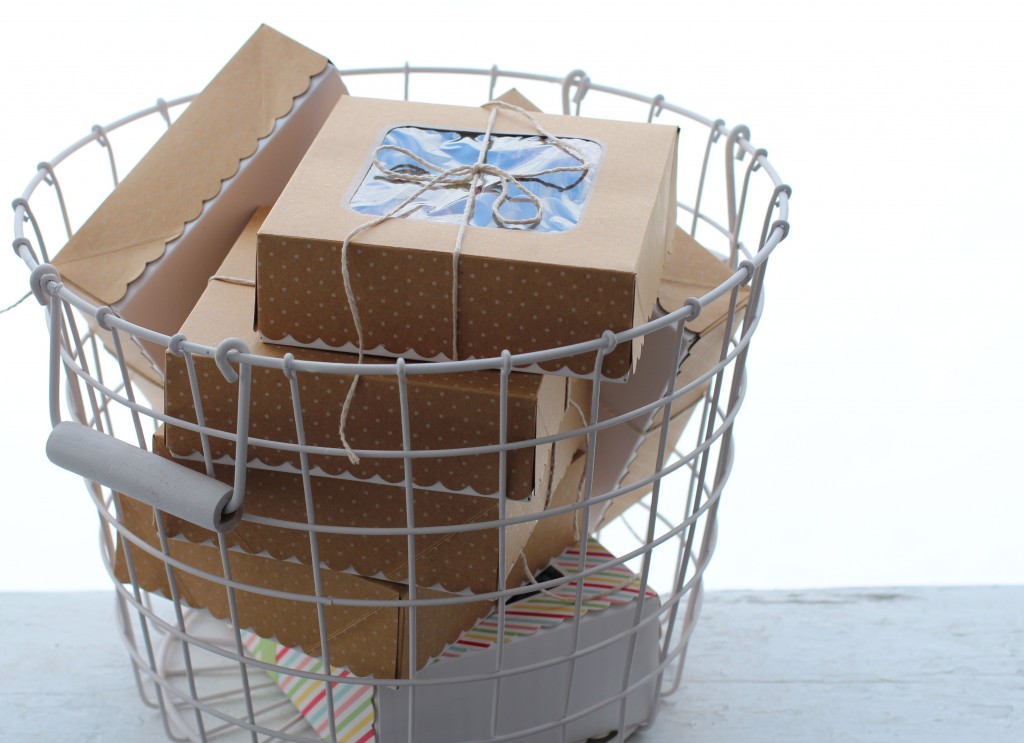 And of course we had to finish off the night with pizza!
Fat Quarter Friday {paint chip and fabric swatch organizer tutorial}
 I am so glad that so many of you have shown interest in my little paint chip & fabric swatch organizer. I knew I was not the only one who was crazy enough to carry all of their decorating swatches with them everywhere they go. Even though I made this little book with the intent of getting my paint chips and fabric swatches organized the reality of it is that this little book could be used for so many other purposes as well. Honestly, the uses are endless!
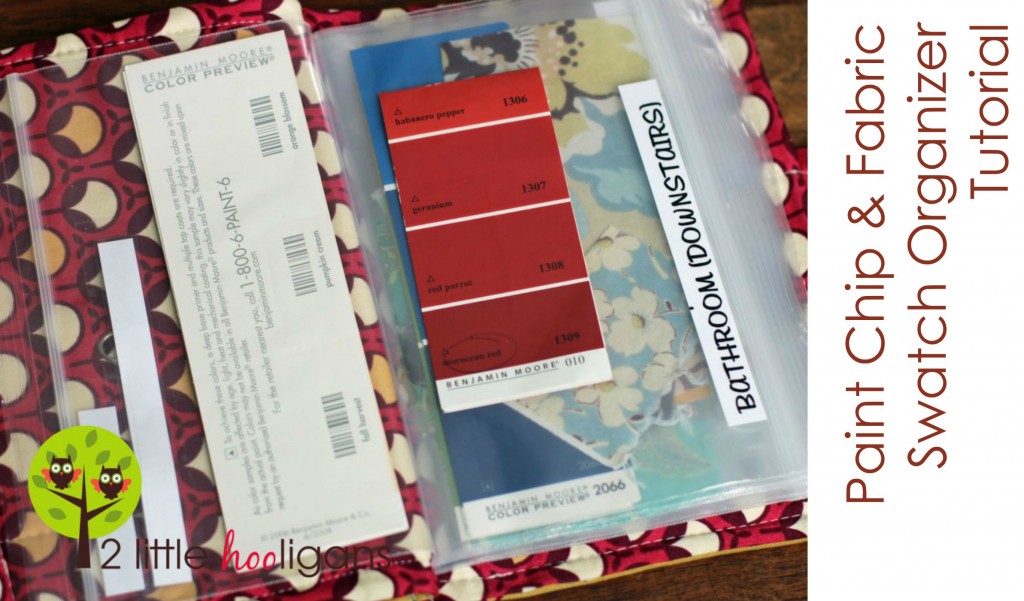 Materials Needed:
*1 box of quart-sized freezer bags (I bought mine at the dollar store. I liked that they were completely plain unlike the Ziploc brand that have little squares to write on.) My bags measured 8″ x 7″
*Two pieces of fabric (one interior print and one exterior print) and one piece of batting cut 14″ x 9″ (main part of book)
* Two pieces of fabric (interior print) and one piece of batting cut 12″ x 3″ (flap closure)
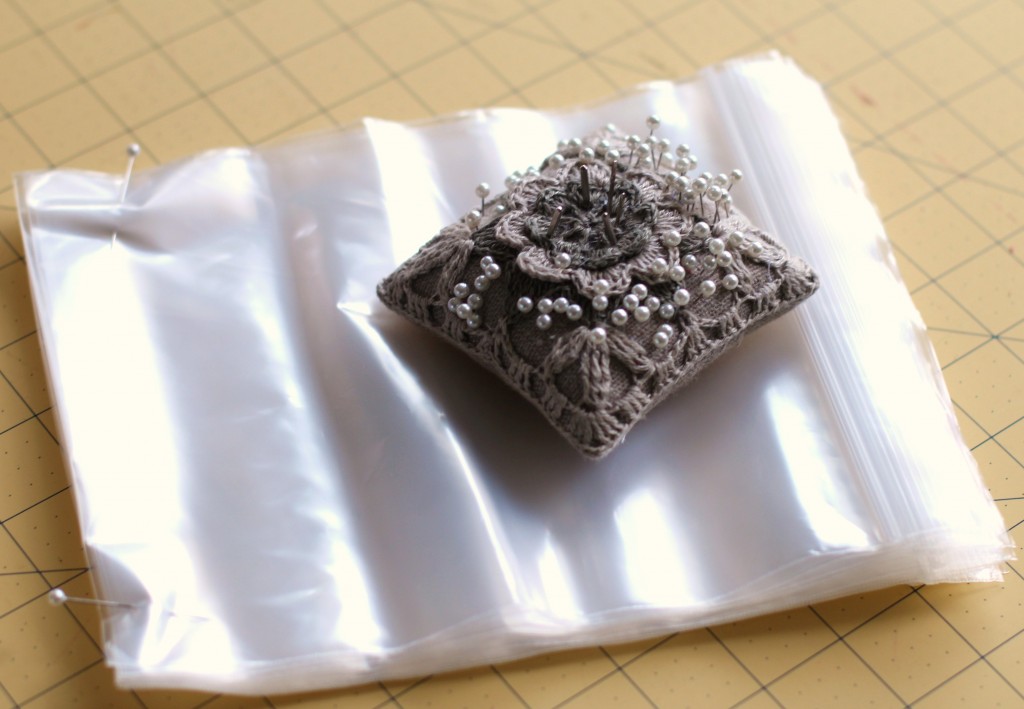
**Use a 1/2″ sew seam**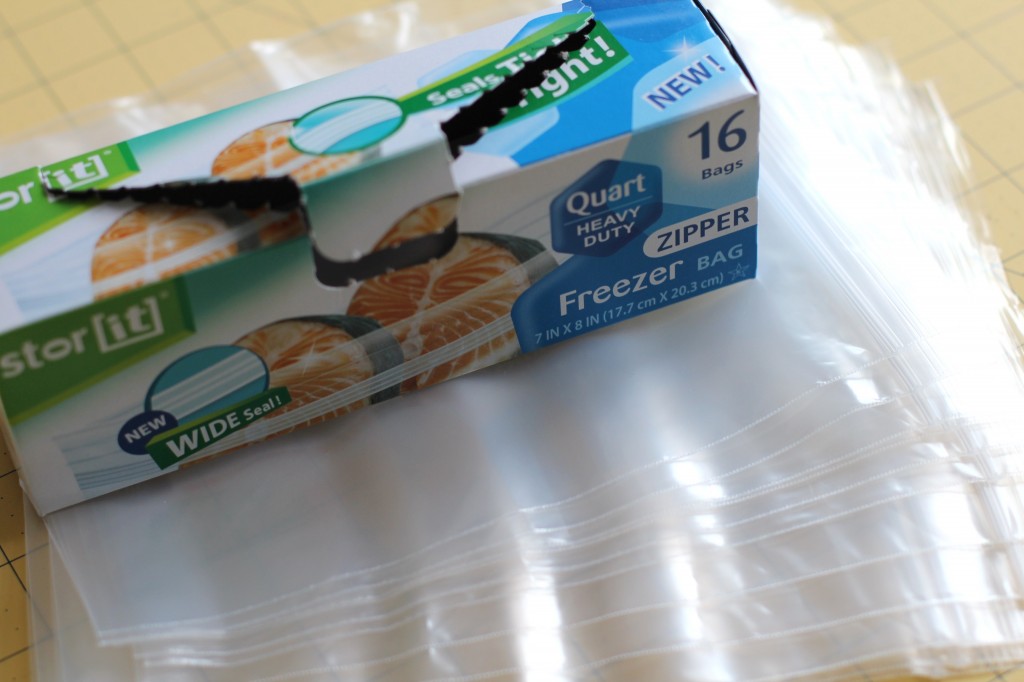 Start off by measuring your baggies. Mine measure 8″ x 7″. Gather as many baggies as you would like to have in your book. I put 12 in my book. One for each room and then two extra baggies for outside projects. Try and line up all of your baggies evenly. Pin the non-zippered side together with a few pins. Pin it as close to the edge as possible. You don’t want a hole in your baggie where you are going to be storing your swatches.
 Now measure 3″ in from the edge on the non-zippered side. Draw a line horizontally.
 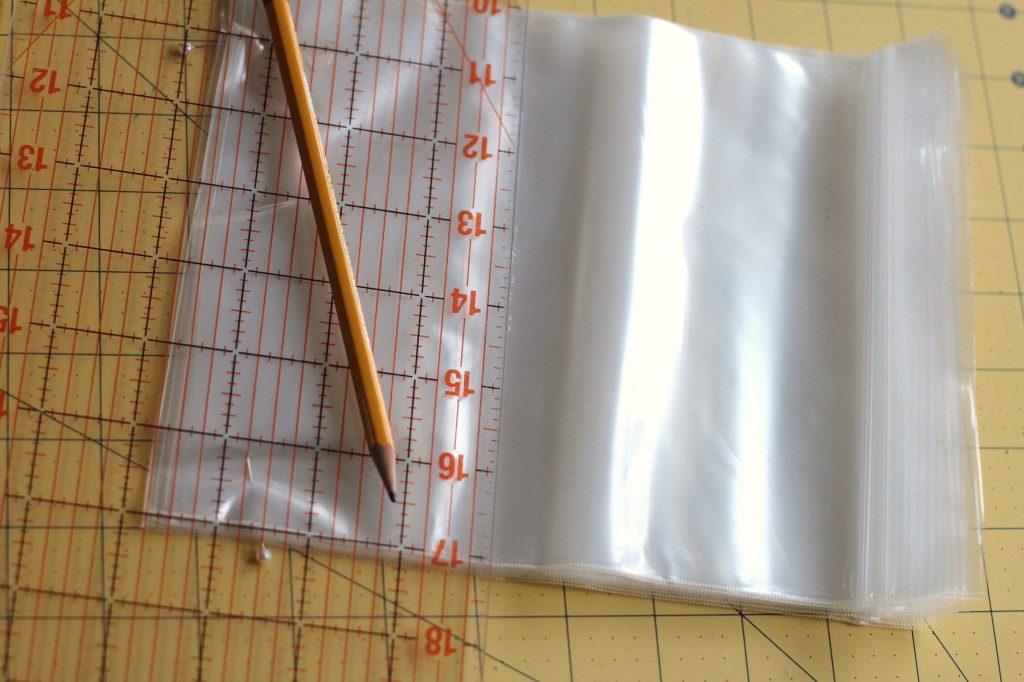 Sew right on top of that line. Trim baggie about 1/4″ away from stitching on the non-zippered side.
 Gather your larger pieces of fabric and batting.
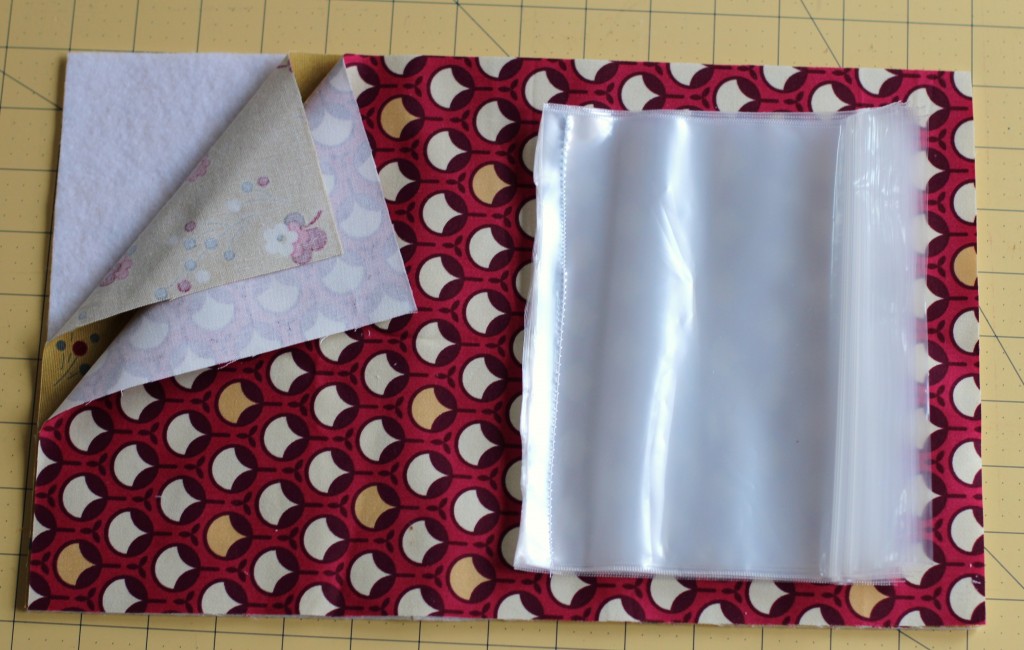 Layer fabrics and batting like so. Batting on bottom, exterior fabric right side up, then interior fabric wrong side up. Pin together.
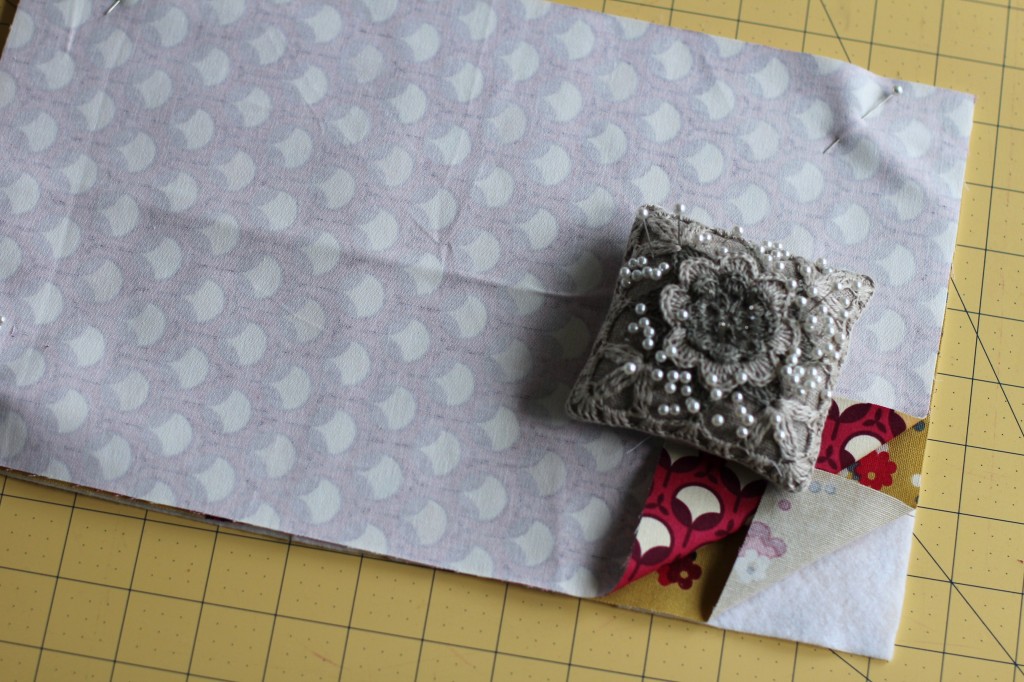 Sew all sides while leaving a 2″ opening for turning right side out. Square off edges and trim. Pull right side out through opening. Iron flat. Top stitch around all edges. Make sure you stitch your opening closed when you are top stitching.
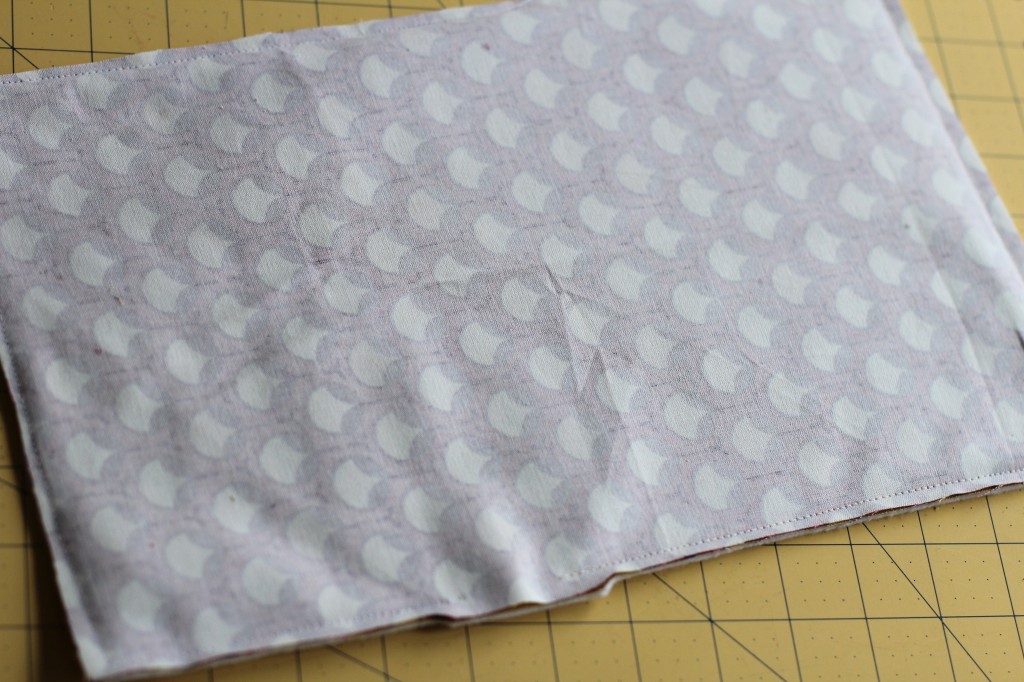 Now gather your 12″ x 3″ pieces of fabric and batting.
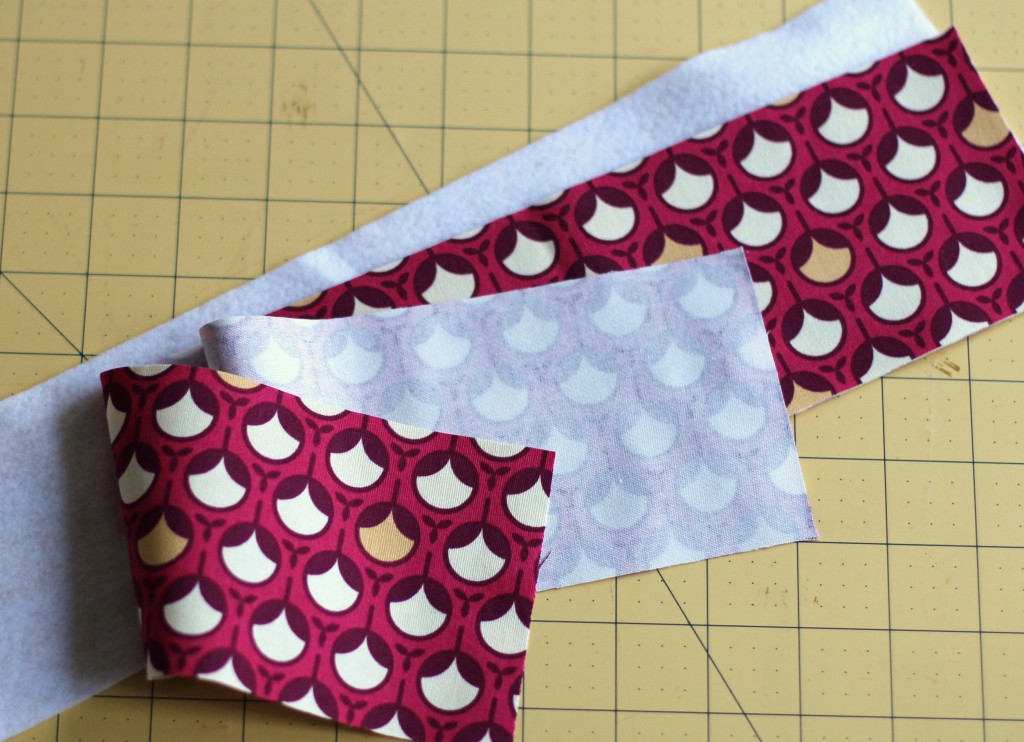 Layer fabrics like so: Batting on bottom then fabrics on top of each other with right sides facing. Pin along sides and one end. Sew three sides. Turn right side out through open edge. Iron flat.
 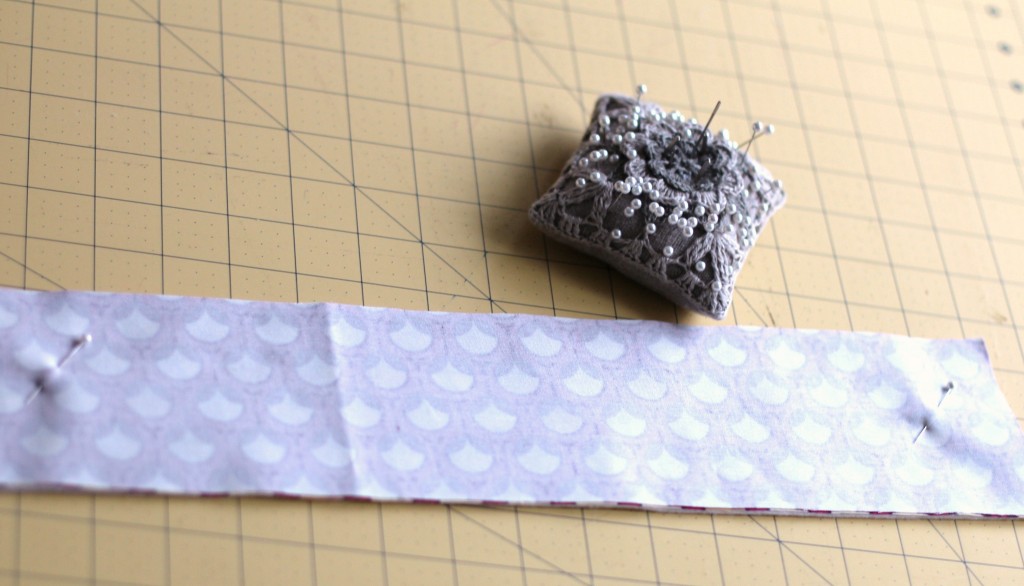 Fold your book piece of half. Iron on folded edge. Now place the cut end of your baggies into the crease that you just made when you ironed. Carefully pin the baggies in place right at the seam of the book. Be careful not to go too far in. You don’t want to poke holes in the pages of the book.
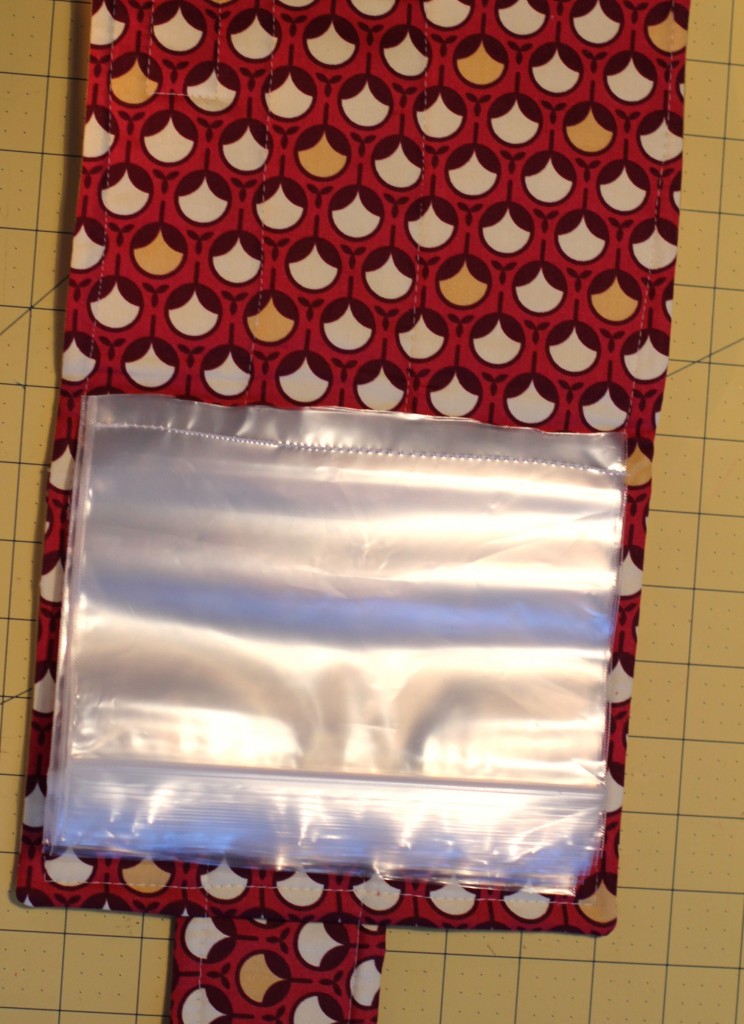 Double stitch baggies in place on the folded edge of book. Now take your flap piece and pin it like in the picture below. Make sure you fold the unfinished edge under about 2-3″ when your pinning in place.
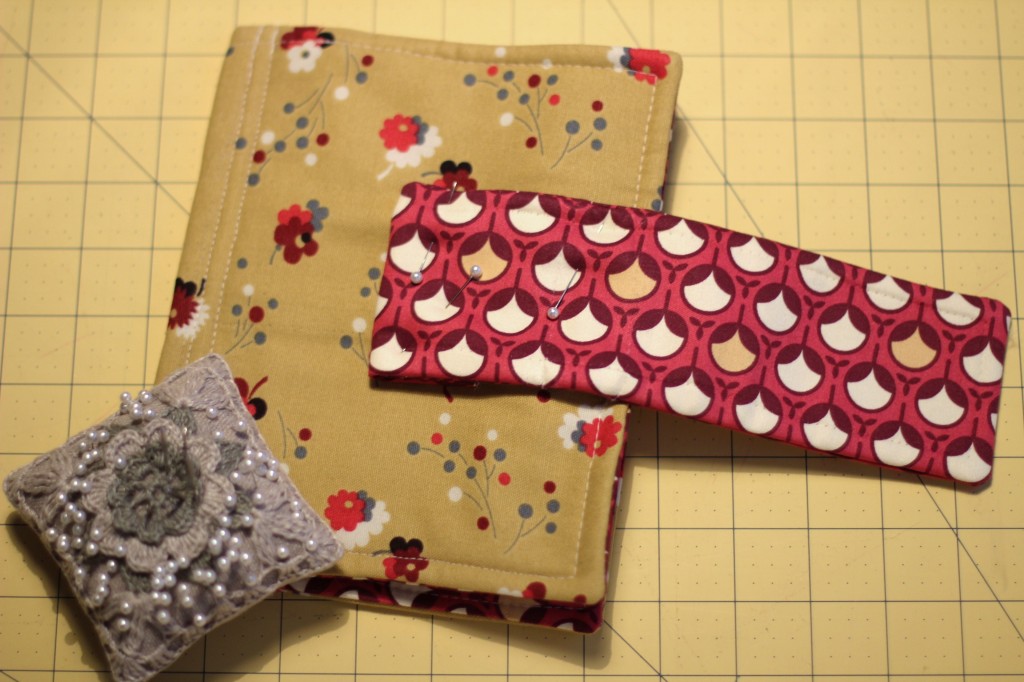 Stitch all around flap and onto the book.
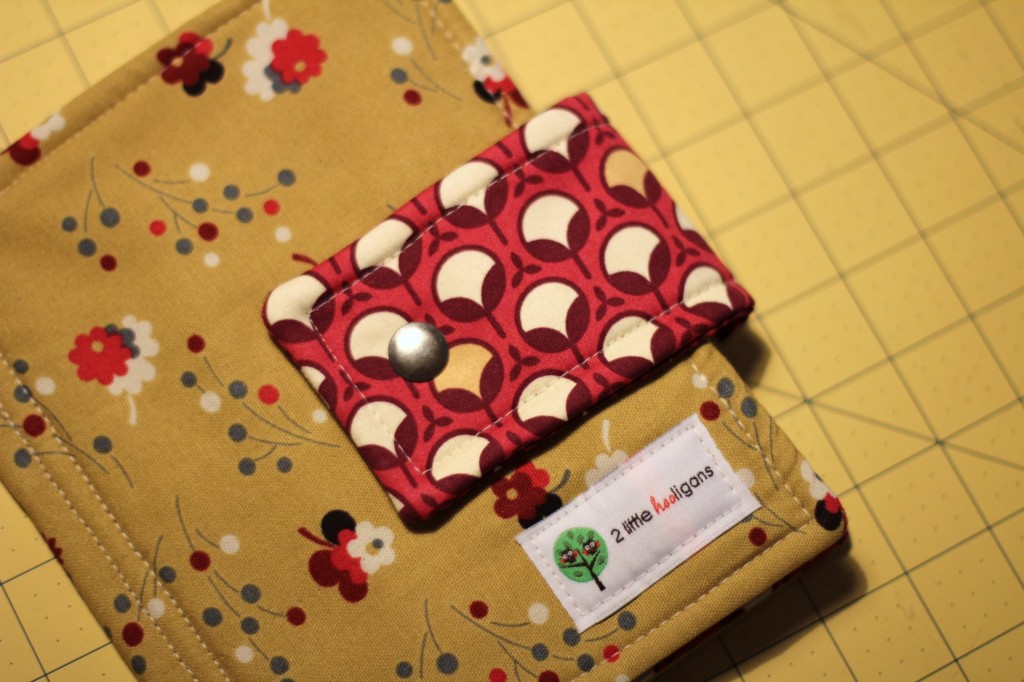
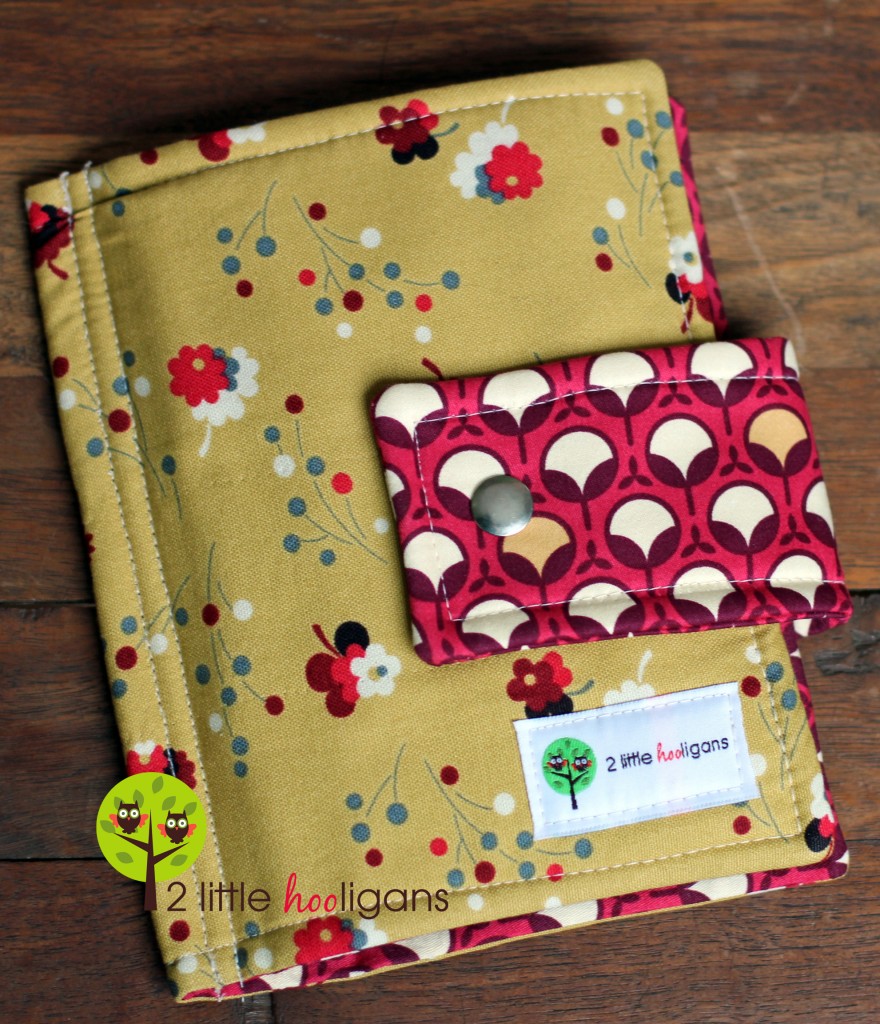
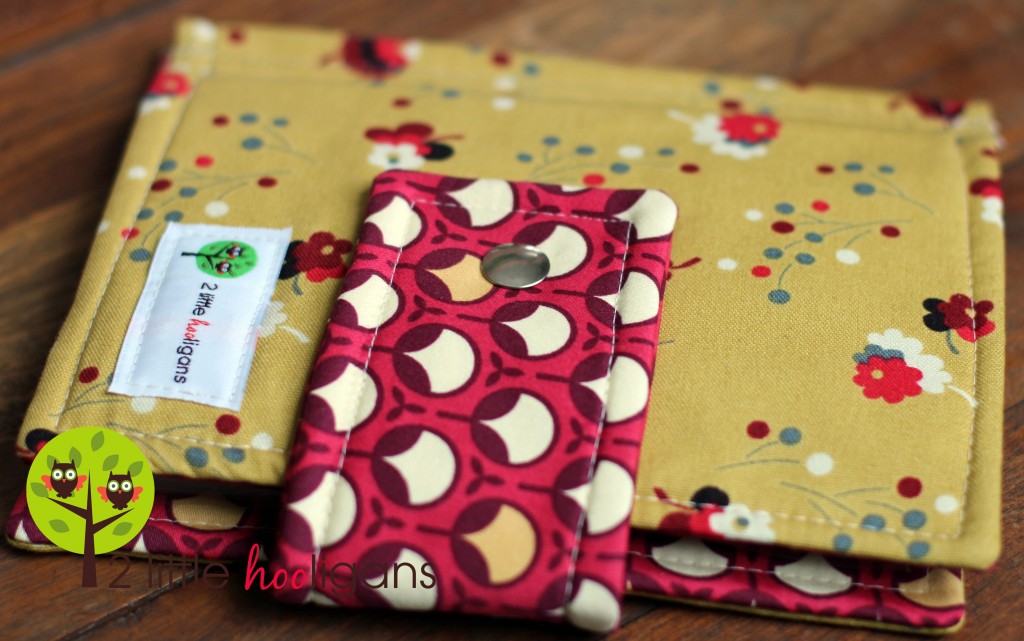
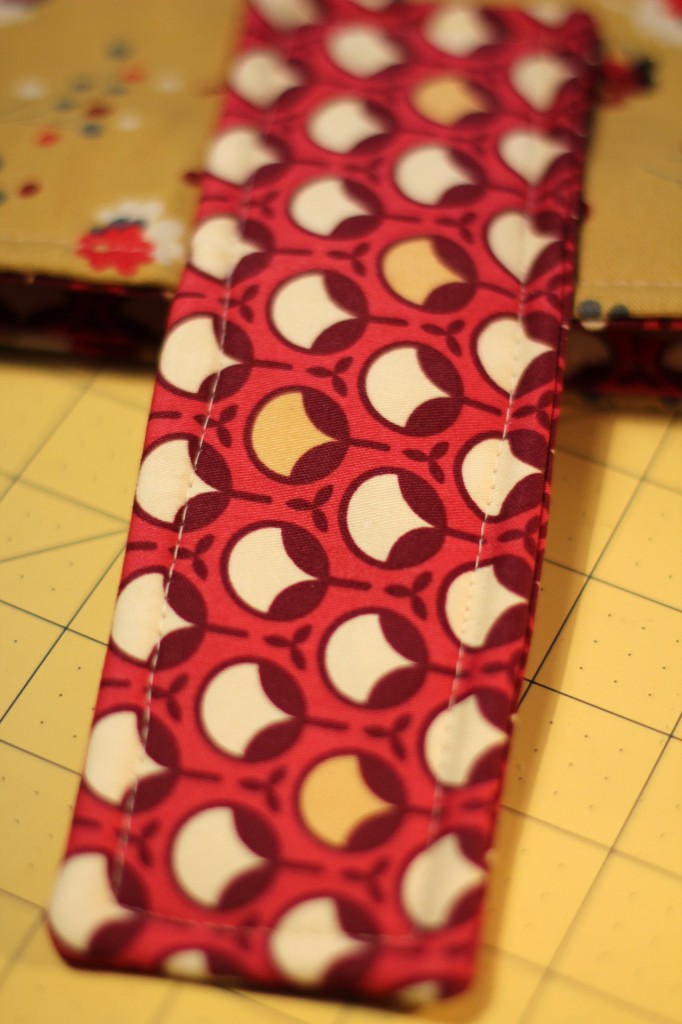 Now add a snap, button, or Velcro. And there you have it, a cute little book to hold all of your paint chips and fabric swatches!
 Now gather all of your paint chips and swatches and get organizing.
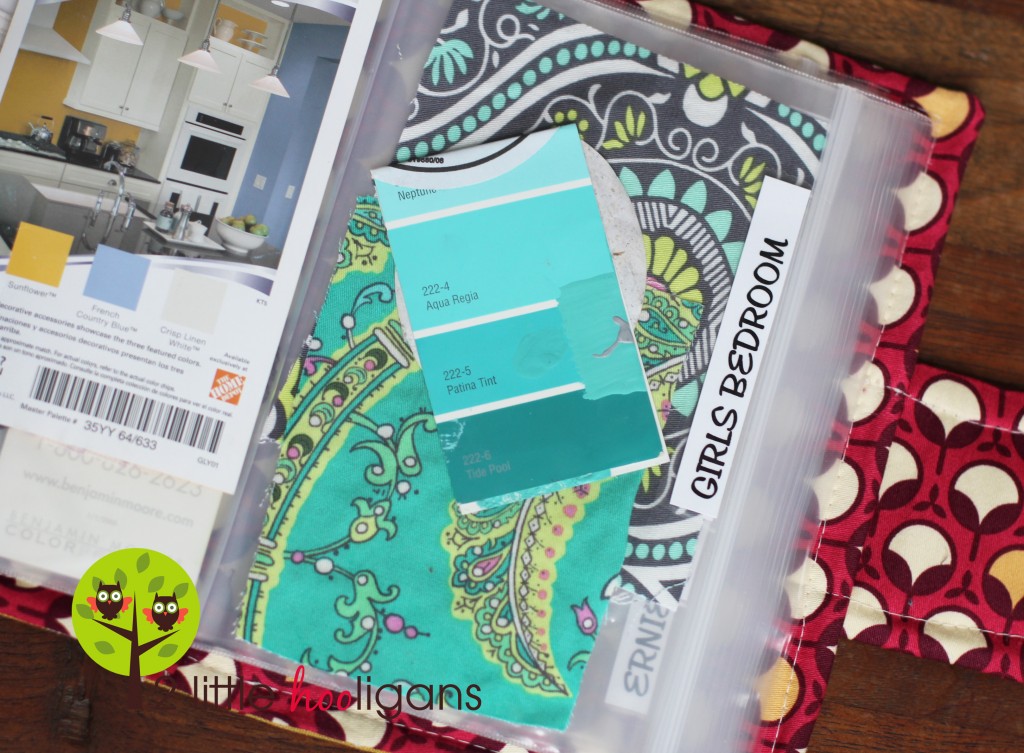
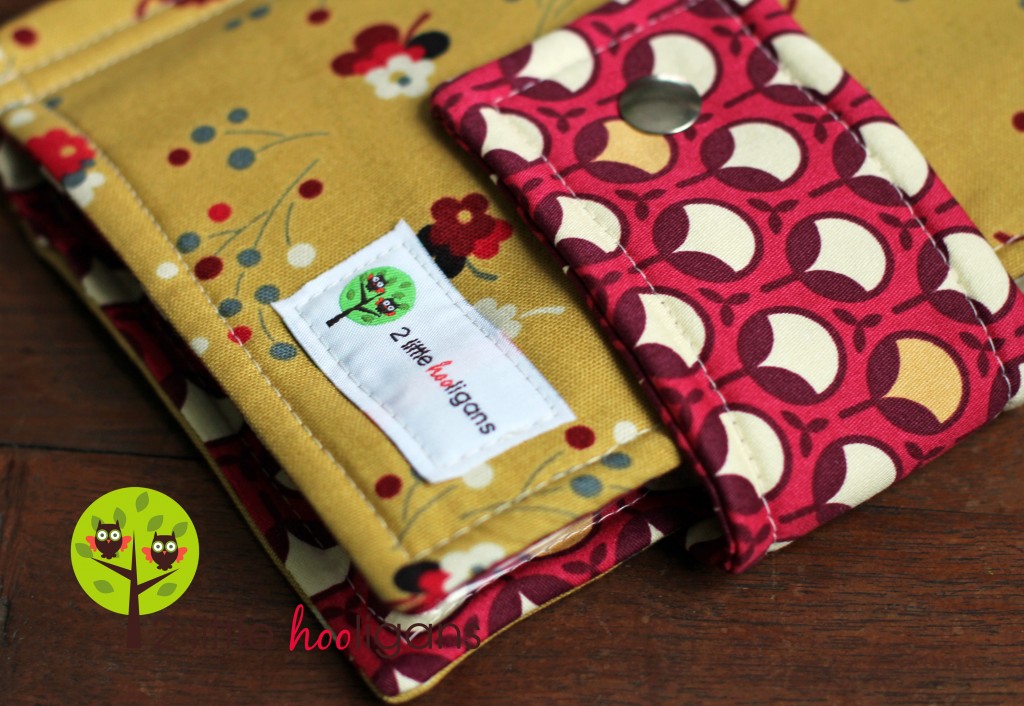 To label each baggie all I did was type up the name of each room on my computer and printed them off onto card stock. Then I used scotched tape to tape the labels onto the baggies. Of course you could use a label maker as well if you have one.
 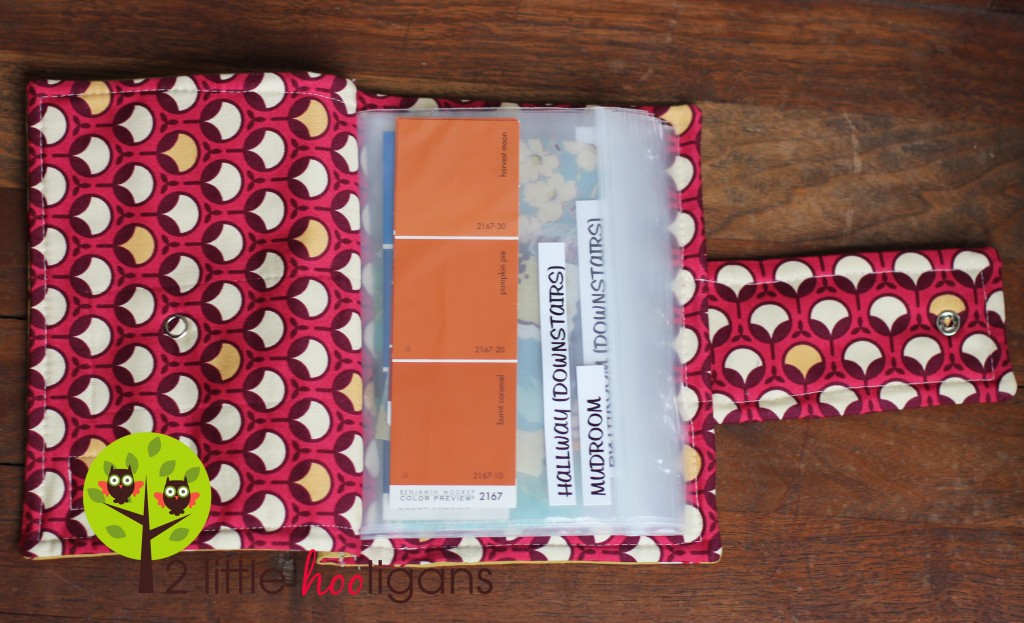 Now each room has its own spot for holding paint chips and fabric swatches…and whatever else you want to include.
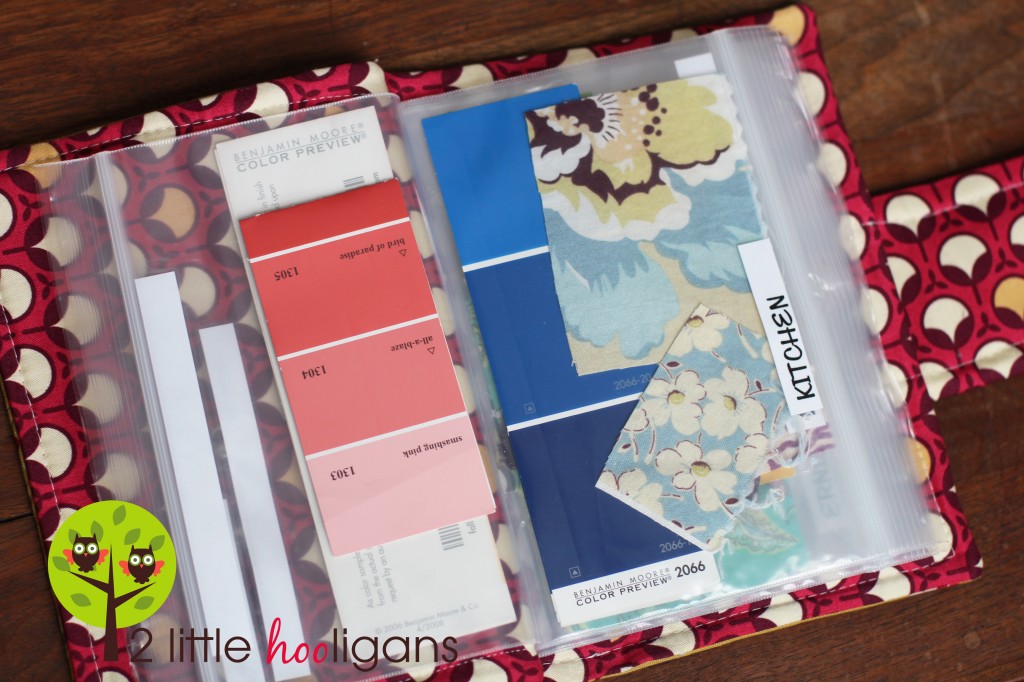 Don’t you just love getting organized?
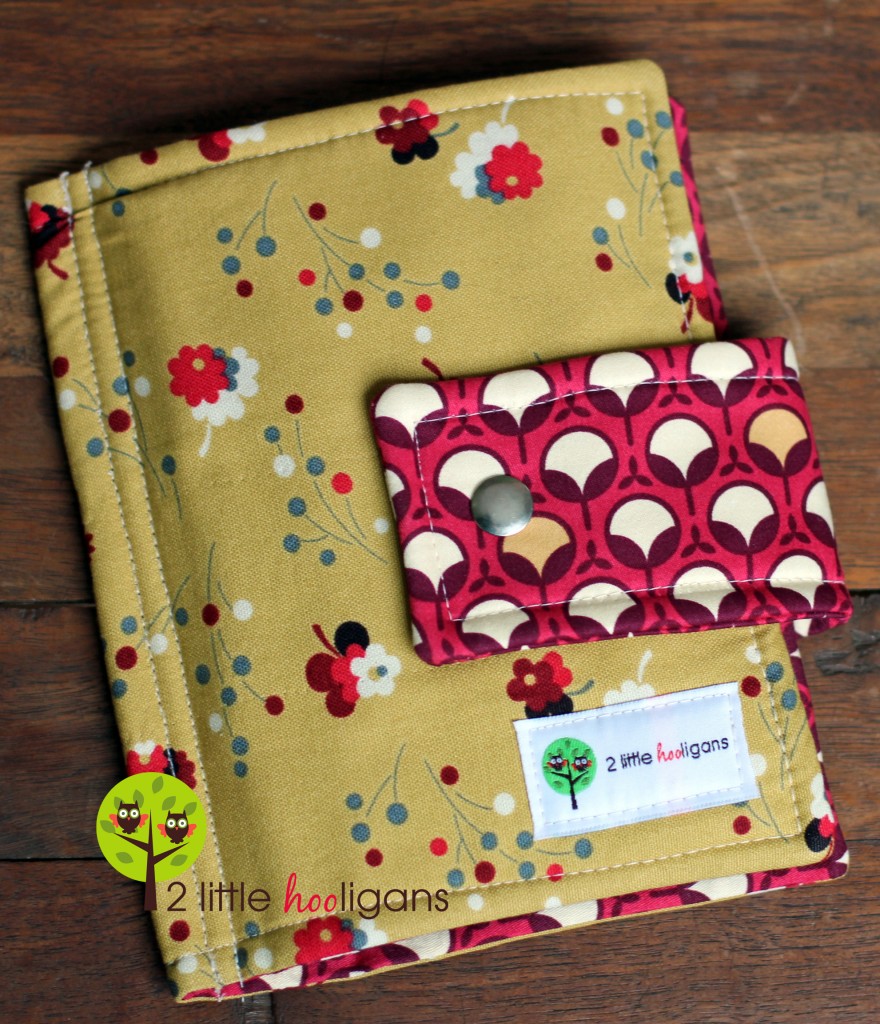 Finished book size is about 8″ x 6 1/2″.
Tile & Grout
We started renovating the downstairs bathroom this weekend. It was the first room we built when we moved in 8 years ago and it was rushed. We never installed flooring or finished trimming out the walls. So the bathroom had painted plywood flooring and open edges of sheet-rock that the kids loved to play with. But really those two things were not what bugged me the most. It was the laundry area. It just didn’t work for me. I really wanted a counter top to fold clothes on instead of folding them in the kitchen or on the couches. I had completely convinced my hubby (and myself) that a new laundry area would miraculously get the clean clothes out of the drier, folded and put back into their drawers. Well it may not be that easy but having a spot to hold all of the buckets that are full of clean will be nice! Of course home renovations are never done without three little ones under our feet. 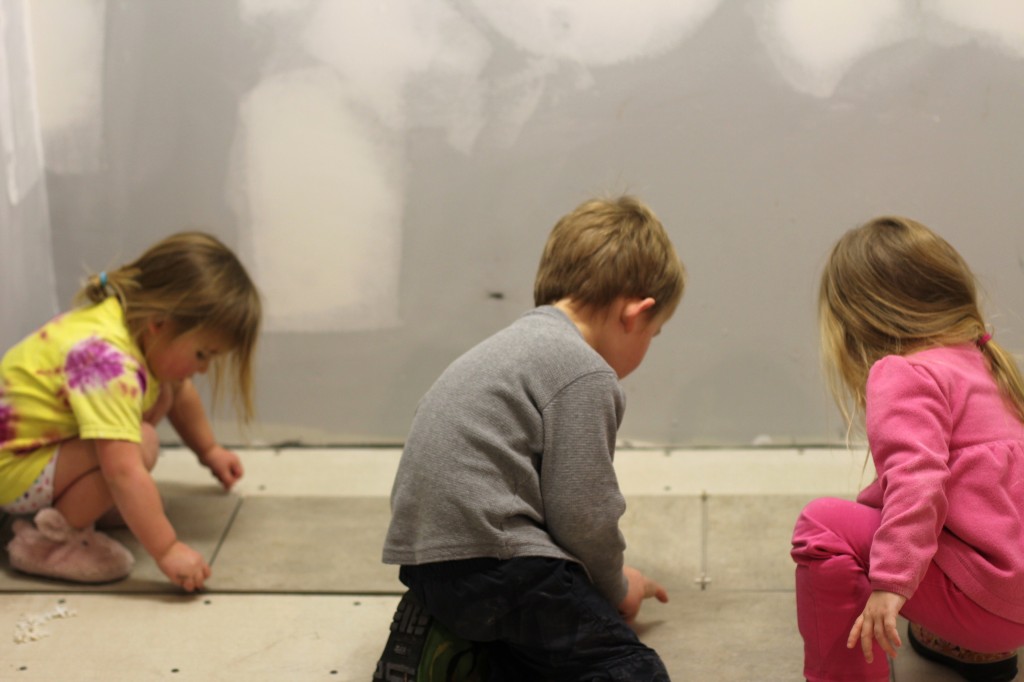 We realized two years ago that it was just much easier to include them then to try and keep them out of the way.
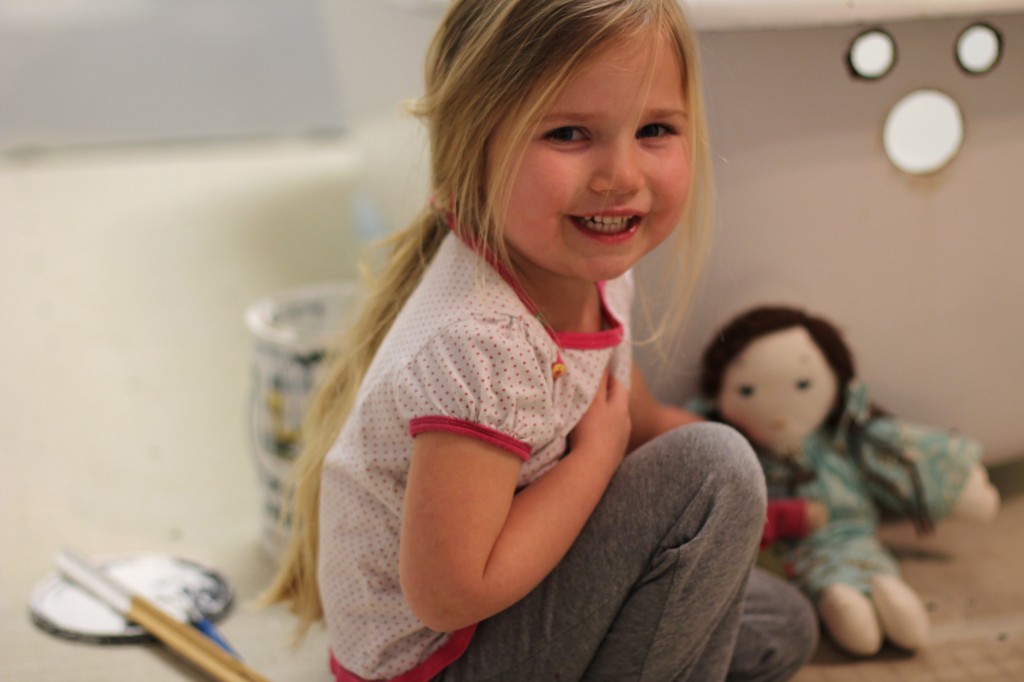 Some times they are actually a big help.
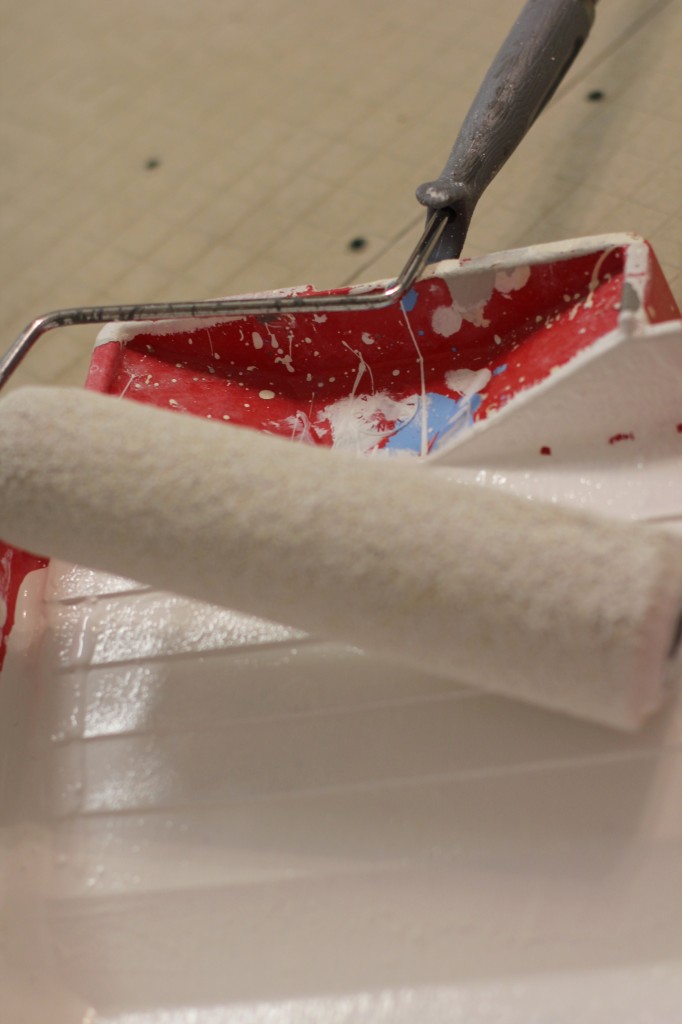 And some times they just do and say things that make us laugh.
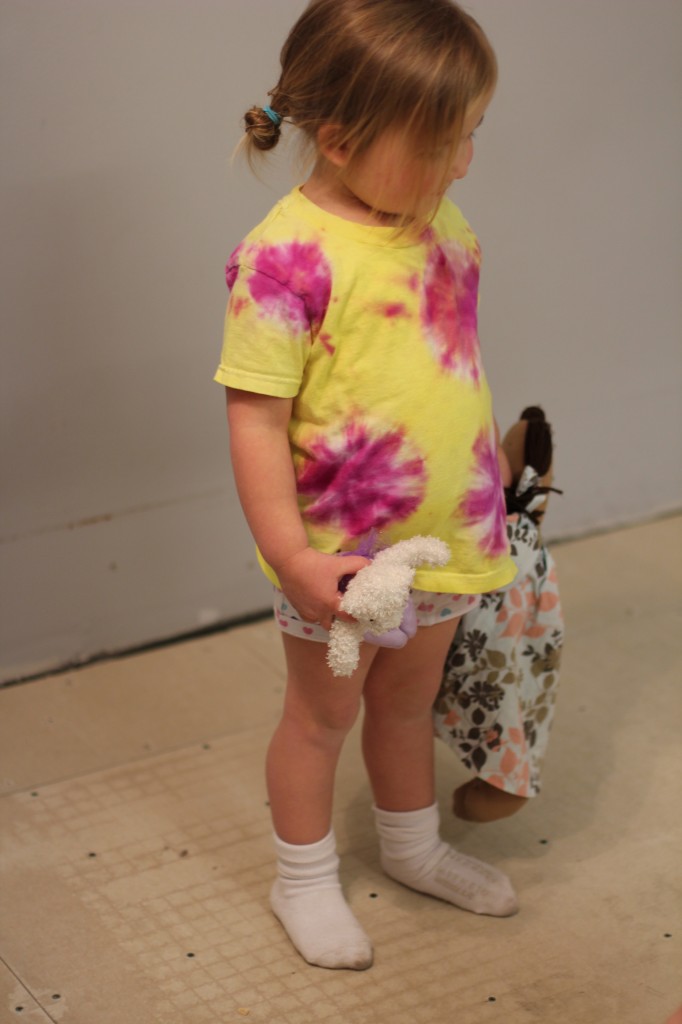 And of course we have our moments when they just make a mess.
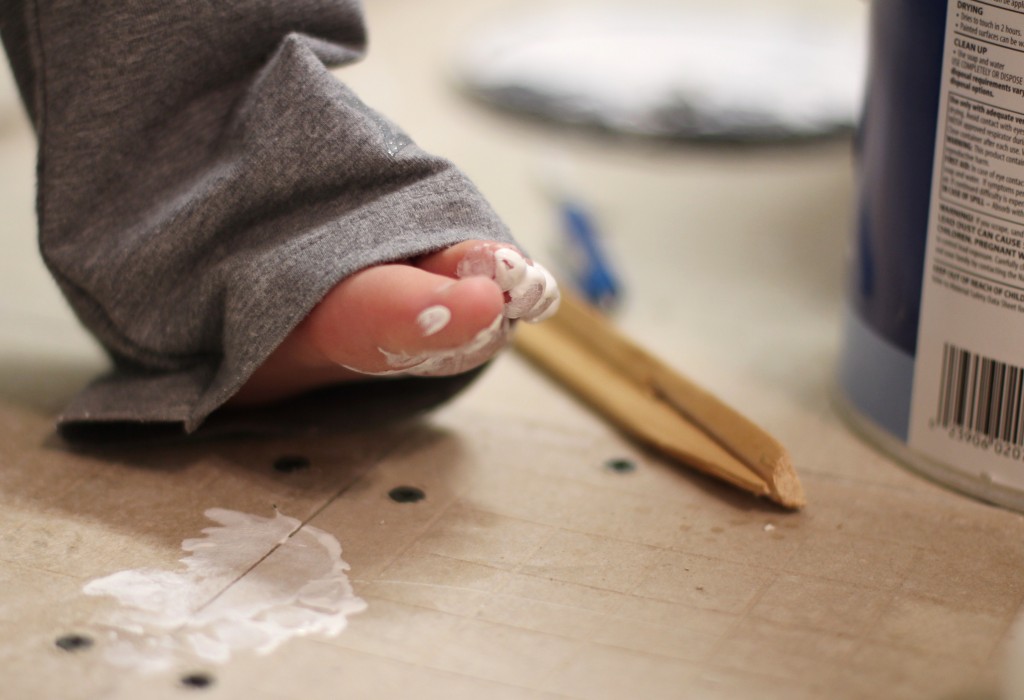 “Look Mommy I made foot prints!”
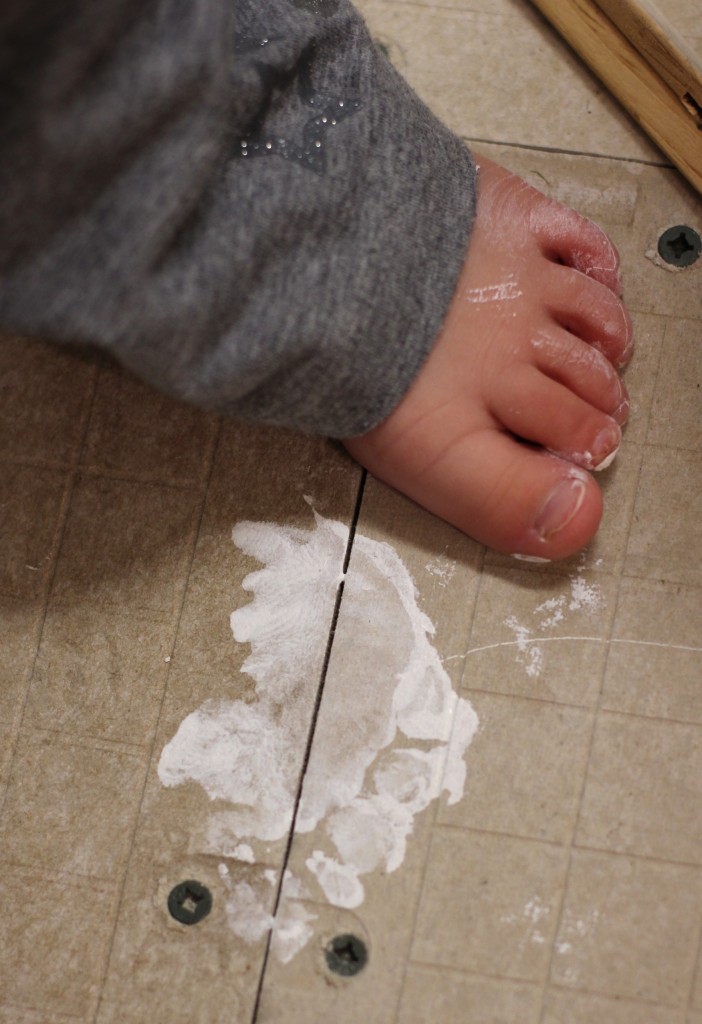 Yup, working with the kiddos can be a challenge at times.
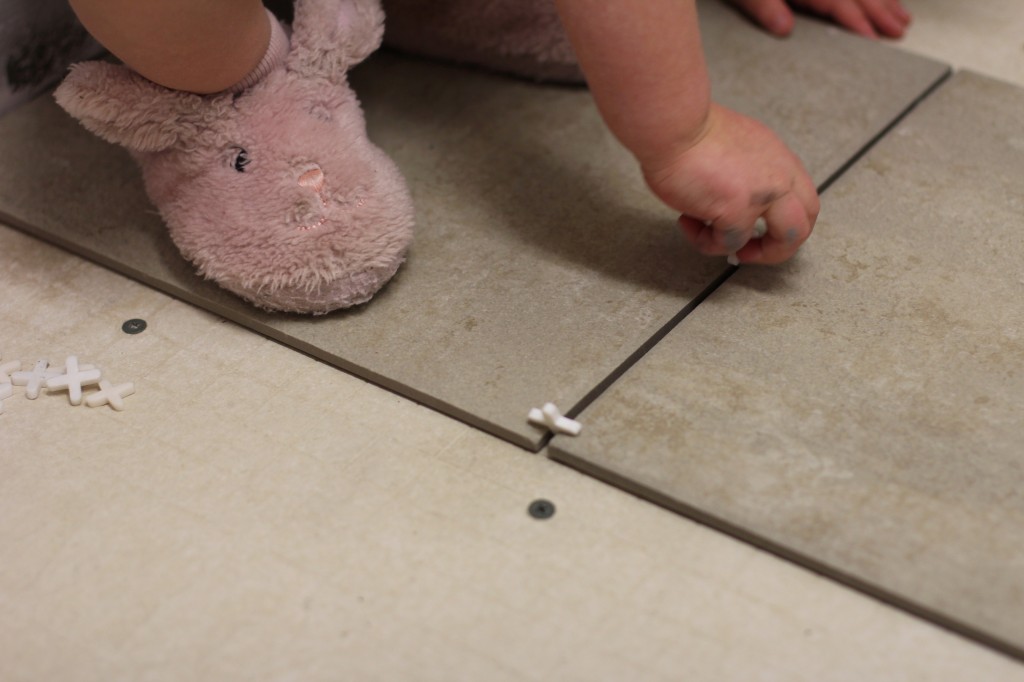 But how can you keep them away from a box like this?
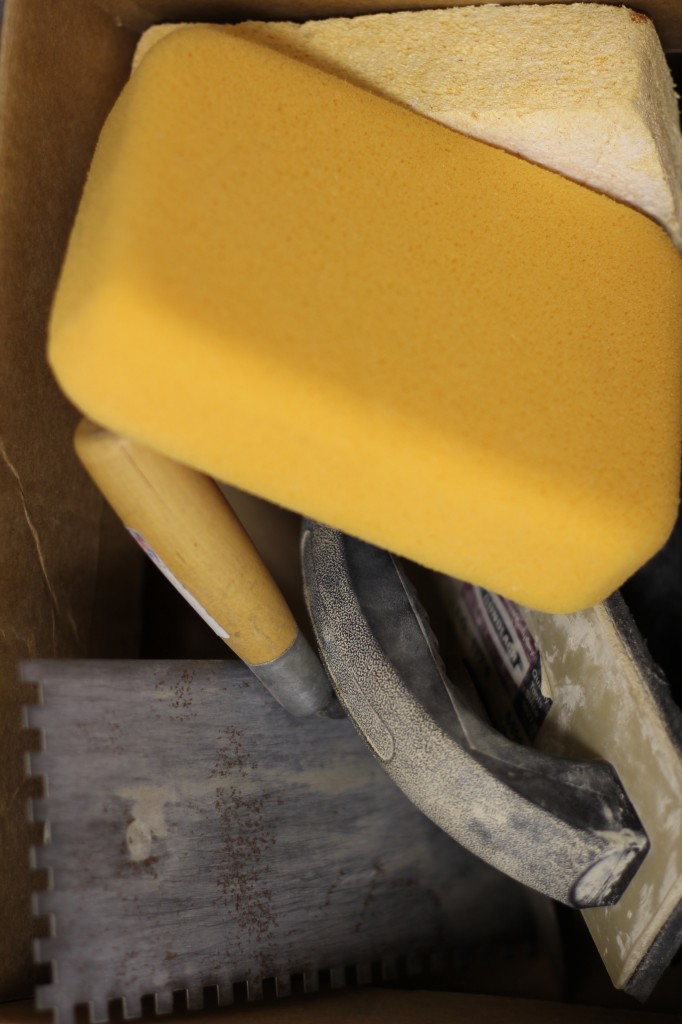 It is full of fun things to play with. I’m telling you kids really dont need toys, they just need to be able to play with our stuff.
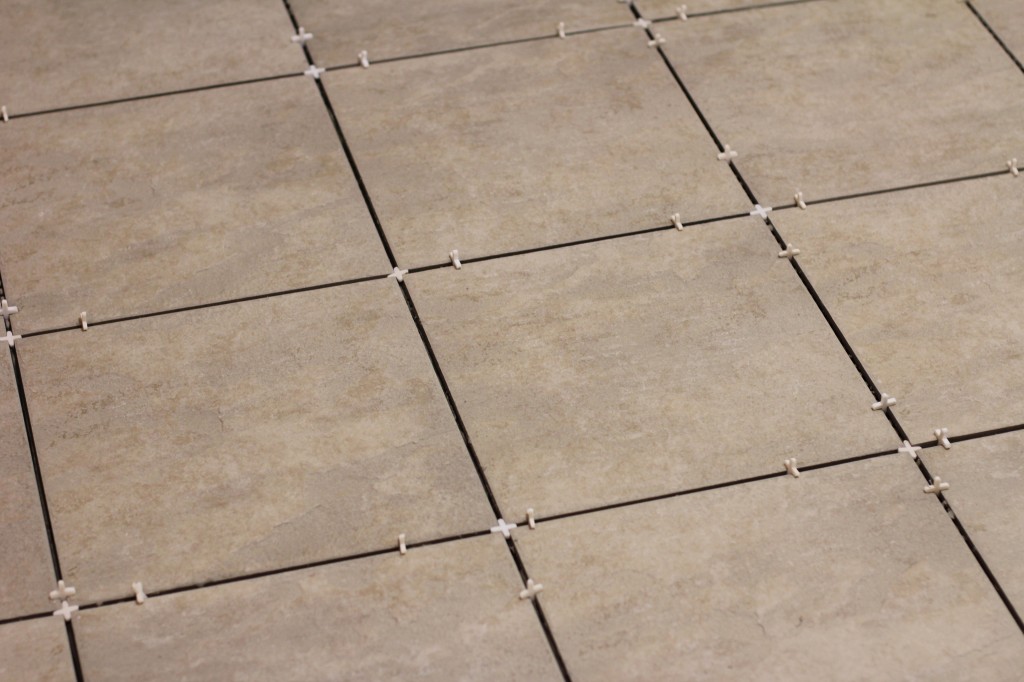
 Once they were all tucked in bed we really got cruising! Three quarters of the bathroom was done in a few short hours. It would have all been done if it wasn’t for a super heavy claw foot tub that was in the way.
 Most people get flowers and chocolate for Valentine’s Day…I’m getting tile and grout.
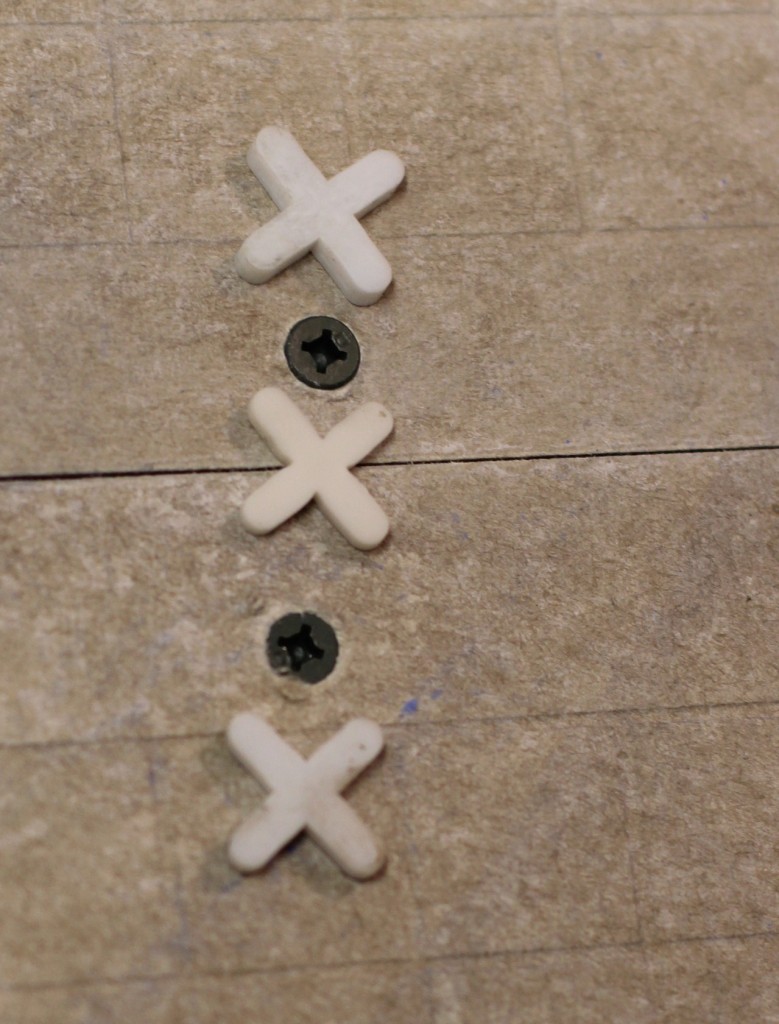
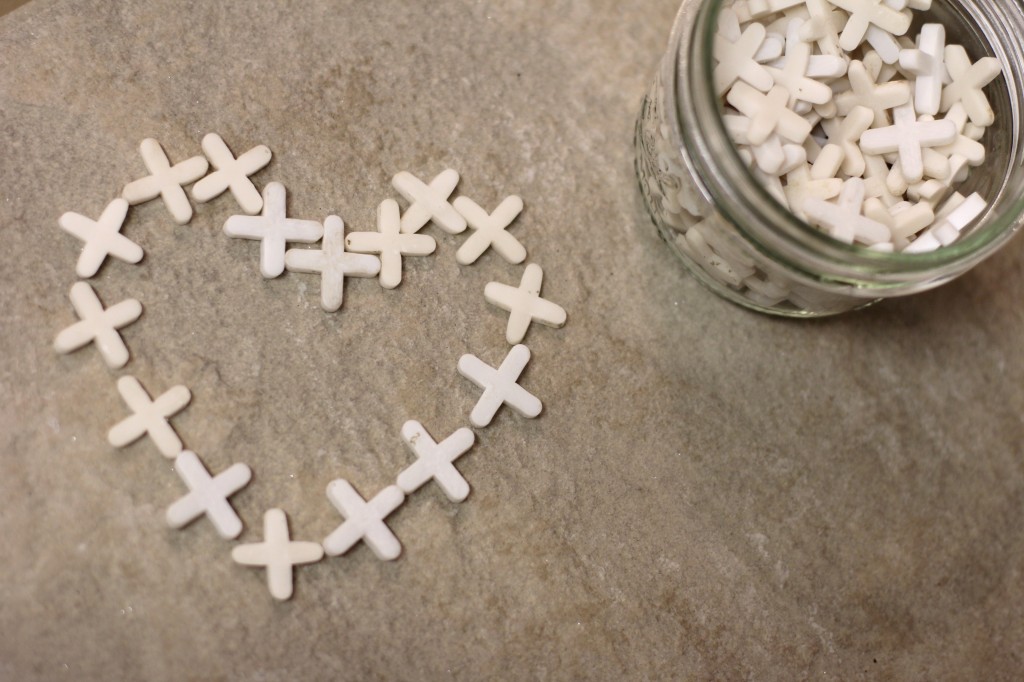 Pretty darn great gift if I do say so myself! Plus, I’m pretty sure the hubby has no clue Valentine’s Day is tomorrow. So I’m just going to pretend that he is totally doing all of this for me because it is Valentine’s Day and he loves me so…and it has nothing to do with the fact that he can never find clean clothes.
A day filled with love…or mostly tractors
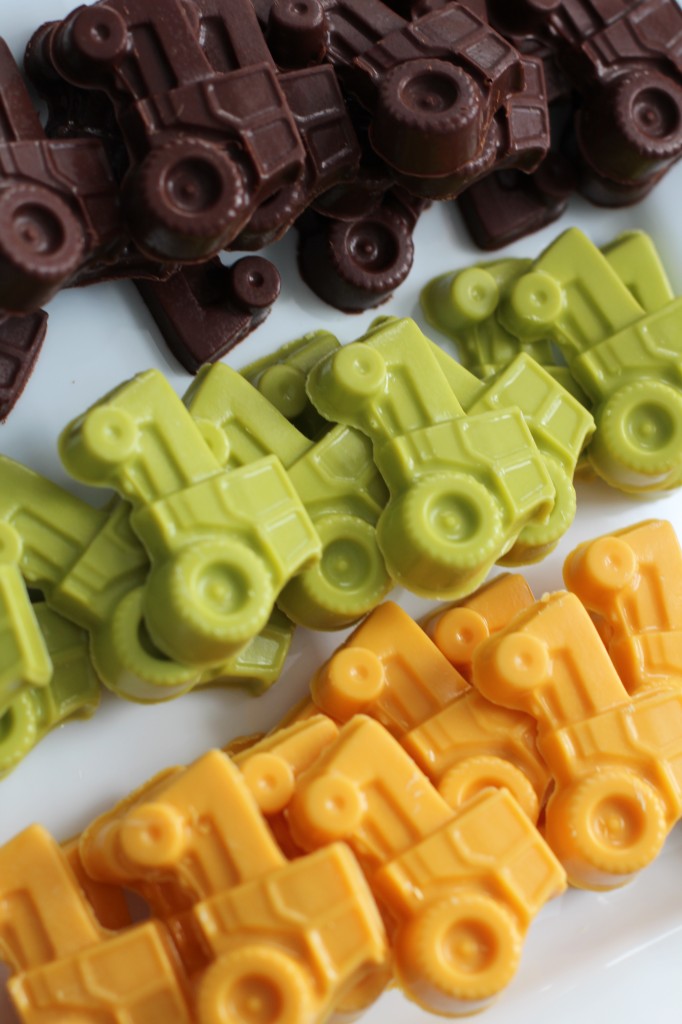
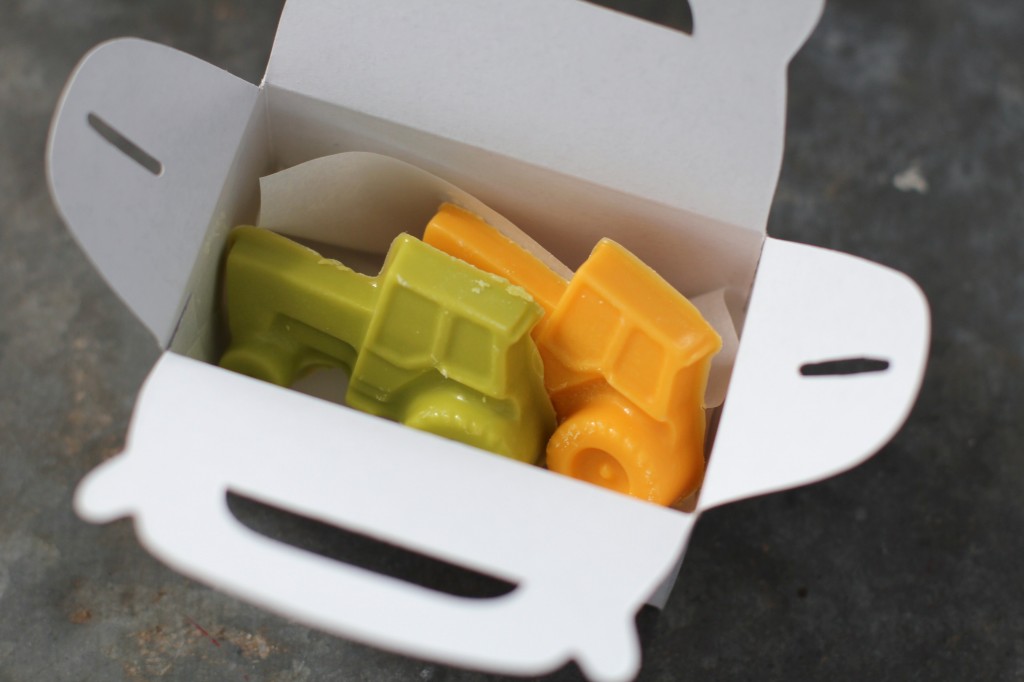
When I asked my little guy what kind of Valentine’s Day cards he wanted to make for school his response…tractors! Of course it was, when is it not?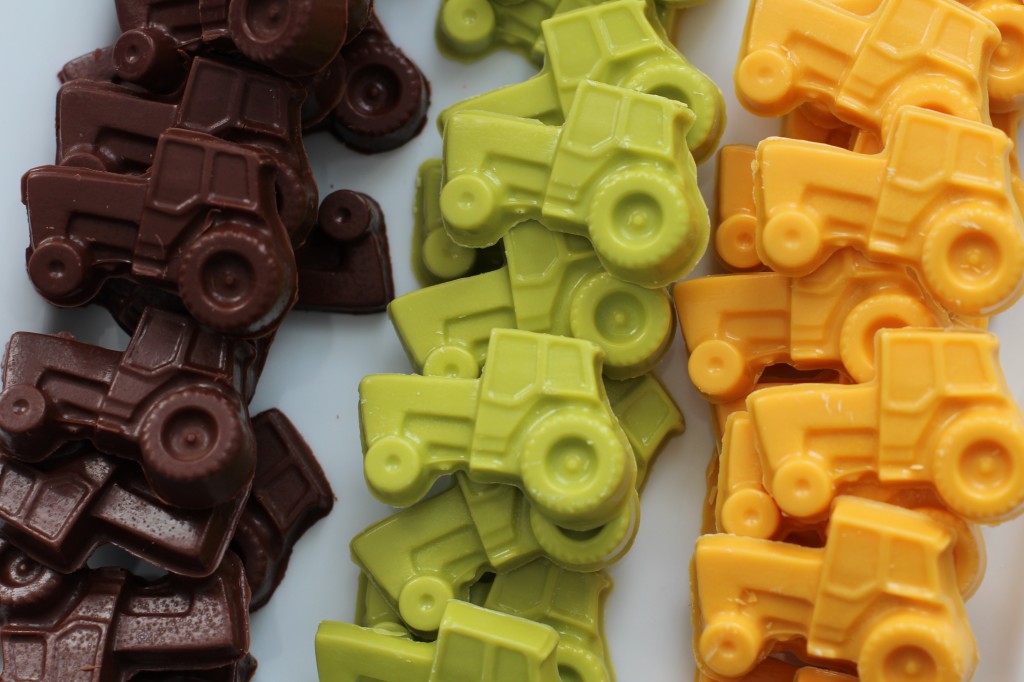 When I was searching for tractor cards on-line I came across this cute little tractor mold. Then I thought it would be fun to make a bunch of little chocolate tractors to go along with his tractor Valentine’s Day cards.
 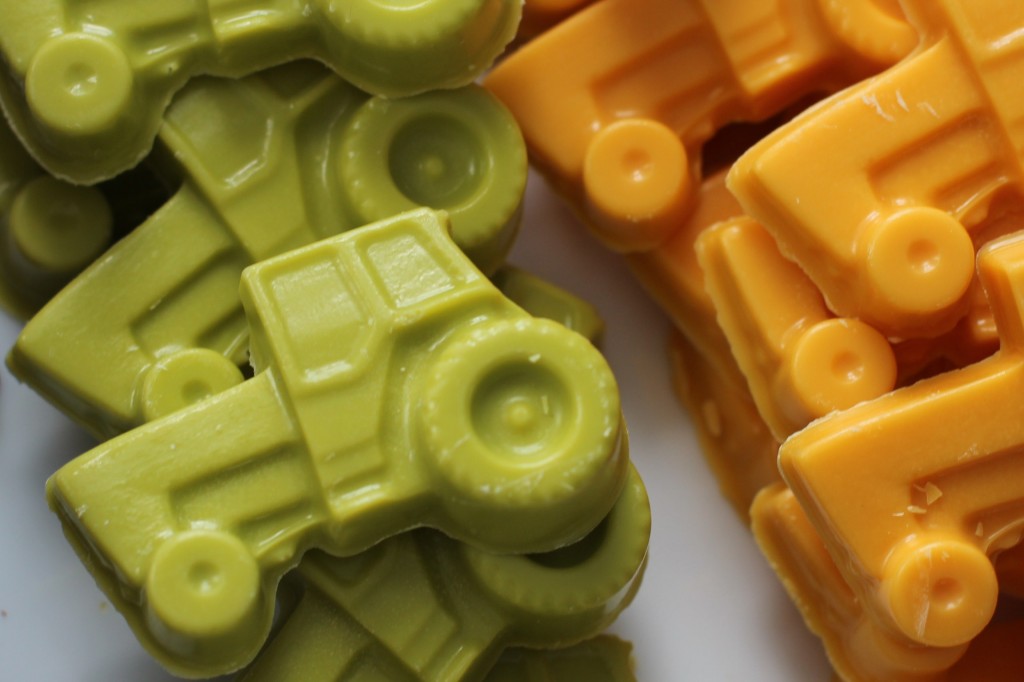 I have to admit, this was my first time making chocolate candies. They always seemed too hard and time consuming. Hard to do they are not, but they are a bit time consuming. They are worth it though, aren’t those little tractors so cute?!
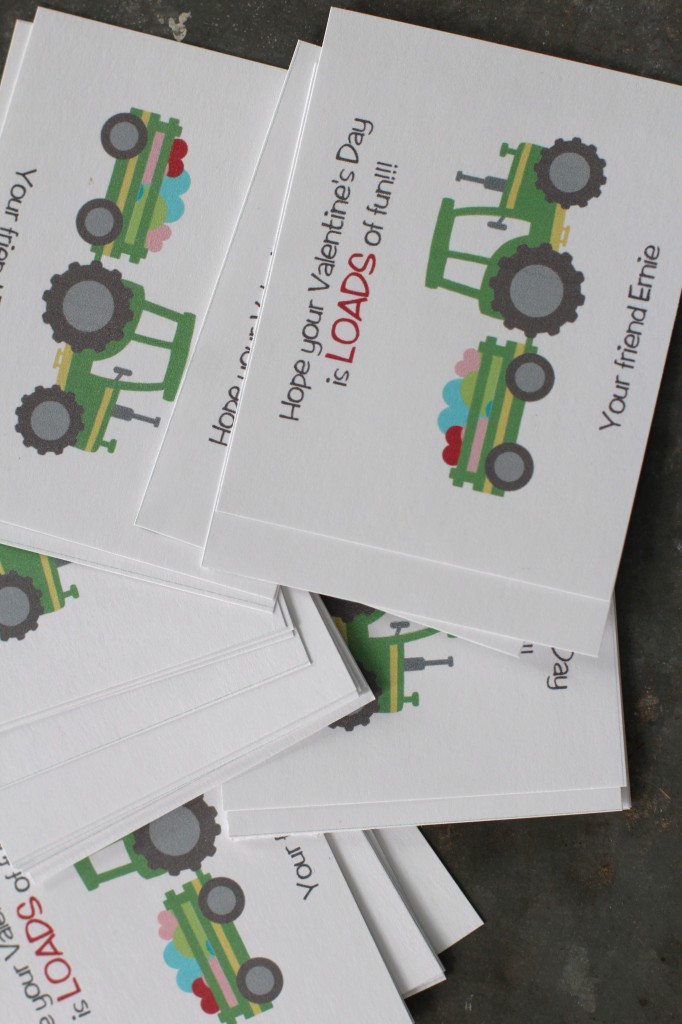
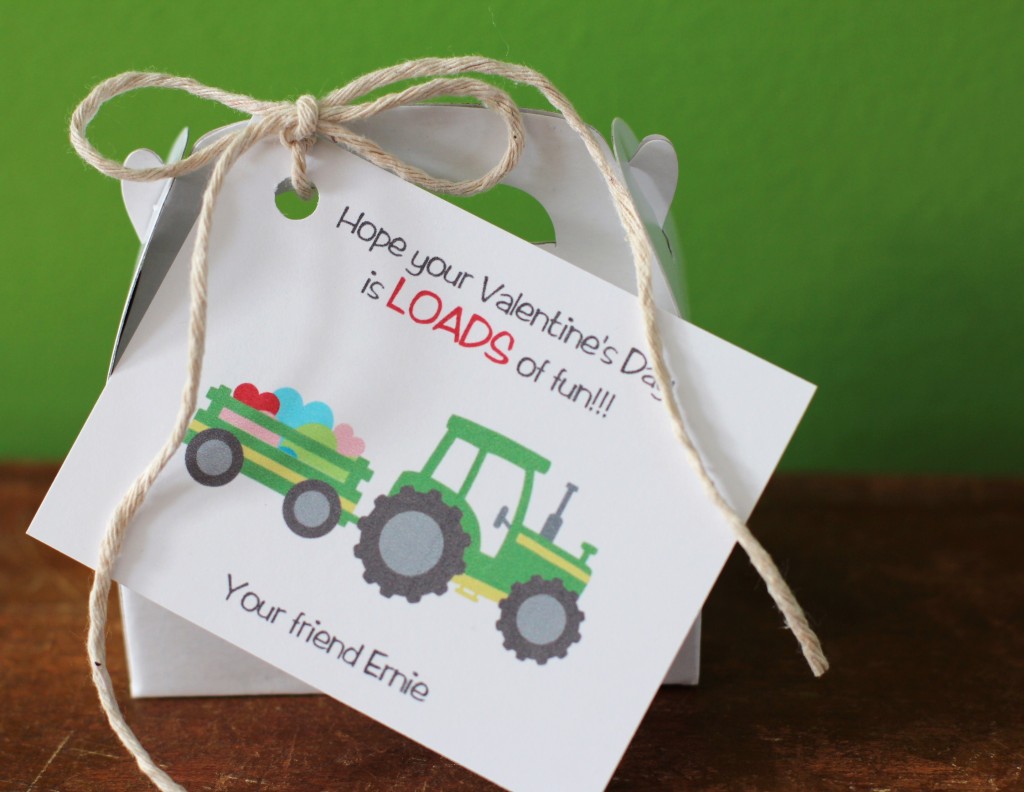
 Surprisingly finding tractor Valentine’s Day cards was harder then I thought. Luckily I found this one on etsy from Paper House Designs. She was great to work with and even made up a custom card for me because my little guy was adamant that the tractor be yellow and green. Yes, he is that particular. I’m not sure who he gets that one from…ahem.
  I purchased these cute miniature boxes months ago from Amazon for another project but they were too small. Now they are the perfect size for holding a couple of tractors.
 Hope your Valentine’s Day is loads of fun!
Organizing paint chips and fabric swatches
A few days ago if you were to look in the bottom of my bag you would have seen a big pile of paint chips and fabric swatches. And from time to time you would be able to see pictures of things that I had hoped to find in our travels…complete with dimensions and all. Yes, some would call me crazy(and slightly obsessive) but I would like to think of it as being prepared and ready to find a deal at a moments notice. Although I was prepared with this big pile of color it was far from being organized.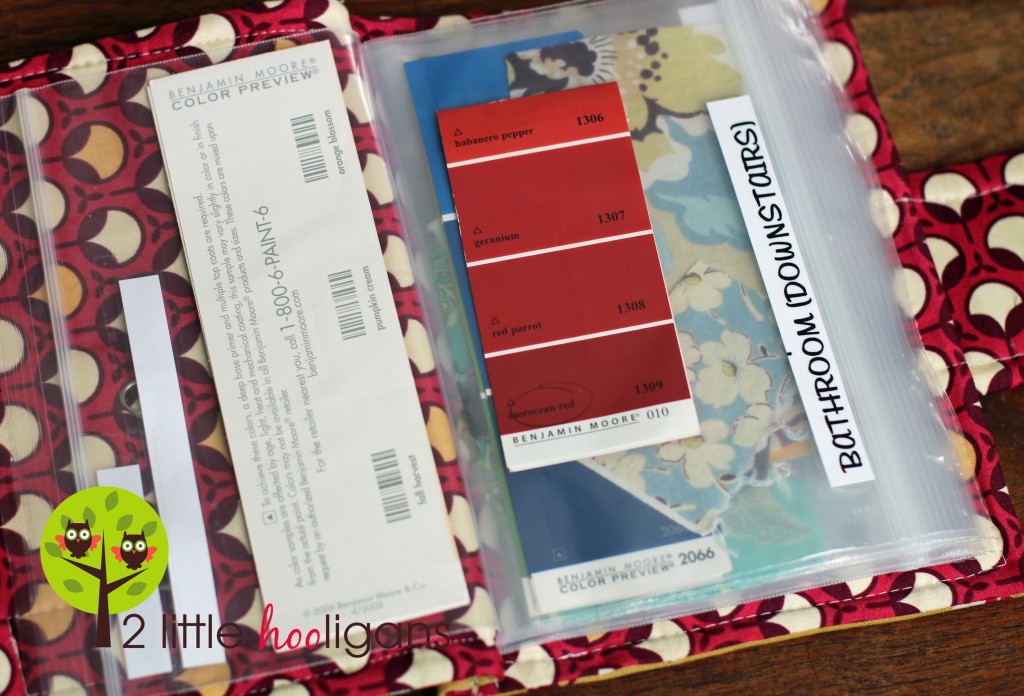 So the other day I decided to make a little fabric book to hold all of my paint chips, fabric swatches and decorating ideas.
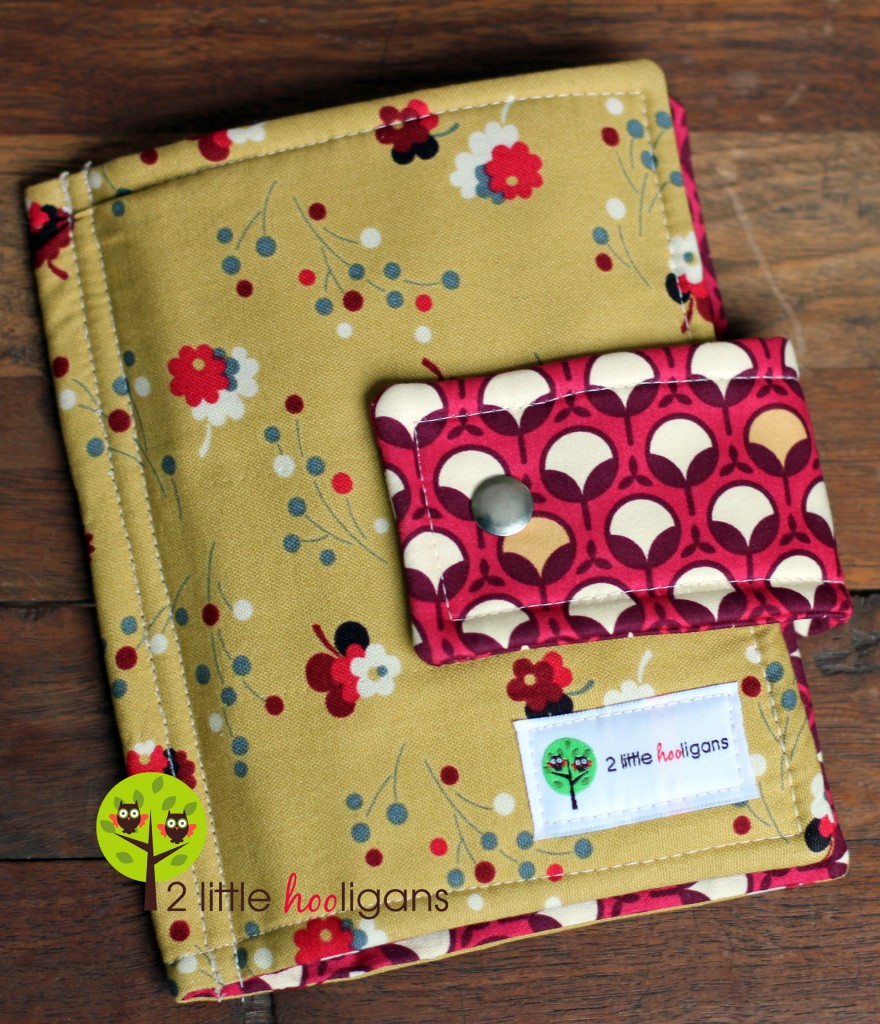 Now I am one step closer to getting my life organized…or at least my bag.
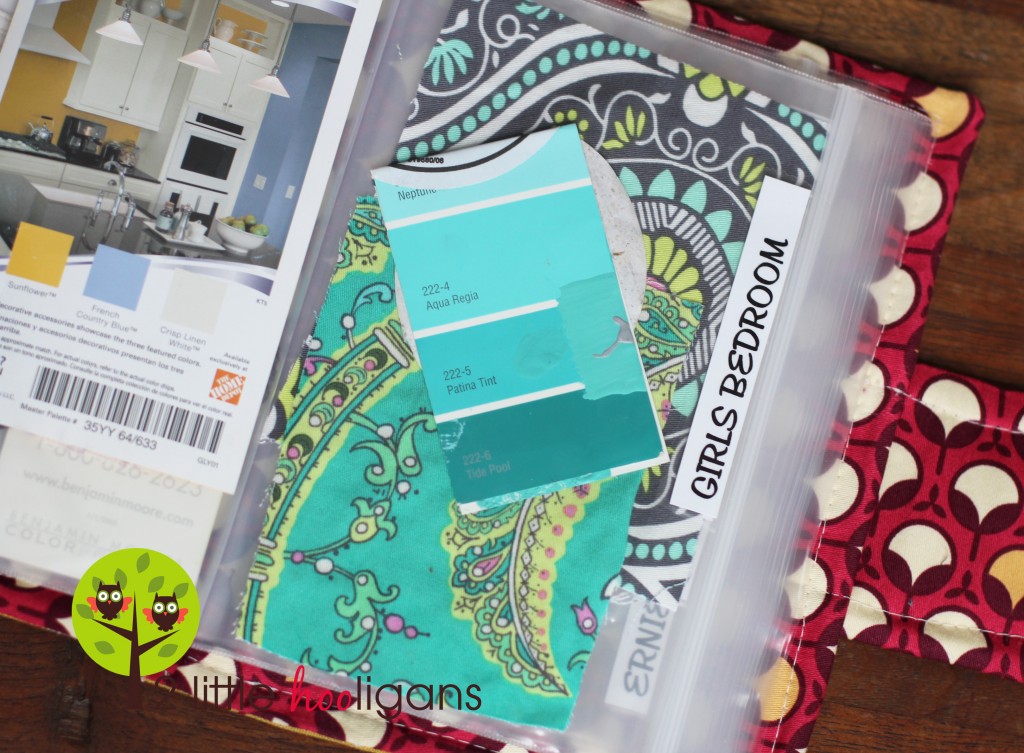 How do you organize all of your paint chips? Any other great ideas for me?
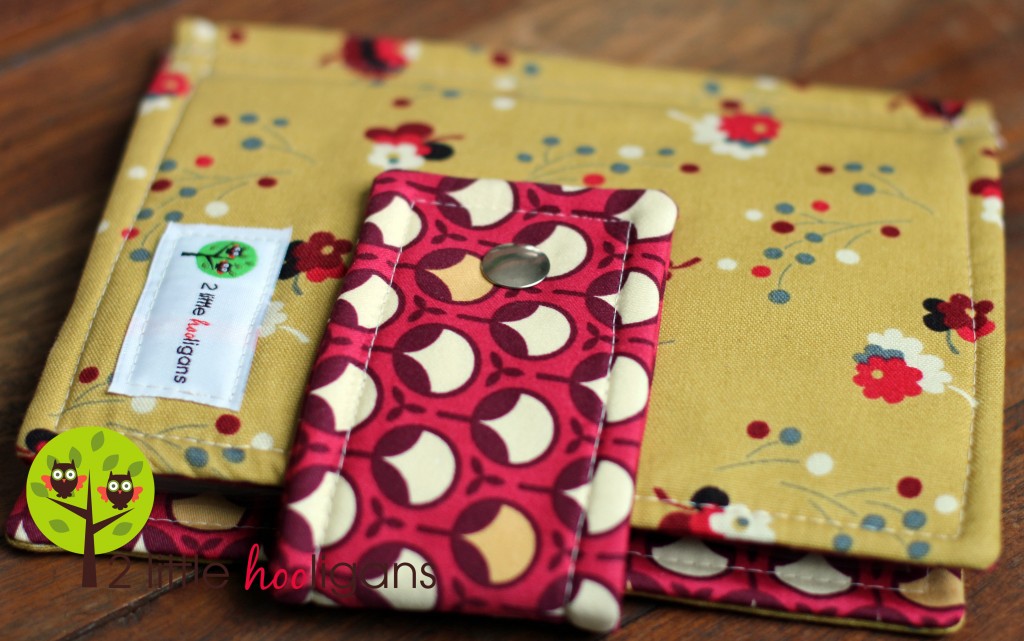
Fabri-Quilt Fat Quarter Bundle Giveaway Winner is…
Sam who said…I am following! Beautiful bag and fabric!
100th day of school
Today is this little guys 100th day of school!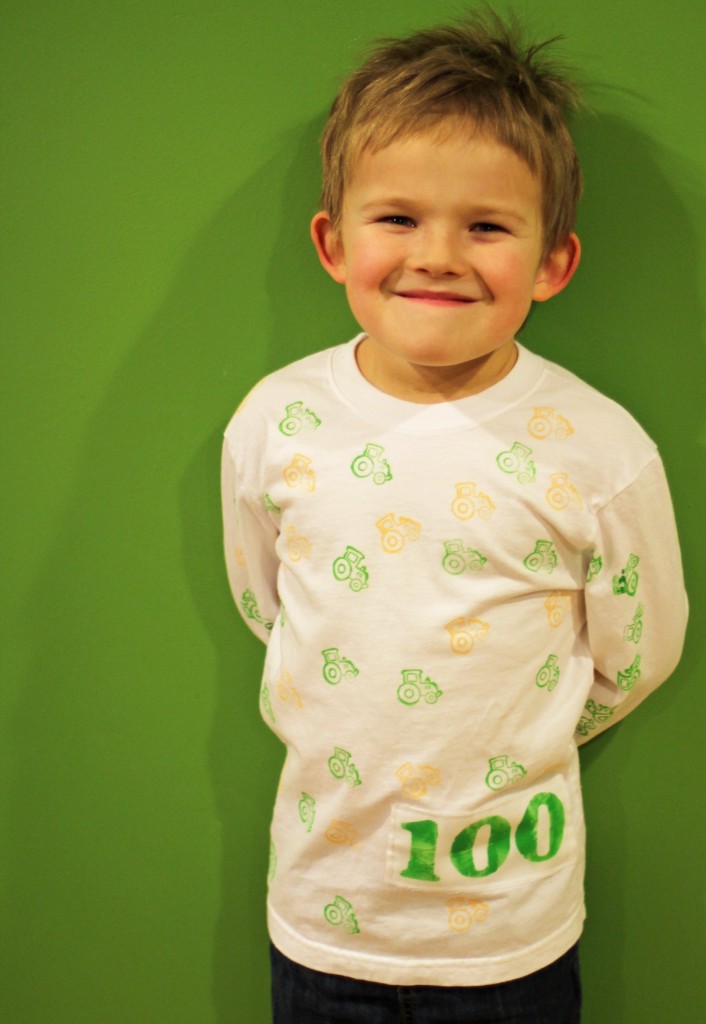 For his special 100th day project we stamped 100 yellow and green of tractors on a shirt.
 It was the perfect project for a tractor obsessed boy! We did get a little carried away with the stamping and ended up with 103 tractors so we made a little “100” patch to cover it up the extra 3. Do you know how many times we had to count to 100 to get it right?
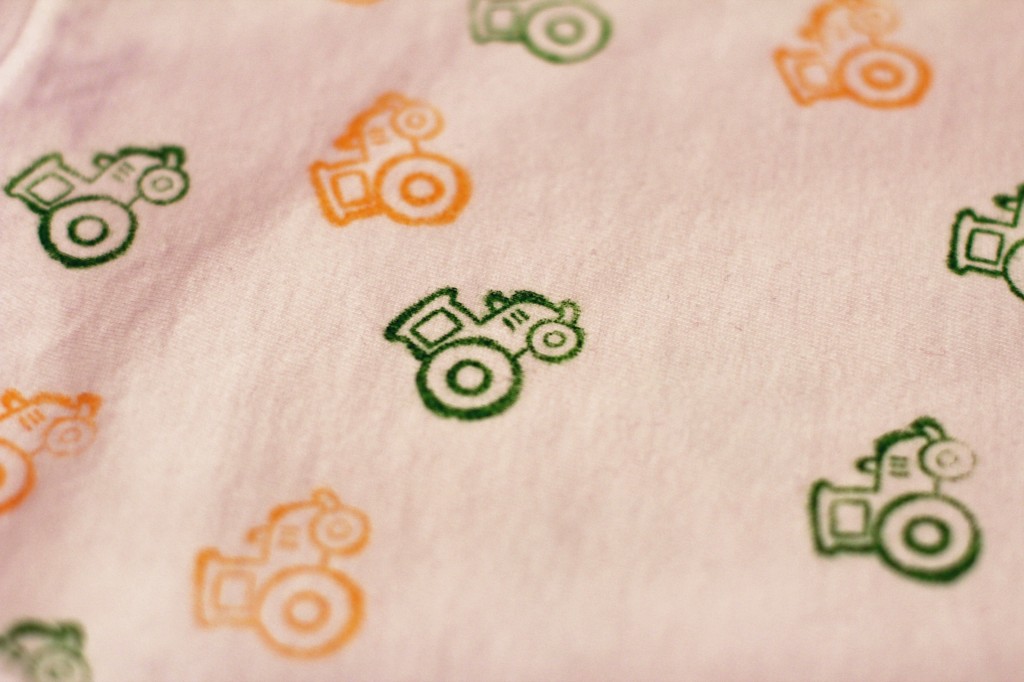 It was my first time working with Versa Craft fabric ink pads. Surprisingly they were super easy to work with and a lot of fun. Its still kinda crazy how easy they were to do. Its one of those things that seem too good to be true. The only problem we ran into was when my little guy wanted to fix some of his not so perfect stamps. I had a hard time getting the ink off the shirt then. But I also did not follow directions and wash the shirt first. So next time I will wash first and then see if mistakes are easily removed. Once he was finished stamping I went over the whole shirt with a hot iron to set in the ink. Then with my fingers crossed I through the whole shirt in the washer and honestly I did not see a difference in the before or after. I even purposely did not iron 3 of the tractors to see if they would wash off in the washer, but they didn’t. In case you were wondering the tractor stamp was purchased from Sweet Stop Stamp Shop on etsy, super cute right?
 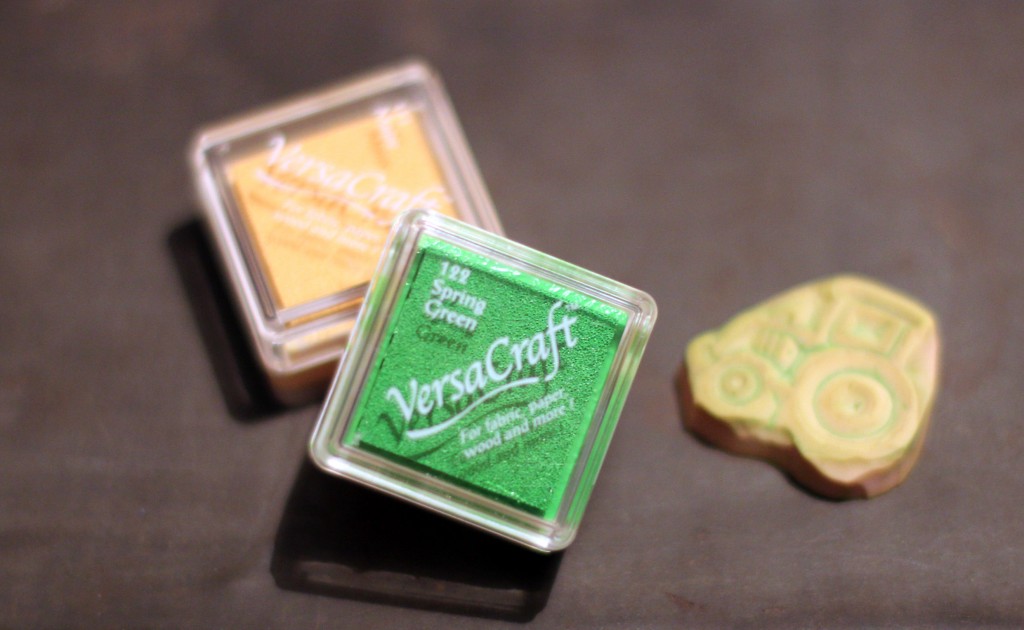 We will definitely be working with fabric ink pads again. The ideas are endless, plus they are such a fun and easy project for the kiddos to do…and of course for us as well!
How many of you have stamped on fabric before? Any other fun ideas for the 100th day of school?
Sweetheart dress pattern winner is…
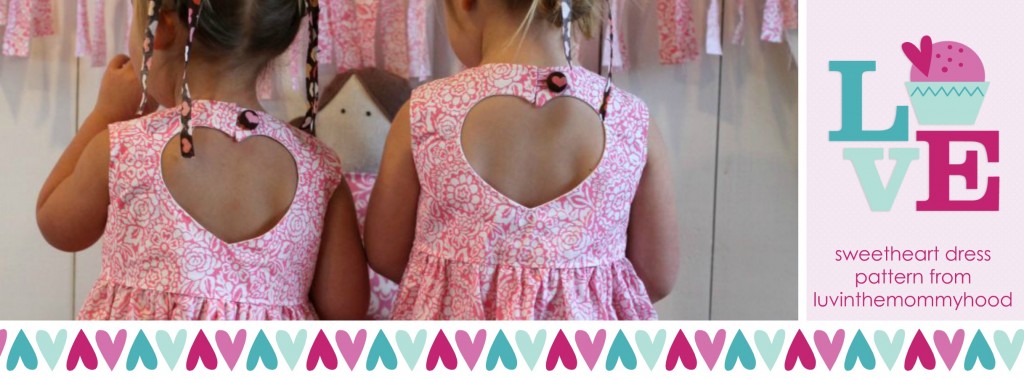 Sarah AJ who said…So cute! My daughter’s birthday is Valentine’s Day, so this would be perfect for her!
Congrats Sarah! I really hope you are able to make one in time for Valentine’s Day…and her birthday!
Garment Bag Tutorial & giveaway from Fabri-Quilt
Today I am over at Inspired by Fabric sharing my tutorial for this garment bag. I hope you will all head over there and check it out but don’t foget to come back here and enter the giveaway. 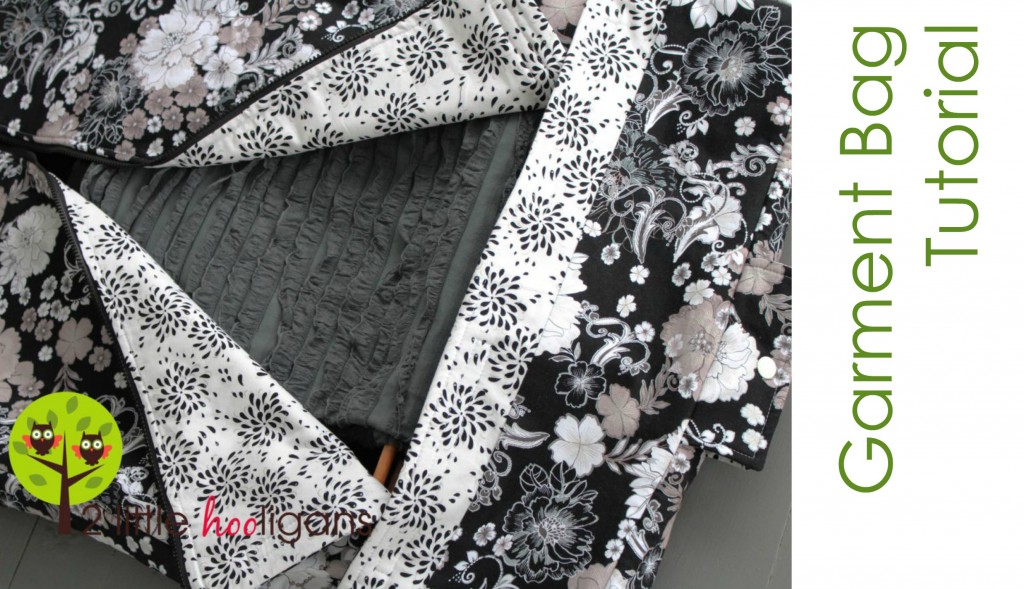 That’s right, Fabri-Quilt is giving away one fat quarter bundle from their Black and White line! How fabulous is that?!
 To enter, all you have to do is become a follower of Inspired by Fabric and of course come back here and leave me a comment. Good luck! Giveaway will end Thursday, February 7th 2013!

