Last year was my first year making the kiddos Halloween costumes. They all wanted to be one-eyed one-horned flying purple people eaters. So I made it happen and then I swore I would never sew with fur again. The mess from all those purple furry blankets was crazy!! Well this year they all decided to be characters from their favorite movie…The Lorax.
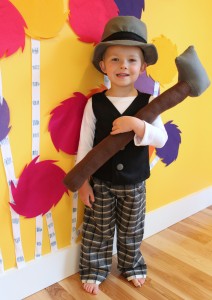
 My son’s Once-ler costume is already made thanks to the Project Run and Play sew along last season, but I still need to make my girls costumes. Somehow I had forgotten how messy it was sewing with all of that fur until…
 the box arrived the other day. Is this not the furriest fur fabric you have ever seen?! And yes, I am totally eating my words right now!
 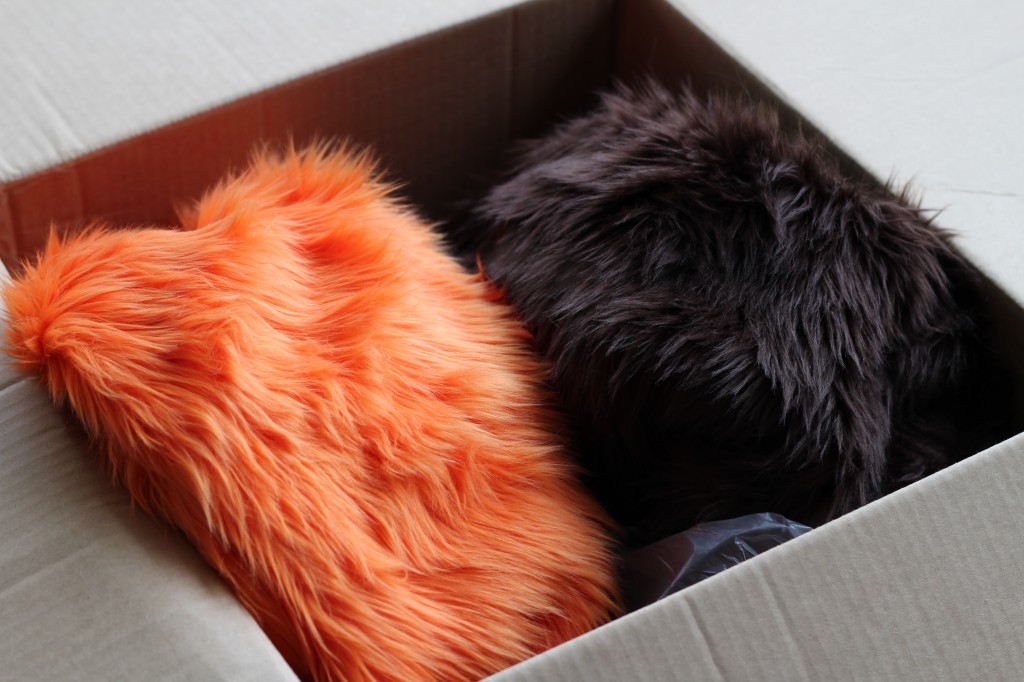 Brown fur to make a brown barba-loot.
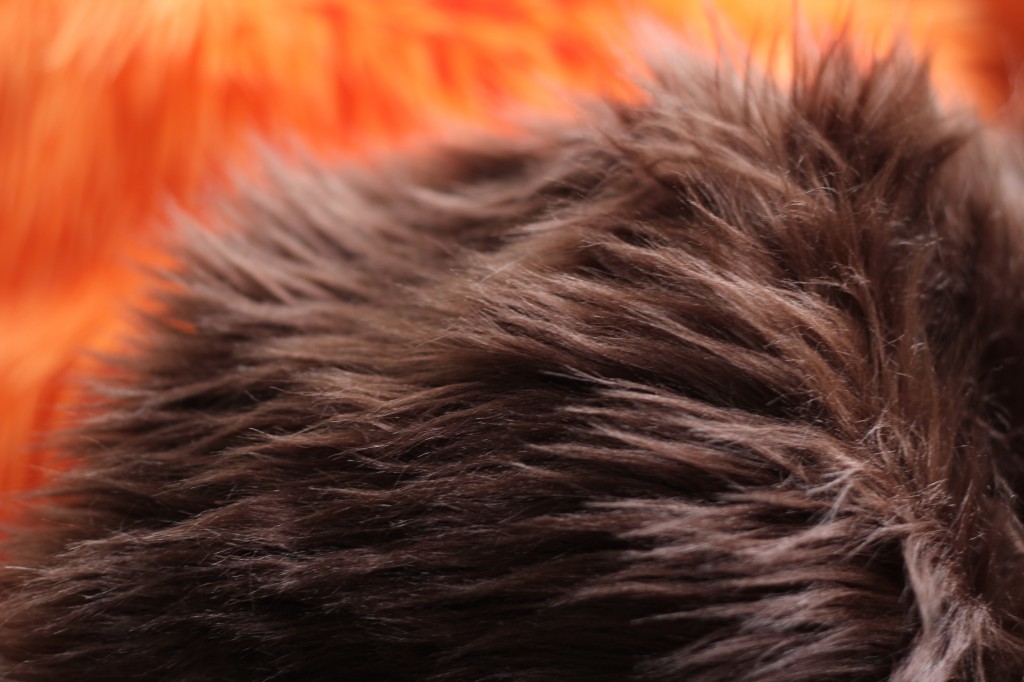 And orange fur to make The Lorax!
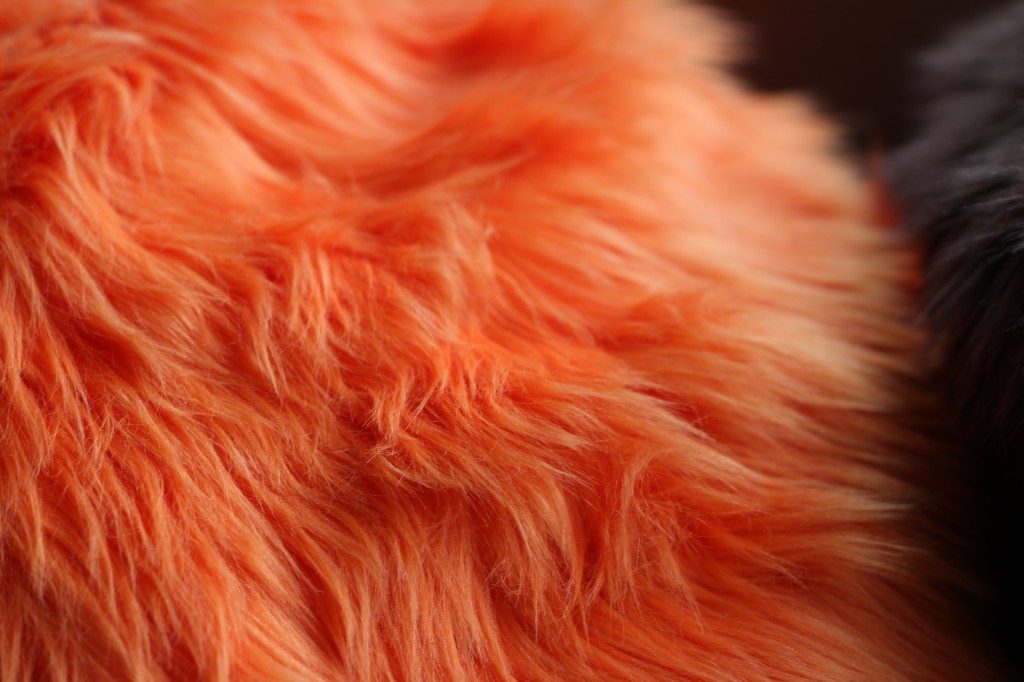 So if you see me walking around town with orange and brown fur stuck to me… at least now you know why.
Fall colors
Getting organized for packed lunches
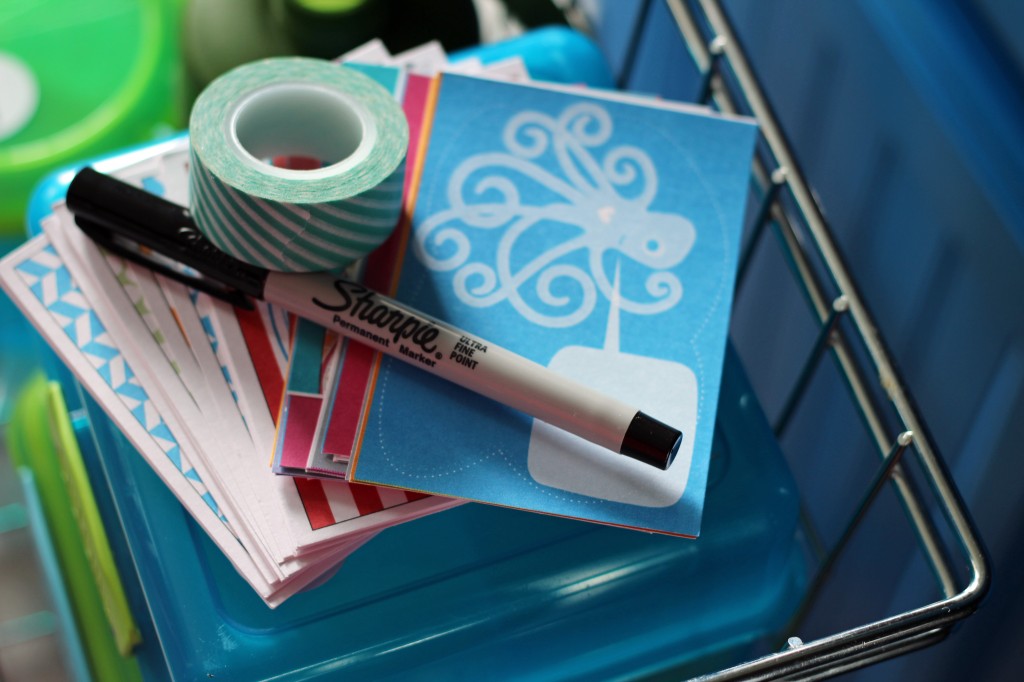
So I have to admit I love packing school lunches NOW, but there was a time when I hated it though. You know the drill…you wake up in the morning and start making lunches. You open the tupperware cabinet only to have the whole entire cabinet fall out onto the floor in front of you. You finally get the lunches packed and think your doing good until your son asks if you remembered to write him a note and put it in his lunch box…and of course you forgot too. Why? Well because the paper is in the desk in the other room and the pens are in the drawer! So after a few days of complete packed lunch madness in the morning I decided to get more organized and store everything I needed to pack lunches in one place. I cannot tell you enough how much this little organized bin has made packing lunches so much easier. It was such a simple thing to do. I ended up using a metal basket that I already had and put all of his lunch box supplies in it. 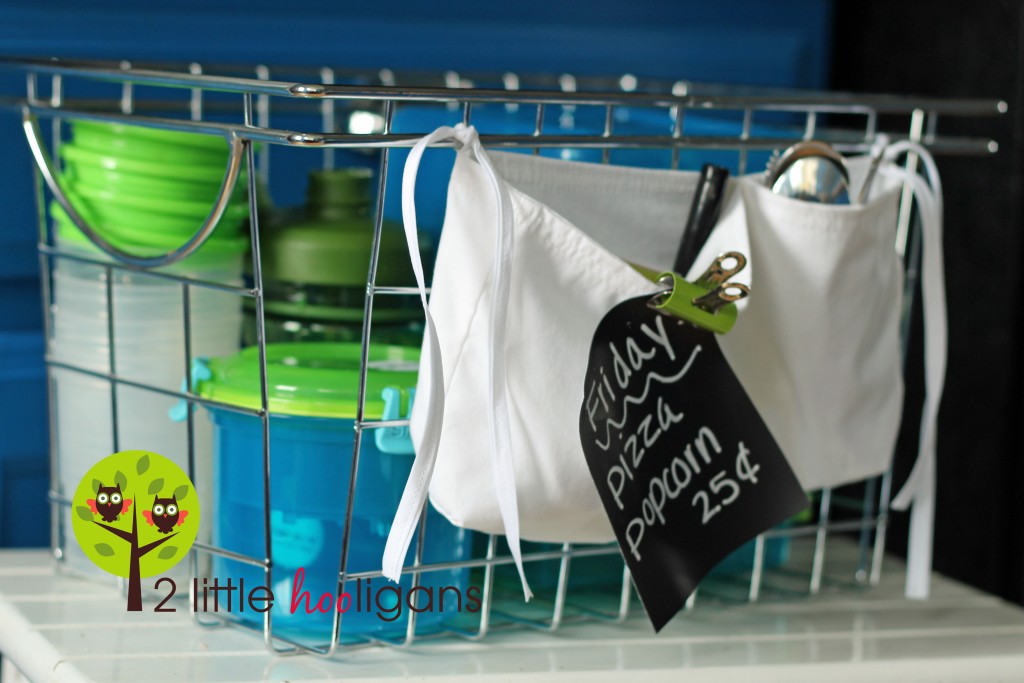 Then I printed off a bunch of free lunch box notes that I found on line and cut them up so they were ready to go. Aren’t those little cards way cuter then just a plain ole piece of white paper anyways?! Plus you know me…any excuse for me to get my craft on and I will do it! And yes, I must use washi tape to stick the note onto his containers…way cuter, right?!
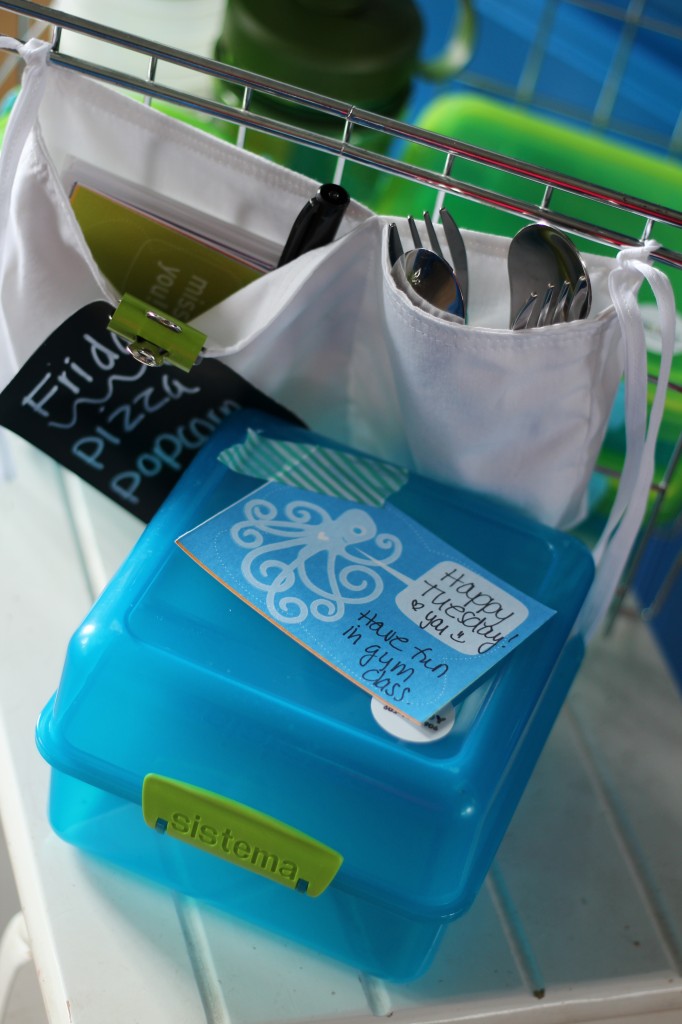
 Once I had all of the supplies together I quickly made this little fabric pouch that ties to the side of the metal bin. It holds all of the note making supplies along with a place to store all of the forks and spoons. I even cut a little piece of chalkboard fabric and clipped it onto the side of the pouch to remind me of certain meals. As you can see Friday is pizza day and I better not forget that one! Now everything is super organized and it truly makes my mornings roll much smoother…at least when it comes to packing the lunches! Now I’m still working on getting my meals organized better. Any tips for me?
Sheet Metal Dry Erase Board
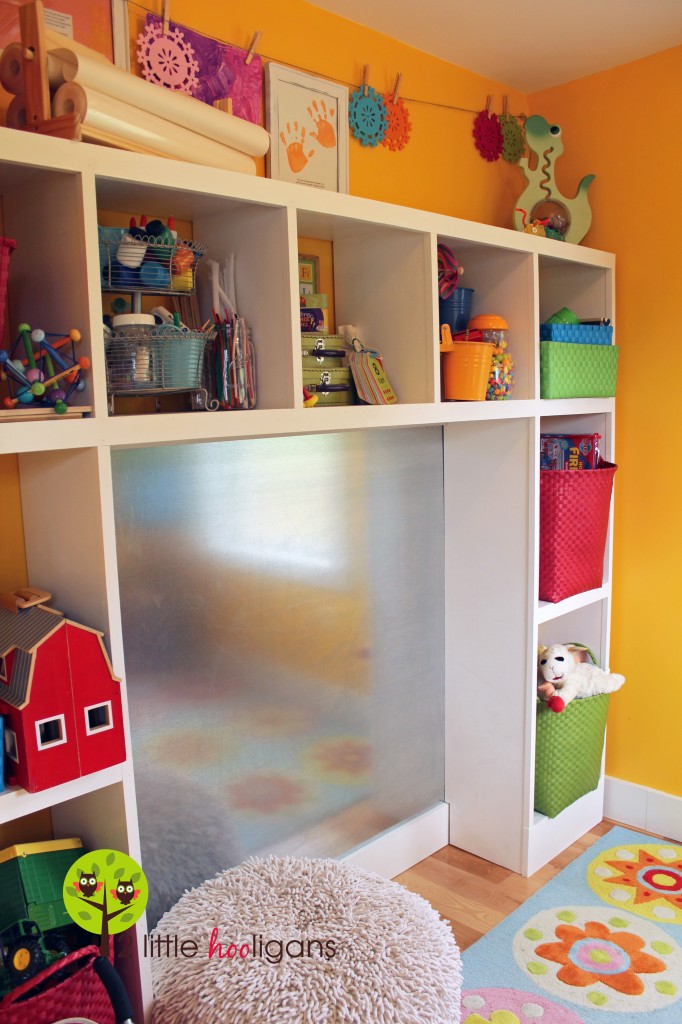
So I am one of those people who does not allow ANYTHING on the front of my refrigerator door. Yes I know it is kinda crazy especially since I have 3 kids, but that is just how I am. The only problem with that is the lack of places for my kiddos to play with their magnetic toys. Once the playroom was finished this winter I began thinking of a way to incorporate a magnetic board into the room. I knew I was going to use a large piece of sheet metal since we have a bunch of it in the barn, but I also wanted it to double as a place to draw on. I didn’t want to use chalk because it is just too messy and dusty. So my next option was to use dry erase paint on the sheet metal. But before I started painting, the hubby told me to just draw on a plain ole piece of sheet metal to see how that worked first. Well by-goll-ee, it worked! I actually love the looks of the sheet metal more then a white dry erase board. It ties in all of the metal we already have in our house and especially with our sliding barn doors. I have used a bunch of different brands of dry erase markers and have even left the marker ink on the sheet metal for days and no stains or imperfections have occurred.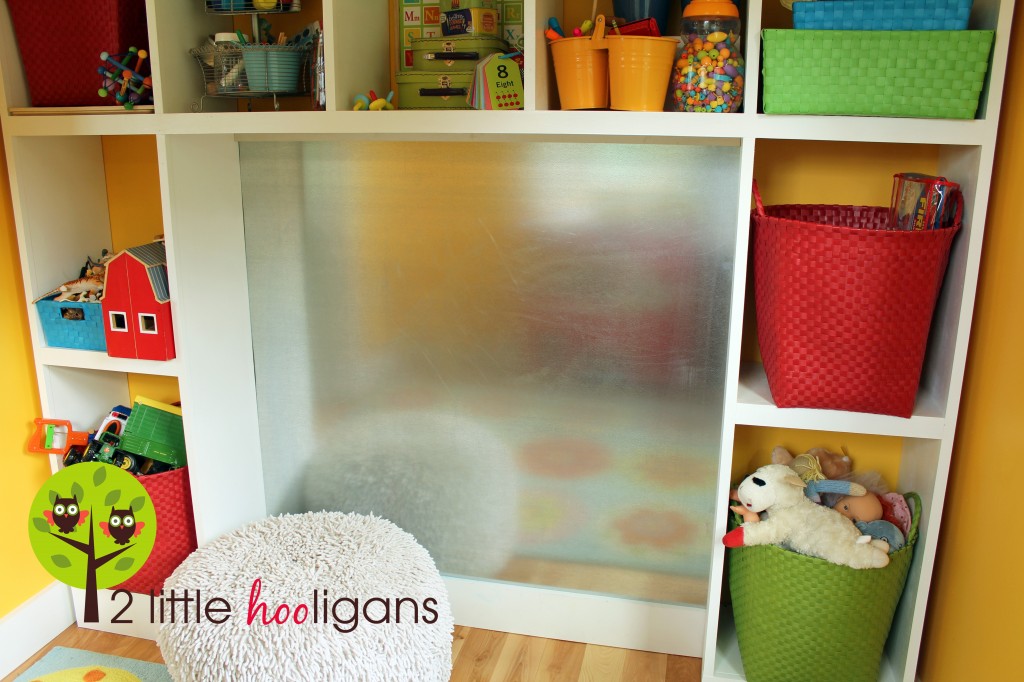 So now my kiddo’s have a place to play with all of their magnetic toys plus their dry erase markers. But the best part is that I am finally able to get rid of all those cookie sheets and mini dry erase boards that I have been storing away. Can you tell I’m on an organizing frenzy again?
Guest Post from Designs By Sessa

Hi 2 Little Hooligan fans! I’m Vanessa and I blog over at Designs By Sessa! Last fall, I think I was the first person on the planet to make Christina’s awesome hooded vest into a boy collared vest. I think I saw her tutorial and then went right to work knowing it was the perfect tute I’d been looking for! Christina and I have since become fun blog friends and she thought it would be great to share this version on her blog as you guys are gearing up making fall clothes in the coming months for your little ones! Please let me know if you have any questions! And thanks for having me, Christina!
- Make Micaiah a Lined Vest
- On my sewing project list since last fall! I knew making a vest would not be hard, but there was one thing… I had not yet attempted putting in a ZIPPER!
I saw the guest post from 2 Little Hooligans over at Project Run & Play where she made this fabulous vest for one of her little girls!
I knew I could adapt this to make the vest that I wanted for Cai!
Introducing…
Project Run and Play Sew Along {white sheet challenge}
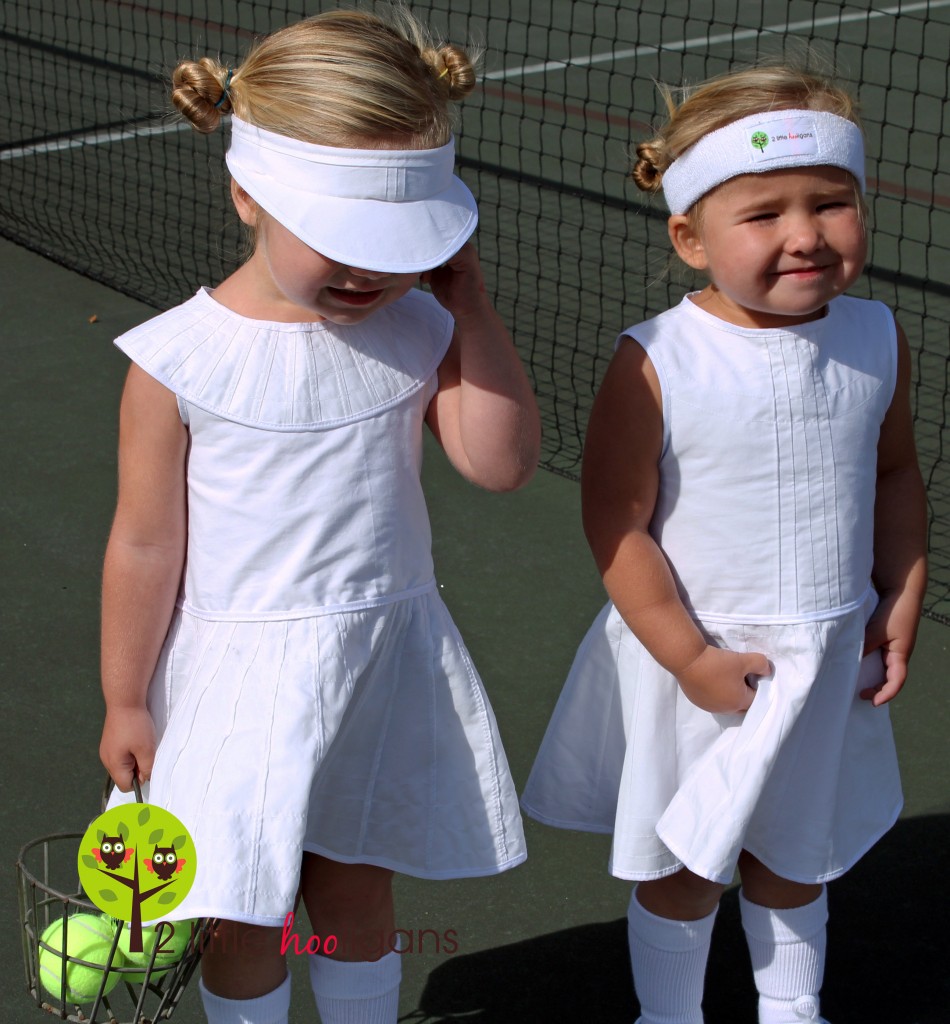
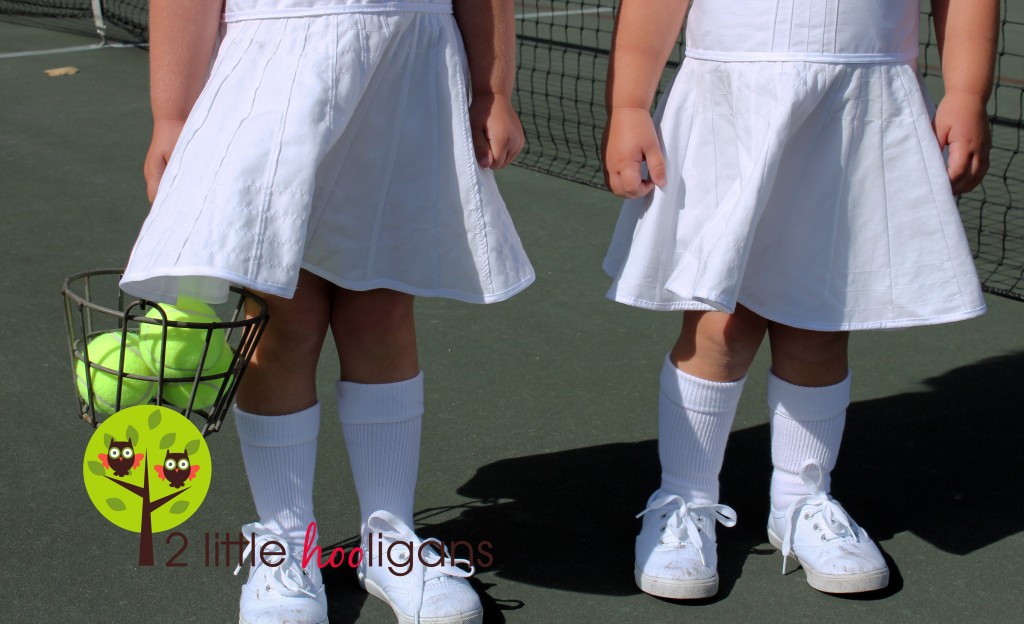
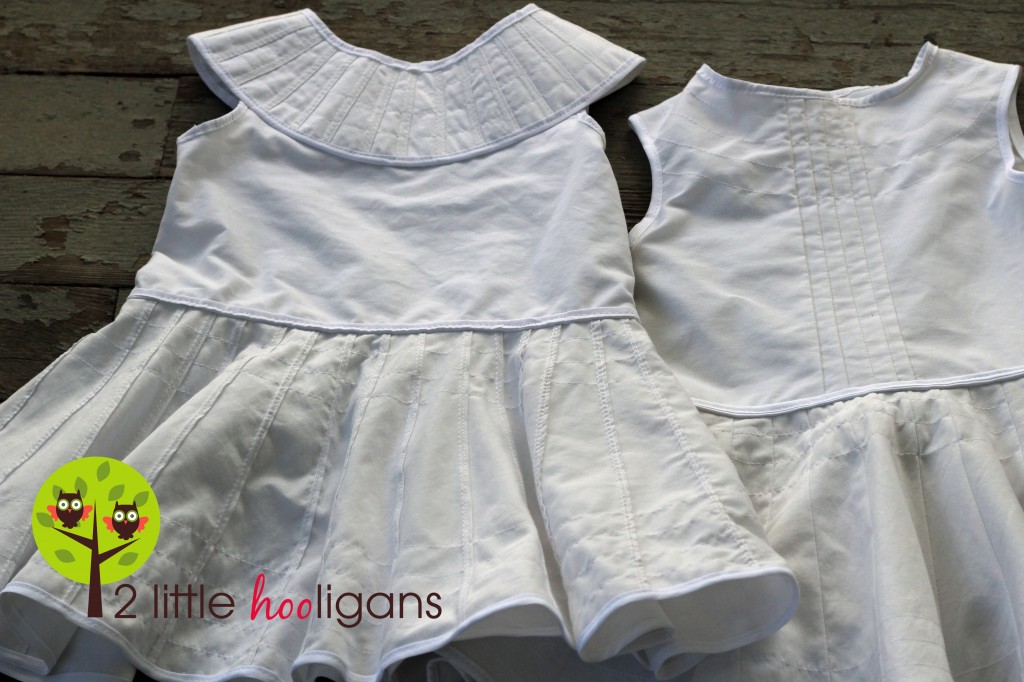
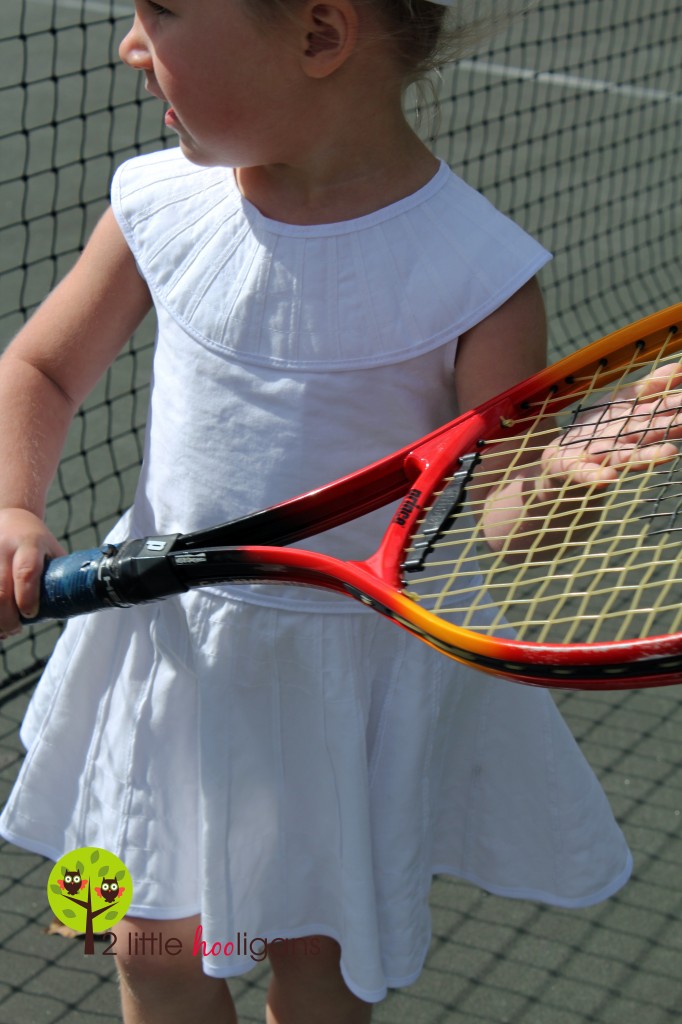
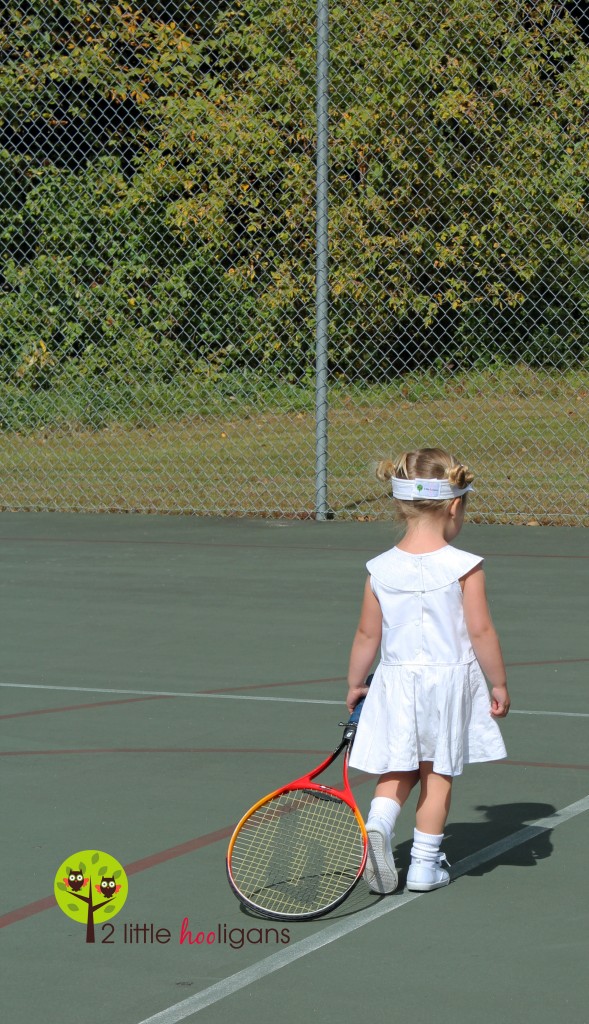
Even though I was sent home last week from Project Run and Play I still decided to sew along with the flickr group. This weeks challenge was to use a king sized white sheet to create an outfit. This was a tough one, there are so many different things that can be made with all that fabric. I planned on making two red dresses that were full of layers and ruffles. But after dyeing my fabric 6 times and only coming up with a pinkish color I gave in and totally changed my idea. What I came up with instead were two little white tennis dresses. I cannot help but love two little girls in white dresses!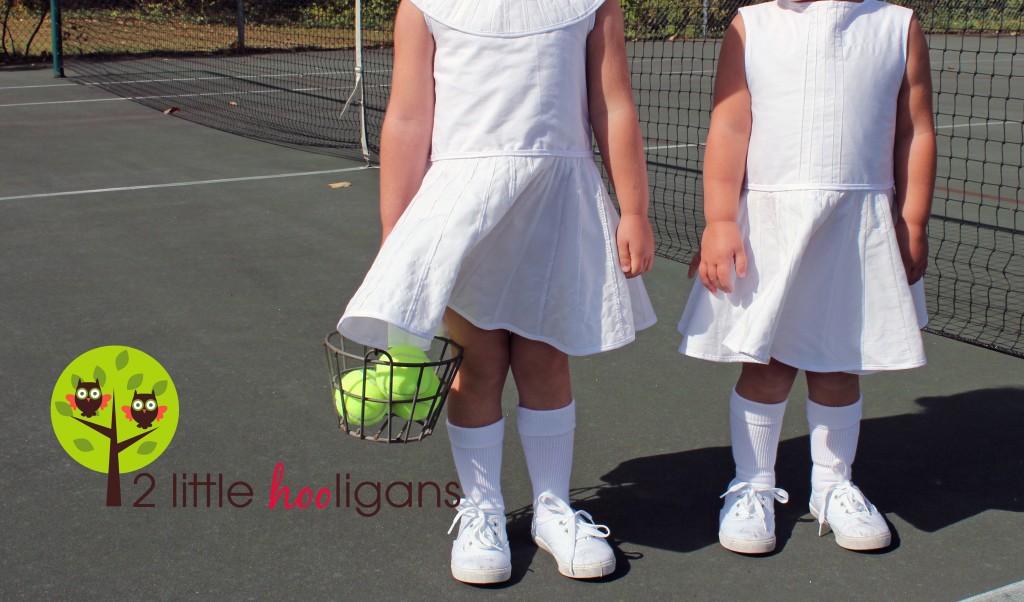 I spent hours folding, ironing and top stitching to give the fabric all of its dimensions. This is unlike something I have never made before. I normally never add so much detail to my pieces, but for some reason this design came to mind and I just went with it. When I saw my finished dresses they totally looked different then the designs I had planned out in my head. The first thing I thought when I saw them was that they looked like tennis outfits. So I went with the tennis theme…and made a visor. Do you know how hard it is to make a visor? Getting the right shape was tough.
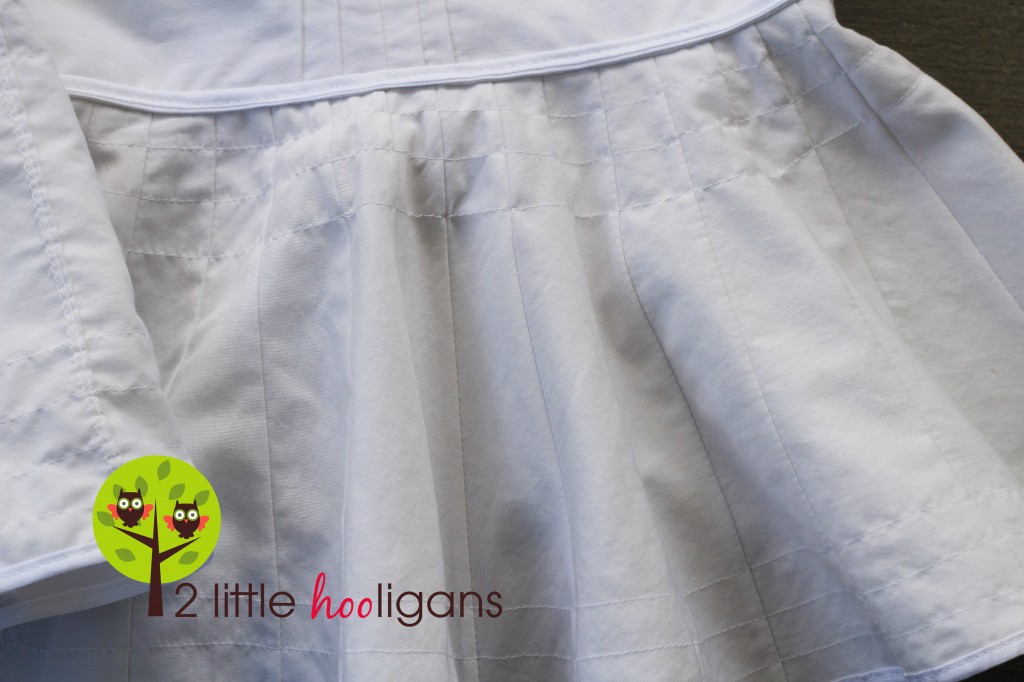
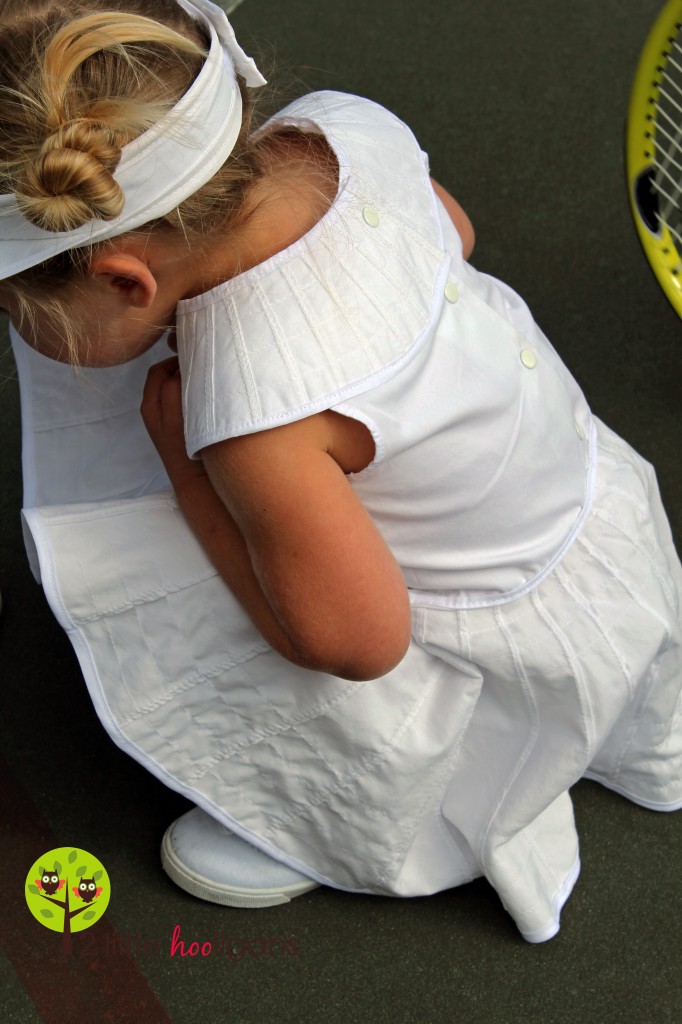
 I started out by cutting two circle skirts a little larger then their regular sizes and then started started folding and ironing all around the skirts to give it its straight lines. Then I sewed all of the straight lines. On one of the skirts I used the sewn straight lines as the front and the other skirt I put the sewn lines to the back.
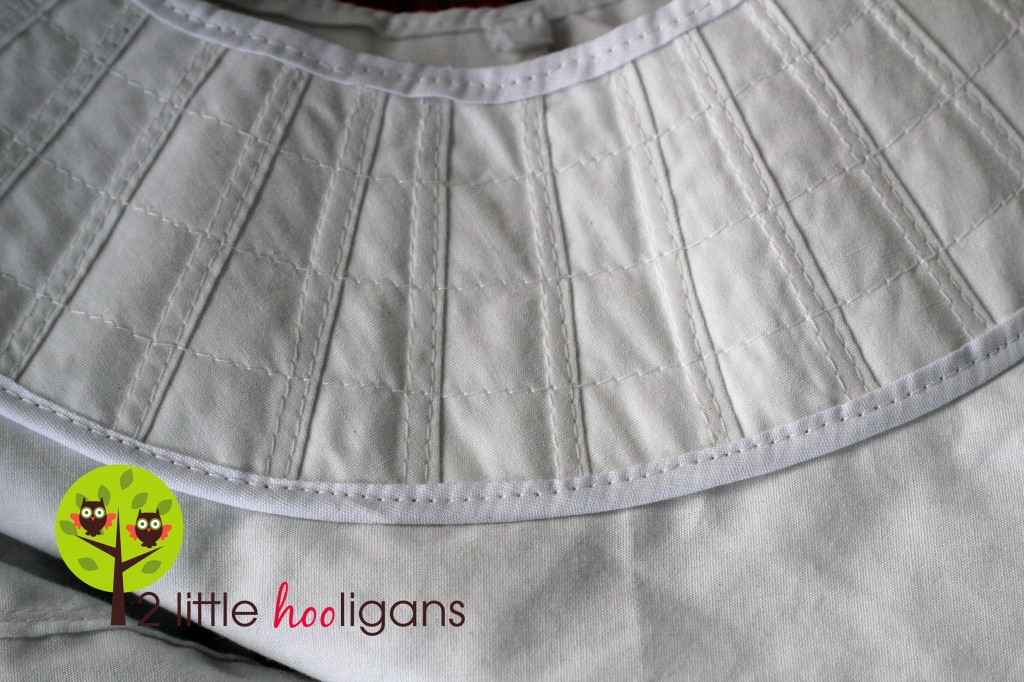
 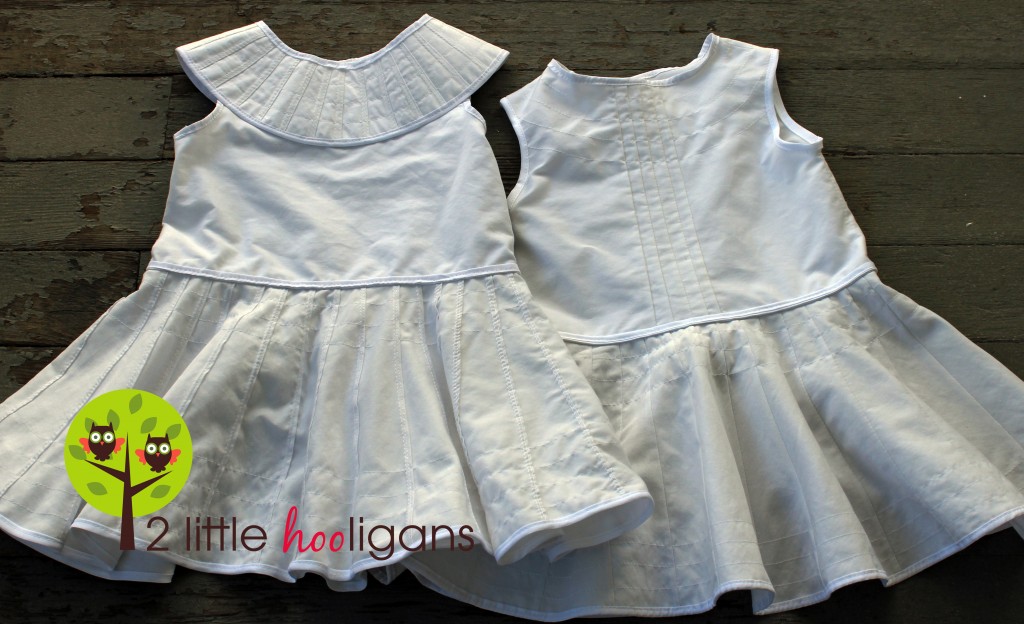 The skirt on the left is the one where I used the sewn straight lines on the front. Once all of the straight lines were stitched, I then ironed the little piece of fabric that stood up to one side. Then I top stitched that little flap down. Once I finished doing that I added a little more detail to both skirts by top stitching all around the top and bottom of the skirts.
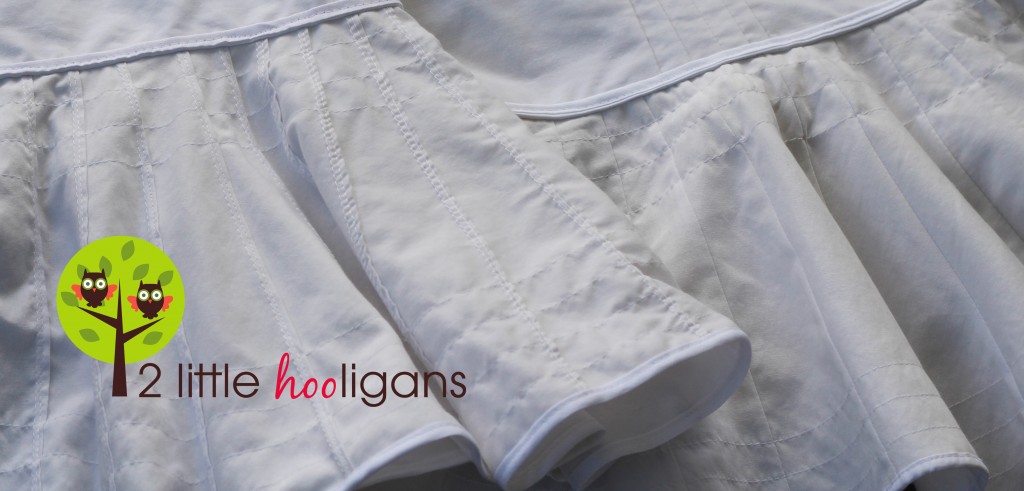
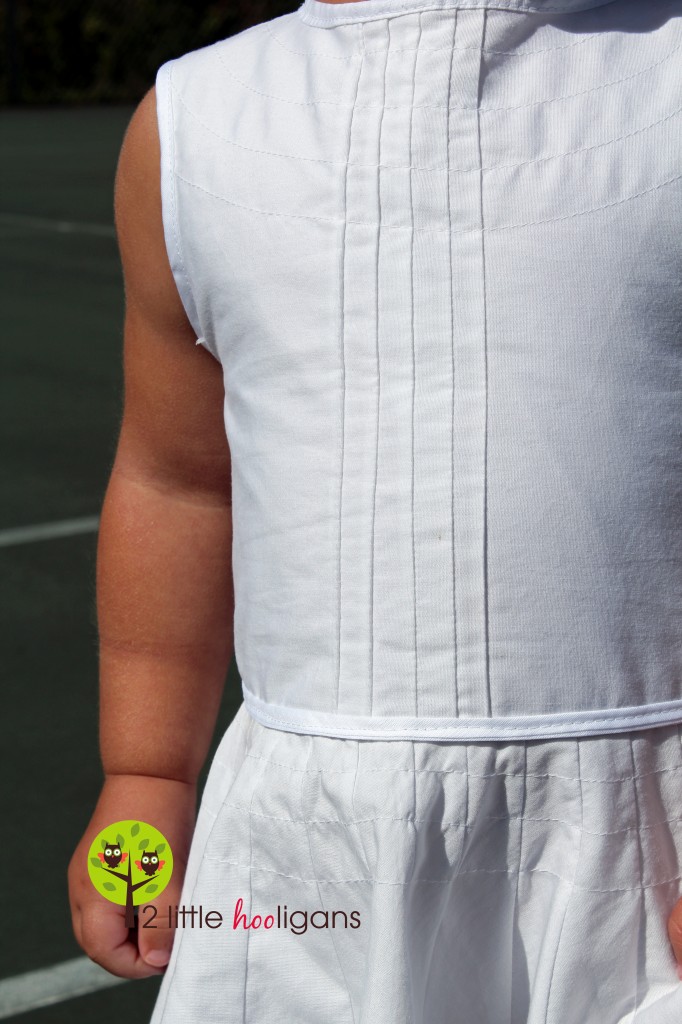
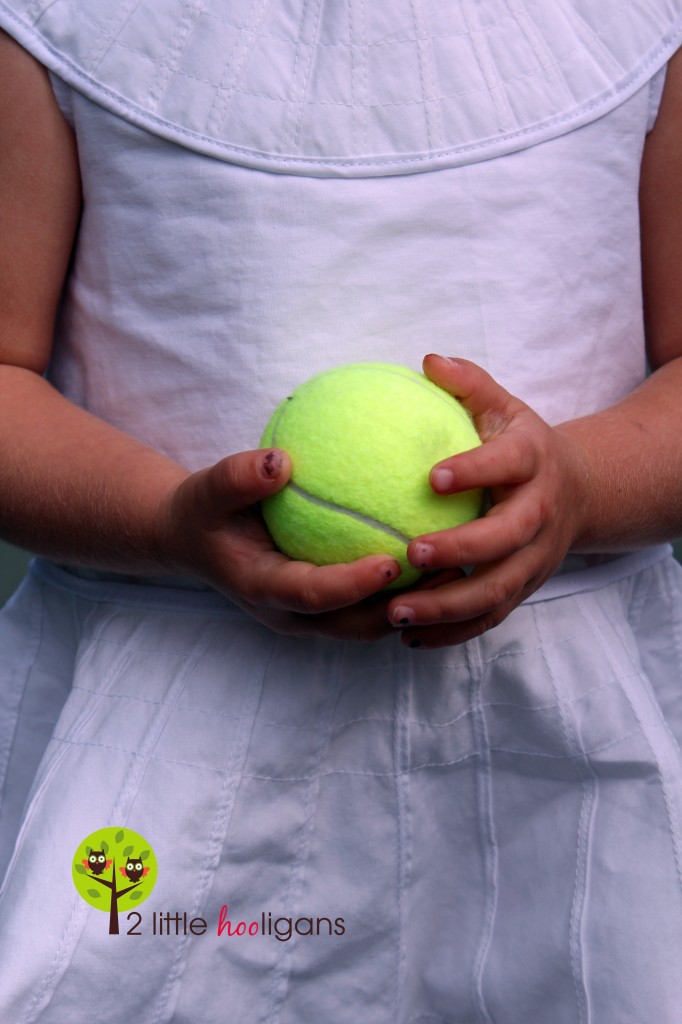
 I added the same details in the bodices as what I did in the skirts. Yes, a lot of folding, ironing and top stitching!
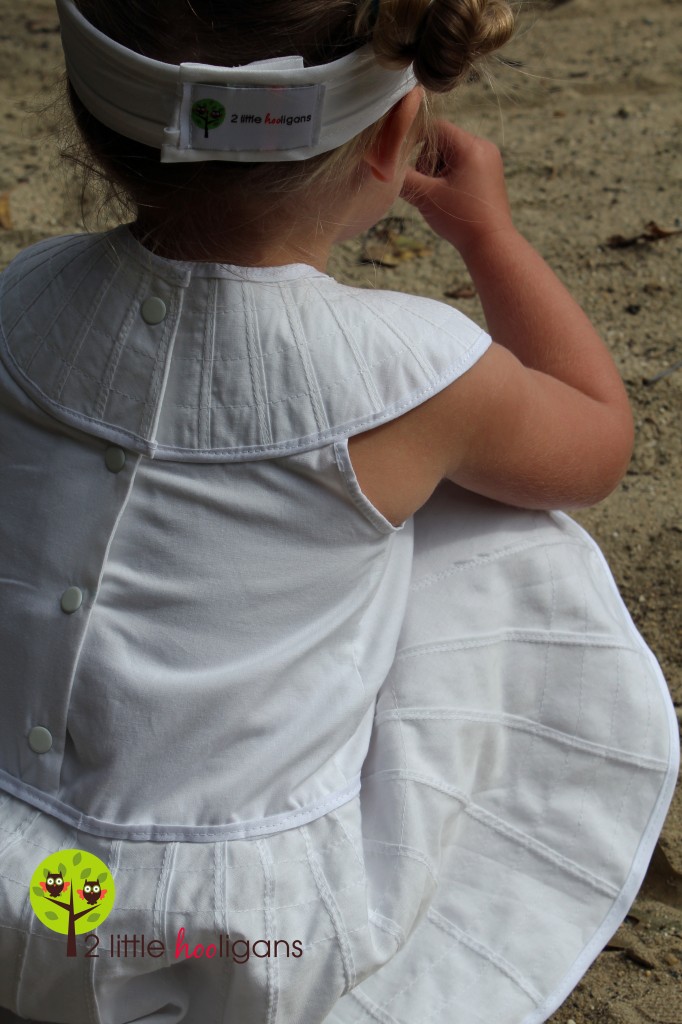
 I finished off all of the edges with bias tape. I even added a little strip of bias tape around the waist for more detail. Both the bodices and skirts were lined.
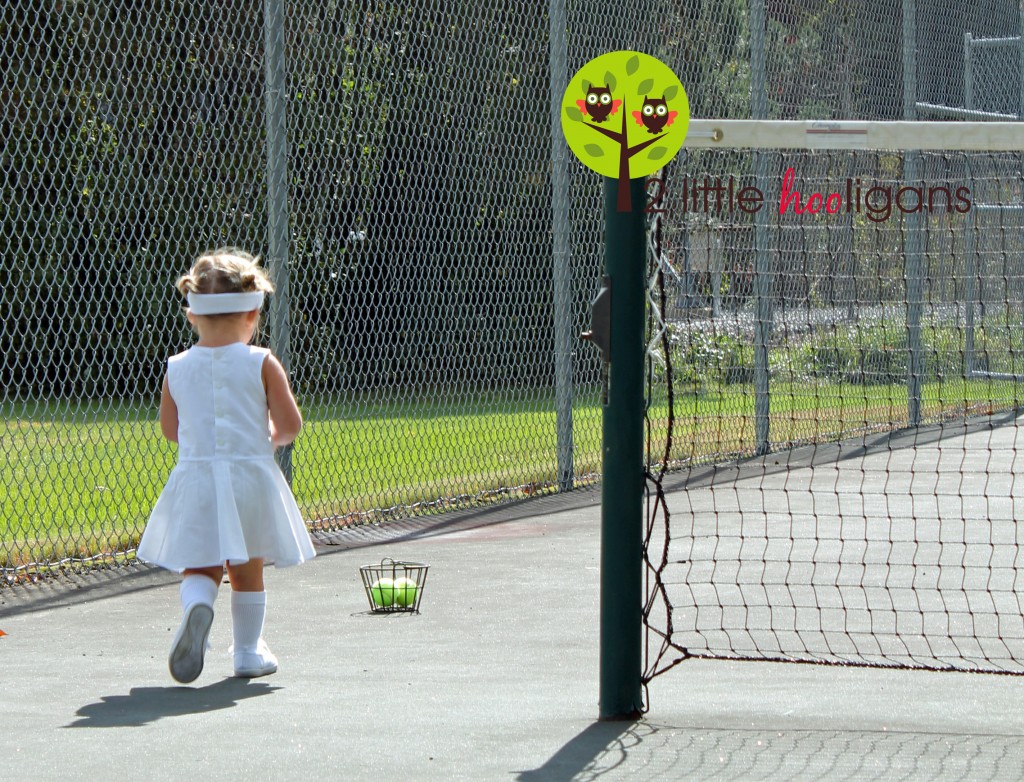
 Unfortunately my littlest is a bit sick, so I wasn’t able to get many photos of her dress. She just wanted to snuggle with a big ole sweatshirt on…while wearing her sweatband.

 I just love the dimensions that all of the top stitching gives it.
 And here are a billion more pics just because I can’t help but love a little girl in a white tennis outfit!
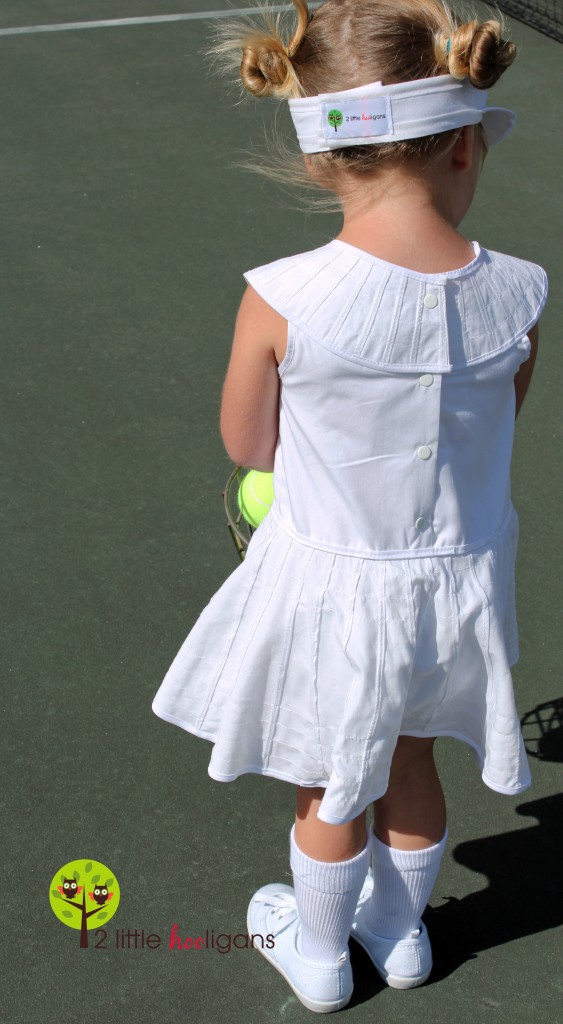
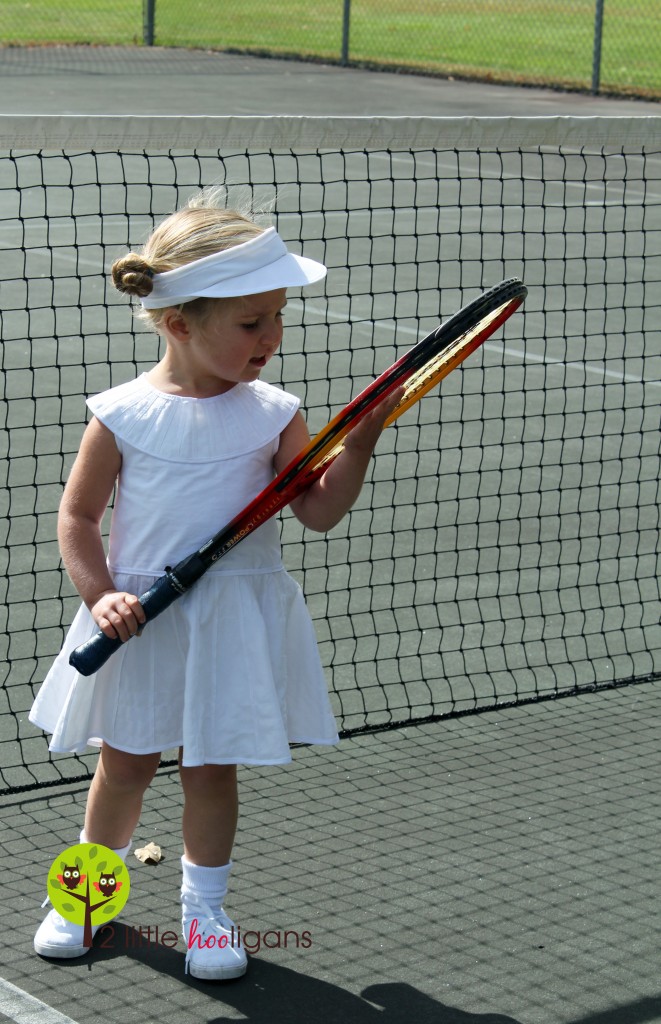
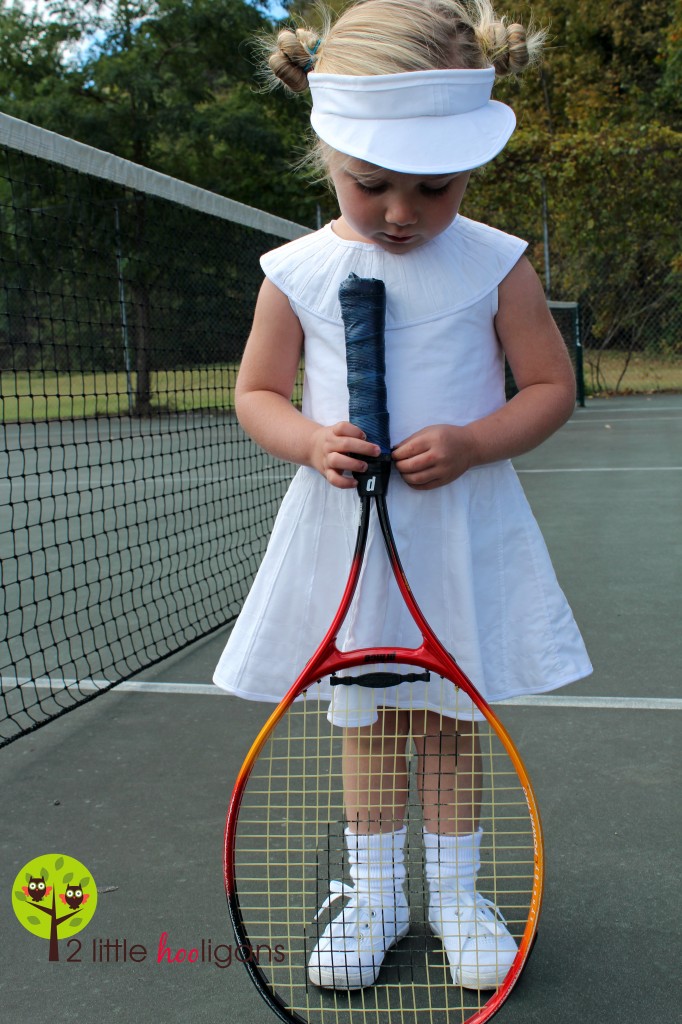
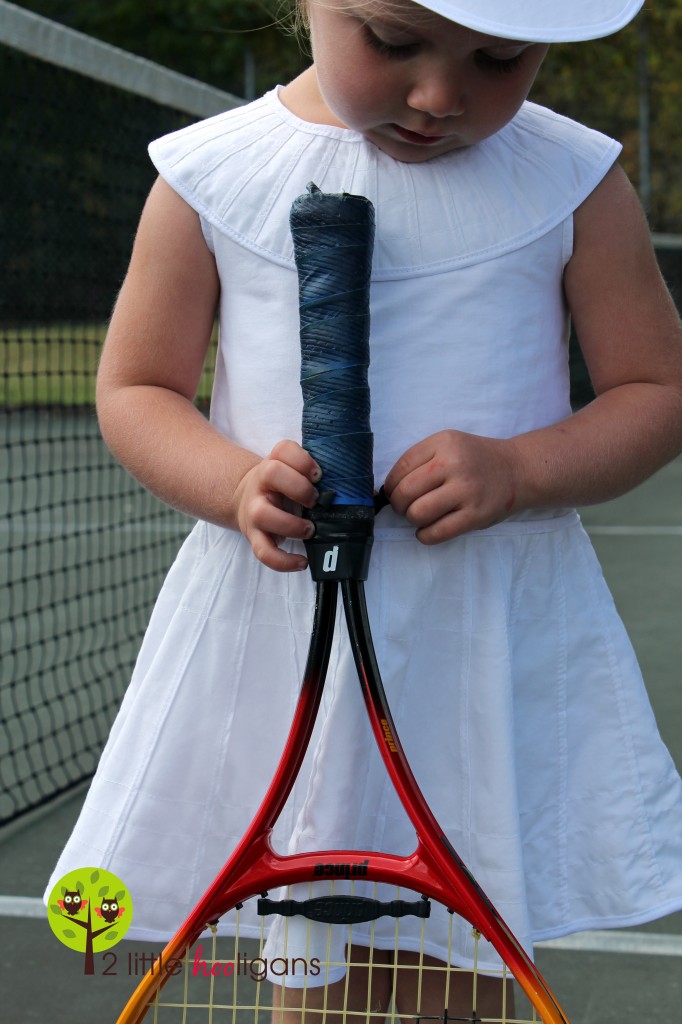
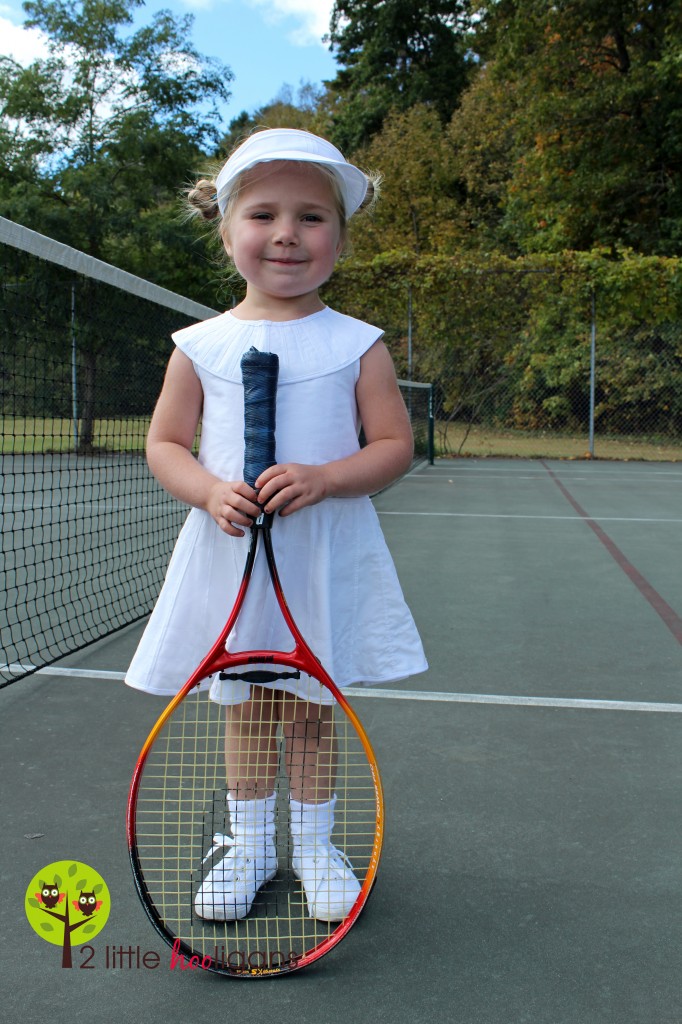
 Don’t forget to head over to Project Run and Play in the morning to check out what the remaining contestants made from one king sheet. I have a feeling they are going to be amazing! And check out the flickr group, it is insane already!
$2 find.
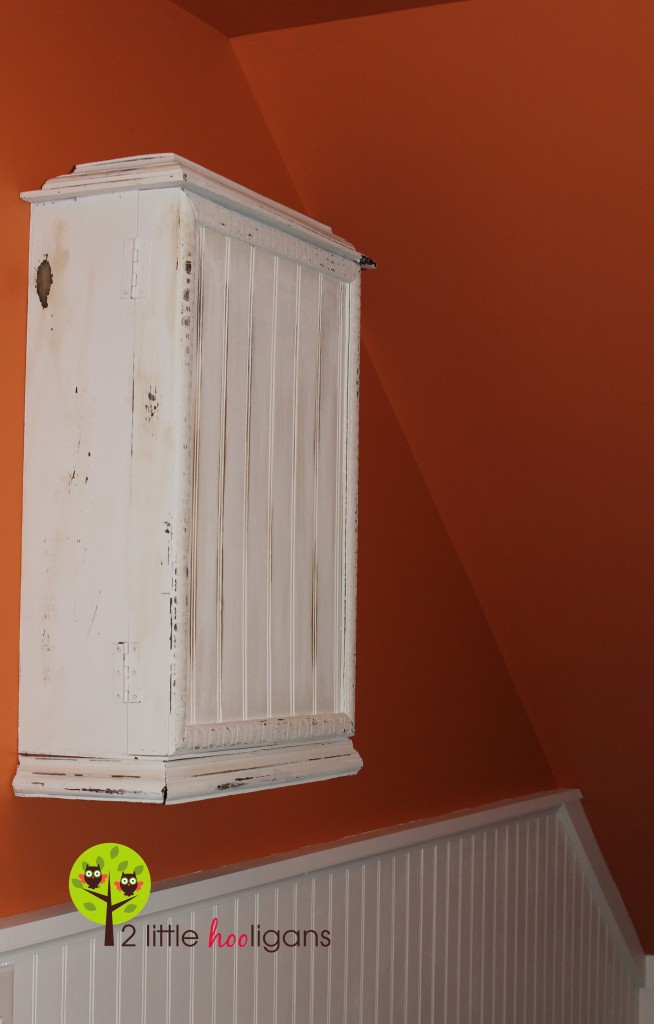
Decorating our house has been a very slow process. Mainly because I am trying to spend little to no money in doing so. I also love the vintage look which takes a while to achieve. Finding just the right things at the right prices is not always easy. And usually vintage pieces that are priced right need some DIY to get them back into working order. I purchased this clock cabinet this summer at a yard sale for 2 bucks. It was not vintage and it was definitely fake wood and made in China, but for 2 bucks I knew I couldn’t go wrong. Plus it had potential.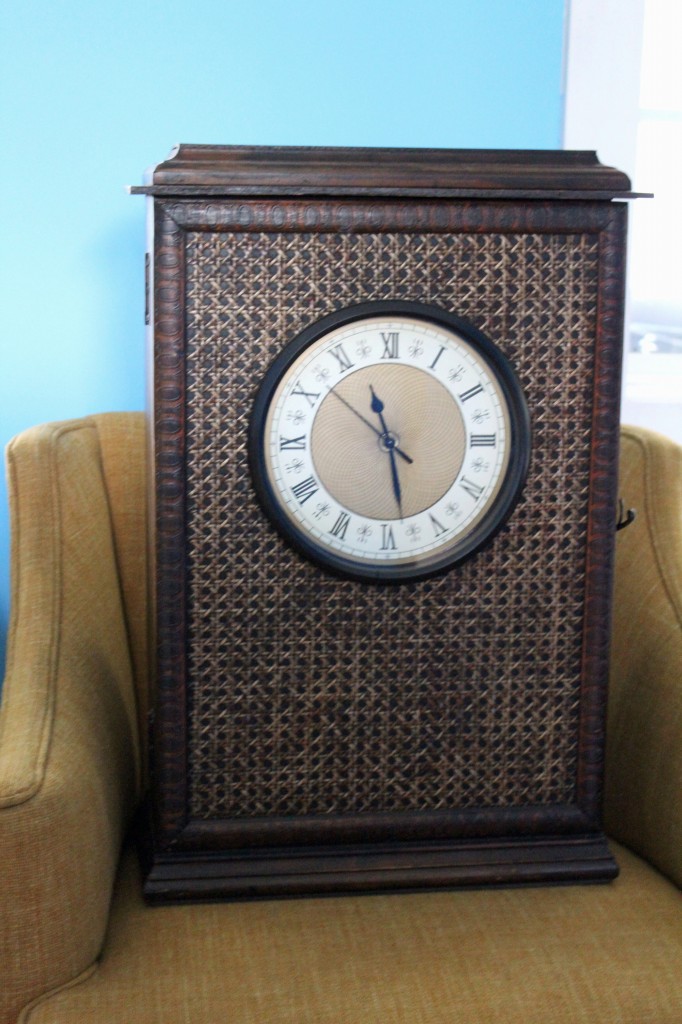 Before and after.
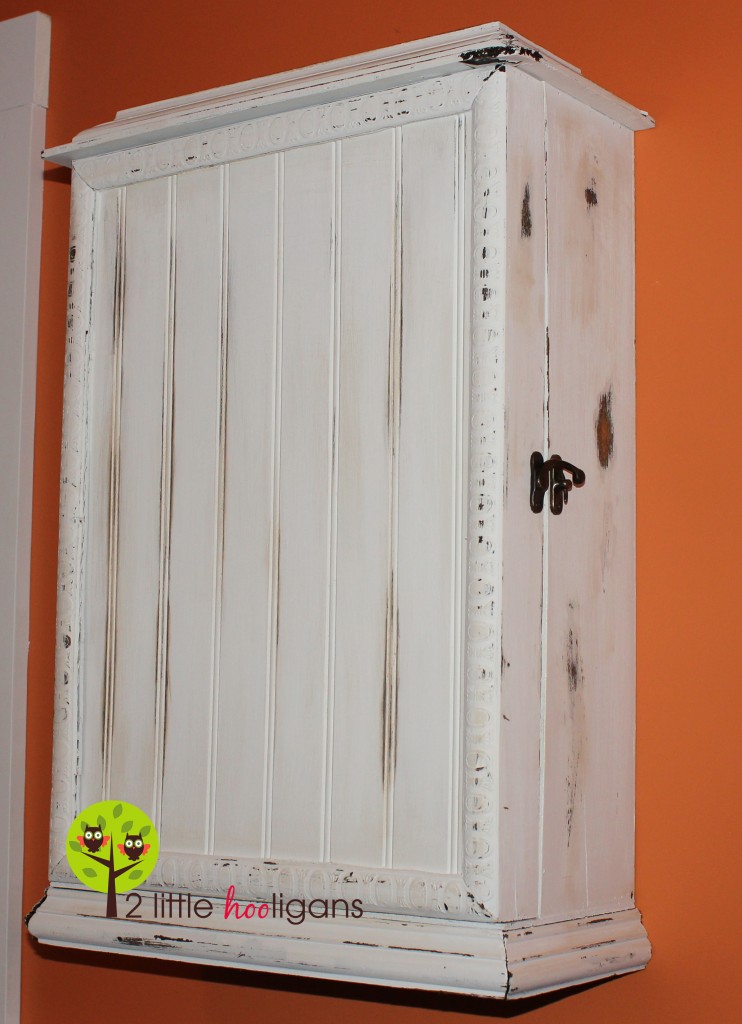
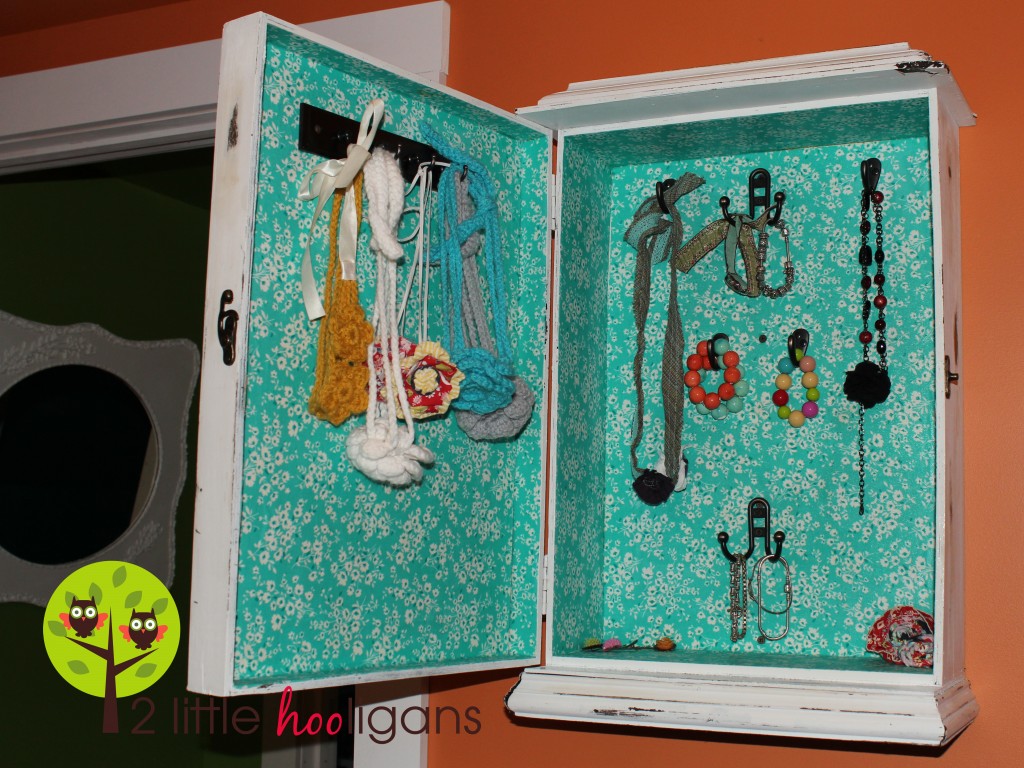 With a little help from the hubby we cut out the front wicker-eeish panel and glued in a piece of bead-board. Then I stained the new piece of beadboard to match the rest of the cabinet. Unfortunately the new stained wood was not blending in, so I decided to paint the whole thing white, then do some light sanding to give it an aged/vintage look. Fortunately while working on the piece it fell off the table and really added in giving it that aged look. On the inside of the cabinet I decided to Mod Podge it because who doesn’t love a little pop of color?
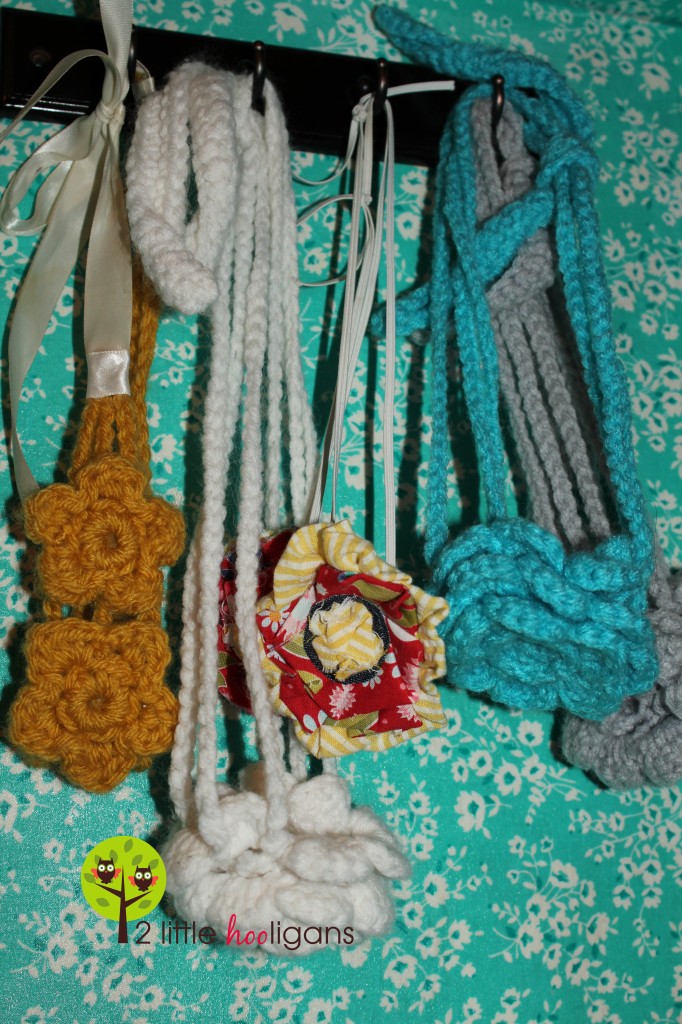 I bought a bunch of hooks from Walmart and screwed them into the cabinet. Now we have a place to hang all of our hair acessories and jewlery. I’m still looking for a few little cups to place in there to hold our rings and earrings, but that will come in time…much like the shelf I have been searching for to hang next to it.
  Please tell me I am not the only one who decorates like this! So what are your best $2 finds?
“Dig in girls!”
My little guy is LOVING school! He just cannot get enough of it. He wakes up every morning so excited to go. His only complaint is that naptime is too short. My favorite part of the day is picking him up and hearing all about his day. The girls favorite part of the day is when we arrive home and my little guy hands over his lunchbox to the girls and says “dig in girls!” ![]()
![]() They can’t run into the house fast enough to see what’s inside that bag. And shockingly he always has some type of sweet treat leftover. He is nothing like his Momma! He sure does make our day when he comes home, even if it is for two different reasons.
They can’t run into the house fast enough to see what’s inside that bag. And shockingly he always has some type of sweet treat leftover. He is nothing like his Momma! He sure does make our day when he comes home, even if it is for two different reasons.![]()
A sincere thanks!
As most of you know by now I got the boot from Project Run and Play this morning. Yes it was a little hard to see my picture up there, but I knew it was coming. The support that I have received from so many of you is beyond what I ever would have expected. Each and every email or comment was so kind and heart warming. It reminds me again why I blog. So THANK YOU! Yes I will be sewing along and adding my creations to the sew along flickr group. I may skip out on the last challenge though. I just love the materials that I purchased for the challenge and well, I would like to make myself something with them instead. My kiddo’s are already clothed way better then I am. As far as tutorials for some of my creations, that may or may not happen. I really didn’t take detailed pictures for most of my items, but I may be able to put something together. They will just have to be quick tutorials to guide you on how to make your own without to many measurements.
I hope you will all continue to follow the rest of the season of Project Run and Play. It is going to be great and I cannot wait to see what they come up with this week from one king sized sheet!
Thirty-Four.
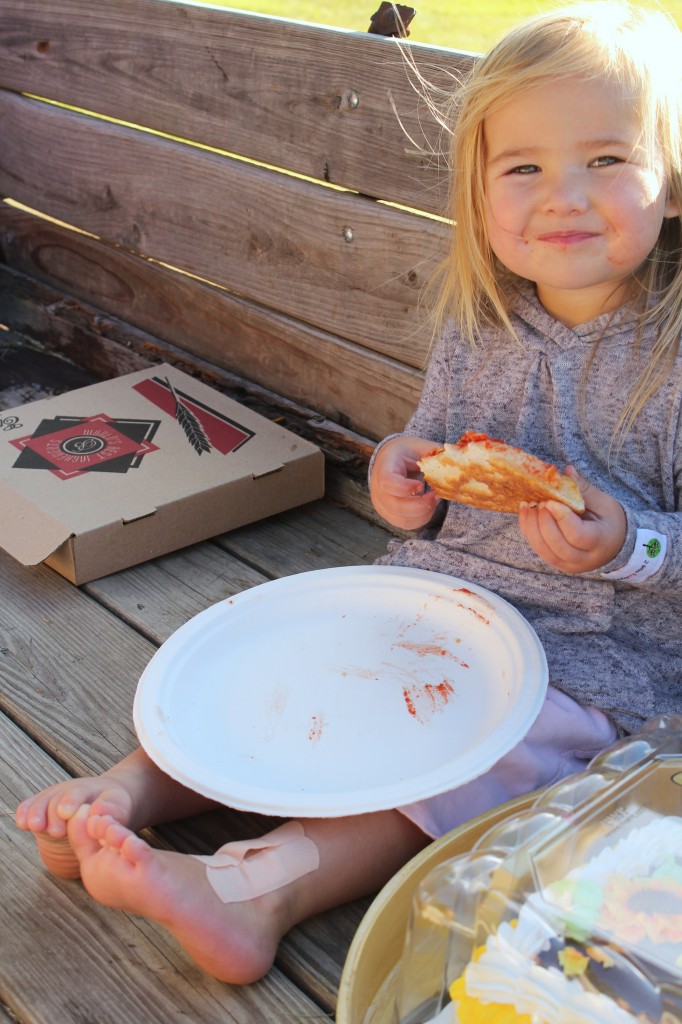
So I turned 34 this past week. THIRTY-FOUR! I threw myself a little party. Of course it was not really for me but for these kiddo’s of mine. Funny how when you become a mom nothing is ever just yours…even your birthday.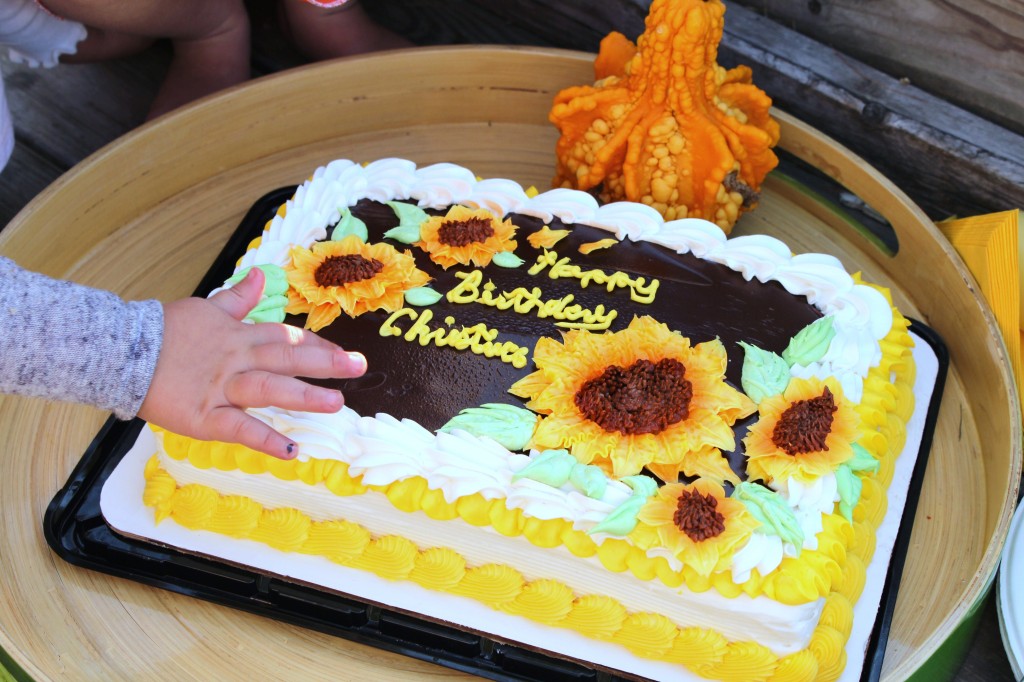 We kept it really simple. We just ordered out pizza and had a picnic by the pumpkin patch in the back of the trailer. Funny how just a little picnic in the trailer is such a treat.
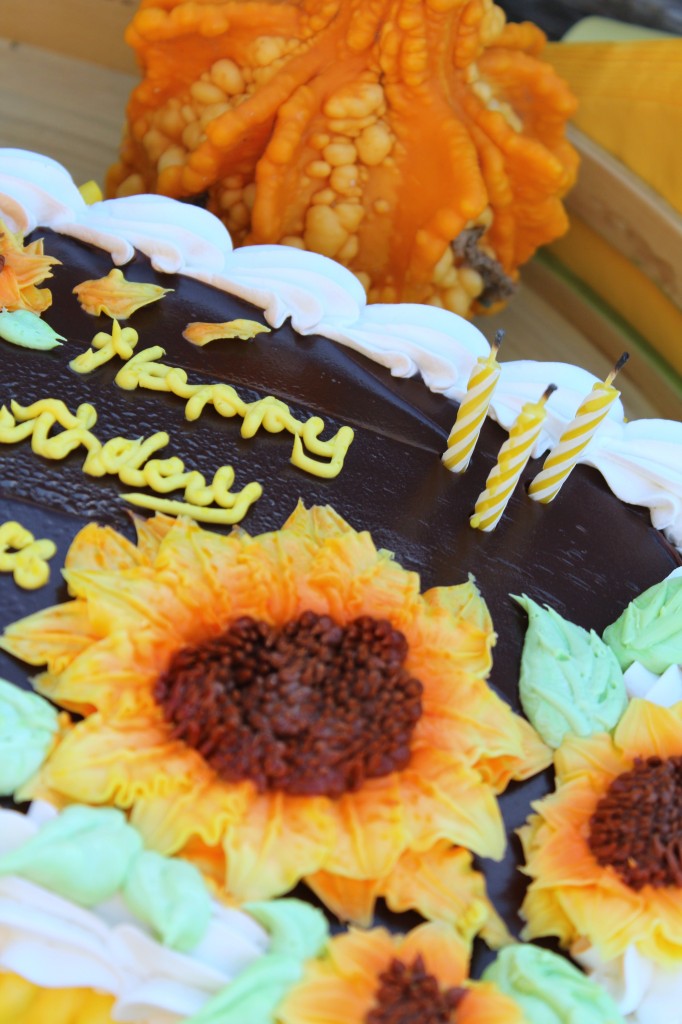 Thankfully a friend of mine surprised me with a cake. I’m so glad because I wasn’t planning on making one for myself. I just have been too busy sewing for this. The cake could not have been more perfect for our picnic party. How pretty are those flowers?
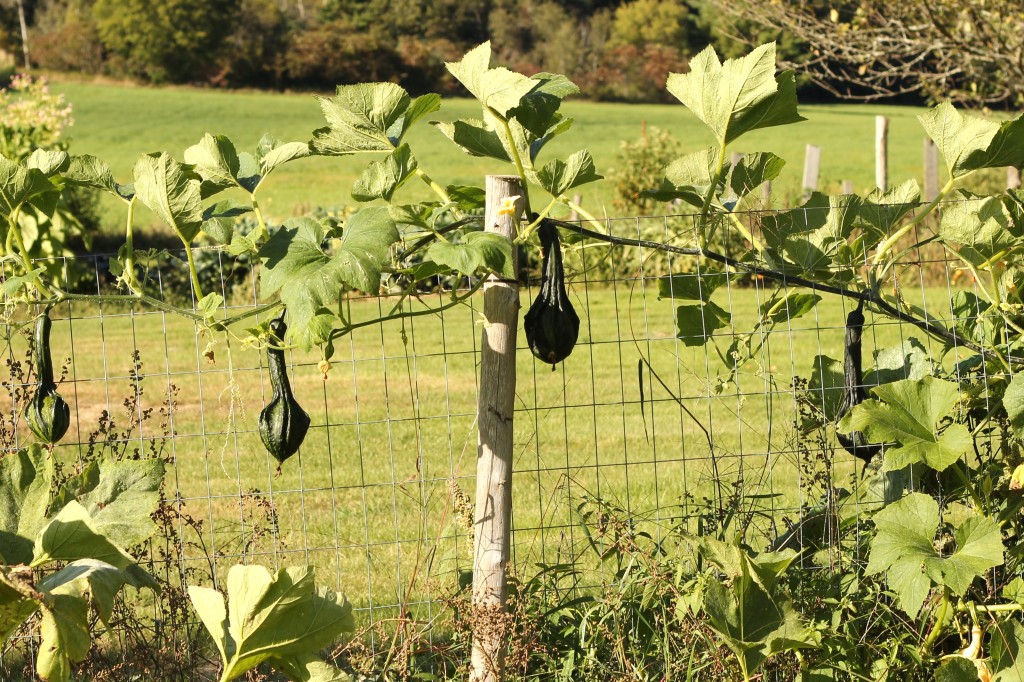
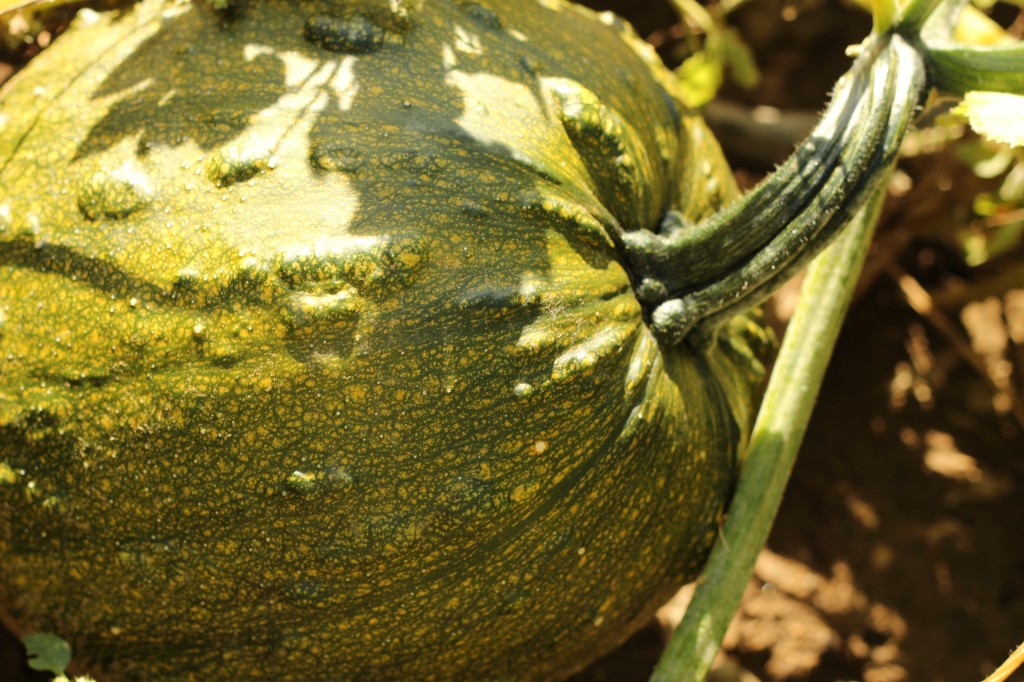 We planned on picking our pumpkins that night but with so few we decided to wait. I’m secretly hoping that one day I will wake up and see pupkins overflowing the patch.

 In all, it was the perfect 34th birthday.


 And no, I didn’t get to blow out my birthday candles either. So will my birthday wish come true or not?

 And what if they blew out my candles before I was even able to make a wish?


