I’m posting my hooded vest tutorial here today just in case you missed my guest post over at Project Run and Play a few months ago.
So I knew right away that I was going to share a tutorial for a hooded vest. A few months back I purchased a Gymboree hooded vest at the thrift store and my two little girls are always fighting over it. We have even left the house in tears a few times due to that vest. So I figured if I made another vest then they would both have their own vests and the drama would be solved, right? Instead what I created was more drama, now both girls want to wear the vest Mommy made. Is this anyone else’s life too?! The tutorial is for a 2T/3T toddler size but of course it always depends on the size of your child, so just make adjustments where needed.


*One 14 inch coil separating zipper or another zipper specifically for sweaters and jackets. I purchased mine at JoAnn’s.
*1/2 yard quilted fabric or any other fabric of choice. If you do decide to use a lightweight cotton then you will want to use a light batting in between layers.
*1/2 yard of minky fabric or another fabric of choice.
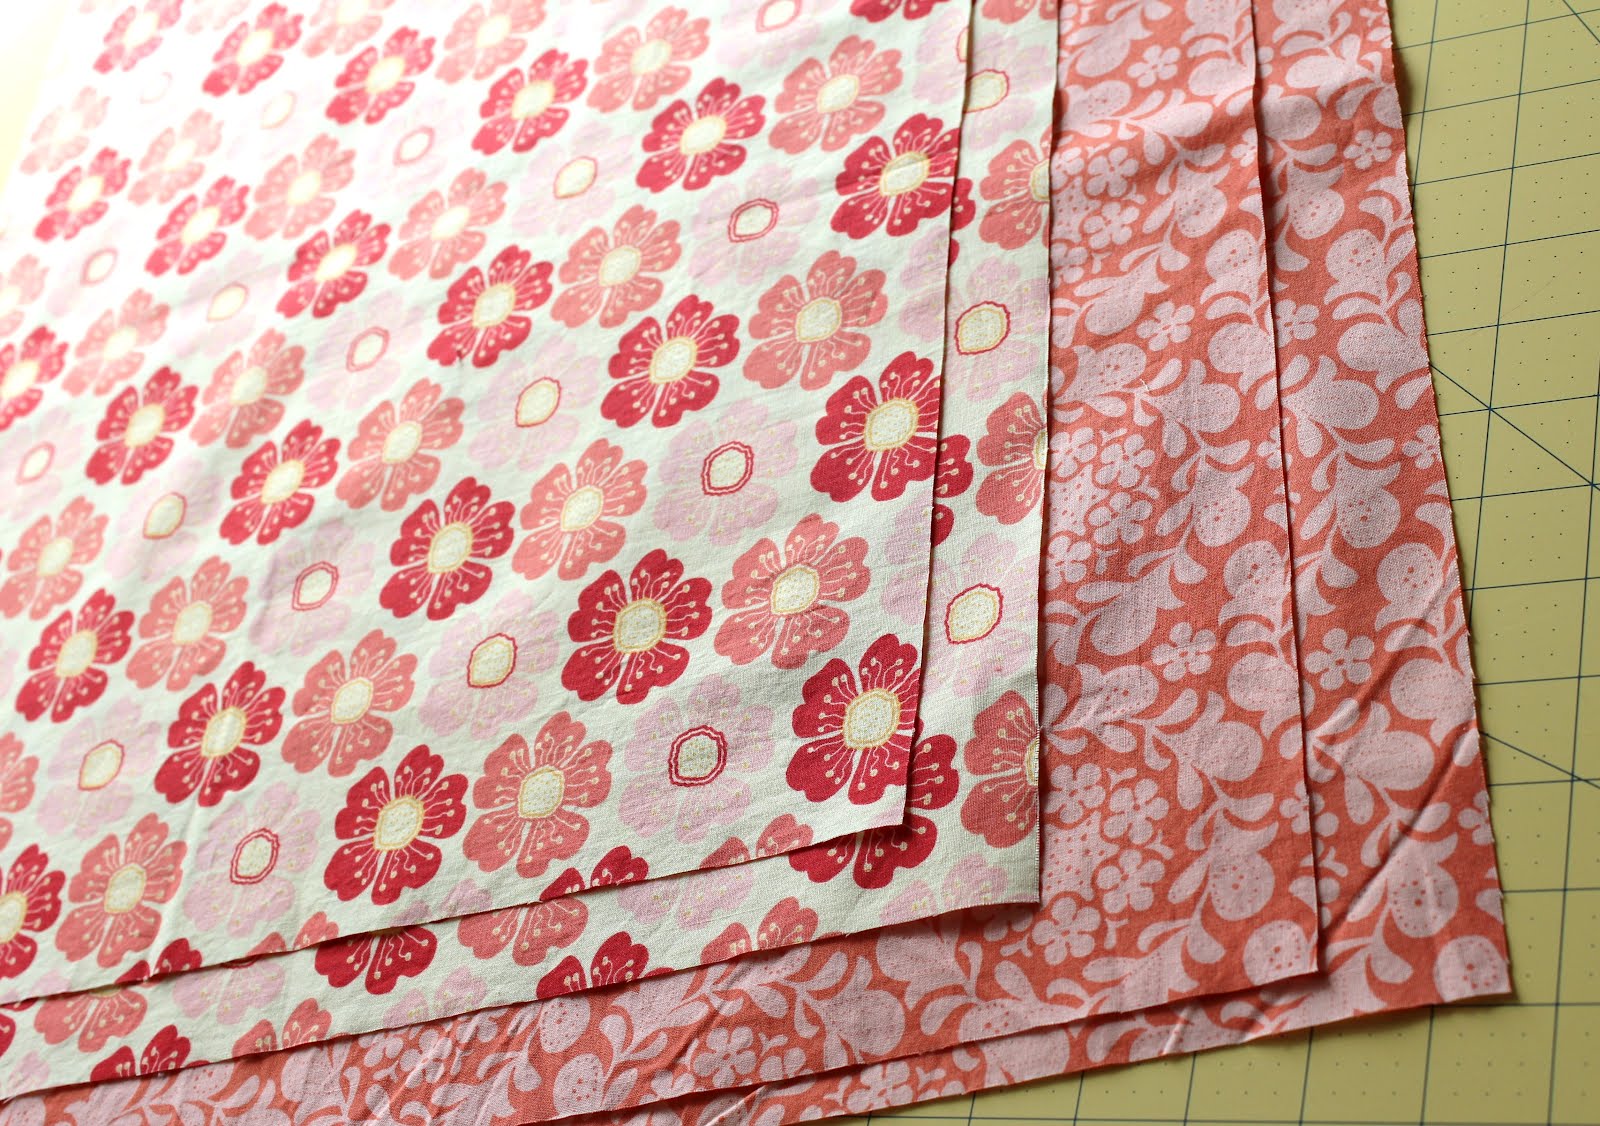
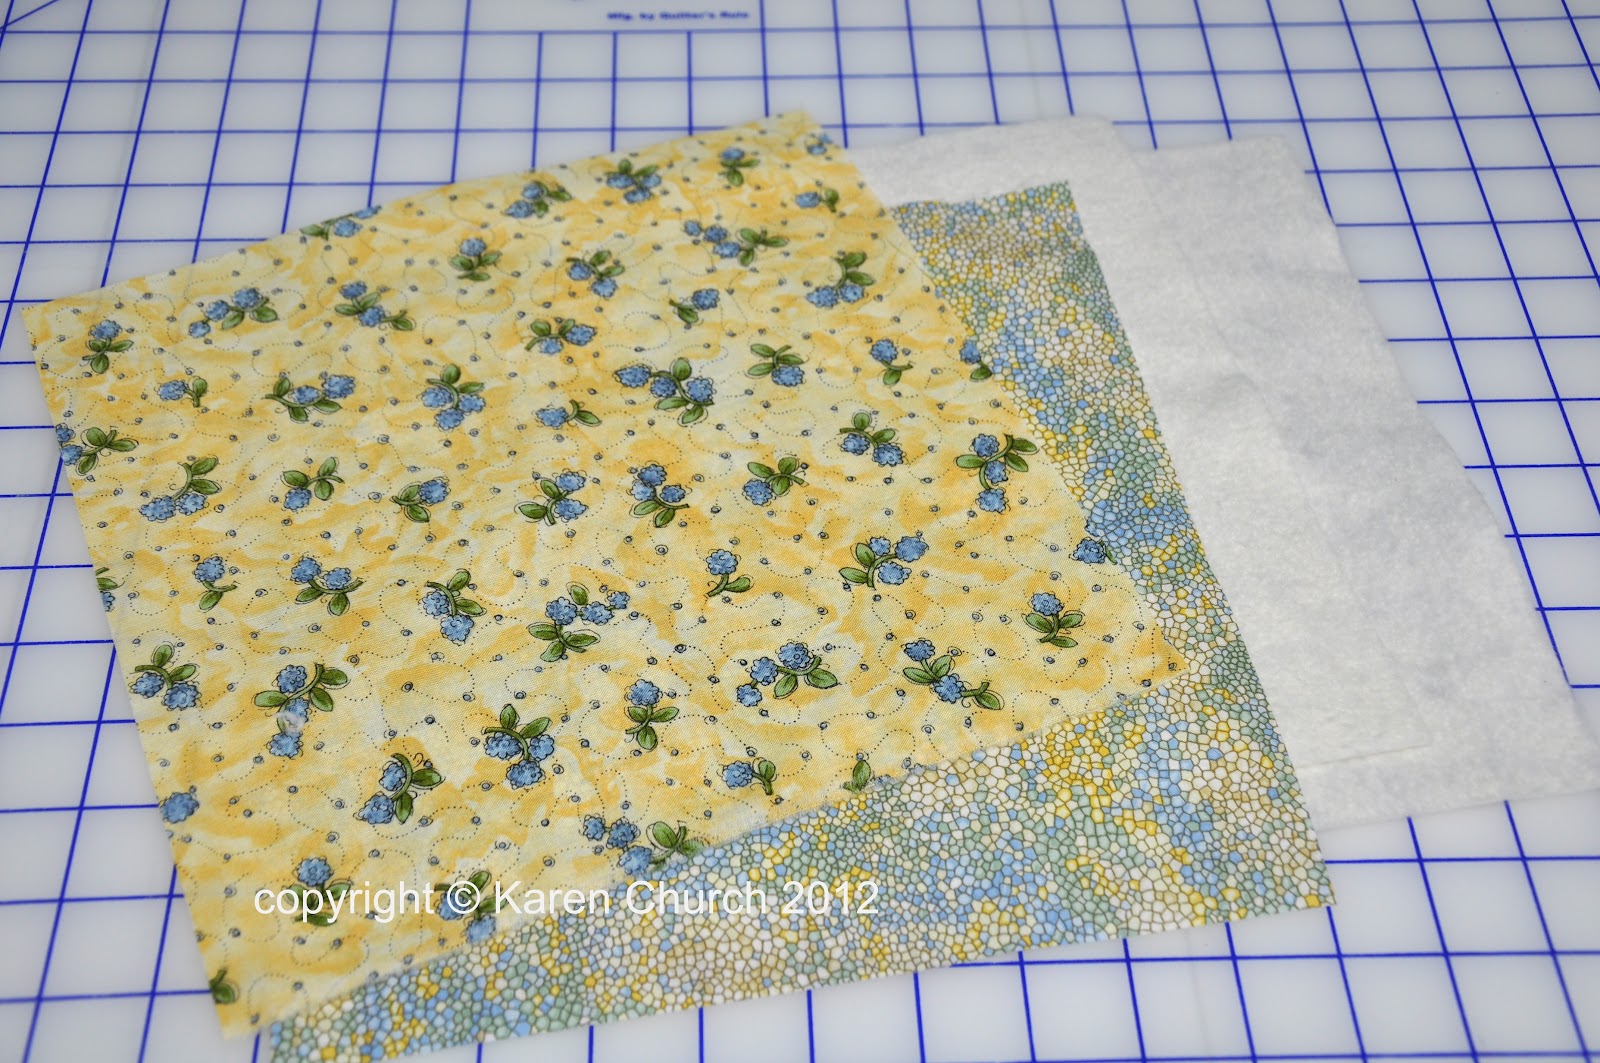
 Start by printing off the vest templates here. There are 6 different pages. Assemble the templates by taping the front, back and hood pieces together. Now use those templates to cut out your fabric pieces in both the outer layer and the lining fabric. If you are using a batting cut that as well. *Note that the hood with need to be cut out in both directions, meaning cut out one hood piece then flip the hood template over and cut out another hood piece. You will also have to cut the front of your vest piece in half directly on the fold to give you two pieces instead of one.*
All of your pieces should look like this now. Working with the outer fabric for the vest first, take the two front pieces and the back piece and pin them together at the sides and shoulders with right sides facing. If you are using a batting, the batting should be on the wrong side of the outer fabric and pinned in place. Sew the sides and shoulder seams.
 Now take the two hood pieces and pin right sides together on the curved part. Sew hood, but make sure you sew only the curved part of the hood. Leave the two flat edges alone for now.
 Now take your hood and pin it onto the vest, right sides facing.
 Sew. Now you have the outer part of your vest.
 Repeat the same steps as above but this time with the lining fabric. You should now have the outer and the lining of your vests complete. Now it is time to add the zipper.
 Take your zipper and lay it on top of your vest with the right side facing up like shown in picture below. Unzip the zipper.
 Take the two zipper pieces and flip them over so that the right side of the zipper is touching the right side of the vest. The teeth should be on the outer edge and the flat side of the zipper should be lined up with the edge on the vest. Measure 1″ up from the bottom of the vest and start pinning the zipper in place. Do this with both sides.
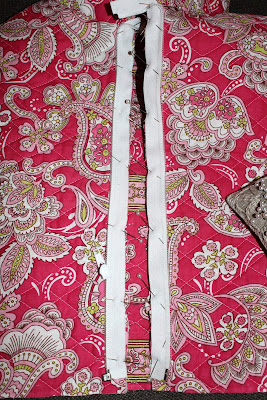 Your zipper will be a little long and that is ok. Just fold over the top of the zipper like so right where the hood and the vest seam meet.
 Tack zipper in place, then remove pins.
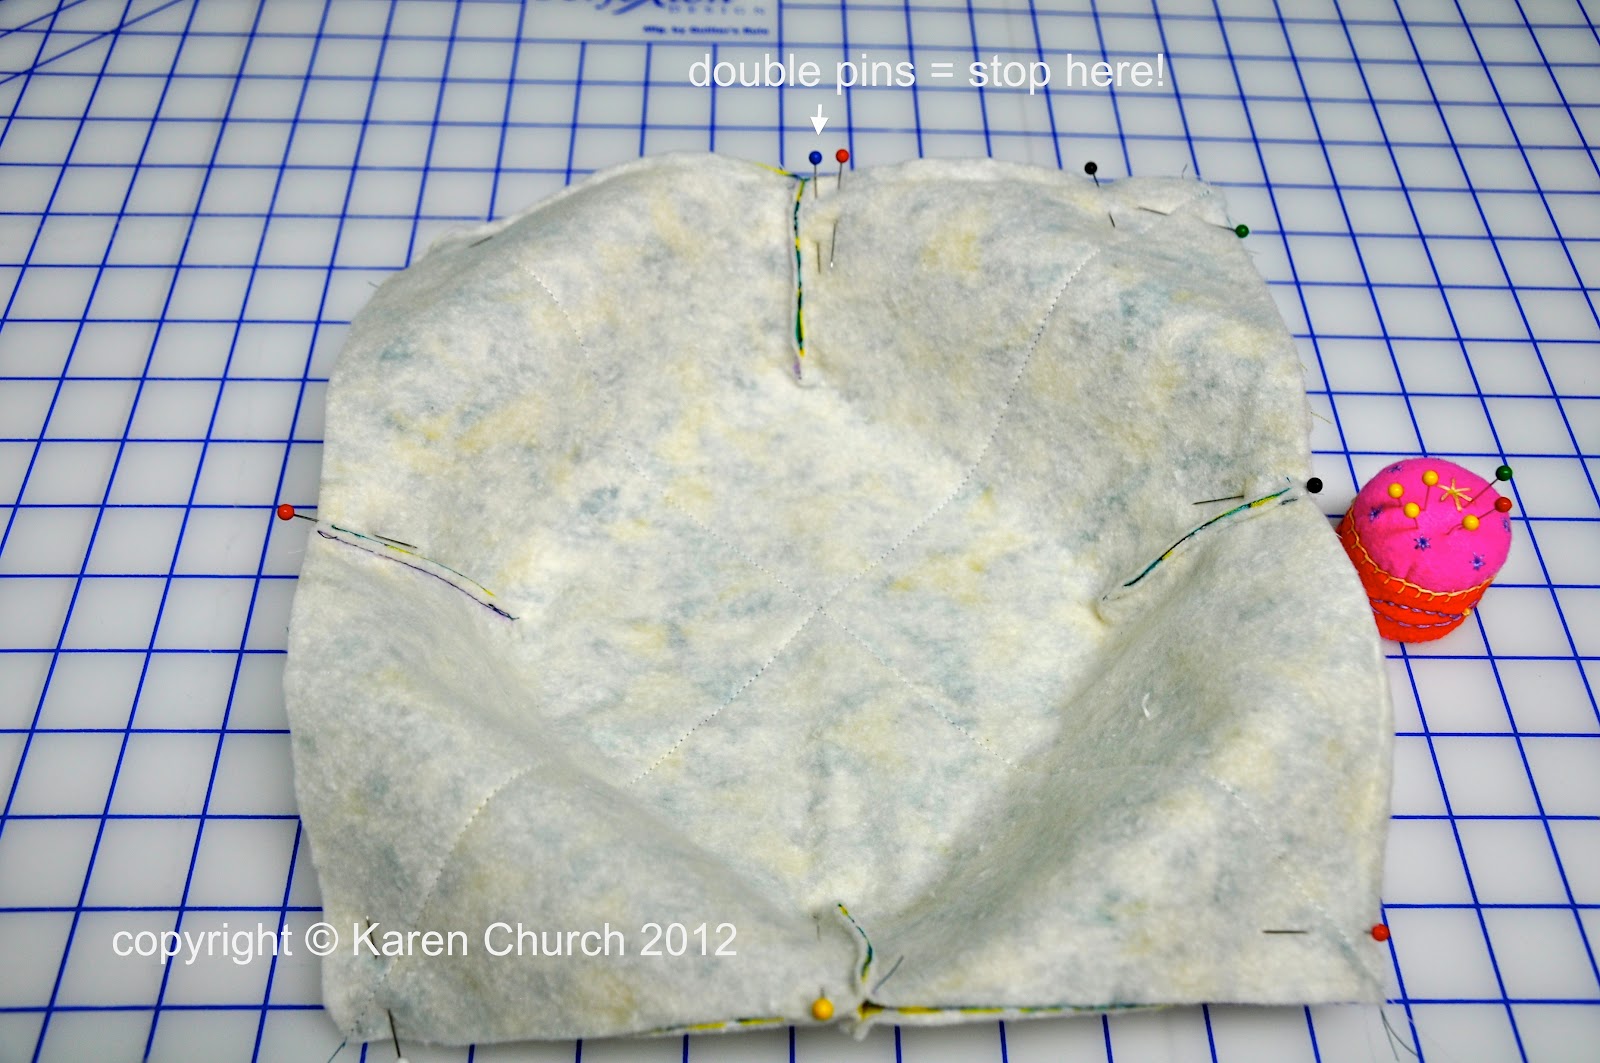
 Pin the two vests together with right sides facing.
 Don’t worry those little zipper pieces will be cut off later.
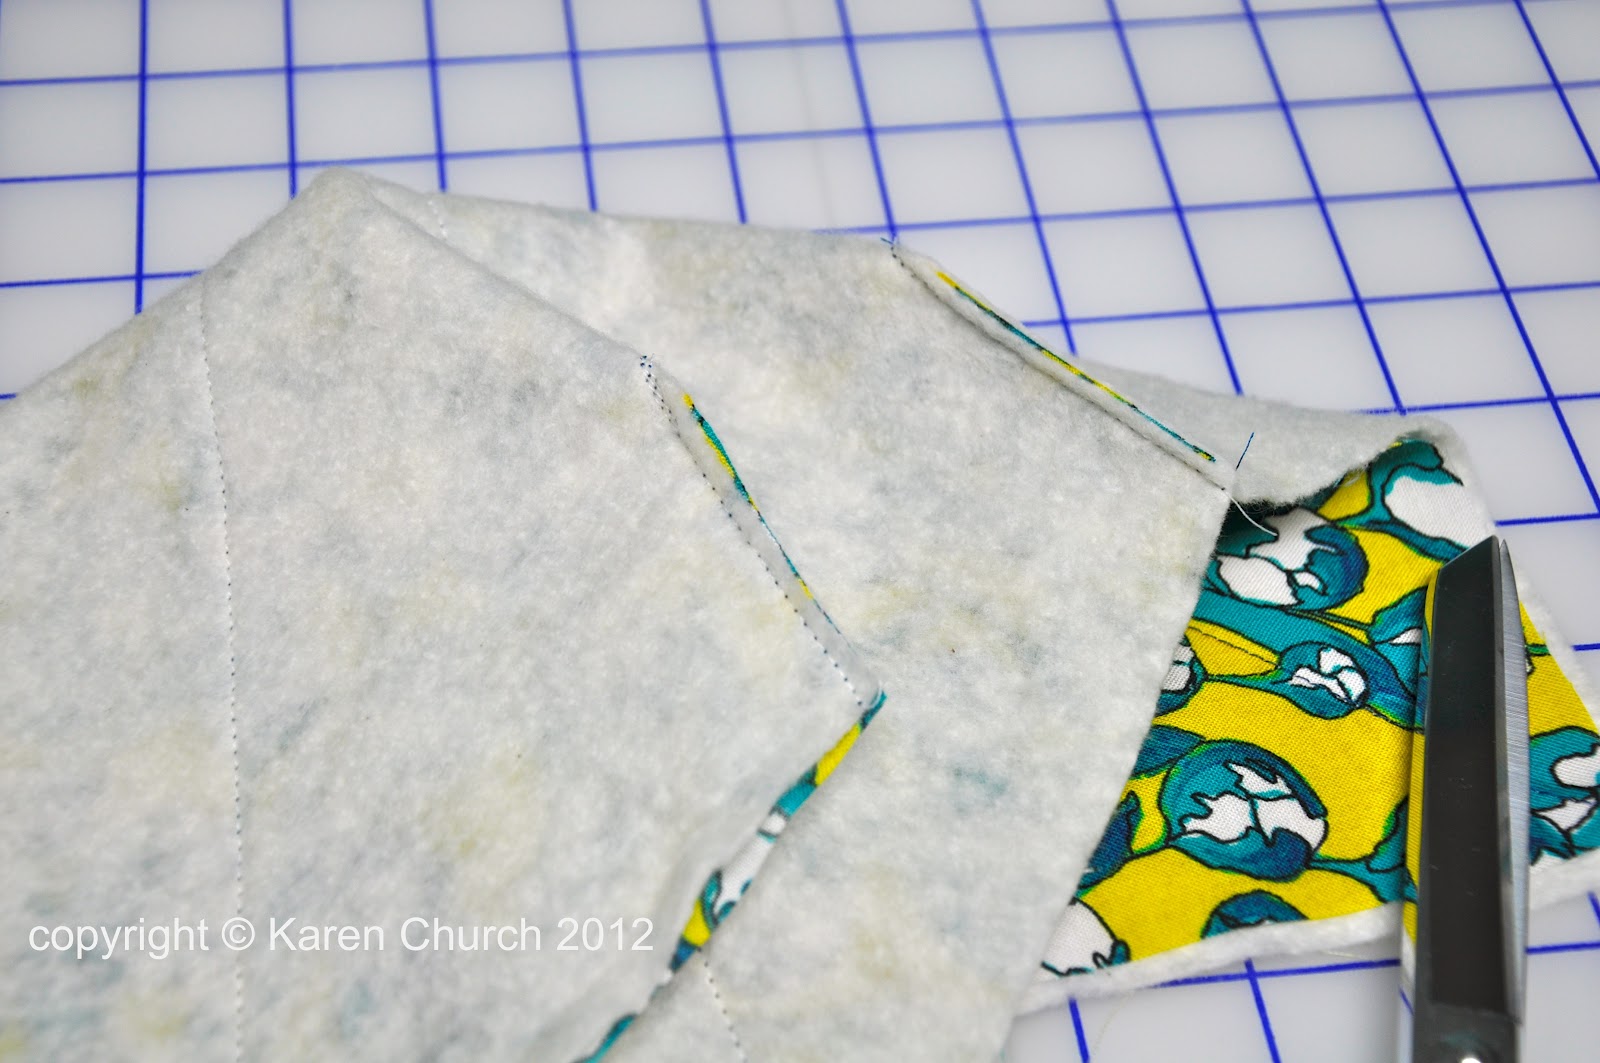
 Sew around the entire edge of the vest. Just be careful and take your time around the zippers, especially where the zippers are folded. I used my regular foot and didn’t even switch to my zipper foot and it worked out just fine. I just took my time to make sure I got a real nice straight edge with the different layers lined up.
 Trim off the excess zipper.
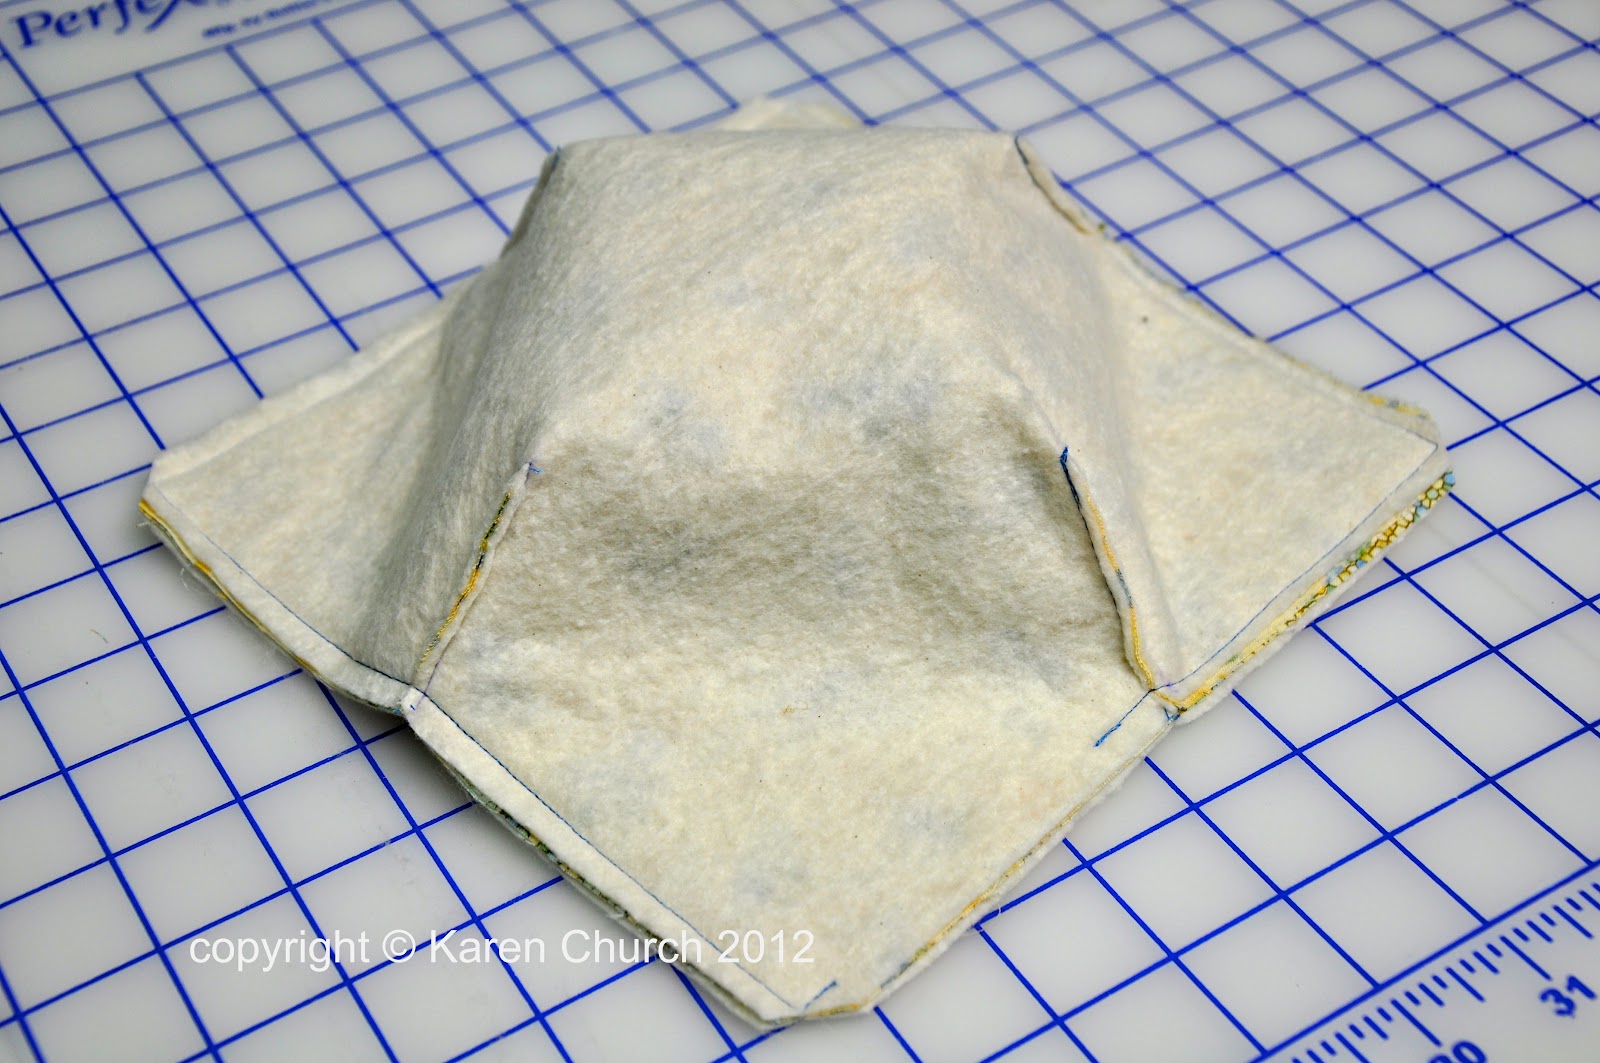
 Pull right sides out. Make sure the zipper works and lines up nicely. If not, you can go back and fix it.
 Iron the vest flat. Make sure you push out seams near the zipper and edges really well. To finish off the arm holes simply turn under both fabrics about 1/4″, iron flat and pin in place.
 Sew arm holes. I find it easiest to sew the arm holes like so, but do what works best for you.

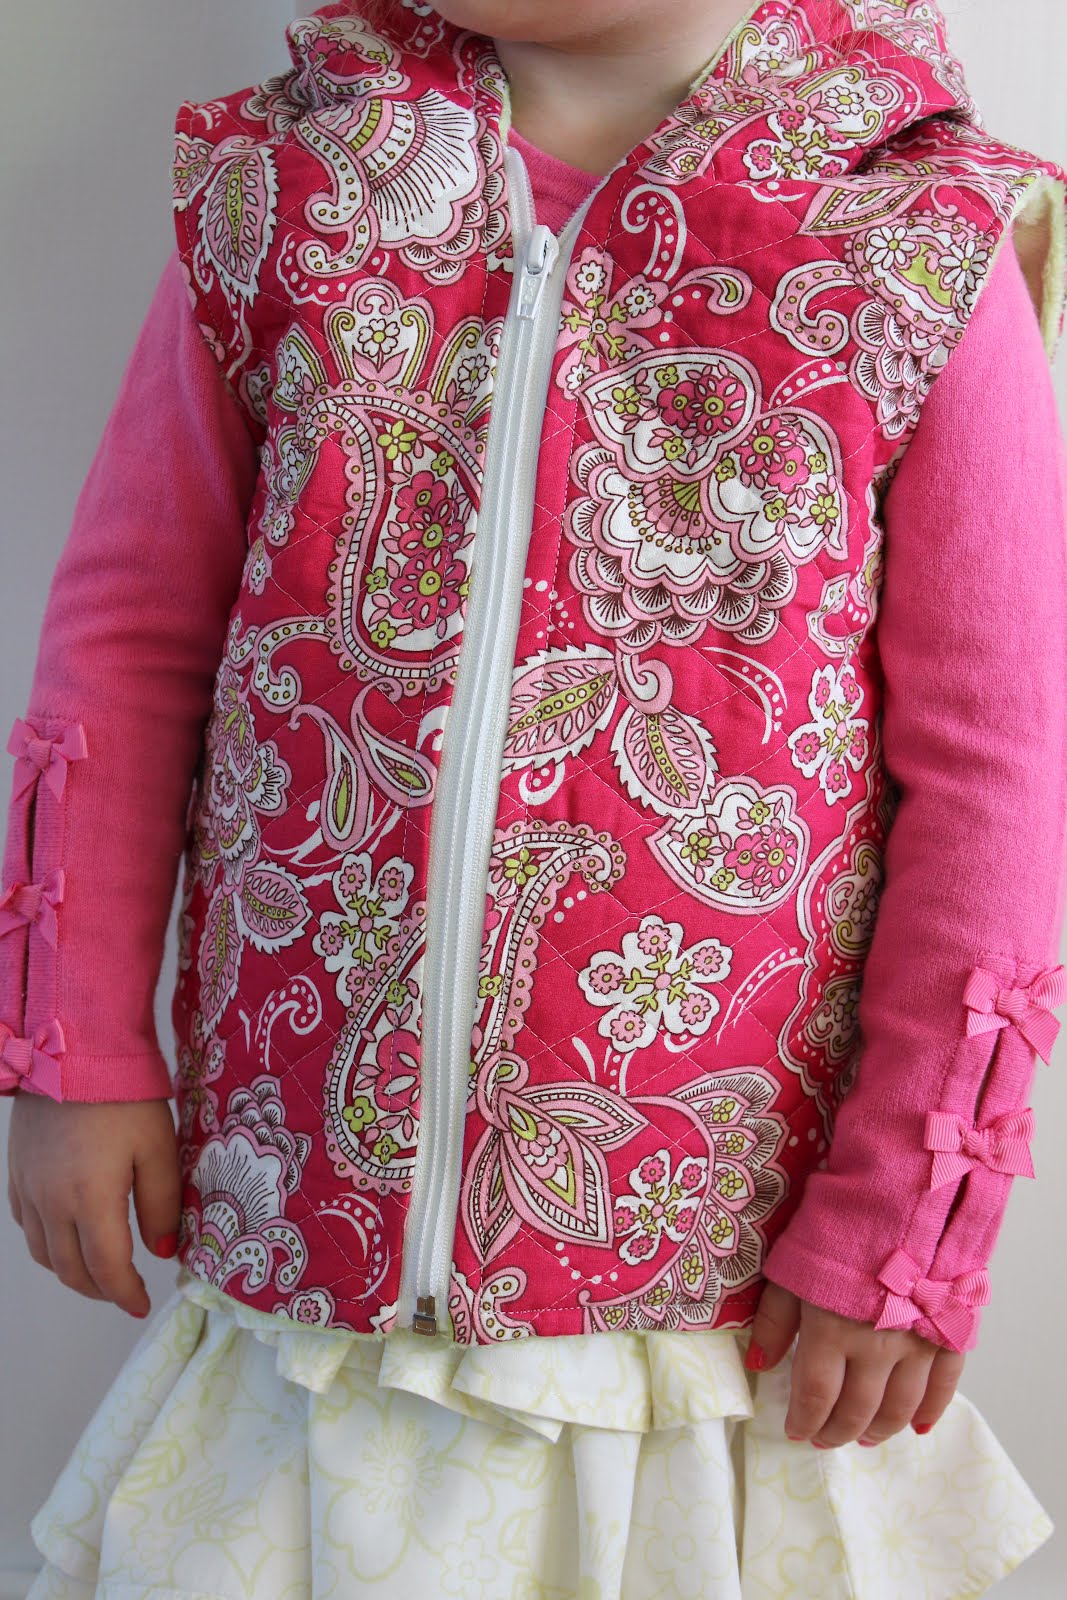
 Lastly, top stitch all around vest and on the sides of the zipper. There is nothing worse then having the fabric get caught in the zipper when your little one is learning how to dress themselves.


Thanks again girls for inviting me to join you today!


 I can’t help but LOVE these colors together! And what is more perfect for a color challenge then to make your own colors!


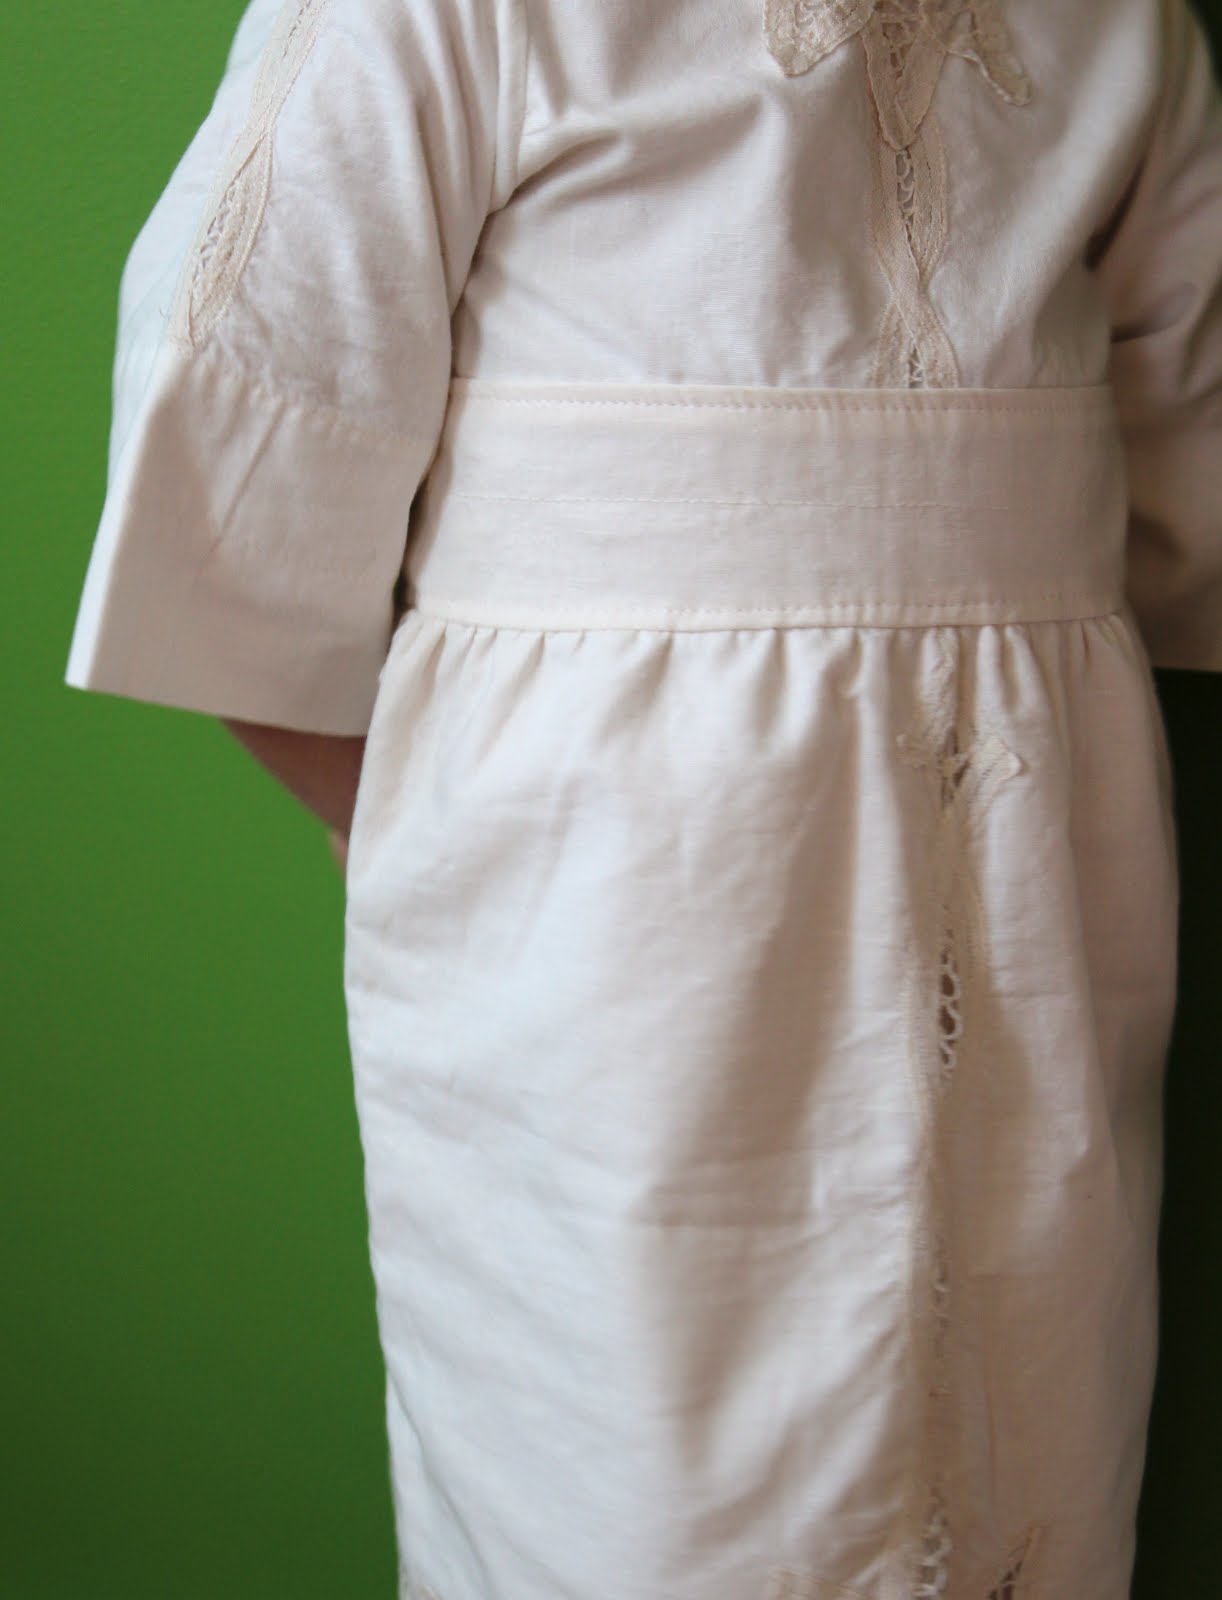


 For the first dress I used a medium weight knit with a little bit of cotton to line the inside of the hood and for the front pocket. I used a dress that we already had as the template for the basic dimensions and then just guessed on the hood, skirt part and front opening with snaps. I’m kinda a lover of snaps if you can’t tell by now. I actually bought a few yards of those strips that already had the snaps attached to. Not sure what they are called, but all I know is that it cost 50 cents at the fabric store and I couldn’t resist! I guess those snaps are what kinda gave me the inspiration for these three pieces.