So how many of you have kids? And how many of you have kids that don’t like to pick up their toys? Yup, that is me too, well actually I have 3 of them. So when I was given the chance to try out this great new product called The Toy Dozer I was all for it.
 The Toy Dozer is sorta like a real bulldozer, but for kids and instead of picking up dirt it picks up toys. Brilliant right? The Toy Dozer comes with two parts the gatherer and the scoop and makes picking up all those little toys quicker and funner. I think we can all agree that we could use a little help to make pick up time faster and funner.
  The moment I took the Toy Dozers out of the box my kids were excited, especially a certain little boy that LOVES his tractors. In the past my little guy used to use his tractors to pick up his Lego’s or Lincoln Logs during pick up time. And do you know how long it takes a little tractor with a super tiny bucket to pick up all those small pieces? FOREVER! So now the Toy Dozer makes cleaning up much faster. I decided to store our Toy Dozers out of reach so that when it is clean up time they have something fun to use. We have been using them for a few weeks now and they still get lots of cheers when it’s time to use them.
 So what do I love about these? First of all…can you say hello pretty colors! And yes they match my playroom perfectly, oh I just love that! They are big but also lightweight, so even my littlest is able to use them. The handles are easy to hold and even have a little hole under the handle for easy dumping. We like to scoop our beads (or any other small toy) into the scoop part and then use the little hole in the back to pour the beads into the bead container.
 They have definitely made clean up time faster and funner. Now I wont lie, I still have to watch the kiddo’s to make sure they are picking their toys up and not just playing with their dozers. The dozers seem to be a fun toy as well as a useful toy for my kids.
 The Toydozer is available exclusively on the Toydozer.com website and comes in three vibrant colors: purple, yellow and blue. All pictured below. The product retails for $18.99 and ships for free anywhere in Canada or the U.S.
 Each Toy Dozer conveniently fits inside of one another, and yes I would recommend one for each kiddo because there is nothing like having “Dozer Races” to make clean up time even faster! Seriously, the only thing that would make these more fun was if they made dozer sounds.
 So enough about how much we love these, here is how you can win one?You have three chances to win, so please make sure you leave a separate comment for each chance to win. Giveaway will end April 17, 2012.
 The Toy Dozer is sorta like a real bulldozer, but for kids and instead of picking up dirt it picks up toys. Brilliant right? The Toy Dozer comes with two parts the gatherer and the scoop and makes picking up all those little toys quicker and funner. I think we can all agree that we could use a little help to make pick up time faster and funner.
  The moment I took the Toy Dozers out of the box my kids were excited, especially a certain little boy that LOVES his tractors. In the past my little guy used to use his tractors to pick up his Lego’s or Lincoln Logs during pick up time. And do you know how long it takes a little tractor with a super tiny bucket to pick up all those small pieces? FOREVER! So now the Toy Dozer makes cleaning up much faster. I decided to store our Toy Dozers out of reach so that when it is clean up time they have something fun to use. We have been using them for a few weeks now and they still get lots of cheers when it’s time to use them.
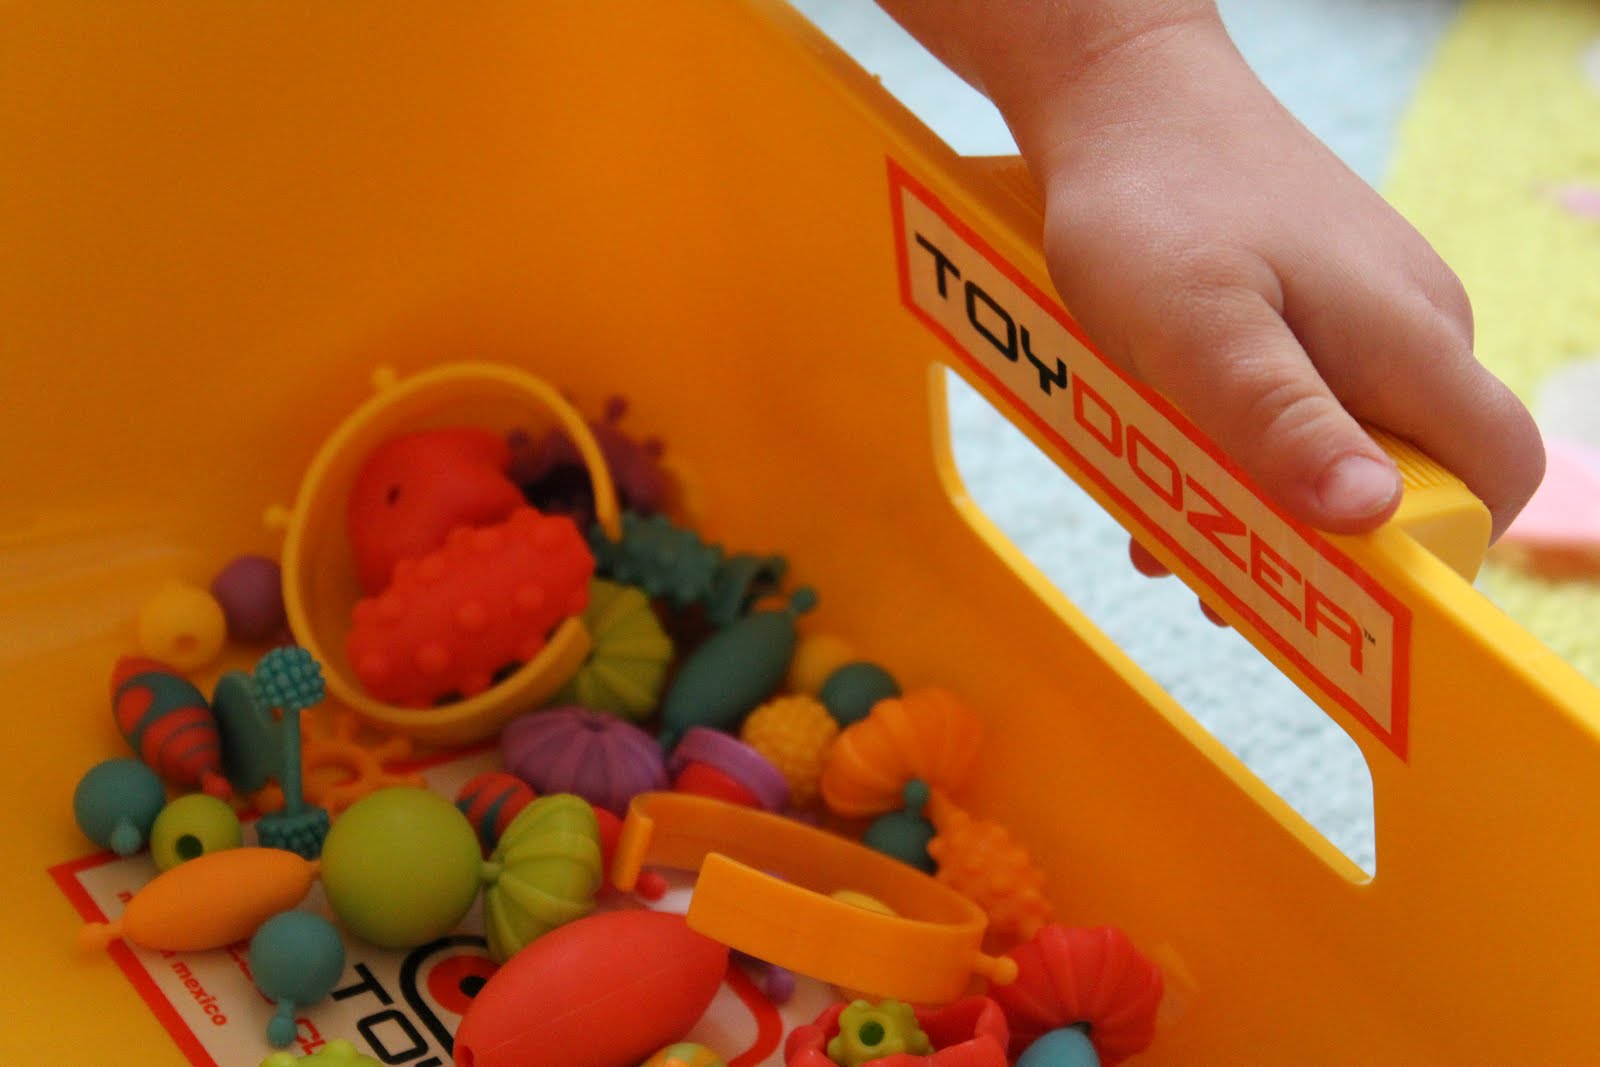 So what do I love about these? First of all…can you say hello pretty colors! And yes they match my playroom perfectly, oh I just love that! They are big but also lightweight, so even my littlest is able to use them. The handles are easy to hold and even have a little hole under the handle for easy dumping. We like to scoop our beads (or any other small toy) into the scoop part and then use the little hole in the back to pour the beads into the bead container.
 They have definitely made clean up time faster and funner. Now I wont lie, I still have to watch the kiddo’s to make sure they are picking their toys up and not just playing with their dozers. The dozers seem to be a fun toy as well as a useful toy for my kids.
 The Toydozer is available exclusively on the Toydozer.com website and comes in three vibrant colors: purple, yellow and blue. All pictured below. The product retails for $18.99 and ships for free anywhere in Canada or the U.S.
 Each Toy Dozer conveniently fits inside of one another, and yes I would recommend one for each kiddo because there is nothing like having “Dozer Races” to make clean up time even faster! Seriously, the only thing that would make these more fun was if they made dozer sounds.
 So enough about how much we love these, here is how you can win one?You have three chances to win, so please make sure you leave a separate comment for each chance to win. Giveaway will end April 17, 2012.
First Chance: Leave me a comment telling me which color you would want.
Second Chance: Like Toy Dozer on Facebook here.
Third Chance: Blog or Tweet about the giveaway and come back to tell me you did so.
Plus the wonderful people over at Toy Dozer have given a 20% off discount for my readers. Just use the coupon code: BLOGGER20 at the checkout.
**This post is part of a Toydozer blogger outreach campaign. Participating bloggers have been provided with a complimentary Toydozer to review and have been compensated for their time.** With that said, all of the opinions are 100% mine.


 Hello Hooligan readers!! I’m Nikki from


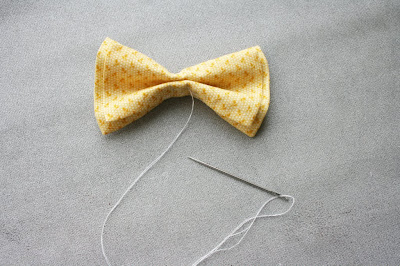 Tie the thread to keep the bow tight.