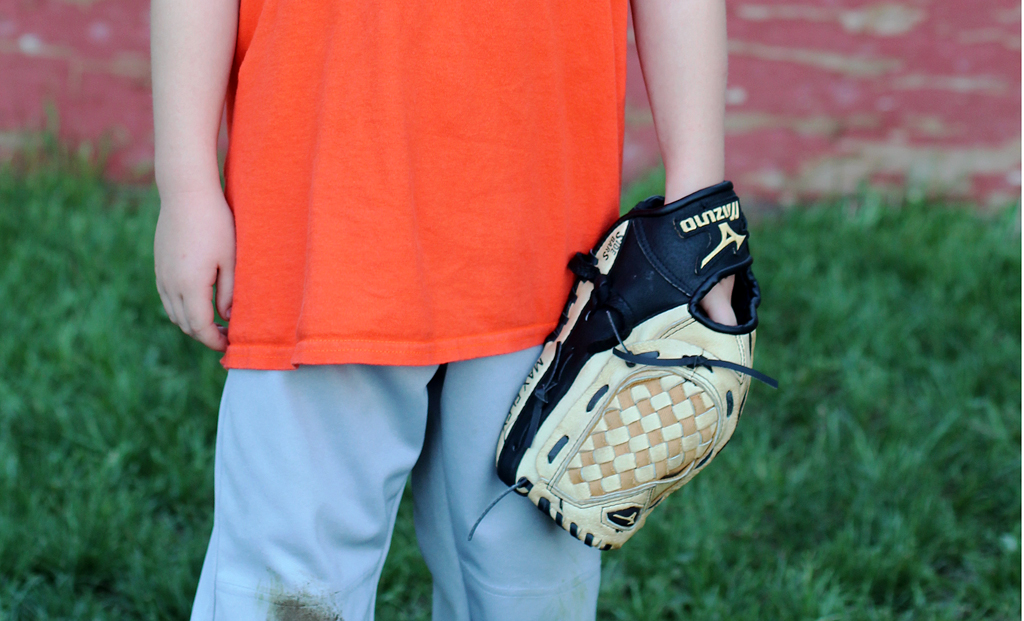
The past month and a half have been filled with baseball non-stop. If we were not at practice or a game, we were outback playing baseball. My son was honestly living for baseball and couldn’t get enough of it! I have to admit, it was super fun and I am really going to miss it too.
Sucker Fishing
Last year one of my husband’s cousins brought us sucker fishing and we ended up having a blast. So this past weekend we headed out to see if they were running up stream yet.

It’s fun getting there because you have to walk through the covered bridge in order to get down to the river.

There are lots of big rocks to walk and climb on which is one of the kids favorite part.

The sucker fish were running but they were very sparse.

Daddy searched for awhile before he could catch one. We even got caught in a brief downpour while waiting, but Daddy was determined to catch one for the kids. Luckily hanging out under the covered bridge was a lot of fun.
The girls found a little pool of water with rocks in it and proceeded to fish out every singe rock to stash into their pockets.
When Daddy finally caught a sucker fish we all cheered and ran to check it out.
My little girl of course wanted to keep it, but when we told her that we had to throw it back in so that it could finish swimming upstream to lay its eggs she was OK with it.

We have been told that in years past people used to catch sucker fish by the hundreds in this spot. Then they would salt them in a wooden barrel for storage.
We are so lucky to live in such a beautiful area and that we can catch sucker fish just for the fun of it…and not for survival.
Have any of you gone sucker fishing before?
Summer of Soleil Blog Tour
Today I have the honor of being one of the stops for the Soleil Dress pattern from Selvage Designs.
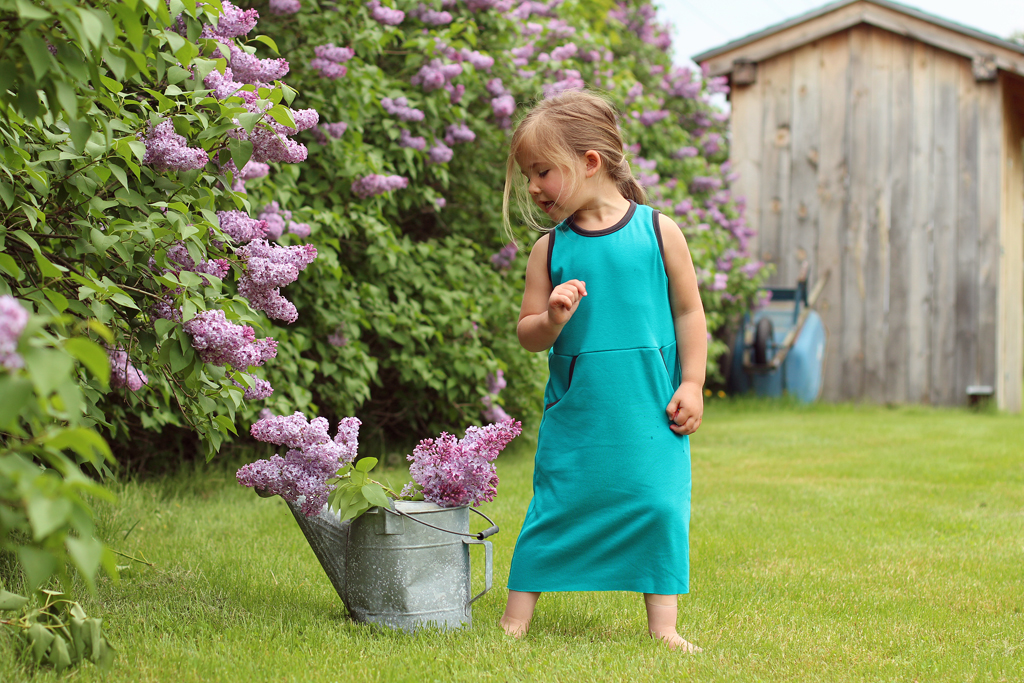
The Soleil Dress is a sleeveless knit dress with a slightly gathered skirt and large front pockets . The pattern also comes with an option for a fun cutout on the back. The pattern ranges in sizes from 12 months to size 12.
The pattern is very detailed and easy to follow. Throughout the pattern there are computerized images to further explain each step.
I followed the pattern except at the skirt part where I decided to alter it and make a more fitted skirt. One of my daughters prefers fitted skirts whereas my other girl loves anything gathered. It’s funny how different they are but I love that this pattern allows to me cater to both their likes with a few changes.
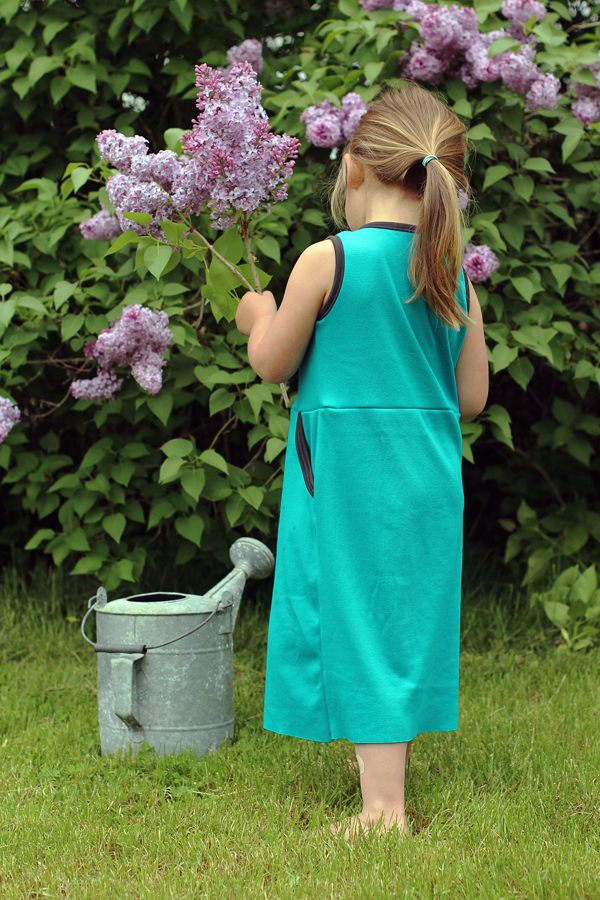
I used knit fabric purchased from Jo-Ann Fabrics and Craft Stores and happen to love the simplicity of the dress with these two fabrics together.

My little girl absolutely loves the dress! I put it on her just to check the length before hemming and she would not take it off. So as you can see the dress is still not hemmed. Usually when my girls fight me over taking an outfit off I just go with it and take it as a compliment…then I grab my camera fast because I know it will not stay clean very long. Good thing I did because two seconds later she was running through the garden.

If you are looking for that perfect little summer dress then I highly recommend this pattern!

And if you are the adventurist type of sew-er and want to start drafting your own patterns check out Lauren’s Top Blocks for Knitwear or her Pattern Workshop. I have heard great reviews of both!

Thanks again Lauren for inviting me to be part of your Summer of Soleil Blog Tour!
Guest posting over at while she was sleeping
I am guest posting over at While She Was Sleeping today as part of Jenya’s You and Me series.
Head on over here to see what I made for myself as well as my two little girls.
sewing spaces {stacey from oh boy oh boy}

Today we have Stacey from Boy, Oh Boy, Oh Boy Crafts and Design.

Stacey is Mom to three boys and shares a lot of boy related tutorials, patterns, crafts and activities on her blog. She also has a pattern shop which you can see here. Stacey is one of the creators behind the fun blog series Sew In Tune that uses music as the inspiration to create handmade outfits. It is always such a fun series to follow and we have seen some pretty amazing outfits come from it. I also have to mention that Stacey has sewn some really amazing dresses for herself. The Kimono Dress pictured below is one of my favorites! Below you can see a little glimpse of what Stacey makes. 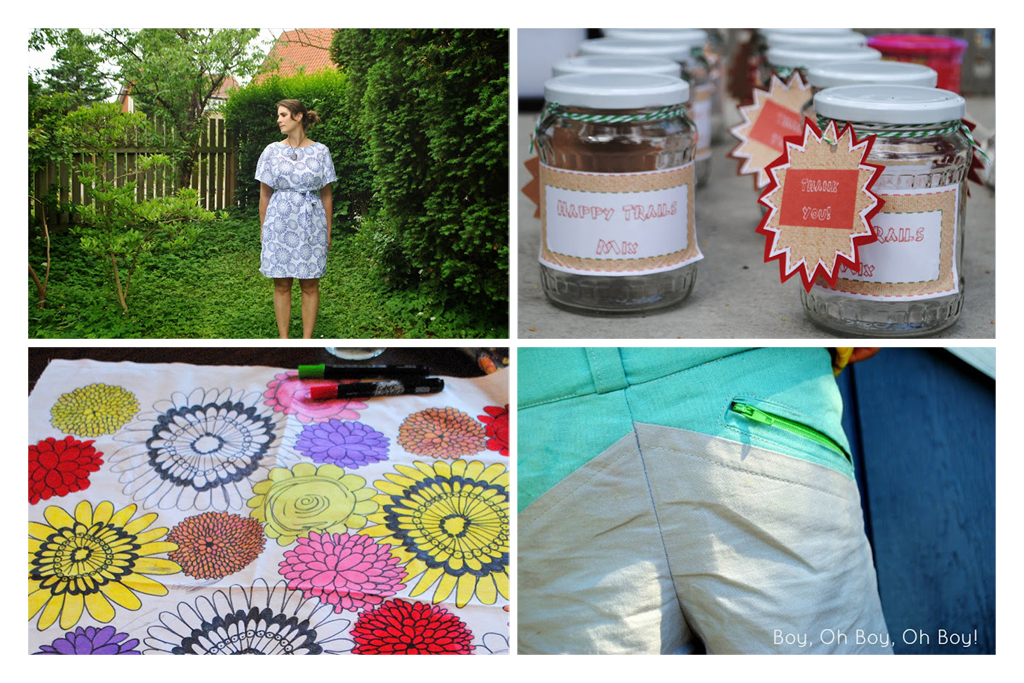
Kimono Dress, Camping Party, Crate and Barrel Knock-Off Pillow, W Shorts
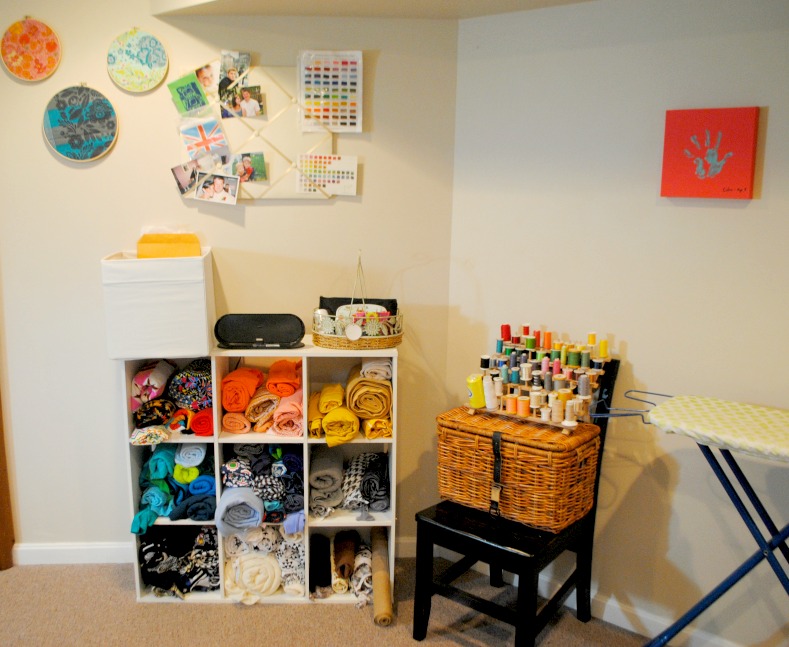
Now let’s have a little peek at Stacey’s sewing space and where she creates. Head on over here to see the rest of her sewing space.
Layered Lace Curtains tutorial
I first shared this post over on Living with Punks as part of Susan’s Home Sewn Series.
I am so excited to be here today participating in Susan’s Home Sewn Series. I happen to love sewing for the home. I just don’t get to do it as often as I would like to. The one area I always seem to struggle with when it comes to home decor is curtains. Sometimes I like them, sometimes I do not. I never seemed to be able to find exactly what I want in the stores and since my to do list is already a mile long, making curtains always seems to stay on the bottom of the list. So thank you so much Susan for inviting me today. It is forcing me to get at least one home sewn project checked off my list.
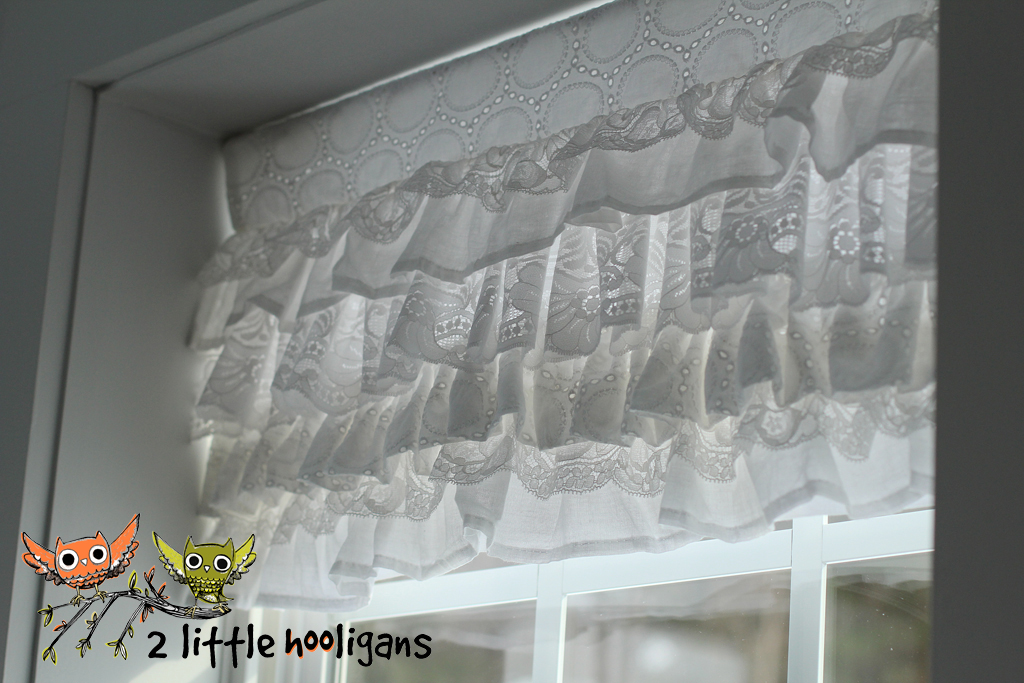
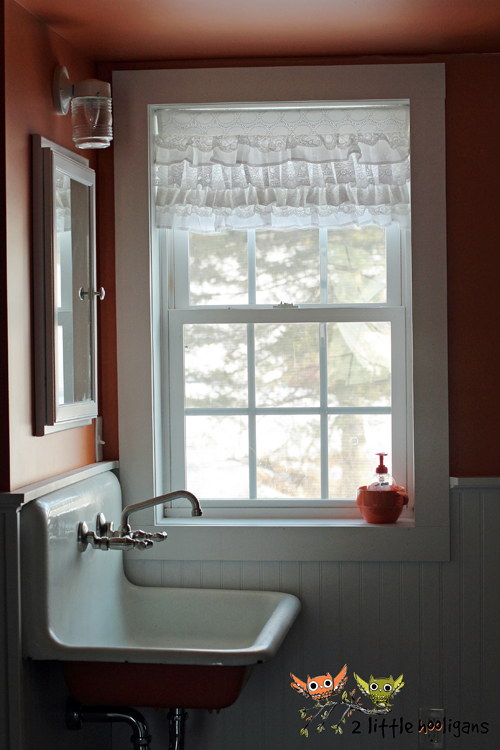
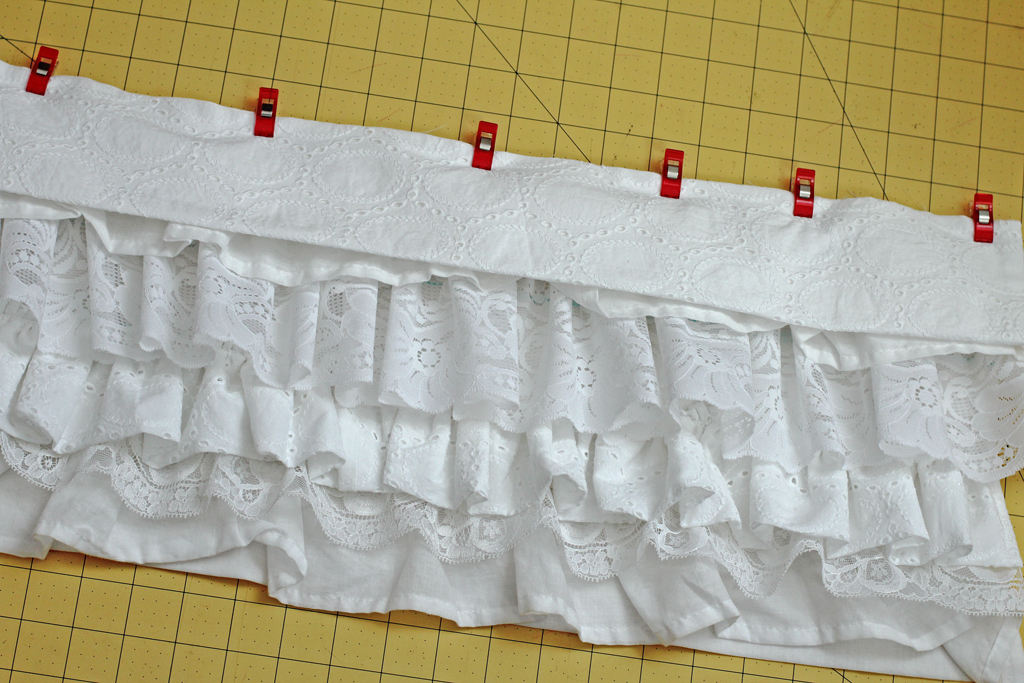
As you can tell I made these curtains for our upstairs bathroom. I wanted the curtains to be short enough so that the kids are not pulling on them all the time and short enough so that they do not need to be opened or closed everyday. Now before we get started I have to mention that your amount of fabric and lace may be different then mine. So measure your window ahead of time and do the math below in the section where it says “determining what size to cut your fabric pieces.” This will give you the exact amount of fabric needed if you are headed out to the store. Use a 1/2″ seam allowance throughout.
Materials Needed:
*Spring loaded tension rod. You can purchase them at Walmart for just a few bucks.
*1 yard of fabric (less or more depending on the size of your window and how low you want your curtains hang) Determine you exact amount of fabric below.
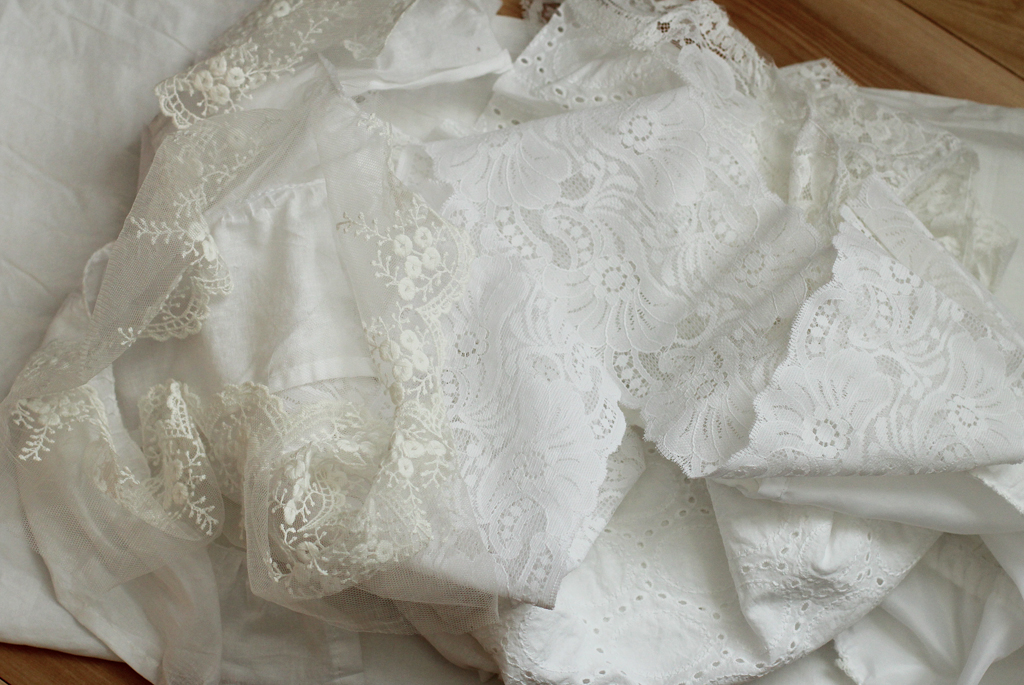
*1 1/2-2 yards each of different types of lace. Try to purchase wider laces. I used 6 different types of lace and most of them were 2 1/2″ and wider. Again, it depends on how big your window is, how many rows of lace you want and how ruffled you want them to be. A good rule of thumb is buy double the width of your window. That should give you plenty of lace to play with and figure out how much ruffle you want. And just remember if you want your curtains to hang lower you will need more lace.
Determining what size to cut your fabric pieces:
Width of curtains: Start by measuring your window from inside to inside of window frame width-wise. Add 1 inch to that number. That is how wide you want to cut all 3 of your fabric pieces. Write down that measurement.
Length of curtains: Measure how far down you want your curtain to be. Write down your measurement. You are going to do a little adding and subtracting here, so stick with me. I am going to try and explain it as simple as possible. Now cut the 2 smaller pieces of fabric 7″ long by the width determined above. In the end this will give you 2 1/2″ of fabric hanging down once the curtain is finished. (This is the piece where you will be inserting your curtain rod.) Now subtract 2 1/2″ from the length that you determined you wanted your curtains to be. Take and double that number. That number is how long you will cut your piece of fabric by the width determined above. Did I loose you? I hope not. You are doubling the length so you wont have to hem any edges plus it will give a little more stability to the curtains.
Cut out your three pieces of fabric. The two smaller pieces of fabric will become the curtain rod sleeve and the larger piece of fabric is going to be the main part of the curtain.
Now lay the two smaller pieces of fabric right sides facing. Pin in place. Sew just along the sides. Do not sew the top or bottom. Turn right side out and press. Now take and fold the larger piece of fabric in half lengthwise with right sides facing. Pin. Sew both sides and along the bottom. Do not sew the top. Turn right side out and press.
Fold the smaller rod sleeve piece in half lengthwise and press. Lay your fabric pieces out flat.
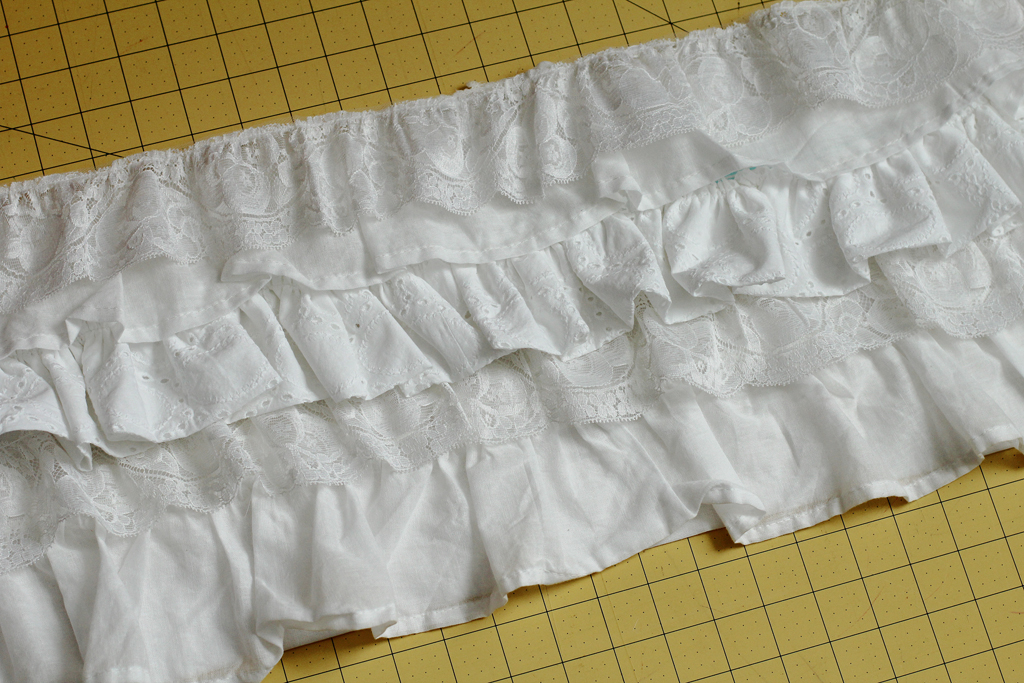
Gather all of your lace and start ruffling each piece. How much you ruffle each piece is up to you. Once they are all ruffled layer them on top of the larger fabric piece. Play around with the positioning of each piece of lace until you have it to where you like it.
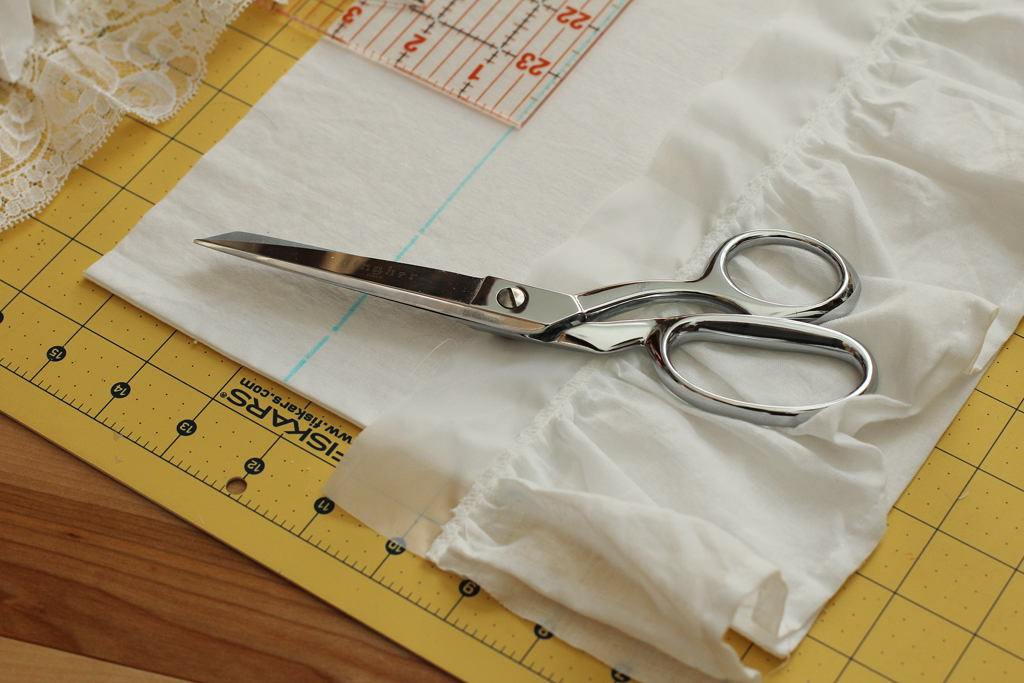
Now remove each layer of lace and mark with your erasable marker where those layers were positioned. Make sure you draw a line across the whole piece of fabric. You want to make sure your rows are even. At this time, also trim any excess lace on the edges. You want the ends of your lace to line up with the edge of the fabric. If you need to hem any of the edges do that now too. Just remember when cutting to factor in the 1/2″ sew seam. You can see below I was using some scraps from some previous curtains I made and I needed to hem the edges.
Starting at the bottom, pin the first row of lace in place. Sew lace in place. (Wow, say that 3 times fast!)
Keep working your way up to the top until all the rows have been sewn in place.
Now grab the curtain rod sleeve and line up the raw edges with the raw edges of the larger piece of fabric. Make sure all the raw edges are at the top and lined up evenly.
Sew. Finish off the raw edges with a serger or zig-zag stitch. Press seam down. You can top stitch if you want but it is not necessary. Now insert the expandable curtain rod into the sleeve. Hang your curtains and that’s it!
Some pretty new curtains for the home!
 Thank you so much for having me Susan! You gave me the much needed push to get these sewn! It’s kinda amazing how a little set of curtains can really make a room look polished…even if my windows are not.
Flashback May with Project Run and Play
Today I am over at Project Run and Play as part of their Flashback May series. Head on over here to see what I created.
sewing spaces {susan from living with punks}

Today we have Susan from Living with Punks sharing her sewing space.

Susan’s blog is one of the first blogs I started reading many, many years ago. I quickly fell in love with how creative and beautiful she makes everything. Just spend a few minutes on her blog and you will see what I mean. Make sure you take a peek at her living room, it is amazing! Like belongs in a magazine amazing! Below are just a few of my favorite projects off her blog.
 Jelly Roll Floor Pillow, Black & Bleu Burgers, Natalie’s Room, An Unexpected Vase
Now let’s have a little peek at Susan’s Sewing Space. Is that beautiful or what?! Just wait until you see the rest of it…I’m speechless! Head on over here to see the rest of her sewing space.

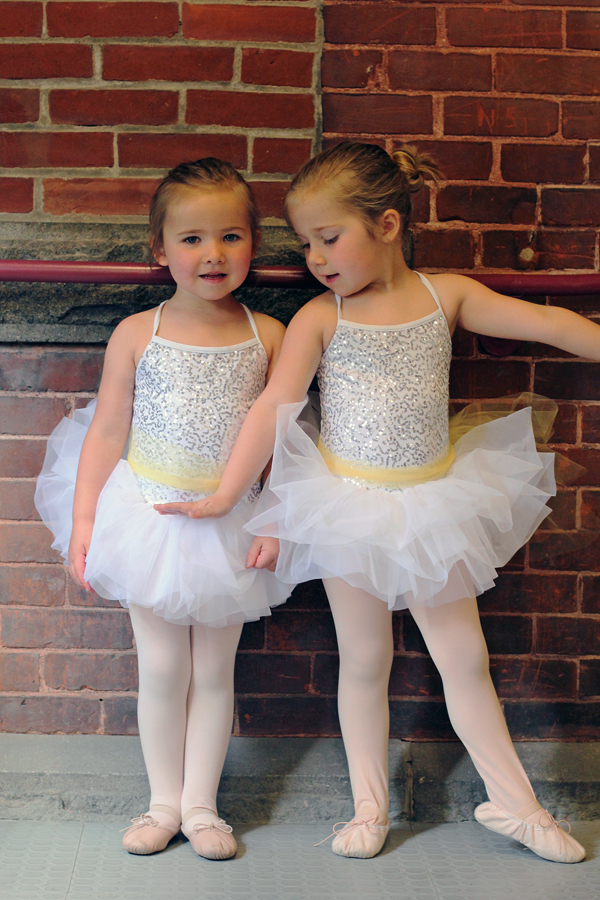
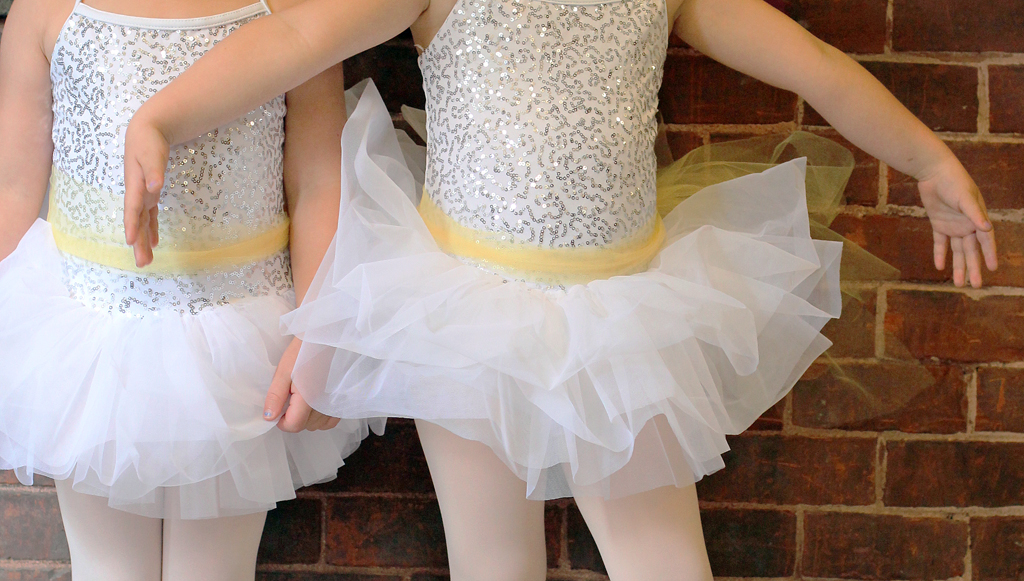
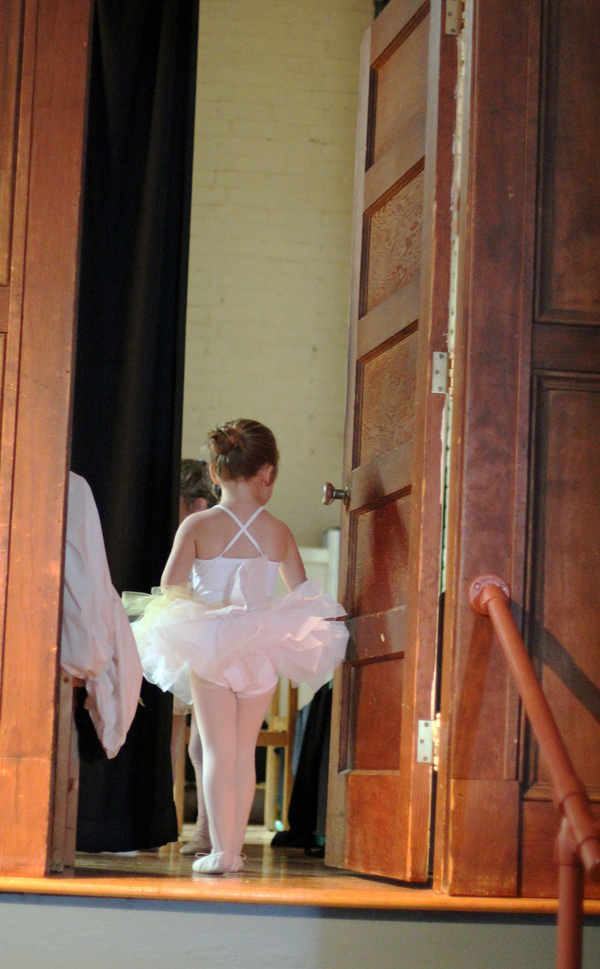
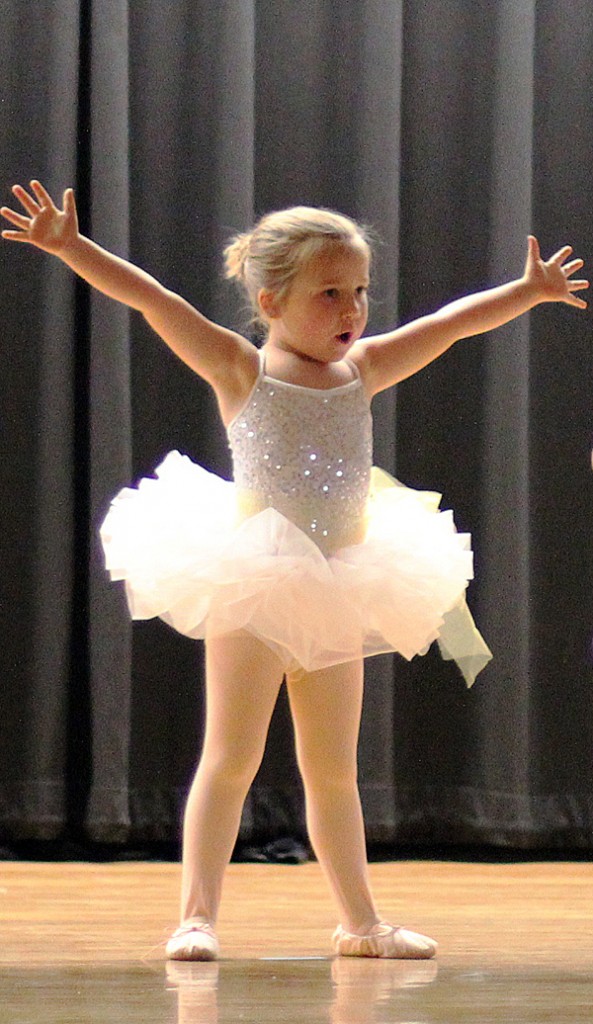
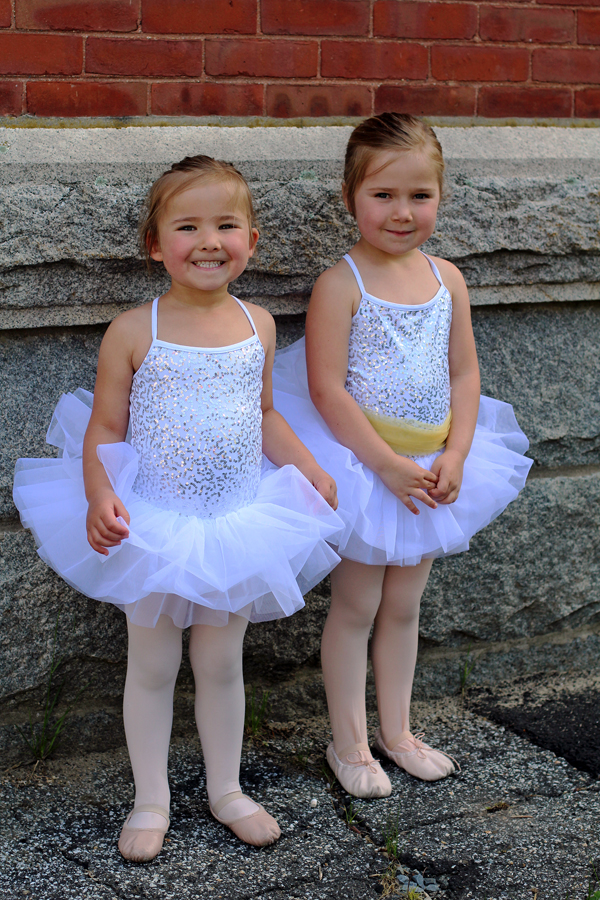
momma’s Little Ballerina’s
Ojai wrap blog tour & giveaway
Justine from Sew Country Chic recently released her first pattern the Ojai Wrap and I have the pleasure of being part of her blog tour today. The Ojai Wrap is a short sleeved shawl collar wrap cardigan with a slight high-low hem. It is one of those patterns that I can see myself making over and over again. As you may know, I am a huge lover of cardigans and cannot leave home without one.
The Ojai Wrap was a very quick and easy sew. I spent more time piecing the pattern together and cutting out the fabric then actually sewing it. I made this wrap in a size medium but really should have made it in a small. I have a bad habit of making a larger size then I should. I will definitely be altering this one to a smaller size and may even make another one with some sleeves like Monica from Adirondack Inspired did. I pretty much want her Ojai Wrap!
 Talk about one super comfy cardigan though! I have worn it around the house non-stop since making it.
Lucky for all of you, Justine is giving away 5 of her Ojai Wrap patterns. Enter below in the Rafflecopter.
a Rafflecopter giveaway


